1. Produk verbyview
The maXpeedingrods Front Strut Assembly is engineered to provide consistent shock absorption and stable handling for your vehicle. This complete strut assembly is designed for direct replacement, ensuring a straightforward installation process and restoring optimal ride quality.
Beeld 1.1: Algemeen view of the maXpeedingrods Front Strut Assembly.
2. Fitment Information
This front strut assembly is compatible with the following vehicle models:
- Subaru Crosstrek: 2016-2017
- Subaru XV Crosstrek: 2013-2015
Reference Part Numbers: 13321, 13322, 183070, 183071, 1333749L, 1333749R, 20310FJ160, 2701685310, 20310FJ080, 20310FJ220, 20310FJ420, 92141350, 920208, PM7000588, 20310FJ230, 2701685311, 20310FJ090, PM7000587, 20310FJ430, 20310FJ170, 920207, 92141351.
3. Produkkenmerke en -komponente
The maXpeedingrods Front Strut Assembly is constructed with high-quality materials and advanced design features to ensure durability and performance.
Sleutel kenmerke:
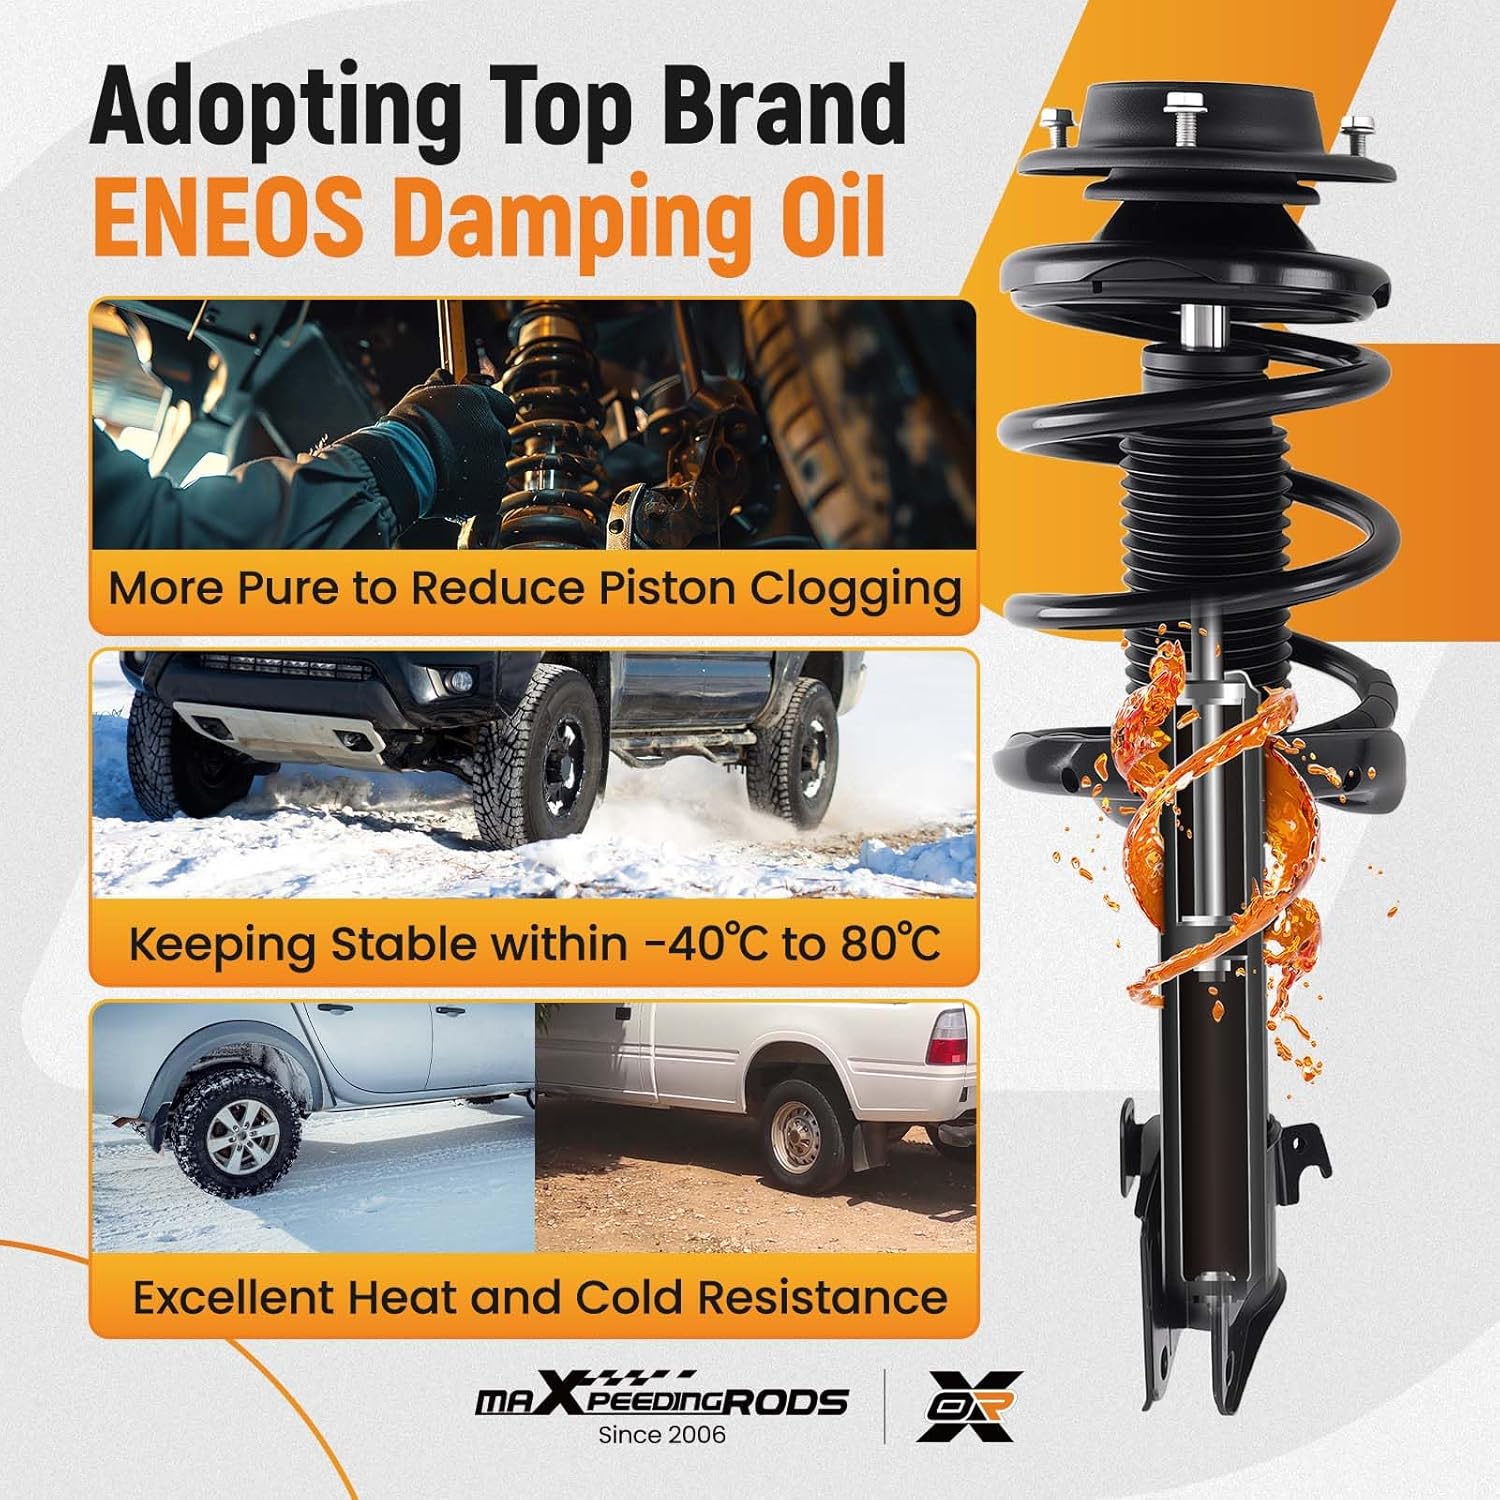
- ENEOS Damping Oil: Utilizes high-purity ENEOS damping oil to reduce piston clogging and maintain stable performance across a wide temperature range (-40°C to 80°C), offering excellent heat and cold resistance.
- High-Strength Piston Rod: Made from premium 45# steel with less than Ra0.1 roughness, providing excellent bending resistance and durability.
- High-Tensile Damper Pipe: Constructed from premium Q235 carbon steel with a 3mm thickness, ensuring strong corrosion resistance.
- Geraasvermindering: Features powerful static stiffness and a standard rubber washer to absorb noise, having passed professional noise tests.
- Optimized Damping Seal: Designed to effectively prevent oil leaks, ensuring consistent performance.
- 55Crsi Coil Spring: Features a larger diameter and stronger support gasket for enhanced performance and longevity.
- Fabriek getoets: Each assembly undergoes rigorous testing, including 3 million fatigue tests without distortion or damage, and 250-hour salt spray tests without bubbles or shedding.

Image 3.1: Illustration of ENEOS damping oil within the strut, highlighting temperature stability.

Image 3.2: Detail of the high-strength piston rod, emphasizing material quality and finish.

Beeld 3.3: Dwarssnit view of the high-tensile damper pipe, showing its 3mm thickness.

Image 3.4: Visual representation of noise reduction capabilities, including the rubber washer.

Image 3.5: Diagram illustrating the optimized damping seal designed to prevent oil leaks.

Image 3.6: Depiction of the strut assembly undergoing strict factory testing procedures.

Beeld 3.7: Nabyskoot view of the 55Crsi coil spring, highlighting its robust design.
Komponent uiteensetting:

Beeld 3.8: Ontplof view illustrating the main components of the strut assembly, including Top Mount, Bump Stop, Coil Spring, Dust Cover, Piston Rod, Rubber Washer, Damping Oil, and Lower Mount.
4. Opstelling (Installasie)
This strut assembly is designed for quick and direct replacement. While the product includes a detailed installation manual, the following provides general guidance. Professional installation is recommended.
Veiligheidsmaatreëls:
- Dra altyd gepaste persoonlike beskermende toerusting (PPE), insluitend veiligheidsbril en handskoene.
- Maak seker dat die voertuig stewig op krikstaanders op 'n gelyke oppervlak ondersteun is voordat u met die werk begin. Moet nooit net op 'n krik staatmaak nie.
- Disconnect the negative terminal of the vehicle's battery if working near electrical components.
- Verwys na u voertuig se dienshandleiding vir spesifieke wringkragspesifikasies en prosedures.
Algemene installasie stappe:
- Loosen lug nuts on the front wheels, then lift the front of the vehicle and secure it with jack stands. Remove the front wheels.
- Locate and disconnect any brake lines, ABS sensor wires, or sway bar links attached to the strut assembly.
- Remove the lower mounting bolts connecting the strut to the steering knuckle.
- Open the hood and locate the upper strut mount bolts. Remove these bolts.
- Carefully remove the old strut assembly from the vehicle.
- Position the new maXpeedingrods strut assembly into place, aligning the upper mounting studs. Secure with nuts, but do not fully tighten yet.
- Align the lower mounting holes and insert the bolts. Secure with nuts, but do not fully tighten yet.
- Reconnect any brake lines, ABS sensor wires, or sway bar links.
- Once all components are in place, tighten all mounting bolts to the manufacturer's specified torque.
- Reinstall the wheels, lower the vehicle, and tighten lug nuts to specification.
- It is highly recommended to perform a wheel alignment after strut replacement to ensure proper vehicle handling and tire wear.
Image 4.1: General installation diagrams for strut assembly, showing various mounting points.
5. Bedryfsoorwegings
After installation, the maXpeedingrods Front Strut Assembly will enhance your vehicle's driving dynamics. Observe the following benefits during operation:
- Improved Traction and Control: Experience better grip and responsiveness on various road surfaces.
- Verbeterde stabiliteit en gemak: Maintain vehicle stability and passenger comfort, especially on uneven roads.
- Preserved Steering and Braking Control: Contribute to more precise steering and effective braking, particularly when navigating curves.

Image 5.1: A vehicle driving on a road, representing improved performance after strut replacement.
6. Onderhoud
Regular inspection and maintenance are crucial for the longevity and optimal performance of your strut assemblies.
- Visuele inspeksie: Periodically inspect the struts for any signs of oil leaks, physical damage, bent components, or corrosion.
- Monteer hardeware: Check all mounting bolts and nuts for tightness during routine vehicle inspections. Loose hardware can lead to noise and premature wear.
- Stofstewels: Ensure the dust boots are intact and free from tears to protect the piston rod from dirt and debris.
- Belyning: Maintain proper wheel alignment as recommended by your vehicle manufacturer to prevent uneven tire wear and undue stress on suspension components.
- Skoonmaak: Keep the strut assemblies free from excessive dirt and road grime, especially around seals.
7. Troubleshooting: When to Replace Strut Assemblies
Strut assemblies are wear items and will eventually require replacement. Pay attention to the following indicators that suggest your struts may need to be replaced:
- Excessive Bouncing: The vehicle continues to bounce significantly after hitting bumps or dips in the road.
- Poor Handling and Stability: Reduced control, excessive body roll during turns, or a general feeling of instability.
- Nose Dives during Braking: The front of the vehicle dips excessively when braking.
- Ongelyke bandslytasie: Scalloped or cupped wear patterns on tires can indicate worn suspension components.
- Visually Damaged Struts: Visible oil leaks from the strut body, bent piston rods, or damaged coil springs.
- High Mileage: Typically, struts may need inspection or replacement after 50,000 miles, depending on driving conditions and vehicle usage.

Image 7.1: Visual indicators of when shock absorbers may need replacement, including excessive bouncing and uneven tire wear.
8. Spesifikasies
| Eienskap | Waarde |
|---|---|
| Handelsnaam | maXpeedingrods |
| Vervaardiger se deelnommer | IE43RA |
| Item gewig | 20800 gram |
| Vervaardiger | maXpeedingrods |
| ASIN | B0GGRLRKZ1 |
| Piston Rod Material | Premium 45# Steel |
| Damper Pipe Material | Premium Q235 Carbon Steel |
| Damper Pipe Thickness | 3 mm |
| Coil Spring Material | 55Crsi |
| Damping Oil Type | ENEOS |
| Bedryfstemperatuurreeks | -40°C tot 80°C |
9. Waarborg en Ondersteuning
maXpeedingrods is committed to product quality and customer satisfaction.
- Waarborg: A 1-year limited warranty is provided for quality-related issues, effective from the date of purchase.
- Tegniese ondersteuning: Lifetime technical support is available to assist with any questions or concerns regarding the product.
For warranty claims, technical assistance, or any other inquiries, please contact maXpeedingrods customer support through their official channels or the retailer from whom the product was purchased.