1. Inleiding
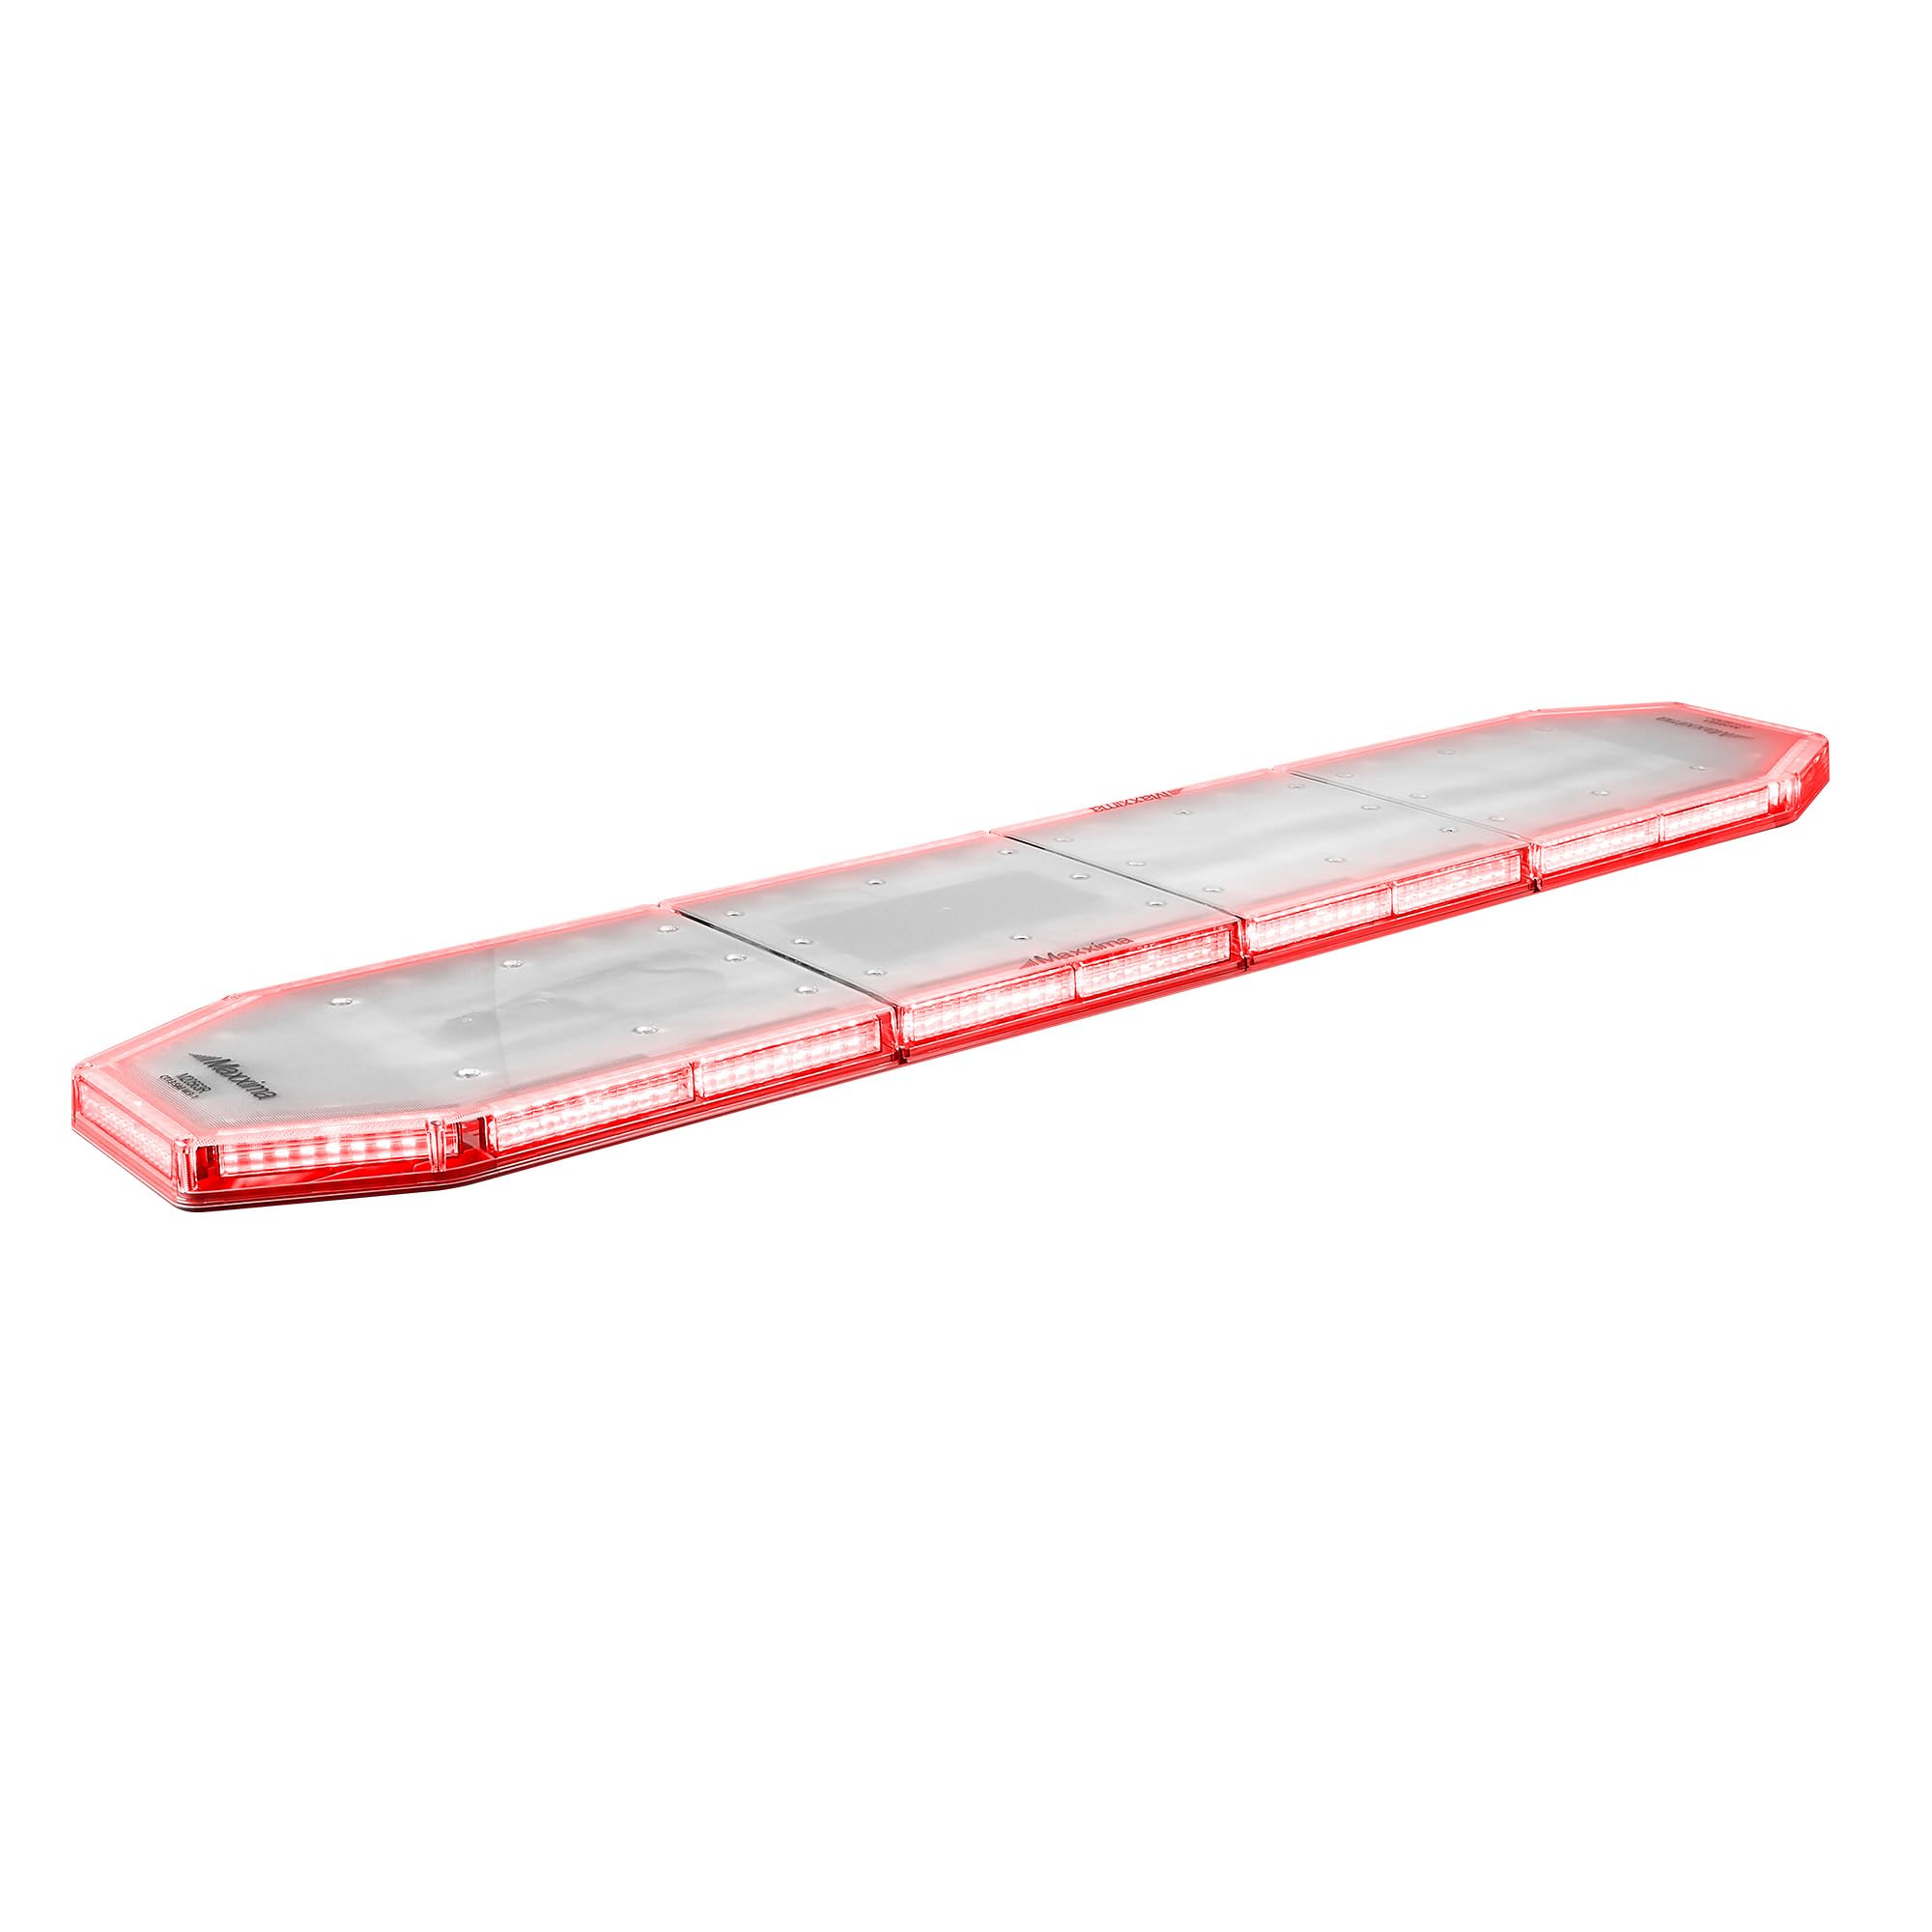
The Maxxima Elite M20563R "Rover" is a 60-inch low-profile LED light bar designed for emergency and utility vehicle applications. It features an all-red warning configuration, fully populated with 22 light heads and a total of 270 LEDs. This light bar is compatible with dual voltage 12V/24V systems and includes versatile lighting functions such as rear-facing white work lights, integrated Stop/Tail/Turn capabilities, and a built-in Red Traffic Director with left, right, and center-out patterns. The M20563R offers 30 programmable flash patterns, a low power (DIM) mode, and front cut-off capability, all controlled via discrete wiring without the need for a laptop. Its flat mount design, included U-brackets, and a 25-foot 15-conductor cable facilitate easy installation and serviceability. The product complies with SAE J595 Class 1, J845 Class 1A, and CA13 standards.
2. Produkkenmerke
- 60-inch low-profile LED light bar design.
- Fully populated with 22 light heads for comprehensive coverage.
- All-red flashing warning configuration, convertible to red/white.
- Rear-facing white work light with 4 heads.
- Side alley lights for enhanced visibility.
- Integrated Red Traffic Director with left, right, and center-out patterns.
- 30 programmable flashing warning patterns.
- Low power (DIM) mode for reduced intensity.
- Front cut-off capability.
- Discrete wiring control (no laptop required for programming).
- Dubbel voltage compatibility (12V/24V).
- Flat mount design with included U-brackets.
- 25-foot 15-conductor cable for installation.
- SAE J595 Class 1, J845 Class 1A, and CA13 compliant.
3. Spesifikasies
| Spesifikasie | Detail |
|---|---|
| Handelsmerk | Maxxima |
| Modelnommer | M20563R |
| Ligbrontipe | LED |
| Voltage | 12V / 24V (Dubbele Volumtage) |
| Voertuigdiens tipe | Truck (Universal Fit) |
| Auto Part Posisie | Buite |
| Materiaal | Polikarbonaat (PC) |
| Spesiale kenmerk | Liggewig |
| Aantal ligkoppe | 22 |
| Kabellengte | 25 feet (15-conductor) |
| Sertifiserings | SAE J595 Class 1, J845 Class 1A, CA13 |
4. Opstelling en installering
Proper installation is crucial for the performance and longevity of your Maxxima Elite LED Light Bar. It is recommended that installation be performed by a qualified professional.
4.1 Montering
- Kies Monteerplek: Choose a flat, stable surface on your vehicle that provides clear visibility and does not obstruct other vehicle functions. Ensure the surface can support the weight of the light bar.
- Secure U-Brackets: Use the included U-brackets and hardware to securely fasten the light bar to the chosen mounting surface. Ensure all bolts are tightened to prevent vibration and movement.
- Verifieer stabiliteit: After mounting, gently test the light bar's stability to ensure it is firmly attached and will not shift during vehicle operation.

4.2 Bedrading
The light bar comes with a 25-foot 15-conductor cable. Refer to the detailed wiring diagram provided with your product packaging for specific connections. General wiring considerations include:
- Kragverbinding: Connect the main power wires to a fused 12V or 24V power source, ensuring correct polarity.
- Grondverbinding: Ensure a solid ground connection to the vehicle chassis.
- Control Wires: Connect the individual control wires for flash patterns, traffic director functions, work lights, and Stop/Tail/Turn functions to appropriate switches or vehicle systems as per the wiring diagram.
- Kabelbestuur: Route the cable safely, away from moving parts, heat sources, and sharp edges. Secure with cable ties.
5. Bedryfsinstruksies
The Maxxima Elite M20563R offers various lighting modes and patterns controlled via discrete wiring. Consult your wiring diagram for specific switch assignments.
5.1 Warning Patterns
- The light bar features 30 programmable flash patterns. Activate the designated control wire to cycle through these patterns.
- To engage the low power (DIM) mode, activate the corresponding control wire. This reduces the light intensity for night operations or specific environmental conditions.
- The front cut-off capability allows for deactivating the front-facing warning lights, useful in certain operational scenarios.
5.2 Traffic Director
The integrated Red Traffic Director provides directional signaling for traffic management.
- Activate the control wire for "Left" to display a left-pointing arrow pattern.
- Activate the control wire for "Right" to display a right-pointing arrow pattern.
- Activate the control wire for "Center Out" to display a pattern directing traffic to move away from the center.
5.3 Work Lights and Stop/Tail/Turn
- Rear Work Lights: Activate the dedicated control wire to turn on the rear-facing white work lights.
- Stop/Tail/Turn: Connect the appropriate control wires to your vehicle's brake, tail, and turn signal circuits for integrated functionality.
6. Onderhoud
Regular maintenance ensures optimal performance and extends the lifespan of your LED light bar.
- Skoonmaak: Periodically clean the lens and housing with a soft cloth and mild soap solution. Avoid abrasive cleaners or solvents that could damage the polycarbonate material.
- Inspeksie: Regularly inspect all mounting hardware for tightness. Check the wiring for any signs of wear, fraying, or corrosion. Ensure all connections are secure.
- Seël integriteit: Verify that the seals around the light bar housing are intact to prevent moisture ingress.
7. Probleemoplossing
If you encounter issues with your Maxxima Elite LED Light Bar, consider the following troubleshooting steps:
- Light Bar Not Functioning:
- Check all power connections to ensure they are secure and receiving the correct voltage (12V of 24V).
- Verify the ground connection is solid.
- Inspect the fuse in the power circuit; replace if blown.
- Specific Functions Not Working (e.g., Traffic Director, Work Lights):
- Ensure the specific control wire for that function is correctly connected and receiving a signal from its switch.
- Check for any breaks or damage in the control wire.
- Intermitterende werking:
- Inspect all wiring for loose connections or signs of corrosion.
- Ensure the vehicle's electrical system is providing stable power.
If problems persist after performing these checks, contact Maxxima customer support for further assistance.
8. Waarborginligting
The Maxxima Elite M20563R LED Light Bar is backed by a 5 jaar vervaardiger se waarborg. This warranty covers defects in materials and workmanship under normal use and service. For specific terms, conditions, and to initiate a warranty claim, please refer to the warranty documentation included with your product or visit the official Maxxima webwebwerf.
9. Ondersteuning en Kontak
For technical support, replacement parts, or any questions regarding your Maxxima Elite M20563R LED Light Bar, please contact Maxxima customer service.
Maxxima Customer Service:
- Verwys na die kontakbesonderhede wat in u produkverpakking verskaf word.
- Besoek die amptelike Maxxima website for up-to-date support resources and contact details.