1. Inleiding
The DEPSTECH DS320 Dual Lens Borescope Camera is an advanced inspection tool designed for examining hard-to-reach areas. It features a 4.3-inch IPS screen for clear viewing, dual lenses for versatile inspection angles, IP67 waterproofing for use in wet environments, and a 16.5ft semi-rigid cable for flexible maneuverability. This manual provides essential information for the safe and effective operation and maintenance of your borescope.
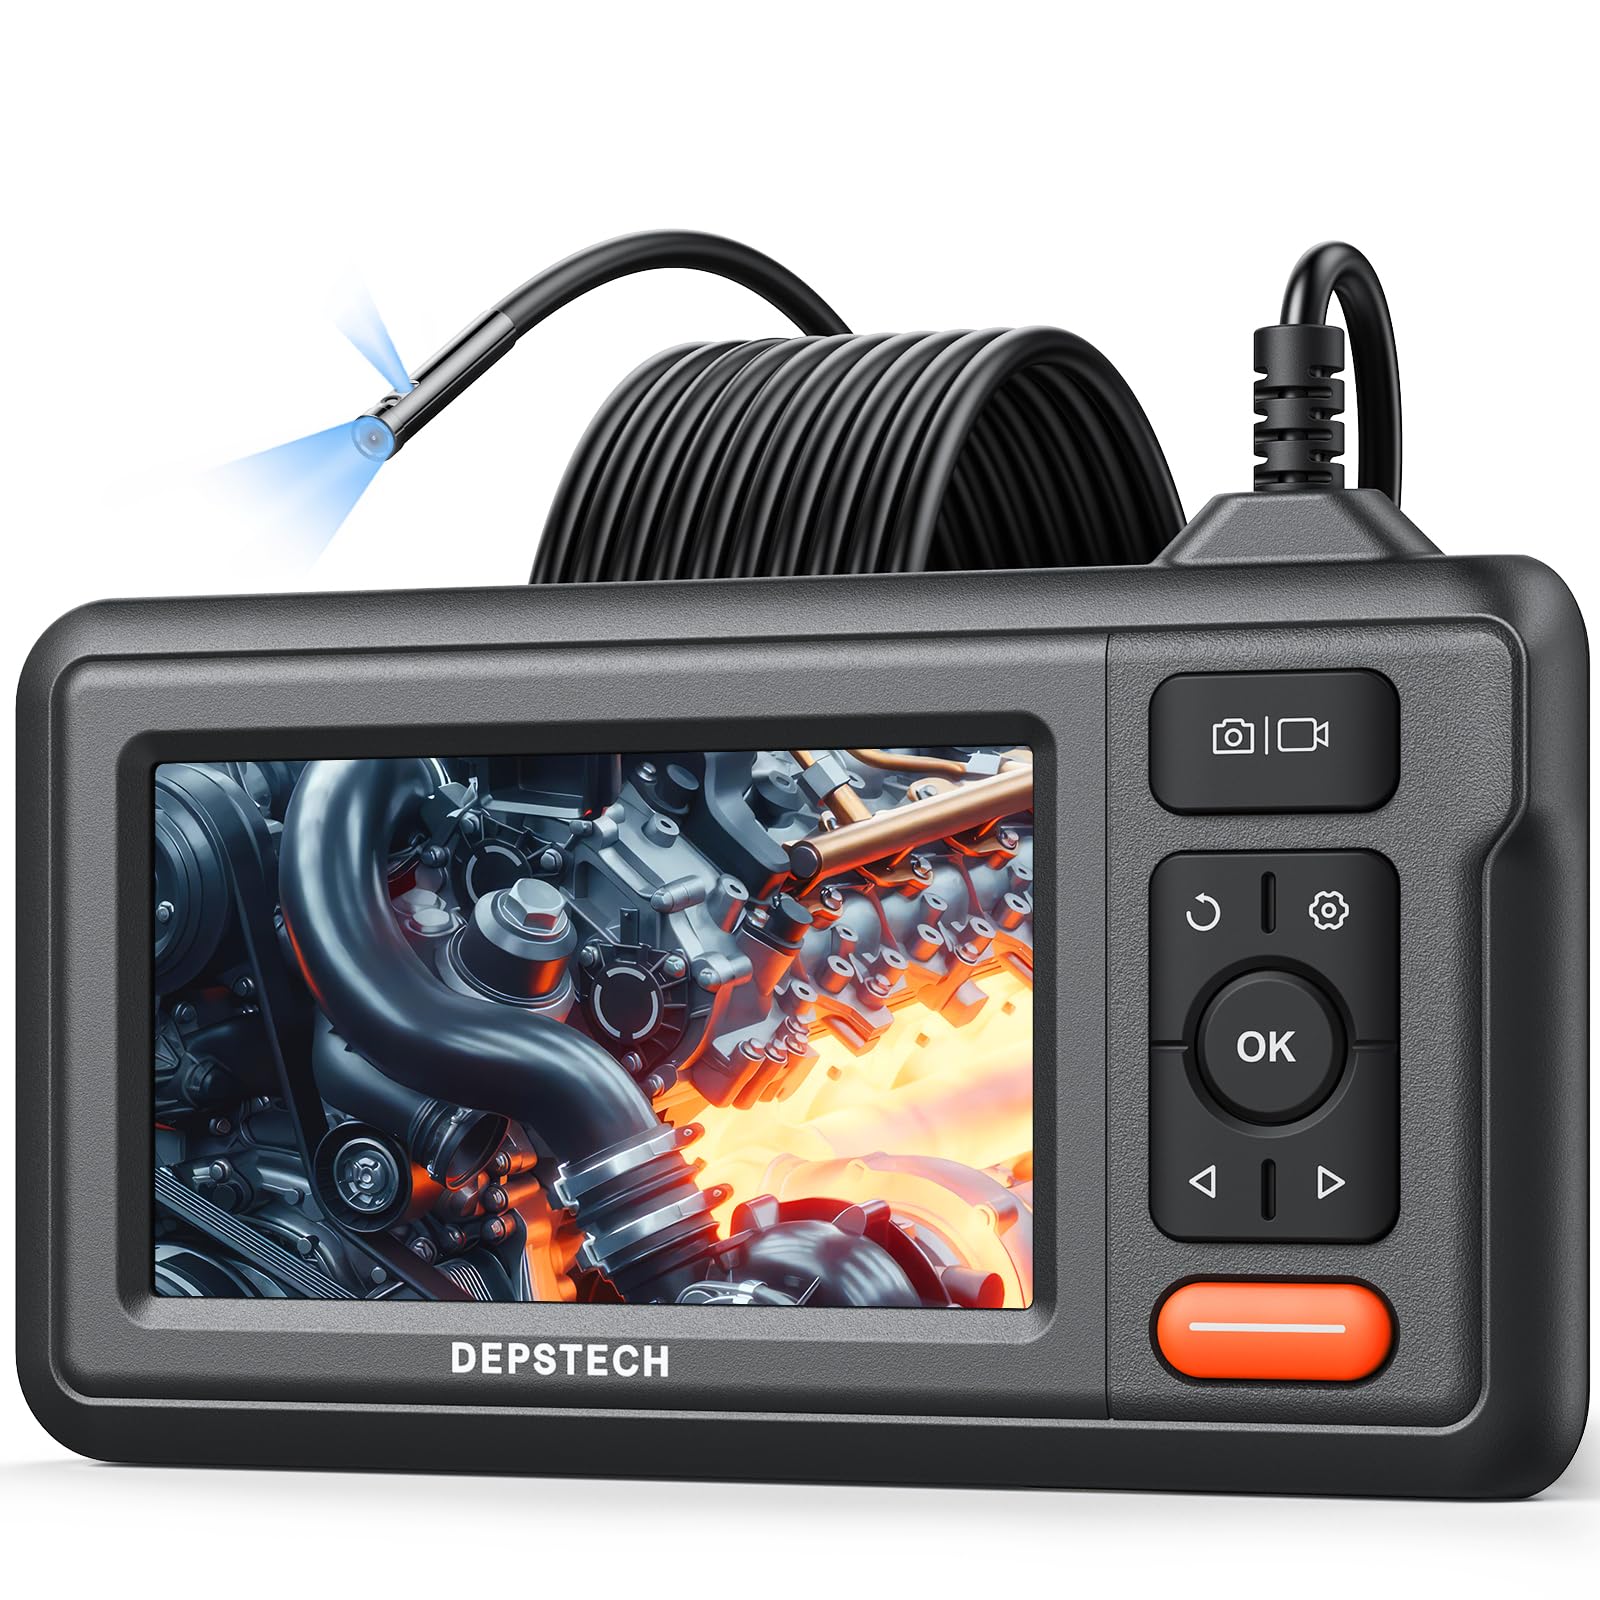
Figure 1: DEPSTECH DS320 Dual Lens Borescope Camera.
2. Veiligheidsinligting
Lees en verstaan asseblief alle veiligheidsinstruksies voordat u hierdie produk gebruik. Versuim om hierdie instruksies te volg, kan lei tot elektriese skok, brand of ernstige besering.
- Do not use the device in explosive atmospheres, such as in the presence of flammable liquids, gases, or dust.
- Hou die toestel weg van kinders.
- Do not modify or disassemble the device. Repairs should only be performed by authorized personnel.
- Ensure the camera probe is clean and free from debris before and after use.
- Moenie die toestel vir lang tye aan uiterste temperature of direkte sonlig blootstel nie.
- The camera probe is IP67 waterproof, but the main unit is not. Avoid immersing the main unit in water.
3. Pakketinhoud
Verifieer dat alle items in jou pakket teenwoordig is:
- DS320 Endoscope with 16.5ft Semi-Rigid Cable
- Toebehorestel (Haak en Magneet)
- Type-C laaikabel
- Gebruikershandleiding

Figure 2: Package contents including the borescope, cable, and accessories.
4. Produk verbyview
The DEPSTECH DS320 is designed for ease of use and high performance in various inspection scenarios.
4.1. Main Unit Features
- 4.3-duim IPS-skerm: Provides a clear, high-definition display with a 178° viewing angle for real-time inspection footage.
- Intuïtiewe kontroles: Easy-to-use buttons for navigation, image capture, video recording, and light adjustment.
- Ergonomiese ontwerp: Comfortable to hold for extended periods during inspections.
- Lang batterylewe: Equipped with a battery providing approximately 3 hours of continuous operation.

Figure 3: The 4.3-inch IPS color display for clear viewing.
4.2. Camera Probe Features
- Dubbellensstelsel: Features a front-facing camera and a side-facing camera, allowing for comprehensive inspection without repositioning the probe.
- Bluart 3.0 Tegnologie: Enhances image clarity, processing speed, and low-light performance for sharp and vivid images.
- IP67 Waterdig: The camera probe is resistant to water and dust, making it suitable for wet and dirty environments.
- Verstelbare LED-ligte: Seven adjustable LED lights provide optimal illumination in dark areas.
- 16.5 voet Semi-Rigide Kabel: Offers flexibility to navigate tight spaces while maintaining its shape for precise positioning.

Figure 4: The dual lens system with front and side cameras.

Figuur 5: Example of 180° image rotation for easier viewing.
5. Opstelling
5.1. Laai die toestel
Before first use, fully charge the borescope. Connect the provided Type-C charging cable to the device's charging port and a suitable USB power adapter (not included). The charging indicator will show the charging status.
5.2. Attaching the Probe
The semi-rigid cable is pre-attached to the main unit. Ensure the connection is secure before use.
5.3. Skakel aan/af
Press and hold the power button (usually marked with a power symbol) for a few seconds to turn the device on or off. The screen will illuminate upon successful power-on.
6. Bedryfsinstruksies
6.1. Basiese werking
Once powered on, the live feed from the camera will appear on the IPS screen. Use the navigation buttons (up/down/left/right) and the OK button to interact with the menu and settings.

Figure 6: The borescope ready for immediate use.
6.2. Using Dual Lenses
The DS320 features both a front camera and a side camera. Use the dedicated button (often labeled with a camera icon or 'M' for mode) to switch between the front view, kant view, or a split-screen display if available. This allows for comprehensive inspection of an area without needing to rotate the probe.
6.3. Aanpassing van LED-helderheid
The camera probe is equipped with adjustable LED lights. Use the brightness adjustment buttons (often marked with '+' and '-' or arrow icons) on the main unit to increase or decrease the illumination level. This helps in achieving optimal visibility in varying light conditions.

Figure 7: IP67 waterproof camera head with adjustable LED lights.
6.4. Vaslegging van foto's en video's
To capture an image, press the photo button (usually a camera icon). To record video, press the video button (usually a video camera icon). Ensure a compatible memory card (not included) is inserted for saving media. The device supports recording in 720p resolution.

Figure 8: Screen interface for capturing photos and recording videos.
6.5. Gebruik bykomstighede
The accessory kit includes a hook and a magnet. These can be attached to the camera probe to retrieve small objects or to maneuver the probe in difficult areas. Carefully attach them to the camera head as instructed in the accessory guide.

Figure 9: Included hook and magnet accessories.
6.6. Produkvideo oorview
For a visual guide on the product's features and usage, please watch the official product video below.
Video 1: Official DEPSTECH Borescope Product Video, demonstrating key features and applications.
7. Onderhoud
7.1. Skoonmaak
Na elke gebruik, veral in vuil of nat omgewings, maak die kamerasonde skoon met 'n sagte, damp cloth. For stubborn dirt, a mild detergent can be used. Ensure the probe is completely dry before storage. Do not use abrasive cleaners or solvents. The main unit should be wiped with a dry cloth.
7.2. Berging
Store the borescope in a cool, dry place, away from direct sunlight and extreme temperatures. Use the original packaging or a protective case to prevent damage to the screen and probe cable.
7.3. Batteryversorging
To prolong battery life, avoid fully discharging the battery frequently. If storing the device for an extended period, charge it to approximately 50-70% every few months.
8. Probleemoplossing
| Probleem | Moontlike oorsaak | Oplossing |
|---|---|---|
| Toestel skakel nie aan nie. | Lae battery. | Laai die toestel met die meegeleverde Tipe-C-kabel. |
| Geen beeld op die skerm nie. | Camera cable not properly connected or damaged. | Ensure the camera cable is securely connected. If still no image, contact support. |
| Die beeld is vaag of onduidelik. | Lens is dirty; insufficient lighting. | Clean the camera lens. Adjust the LED brightness using the controls on the main unit. |
| Kan nie foto's/video's stoor nie. | No memory card inserted; memory card full or corrupted. | Insert a compatible memory card. Check if the card has sufficient space or try formatting it (this will erase all data). |
9. Spesifikasies
| Kenmerk | Detail |
|---|---|
| Modelnommer | DS320DL-5MM |
| Vertoon | 4.3-duim IPS-skerm |
| Tipe kamera | Dubbele lens (voor en sy) |
| Waterdigte gradering | IP67 (Slegs sonde) |
| Kabellengte | 16.5 feet (Semi-Rigid) |
| Verligting | 7 verstelbare LED-ligte |
| Beeldkwaliteit | HD (720p for video recording) with Bluart 3.0 Technology |
| Battery | 1 A battery required (included), approx. 3 hours operating time |
| Item gewig | 1.46 pond |
| Pakket afmetings | 8.31 x 6.5 x 3.07 duim |
10. Waarborg en Ondersteuning
This DEPSTECH product comes with a standard manufacturer's warranty. For detailed warranty information, product support, or technical assistance, please refer to the warranty card included in your package or visit the official DEPSTECH website. You may also contact DEPSTECH customer service directly for assistance.
DEPSTECH Authorized Store: Besoek Winkel