DAUZ KYX-0035
DAUZ WiFi Digital Wall Clock (Model KYX-0035) Instruction Manual
Your guide to setting up and operating your new digital wall clock.
1. Inleiding
Thank you for choosing the DAUZ WiFi Digital Wall Clock. This clock is designed to provide accurate timekeeping, along with useful information such as temperature, humidity, and date. It features customizable brightness, remote control operation, and automatic time calibration via WiFi for precise timekeeping. Please read this manual carefully before use to ensure proper operation and maintenance.
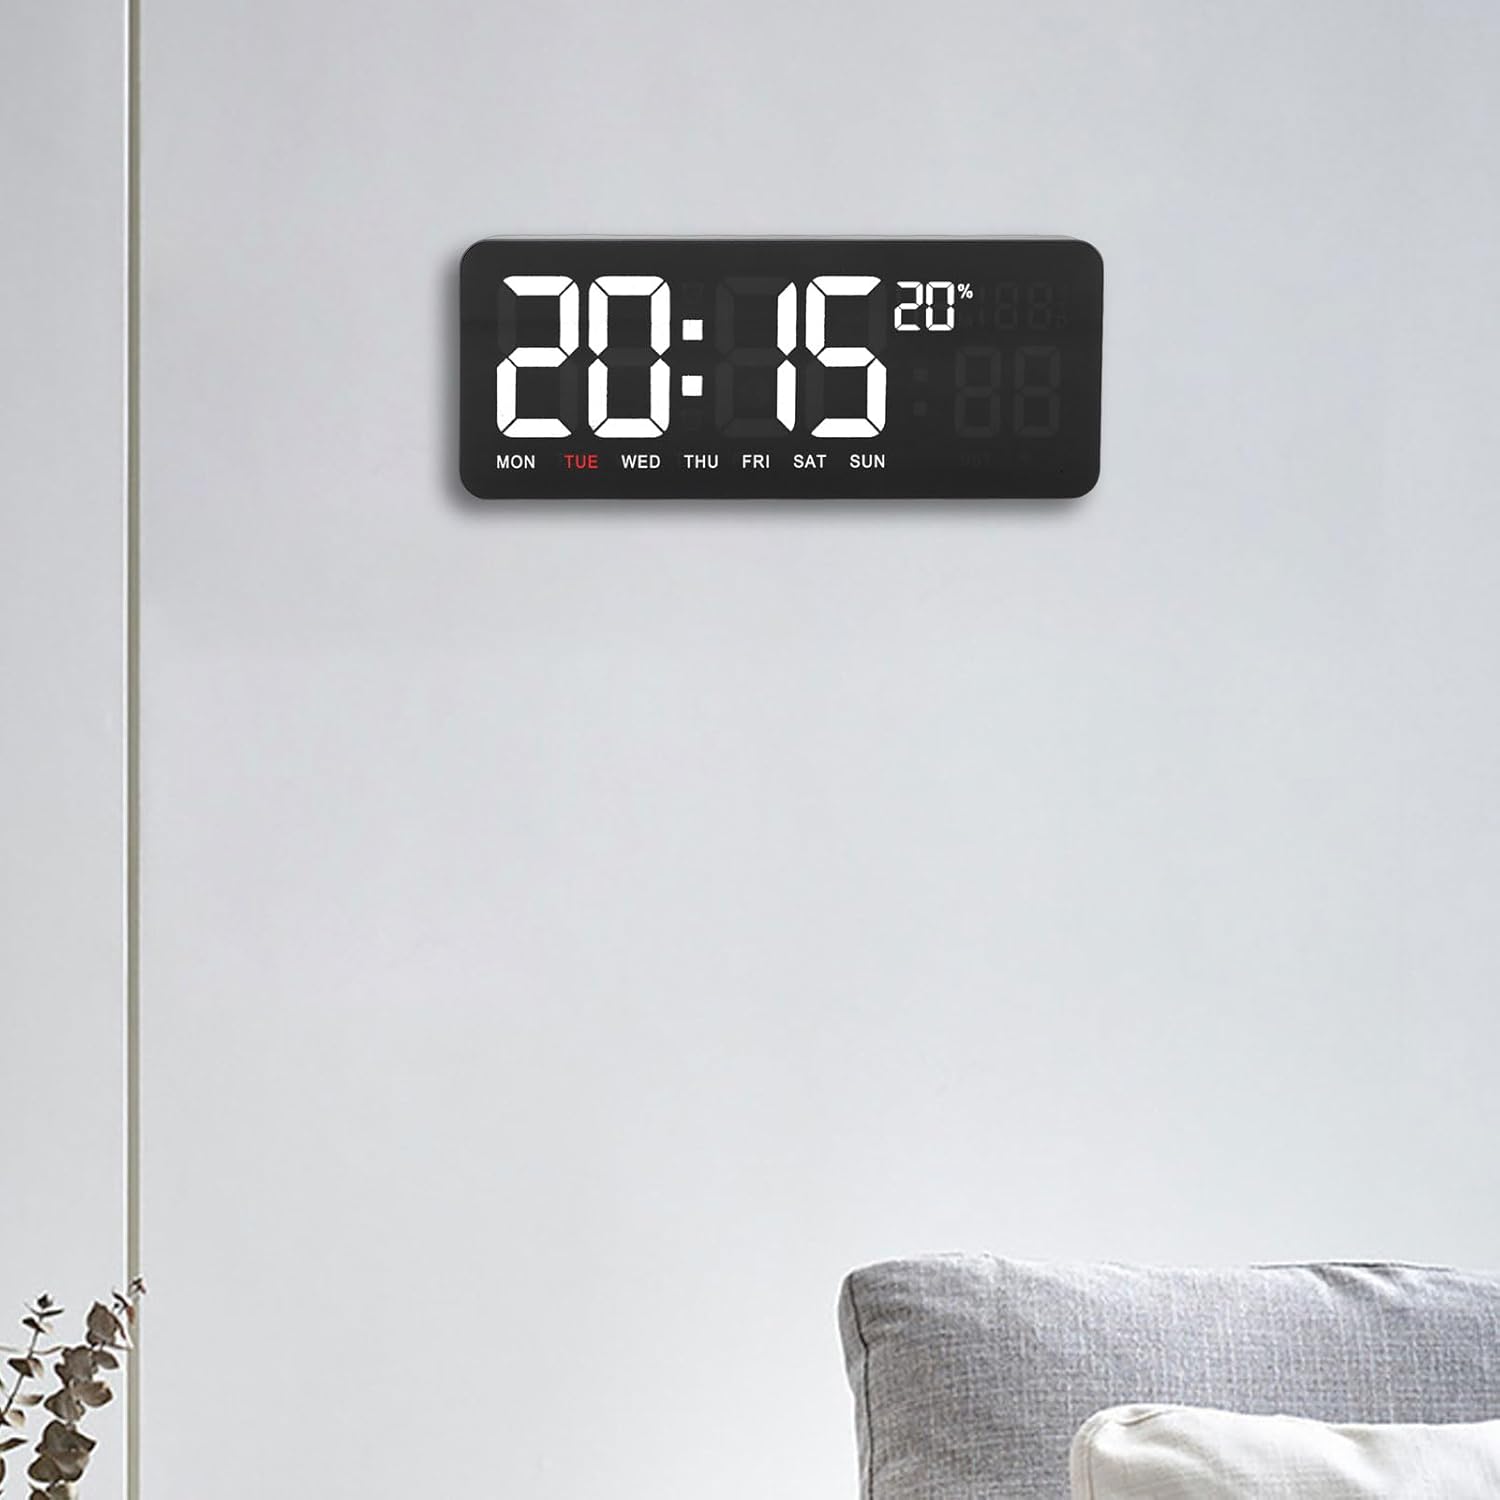
Figure 1: DAUZ WiFi Digital Wall Clock in a typical home setting.
2. Belangrike veiligheidsinligting
- Keep the product away from direct sunlight to prevent damage to the display and internal components.
- Protect the device from water and high humidity. This product is not waterproof.
- Moenie probeer om die horlosie self uitmekaar te haal of te herstel nie. Verwys alle diens na gekwalifiseerde personeel.
- Use only the provided power cord and accessories.
- Ensure the clock is securely mounted if wall-mounted to prevent falling.
3. Pakketinhoud
Kontroleer asseblief die pakket vir die volgende items:
- 1 x DAUZ WiFi Digital Wall Clock (Model KYX-0035)
- 1 x Gebruikershandleiding (hierdie dokument)
- 1 x USB Power Cable (approx. 3 meters / 9.84 feet)
- 2 x Wall Mounting Nails
- 1 x afstandbeheer

Figure 2: All included accessories and the digital wall clock.
4. Produk verbyview
The DAUZ WiFi Digital Wall Clock features a clear digital display and a sleek design. Key display elements include:
- Tydvertoning: Large, easy-to-read digits for hours and minutes.
- Datum vertoon: Wys maand en dag.
- Dag van die week: Indicates the current day (MON, TUE, WED, etc.).
- Temperatuur vertoon: Toon omgewingstemperatuur.
- Humiditeit vertoon: Shows ambient humidity percentage.

Figuur 3: Gedetailleerd view of the clock's display elements.
4.1 Afstandbeheerfunksies
The included remote control allows for convenient adjustment of various clock settings from up to 10 meters away. Refer to the button layout on the remote for specific functions.
- Kragknoppie: Turns the clock display on/off.
- OP/AF-knoppies: Adjust brightness levels or navigate menu options.
- OK knoppie: Bevestig keuses.
- EDIT-knoppie: Enter settings mode.
- Horlosie-knoppie: Access time/date settings.
- Timer/Stopwatch/Reminder Buttons: Activate respective functions.
- P1/P2 Buttons: Preset functions (specific usage may vary, refer to on-screen prompts).
5. Opstelling
5.1 Kragverbinding
- Connect the provided USB power cable to the clock's power input port.
- Plug the other end of the USB power cable into a compatible USB power adapter (not included) or a powered USB port.
- Die klokskerm sal verlig.
5.2 Installasie van afstandbeheerbattery
The remote control requires a 120MAH battery (typically a CR2025 or similar coin cell battery). Open the battery compartment on the back of the remote control, insert the battery with the correct polarity, and close the compartment.
5.3 Muurmontering
- Choose a suitable location on a wall, ensuring it is away from direct sunlight and moisture.
- Mark the positions for the two wall mounting nails using the clock's mounting holes as a guide.
- Carefully insert the provided wall mounting nails into the marked positions.
- Hang the clock securely onto the installed nails.
5.4 WiFi Connection and Time Calibration
The clock automatically calibrates its time via WiFi connection. Ensure the clock is within range of a stable WiFi network. The clock will attempt to connect and synchronize time upon power-up. If manual setup is required, use the remote control to access network settings (refer to the "Operating Instructions" section for remote control usage).
6. Bedryfsinstruksies
6.1 Aanpassing van Helderheid
The clock offers three levels of brightness. Use the UP en AF buttons on the remote control to cycle through the brightness settings to your preferred level.
6.2 Display Modes (Temperature, Humidity, Date)
The clock automatically cycles through temperature, humidity, and date information every 3 seconds. No manual intervention is typically required for this feature.
6.3 Setting Time and Date Manually (if needed)
- Druk die EDIT button on the remote control to enter settings mode.
- Gebruik die UP/AF buttons to navigate to "Time" or "Date" settings.
- Druk OK te kies.
- Use the numeric buttons or UP/AF waardes aan te pas.
- Druk OK om elke instelling te bevestig.
- Druk EDIT again to exit settings mode.
6.4 Using Timer, Stopwatch, and Reminder Functions
The clock includes various timing functions:
- Optel-/afteller: Druk die toegewyde Afteller knoppie. Gebruik UP/AF to set the desired time, then OK te begin.
- Stophorlosie: Druk die toegewyde Stophorlosie knoppie. Druk OK to start/pause, and EDIT om terug te stel.
- Onthou: Druk die toegewyde Herinnering button. Follow on-screen prompts to set a specific reminder time.
7. Onderhoud
- Skoonmaak: Use a soft, dry cloth to clean the clock's surface. Do not use abrasive cleaners or solvents.
- Omgewing: Ensure the clock is kept in a dry environment and avoid exposure to extreme temperatures.
- Krag: Disconnect power before cleaning or if the clock will not be used for an extended period.
8. Probleemoplossing
| Probleem | Moontlike oorsaak | Oplossing |
|---|---|---|
| Die klokvertoning is af. | No power or power cable disconnected. | Check power cable connection. Ensure USB adapter is working. Press the power button on the remote. |
| Verkeerde tyd word vertoon. | No WiFi connection or manual setting error. | Ensure clock is within WiFi range. Check WiFi network status. Manually set time using the remote control if WiFi calibration fails. |
| Afstandbeheer reageer nie. | Battery depleted or incorrect insertion. Obstruction between remote and clock. | Replace remote control battery. Ensure correct battery polarity. Remove any obstructions. Ensure remote is pointed at the clock. |
| Temperature/Humidity not displaying. | Sensor issue or display mode setting. | The clock cycles automatically. If still not showing, try restarting the clock by unplugging and replugging the power. |
9. Spesifikasies
| Kenmerk | Detail |
|---|---|
| Model | KYX-0035 |
| Materiaal | ABS, Acrylic Panel |
| Screen Color Options | Yellow, Green, Blue (Note: Product images show white digits, actual color may vary by variant.) |
| Operasie metode | Afstandbeheer |
| Kragtoevoer | Plug-in (USB Power) |
| Lengte van die kragsnoer | Ongeveer 3 meter (9.84 voet) |
| Installasie | Muurmontering |
| Afstandbeheer battery | 120MAH (e.g., CR2025 coin cell) |
| Funksies | Time, Date, Week, Temperature, Humidity Display, Count Up/Down Timer, Stopwatch, Reminder |
| Tipe vertoon | Digitaal |
| Spesiale kenmerke | Humidity Display, Temperature Display, WiFi Time Calibration, Customizable Brightness |
10. Waarborg en Ondersteuning
For warranty information or technical support, please refer to the purchase documentation or contact DAUZ customer service directly. Contact details are typically available on the manufacturer's official webwebwerf of deur jou kleinhandelaar.
Ask a question about this manual
Ask about setup, troubleshooting, compatibility, parts, safety, or missing instructions. Manuals+ will review the question and use this page’s manual context to help answer it.