Inleiding
This manual provides detailed instructions for the setup, operation, and maintenance of your Generic EM3566A-1 Atomic Digital Wall Clock. Please read this manual thoroughly before using the device to ensure proper function and longevity.
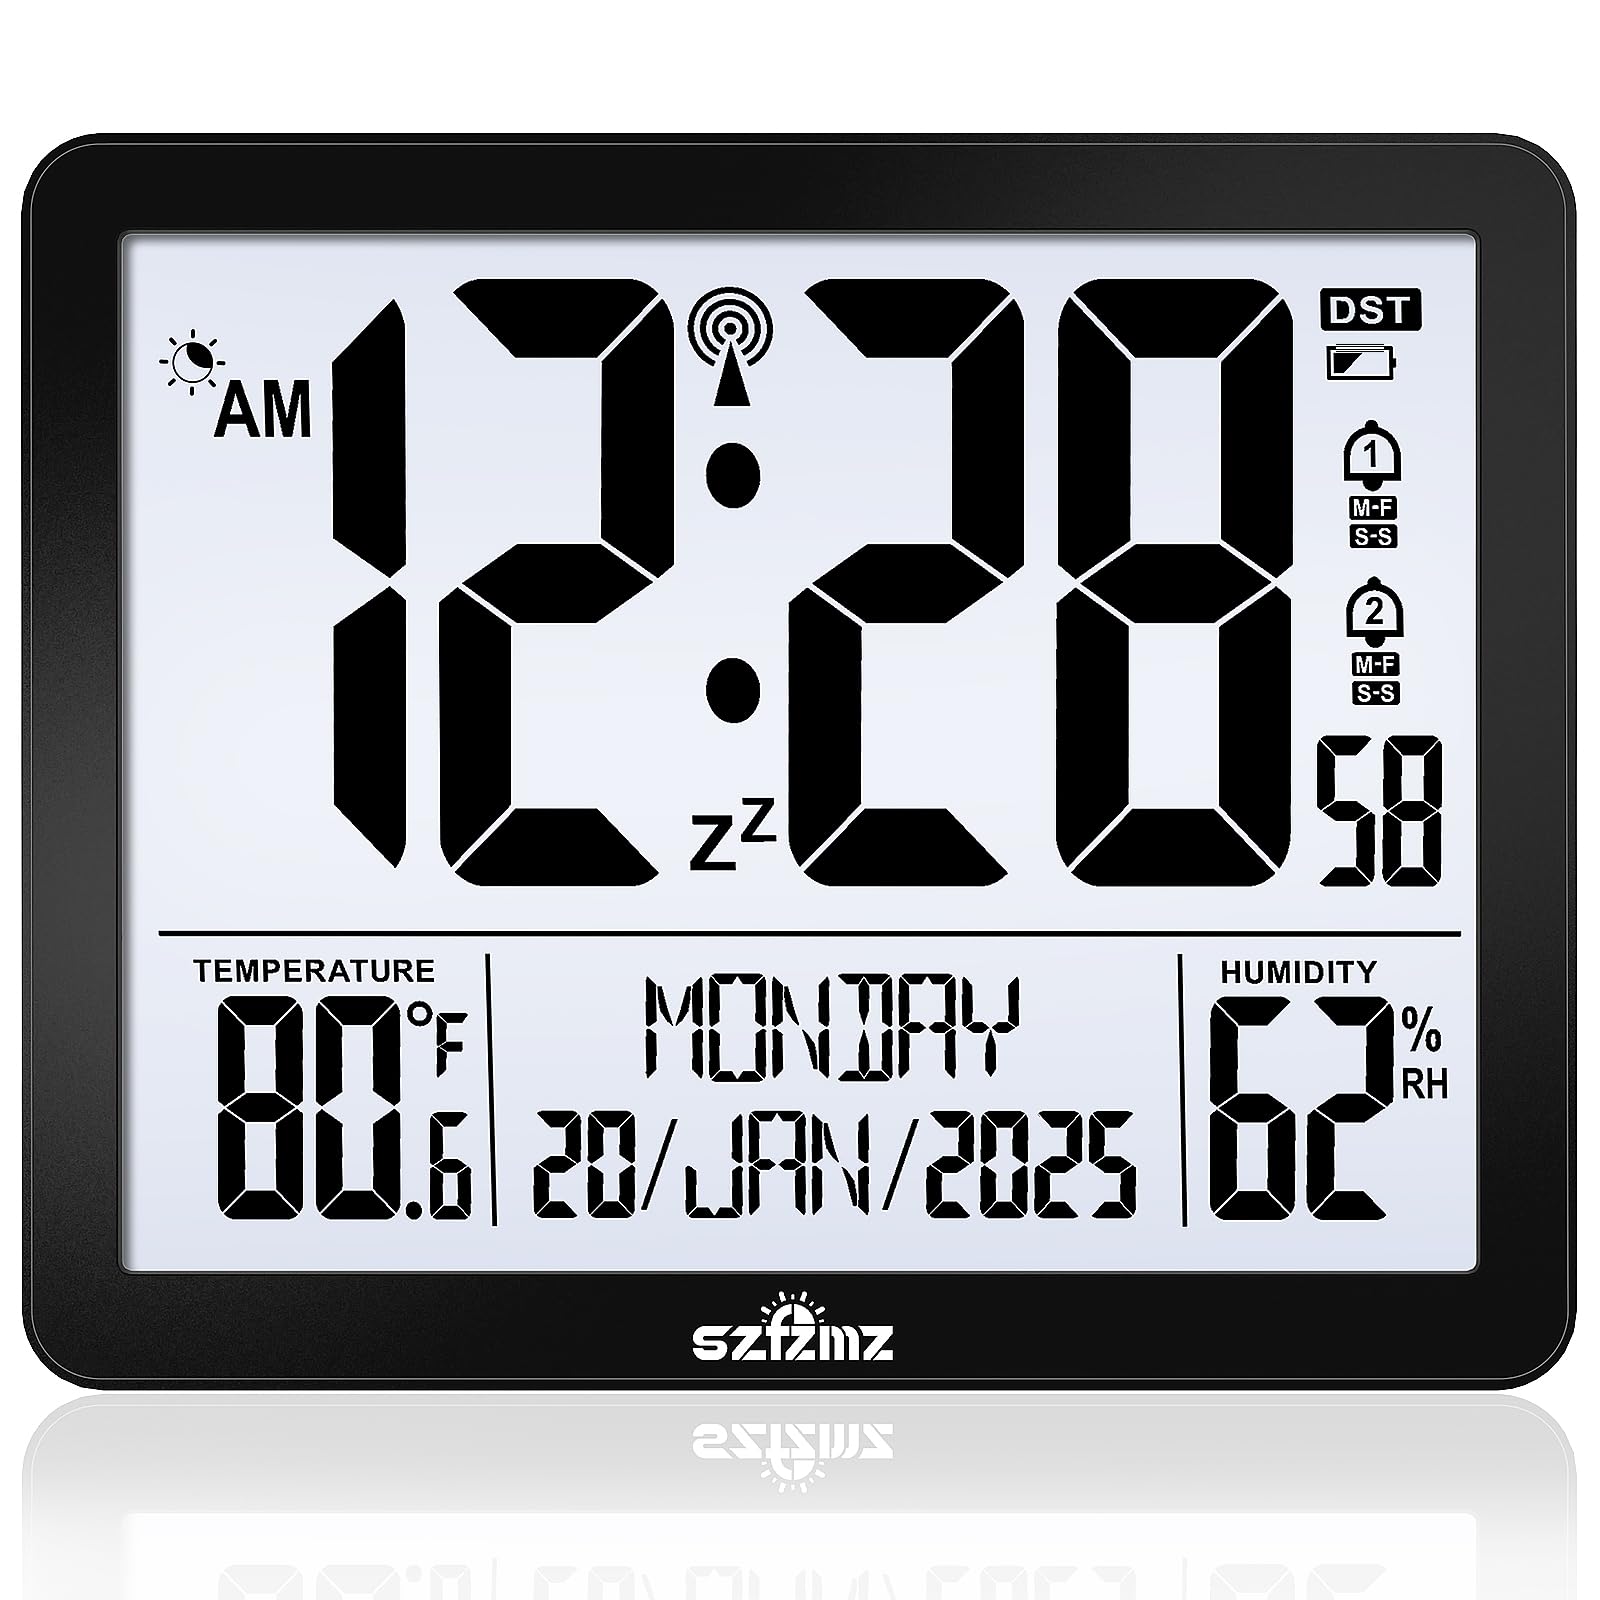
Figuur 1: Voorkant view of the Generic EM3566A-1 Atomic Digital Wall Clock. This image shows the large LCD display, indicating time, date, and potentially temperature.
Veiligheidsinligting
- Moenie die horlosie blootstel aan uiterste temperature, direkte sonlig of hoë humiditeit nie.
- Vermy om die horlosie te laat val of dit aan harde impakte bloot te stel.
- Moenie ou en nuwe batterye, of verskillende tipes batterye meng nie.
- Verwyder batterye as die horlosie nie vir 'n lang tydperk gebruik gaan word om lekkasie te voorkom.
- Hou batterye buite bereik van kinders.
- Maak die horlosie skoon met 'n sagte, droë lap. Moenie skuurmiddels of oplosmiddels gebruik nie.
Pakketinhoud
Kontroleer asseblief die inhoud van die pakket om seker te maak dat alle items teenwoordig is:
- 1 x Generic EM3566A-1 Atomic Digital Wall Clock
- 1 x Instruksiehandleiding (hierdie dokument)
- Let wel: Batterye is nie ingesluit nie en moet afsonderlik aangekoop word.
Opstelling
1. Battery Installasie
- Vind die batteryklepdeksel aan die agterkant van die horlosie.
- Skuif of lig die deksel op om die kompartement oop te maak.
- Insert the required batteries (typically AA or AAA, refer to the compartment label) according to the polarity indicators (+ and -).
- Plaas die batterykompartement se deksel veilig terug.
Image of battery compartment not available. Please refer to the back of your clock for battery installation.
2. Initial Power On and Atomic Time Synchronization
Upon battery installation, the clock will power on and automatically begin searching for the atomic time signal (WWVB in North America, or equivalent in other regions). This process may take several minutes to several hours, depending on your location and environmental conditions.
- Place the clock near a window for better signal reception, away from electronic devices that may cause interference.
- A signal icon (e.g., an antenna symbol) on the display will flash during synchronization and become solid once the signal is successfully received.
- The clock will automatically set the correct time, date, and adjust for Daylight Saving Time (DST) if enabled.
3. Monteer Opsies
The EM3566A-1 clock supports both tabletop and wall mount options.
- Tafelblad: Extend the integrated stand (if available) from the back of the clock to place it on a flat surface.
- Muur berg: Use the keyhole slots on the back of the clock to hang it securely on a screw or nail fixed into a wall. Ensure the mounting hardware is appropriate for your wall type and the weight of the clock.
Bedryfsinstruksies
1. Handmatige tyd- en datuminstelling
If the atomic signal is weak or unavailable, you can manually set the time and date.
- Press and hold the "SET" button (or similar, refer to button labels on your clock) for a few seconds until the display flashes.
- Use the "UP" or "DOWN" buttons to adjust the flashing value (e.g., hour, minute, year, month, day).
- Press "SET" again to confirm the setting and move to the next adjustable item.
- Continue until all settings are complete, then press "SET" one last time to exit the setting mode.
Image of control buttons not available. Please refer to the back or side of your clock for button locations.
2. Alarm funksie
The EM3566A-1 includes an alarm feature.
- Stel die wekker in: Press the "ALARM" button (or similar) once to display the current alarm time. Press and hold "ALARM" until the alarm time flashes. Use "UP" or "DOWN" to adjust the hour and minute, pressing "ALARM" to confirm each.
- Aktivering/Deaktivering van alarm: Press "ALARM" repeatedly to toggle the alarm ON/OFF. An alarm icon will appear on the display when activated.
- Sluimer-funksie: When the alarm sounds, press the "SNOOZE" button (often combined with "LIGHT") to temporarily silence it. The alarm will sound again after a few minutes.
- Stop die alarm: To stop the alarm for the day, press any button other than "SNOOZE" when it is sounding.
3. Agterlig
The clock features a backlight for improved visibility in low-light conditions.
- Press the "LIGHT" button (often combined with "SNOOZE") to activate the backlight.
- The backlight will typically stay on for a few seconds before automatically turning off to conserve battery power.
Onderhoud
1. Skoonmaak
To clean your clock, use a soft, dry cloth. Do not use liquid cleaners, sprays, or abrasive materials, as these can damage the display or casing.
2. Battery vervanging
When the display becomes dim or the clock stops functioning, it is time to replace the batteries. Follow the battery installation steps outlined in the "Setup" section. Always replace all batteries at the same time with new ones of the same type.
Probleemoplossing
| Probleem | Moontlike oorsaak | Oplossing |
|---|---|---|
| Geen of dowwe skerm. | Dooie of verkeerd geïnstalleerde batterye. | Vervang batterye met nuwes, en verseker die korrekte polariteit. |
| Clock not synchronizing with atomic signal. | Poor signal reception due to location, interference, or weather. | Move the clock closer to a window, away from electronics. Try manual time setting if signal remains poor. |
| Verkeerde tyd word vertoon. | Failed atomic synchronization or incorrect manual setting. | Attempt manual time setting. Ensure correct time zone is selected if applicable (check manual for advanced settings). |
| Alarm klink nie. | Die alarm is nie geaktiveer nie of verkeerd gestel. | Verify alarm is set and activated (alarm icon visible). Check alarm volume settings if available. |
Spesifikasies
| Kenmerk | Detail |
|---|---|
| Modelnommer | EM3566A-1 |
| Handelsmerk | Generies |
| Tipe vertoon | LCD |
| Bedryfsmodus | Atoom |
| Kragbron | Battery-aangedrewe (Batterye nie ingesluit nie) |
| Spesiale kenmerke | Alarm, Backlight |
| Montage tipe | Tafelblad, muurmontering |
| Produk Afmetings (B x H) | 17.3W x 14H centimetres |
| Materiaal | Akrielnitril Butadieen Styreen (ABS) |
| Binne/buiteluggebruik | Binneshuise |
Waarborg en Ondersteuning
This product comes with a standard manufacturer's warranty. For specific warranty details, please refer to the documentation provided at the time of purchase or contact your retailer. For technical support or further assistance, please contact the retailer or manufacturer directly.
Bewaar asseblief u aankoopbewys as bewys van aankoop vir waarborgeise.