Caroma D1 (B0FSZZL7PR)
Caroma Electric Scooter D1 User Manual
Model: D1 (B0FSZZL7PR) | Brand: Caroma
1. Inleiding
Welcome to the Caroma Electric Scooter D1 user manual. This manual provides essential information for the safe operation, maintenance, and troubleshooting of your new electric scooter. Please read this manual thoroughly before using the scooter to ensure optimal performance and safety.

Figure 1: Caroma Electric Scooter D1 - General View (Animated)
2. Belangrike veiligheidswaarskuwings
Versuim om hierdie veiligheidsinstruksies te volg, kan ernstige beserings of die dood tot gevolg hê.
- Dra altyd 'n helm en gepaste veiligheidstoerusting (kniebeskermers, elmboogbeskermers) wanneer jy ry.
- Moenie in nat toestande, swaar reën of deur plasse ry nie.
- Avoid riding on uneven surfaces, loose gravel, or slippery terrain.
- Maak seker dat alle boute en bevestigingsmiddels voor elke rit vasgedraai is.
- Moenie die maksimum laaikapasiteit van 300 lbs (136 kg) oorskry nie.
- Hou albei hande op die handvatsels terwyl jy ry.
- Maak jouself vertroud met plaaslike wette en regulasies rakende die gebruik van elektriese bromponies.
- Kinders moet die bromponie slegs onder toesig van volwassenes gebruik.
3. Opstelling en samestelling
Your Caroma Electric Scooter D1 comes partially assembled. Follow these steps for final assembly and initial setup:
- Uitpak: Verwyder alle komponente versigtig uit die verpakking. Kontroleer vir enige skade tydens vervoer.
- Handvatsel installasie: Attach the handlebar to the main stem. Ensure it is securely fastened with the provided bolts. The handlebar is designed to fold for transport; ensure it is locked in the upright position before riding.
- Sitplekverstelling: Adjust the seat height to a comfortable riding position. Ensure the quick-release lever or bolts are securely tightened.
- Mandjie-aanhegsel: Secure the rear carry basket to the designated mounting points using the provided hardware.
- Bande inflasie: Inflate the 14-inch fat tires to the recommended pressure (check tire sidewall for PSI). The tires are air-filled for better shock absorption.
- Remkontrole: Test both front and rear disc brakes to ensure they are functioning correctly. Adjust brake tension if necessary.
- Aanvanklike heffing: Fully charge the scooter before its first use. Refer to the "Charging" section for detailed instructions.
Video 1: Oorview of the Caroma D1 Electric Scooter, demonstrating its features and design. This video is provided by the seller and offers a visual guide to the product.
4. Bedryfsinstruksies
To operate your Caroma Electric Scooter D1, follow these steps:
- Krag aan: Insert the key into the ignition located near the battery compartment and turn it to the "ON" position. The battery level indicator on the handlebar will light up.
- Gasklepbeheer: The scooter features a twist-grip throttle on the right handlebar. Gently twist the throttle towards you to accelerate.
- Remming: Use the brake levers on both handlebars to slow down or stop. The scooter is equipped with dual mechanical disc brakes for effective stopping power. The rear tail light will illuminate brighter when brakes are applied.
- Ligte: Press the headlight button on the left handlebar to turn the front headlight and rear tail light on/off.
- Klokkie: Use the bell on the left handlebar to alert pedestrians or other riders.
- Vou meganisme: To fold the handlebar for transport, locate the folding latch near the base of the handlebar stem. Disengage the latch and fold the handlebar down. Ensure it is securely latched when unfolded for riding.
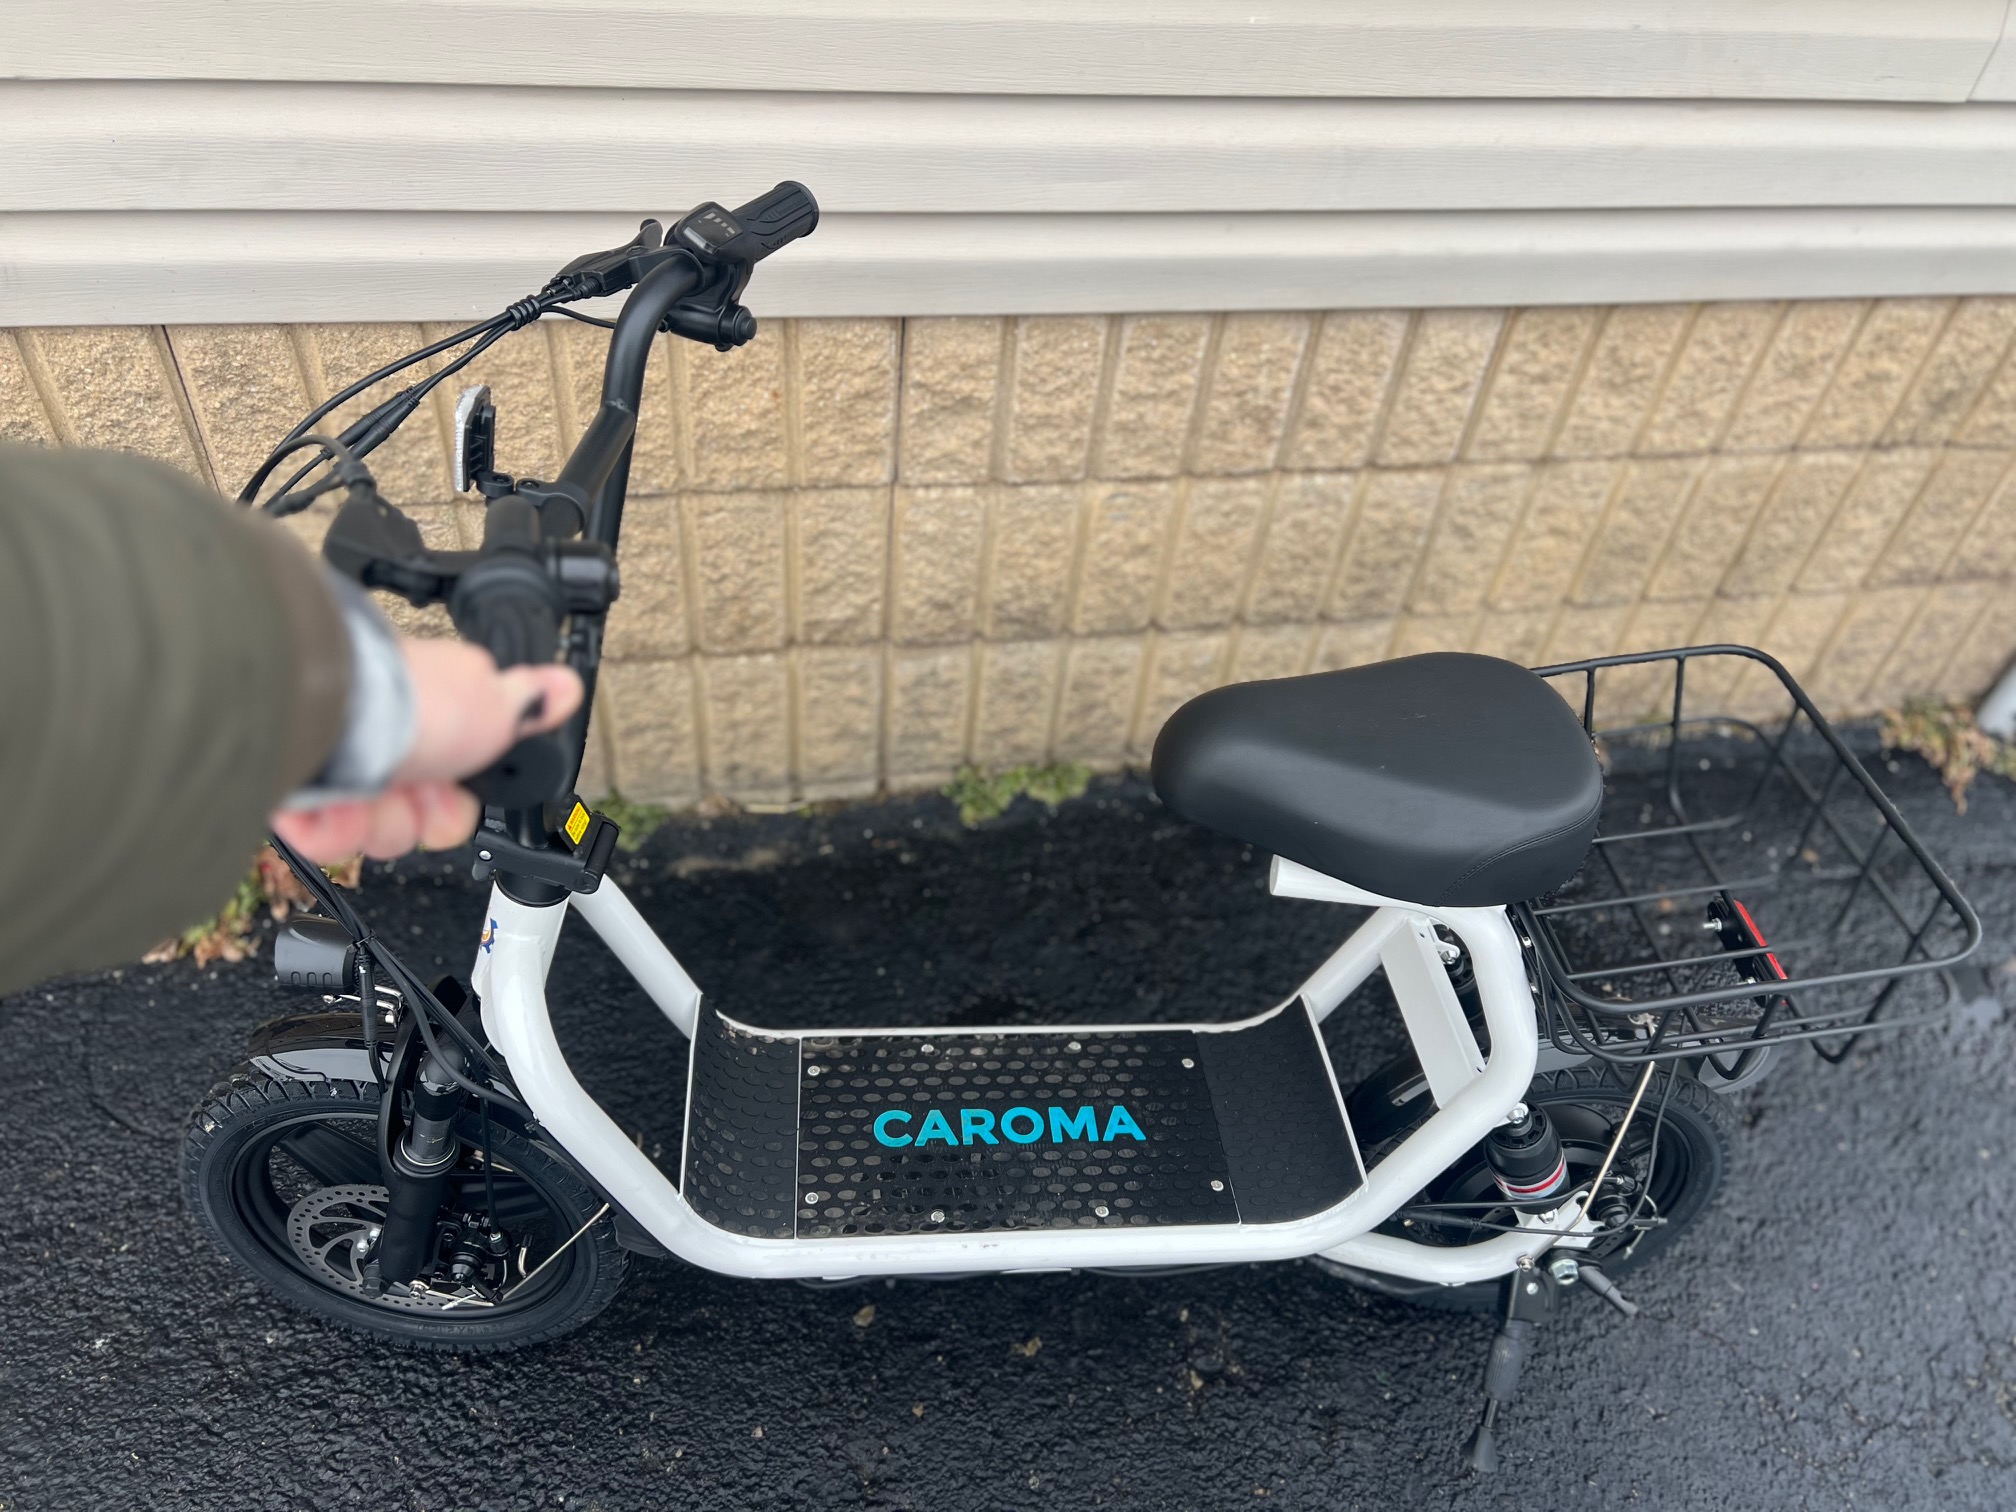
Figure 2: Handlebar Controls and Battery Indicator (Illustrative)
5. Laai die battery
To charge your Caroma Electric Scooter D1:
- Maak seker dat die bromponie afgeskakel is.
- Locate the charging port on the side of the battery compartment, near the ignition key.
- Koppel die laaier aan die laaipoort en steek dan die laaier in 'n standaard muuraansluiting.
- Die aanwyserliggie op die laaier sal tipies rooi wys tydens laai en groen word wanneer dit volledig gelaai is.
- Laaityd is ongeveer 7-8 uur vir 'n volle lading.
- Always use the original charger provided with your scooter.
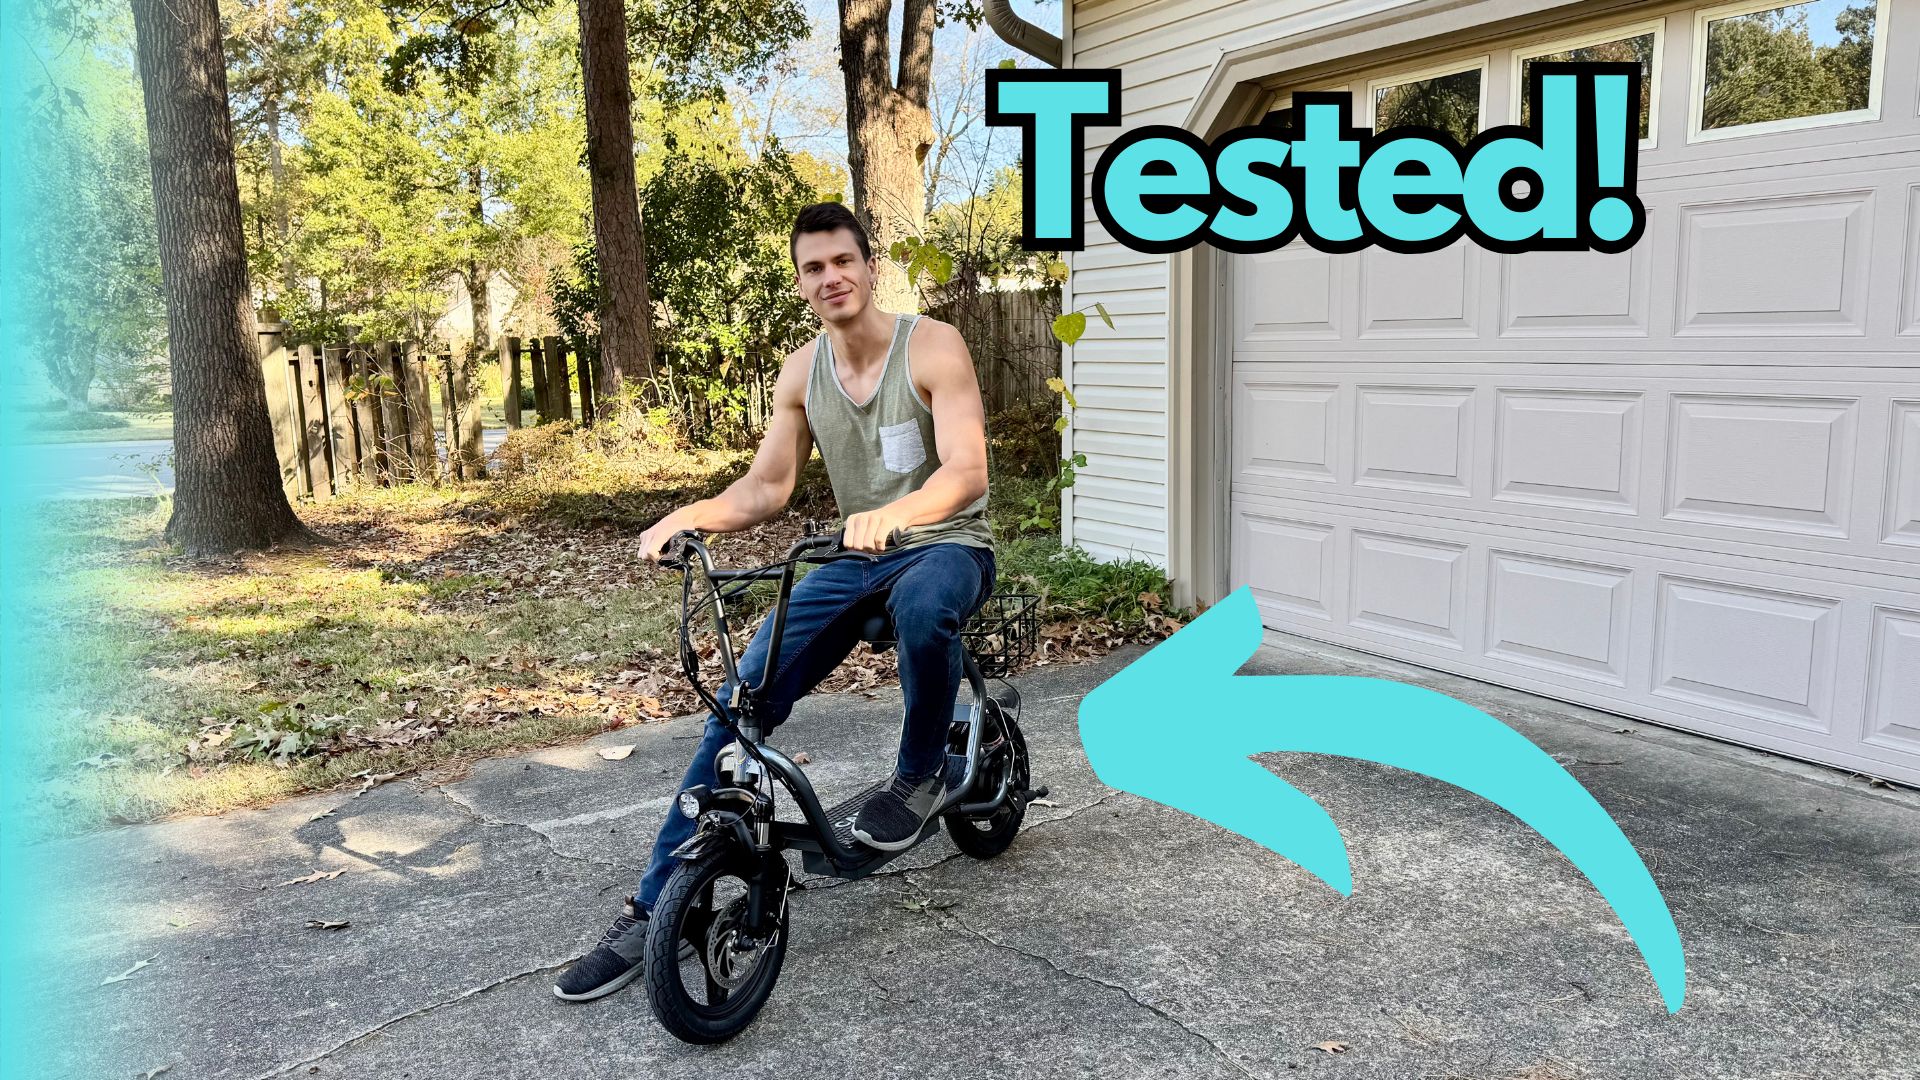
Figure 3: Charging Port and Ignition Key (Illustrative)
6. Onderhoud
- Skoonmaak: Vee die bromponie af met advertensieamp lap. Moenie hoëdrukwater gebruik of die bromponie in water dompel nie.
- Bande: Regularly check tire pressure and inflate as needed. Inspect tires for wear and tear.
- Remme: Periodically check brake pads and cables for wear. Adjust brake tension to ensure responsive braking.
- Batterysorg: Store the scooter in a cool, dry place. If storing for extended periods, charge the battery to 50-70% and recharge every 2-3 months.
- Bevestigingsmiddels: Kontroleer gereeld alle skroewe, boute en snelkoppelingsmeganismes om te verseker dat hulle styf en stewig is.
7. Probleemoplossing
| Probleem | Moontlike oorsaak | Oplossing |
|---|---|---|
| Scooter skakel nie aan nie | Battery is low or dead; Ignition key not in ON position | Charge the battery; Turn the ignition key to ON |
| Motor raak nie aan nie | Throttle issue; Loose connection | Check throttle for obstruction; Inspect all cable connections |
| Remme voel los | Brake cable tension is low; Worn brake pads | Adjust brake cable tension; Replace brake pads |
| Verminderde reikafstand/spoed | Low tire pressure; Battery degradation; Heavy load | Inflate tires to recommended PSI; Consult support for battery check; Reduce load |
8. Spesifikasies
| Kenmerk | Detail |
|---|---|
| Handelsmerk | Karoma |
| Model | D1 (B0FSZZL7PR) |
| Motor Krag | 800W (Rated) / 1200W (Peak) |
| Maksimum reikwydte | Tot 30 myl |
| Maksimum spoed | Up to 20 Mph |
| Band grootte | 14-inch Fat Tires |
| Remstelsel | Dubbele Meganiese Skyfremme |
| Opskorting | Dubbele skorsing |
| Maksimum vrag | 300 lbs (136 kg) |
| Kenmerke | Foldable, Seat, Carry Basket, Headlight, Tail Light |
9. Waarborg en Ondersteuning
For warranty information, technical support, or service inquiries, please refer to the warranty card included with your product or visit the official Caroma webwebwerf. Bewaar u aankoopbewys as bewys van aankoop.
Caroma Store: Visit the Caroma Store on Amazon
Ask a question about this manual
Ask about setup, troubleshooting, compatibility, parts, safety, or missing instructions. Manuals+ will review the question and use this page’s manual context to help answer it.