Inleiding
Thank you for choosing the Parrot Uncle Flush Mount Ceiling Light, Model BBD3012. This vintage-style ceiling fixture is designed to provide versatile illumination with its adjustable color temperature feature, suitable for various indoor spaces such as dining rooms, bedrooms, living rooms, and kitchens. This manual provides essential information for safe installation, operation, and maintenance of your new lighting fixture. Please read these instructions thoroughly before beginning installation and retain them for future reference.
Belangrike veiligheidsinligting
To reduce the risk of electric shock, fire, or injury to persons, please read and follow all warnings and instructions carefully.
- WAARSKUWING: Risiko van elektriese skok. Ontkoppel krag by die lont of stroombreker voor installering of diens.
- All electrical connections must be in accordance with local codes and ordinances, and the National Electric Code (NEC). If you are unfamiliar with proper electrical wiring connections, obtain the services of a qualified electrician.
- This fixture is intended for indoor use only. Do not install in wet locations.
- Maak seker dat die monteeroppervlak struktureel stewig is en die gewig van die toebehore kan dra.
- Do not connect this fixture to a dimmer switch. The color temperature adjustment is controlled by a standard wall switch.
- Do not attempt to modify the fixture or its components.
- Dra veiligheidsbril en handskoene tydens installasie.
Pakketinhoud
Verifieer dat alle komponente teenwoordig is voordat u met die installasie begin. Indien enige onderdele ontbreek of beskadig is, moenie probeer om die toebehore te monteer of te installeer nie. Kontak kliëntediens vir hulp.
- Flush Mount Ceiling Light Fixture (1)
- Montagebeugel (1)
- Draadneute (3)
- Monteer skroewe (2)
- Junction Box Screws (2)
- Handleiding (1)
Opstelling en installasie
Voorinstallasie
- Skakel krag af: Before starting installation, ensure the power to the circuit is turned off at the main fuse box or circuit breaker.
- Berei die area voor: Clear the work area and gather all necessary tools (screwdriver, wire strippers, electrical tape, safety glasses).
- Pak inhoud uit: Carefully remove all parts from the packaging and place them on a clean, soft surface to prevent scratches.
Installasie stappe
- Heg monteringsbeugel aan: Secure the mounting bracket to the junction box in the ceiling using the provided junction box screws. Ensure the bracket is firmly attached.
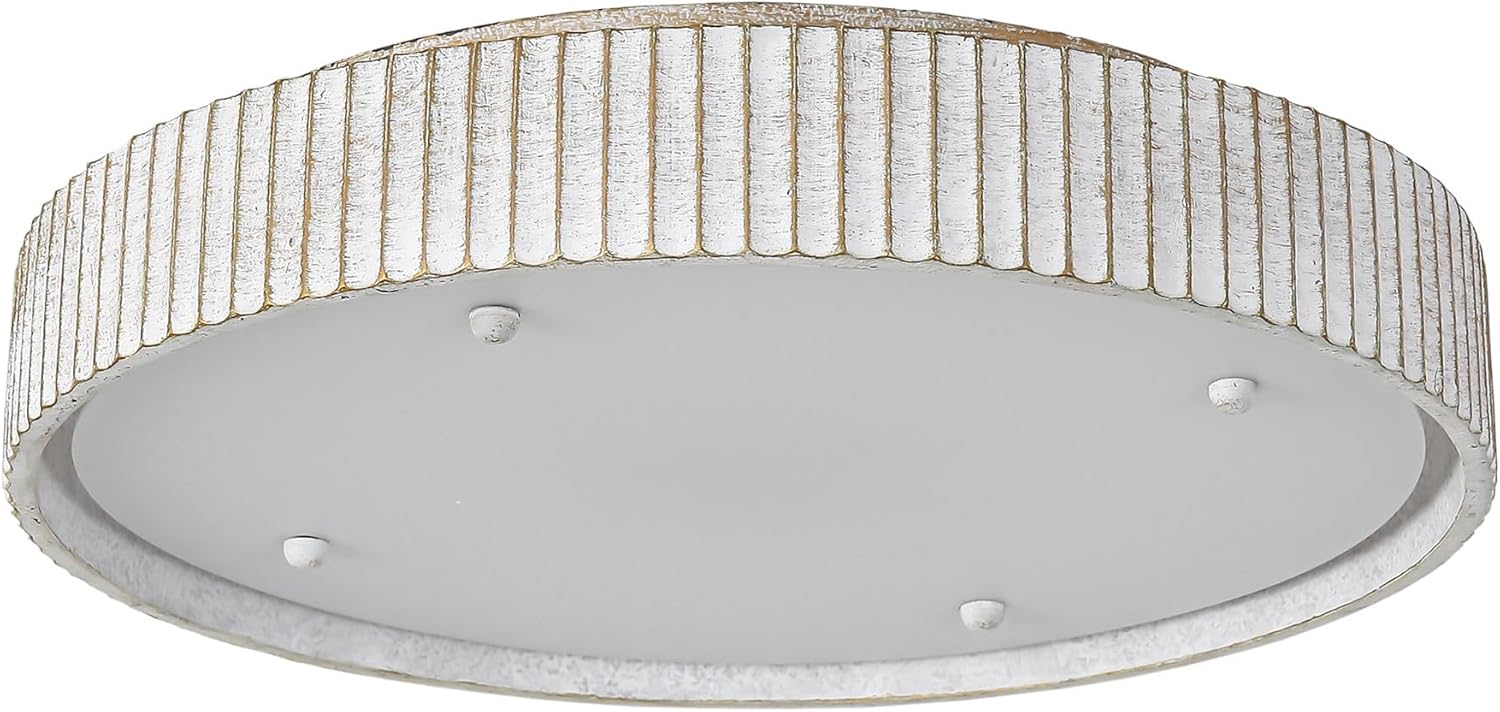
Image: The underside of the light fixture, showing the mounting points and the central LED panel. This image helps visualize where the mounting bracket would attach.
- Maak elektriese verbindings:
- Koppel die swart draad van die toebehore na die swart (live) wire from the junction box using a wire nut.
- Koppel die wit draad van die toebehore na die wit (neutrale) draad vanaf die aansluitkas met behulp van 'n draadmoer.
- Koppel die grond draad (blote koper of groen) van die toebehore na die grond draad vanaf die aansluitkas (of na die groen grondskroef op die monteerbeugel) met behulp van 'n draadmoer.
- Steek Drade: Carefully tuck all wires into the junction box, ensuring no wires are pinched.
- Attach Fixture to Mounting Bracket: Align the fixture with the mounting bracket and secure it using the provided mounting screws. Tighten the screws until the fixture is flush with the ceiling.

Image: The Parrot Uncle flush mount ceiling light installed in a dining room, demonstrating its appearance when mounted.
- Herstel krag: Once the installation is complete and secure, restore power at the main fuse box or circuit breaker.
- Toetsstelling: Turn on the wall switch to test the light fixture.
Bedryfsinstruksies
This Parrot Uncle Flush Mount Ceiling Light features an integrated LED board with three adjustable color temperatures (3000K, 4500K, 6000K). The color temperature is controlled by cycling your standard wall switch.
- Skakel aan: Flip the wall switch to the "ON" position. The light will illuminate at its last selected color temperature. If it's the first use, it will typically default to 3000K (Warm White).

Image: The ceiling light emitting a warm white glow, suitable for cozy environments (3000K).
- Verander kleurtemperatuur: To cycle through the color temperatures (3000K Warm White, 4500K Neutral White, 6000K Cool White), quickly flip the wall switch "OFF" and then "ON" again within 1-2 seconds. Each toggle will advance to the next color temperature.

Image: The ceiling light emitting a neutral white glow, ideal for general tasks (4500K).

Image: The ceiling light emitting a cool white glow, suitable for bright task lighting (6000K).
- Geheue funksie: The fixture includes a memory function that will recall the last selected color temperature when turned off for more than 5 seconds and then turned back on.
- No Dimmer Required: This fixture is not compatible with dimmer switches. The brightness is fixed at 1170 lumens, and color temperature is adjusted via the wall switch.
Onderhoud
Proper care and maintenance will ensure the longevity and optimal performance of your lighting fixture.
- Skoonmaak: Ontkoppel altyd die krag voor skoonmaak. Gebruik 'n sagte, droë of effens droëamp cloth to wipe the exterior of the fixture. Do not use harsh chemicals, abrasive cleaners, or polishes as they may damage the finish or acrylic shade.
- Gloeilamp vervanging: This fixture uses an integrated LED light source and does not require bulb replacement.
- Inspeksie: Kontroleer gereeld alle elektriese verbindings en monteerhardeware vir styfheid.
Probleemoplossing
Indien u probleme met u toebehore ondervind, verwys na die volgende algemene probleme en oplossings:
| Probleem | Moontlike oorsaak | Oplossing |
|---|---|---|
| Lig skakel nie aan nie. |
|
|
| Ligte flikkering of dowwe. |
|
|
| Kleurtemperatuur verander nie. |
|
|
Spesifikasies
| Handelsmerk | Papegaai-oom |
| Model Naam | Spoelmonteer plafonlig |
| Modelnommer | BBD3012 |
| Produk afmetings | 44.45 cm L x 44.45 cm B x 9.4 cm H (17.5" L x 17.5" B x 3.7" H) |
| Materiaal | Iron, Resin, Acrylic |
| Kleur | Vintage White with Gold Accents |
| Ligbrontipe | Geïntegreerde LED |
| Wattage | 18 Watt |
| Helderheid | 1170 Lumen |
| Kleur Temperature | 3000K (Warm Wit), 4500K (Neutraal Wit), 6000K (Koel Wit) |
| Voltage | 120 Volt |
| Installasie tipe | Spoelberg |
| Binne/buiteluggebruik | Slegs binnenshuise gebruik |
| Spesiale kenmerk | Adjustable Color Temperature (via wall switch) |
Waarborg en kliëntediens
This Parrot Uncle lighting fixture comes with a limited warranty. Please refer to the warranty card included with your purchase for specific terms and conditions. For technical assistance, missing parts, or warranty claims, please contact the manufacturer, Eileen Grays LLC, or your retailer.
Manufacturer: Eileen Grays LLC
Vir ondersteuning, besoek asseblief die Papegaai Oom Winkel op Amazon of kontak jou aankooppunt.