1. Inleiding
Thank you for choosing the Cecotec Cremmaet Cube Automatic Coffee Machine. This compact super-automatic coffee machine is designed to deliver high-quality espresso and coffee with convenience. Featuring 1350W power, 19 bar pressure, a 10g pressing system, pre-infusion, Thermoblock technology, 5 grind levels, and a tactile control panel, it ensures a rich and aromatic coffee experience. Please read this manual carefully before first use to ensure proper operation and maintenance.
2. Veiligheidsinstruksies
Volg altyd basiese veiligheidsmaatreëls wanneer u elektriese toestelle gebruik om die risiko van brand, elektriese skok en beserings te verminder.
- Verseker die voltagDie volume wat op die toestel aangedui word, stem ooreen met jou netspanning.tage voor aansluiting.
- Moenie die toestel, kragsnoer of prop in water of enige ander vloeistof dompel nie.
- Hou die toestel buite bereik van kinders.
- Moenie die toestel gebruik met 'n beskadigde koord of prop, of nadat die toestel wanfunksioneer of op enige manier beskadig is nie.
- Vermy kontak met warm oppervlaktes. Gebruik handvatsels of knoppe.
- Trek uit die uitlaat wanneer dit nie gebruik word nie en voor skoonmaak. Laat afkoel voor jy onderdele aan- of afhaal, en voordat jy die toestel skoonmaak.
- Gebruik slegs bykomstighede wat deur die vervaardiger aanbeveel word.
3. Produk verbyview
The Cecotec Cremmaet Cube is designed for ease of use and compact integration into your kitchen. Familiarize yourself with its main components:
- Watertenk: Located on the side, with a capacity of 1.1 liters.
- Bean Hopper: Top-mounted, holds up to 110g of coffee beans.
- Beheerpaneel: Tactile buttons for power, coffee selection, and hot water.
- Koffie-tuit: Adjustable height for various cup sizes up to 180mm.
- Lekbak: Versamel oortollige vloeistof en verwyderbaar vir skoonmaak.
- Koffiegrondhouer: Collects used coffee pucks, located behind the drip tray.
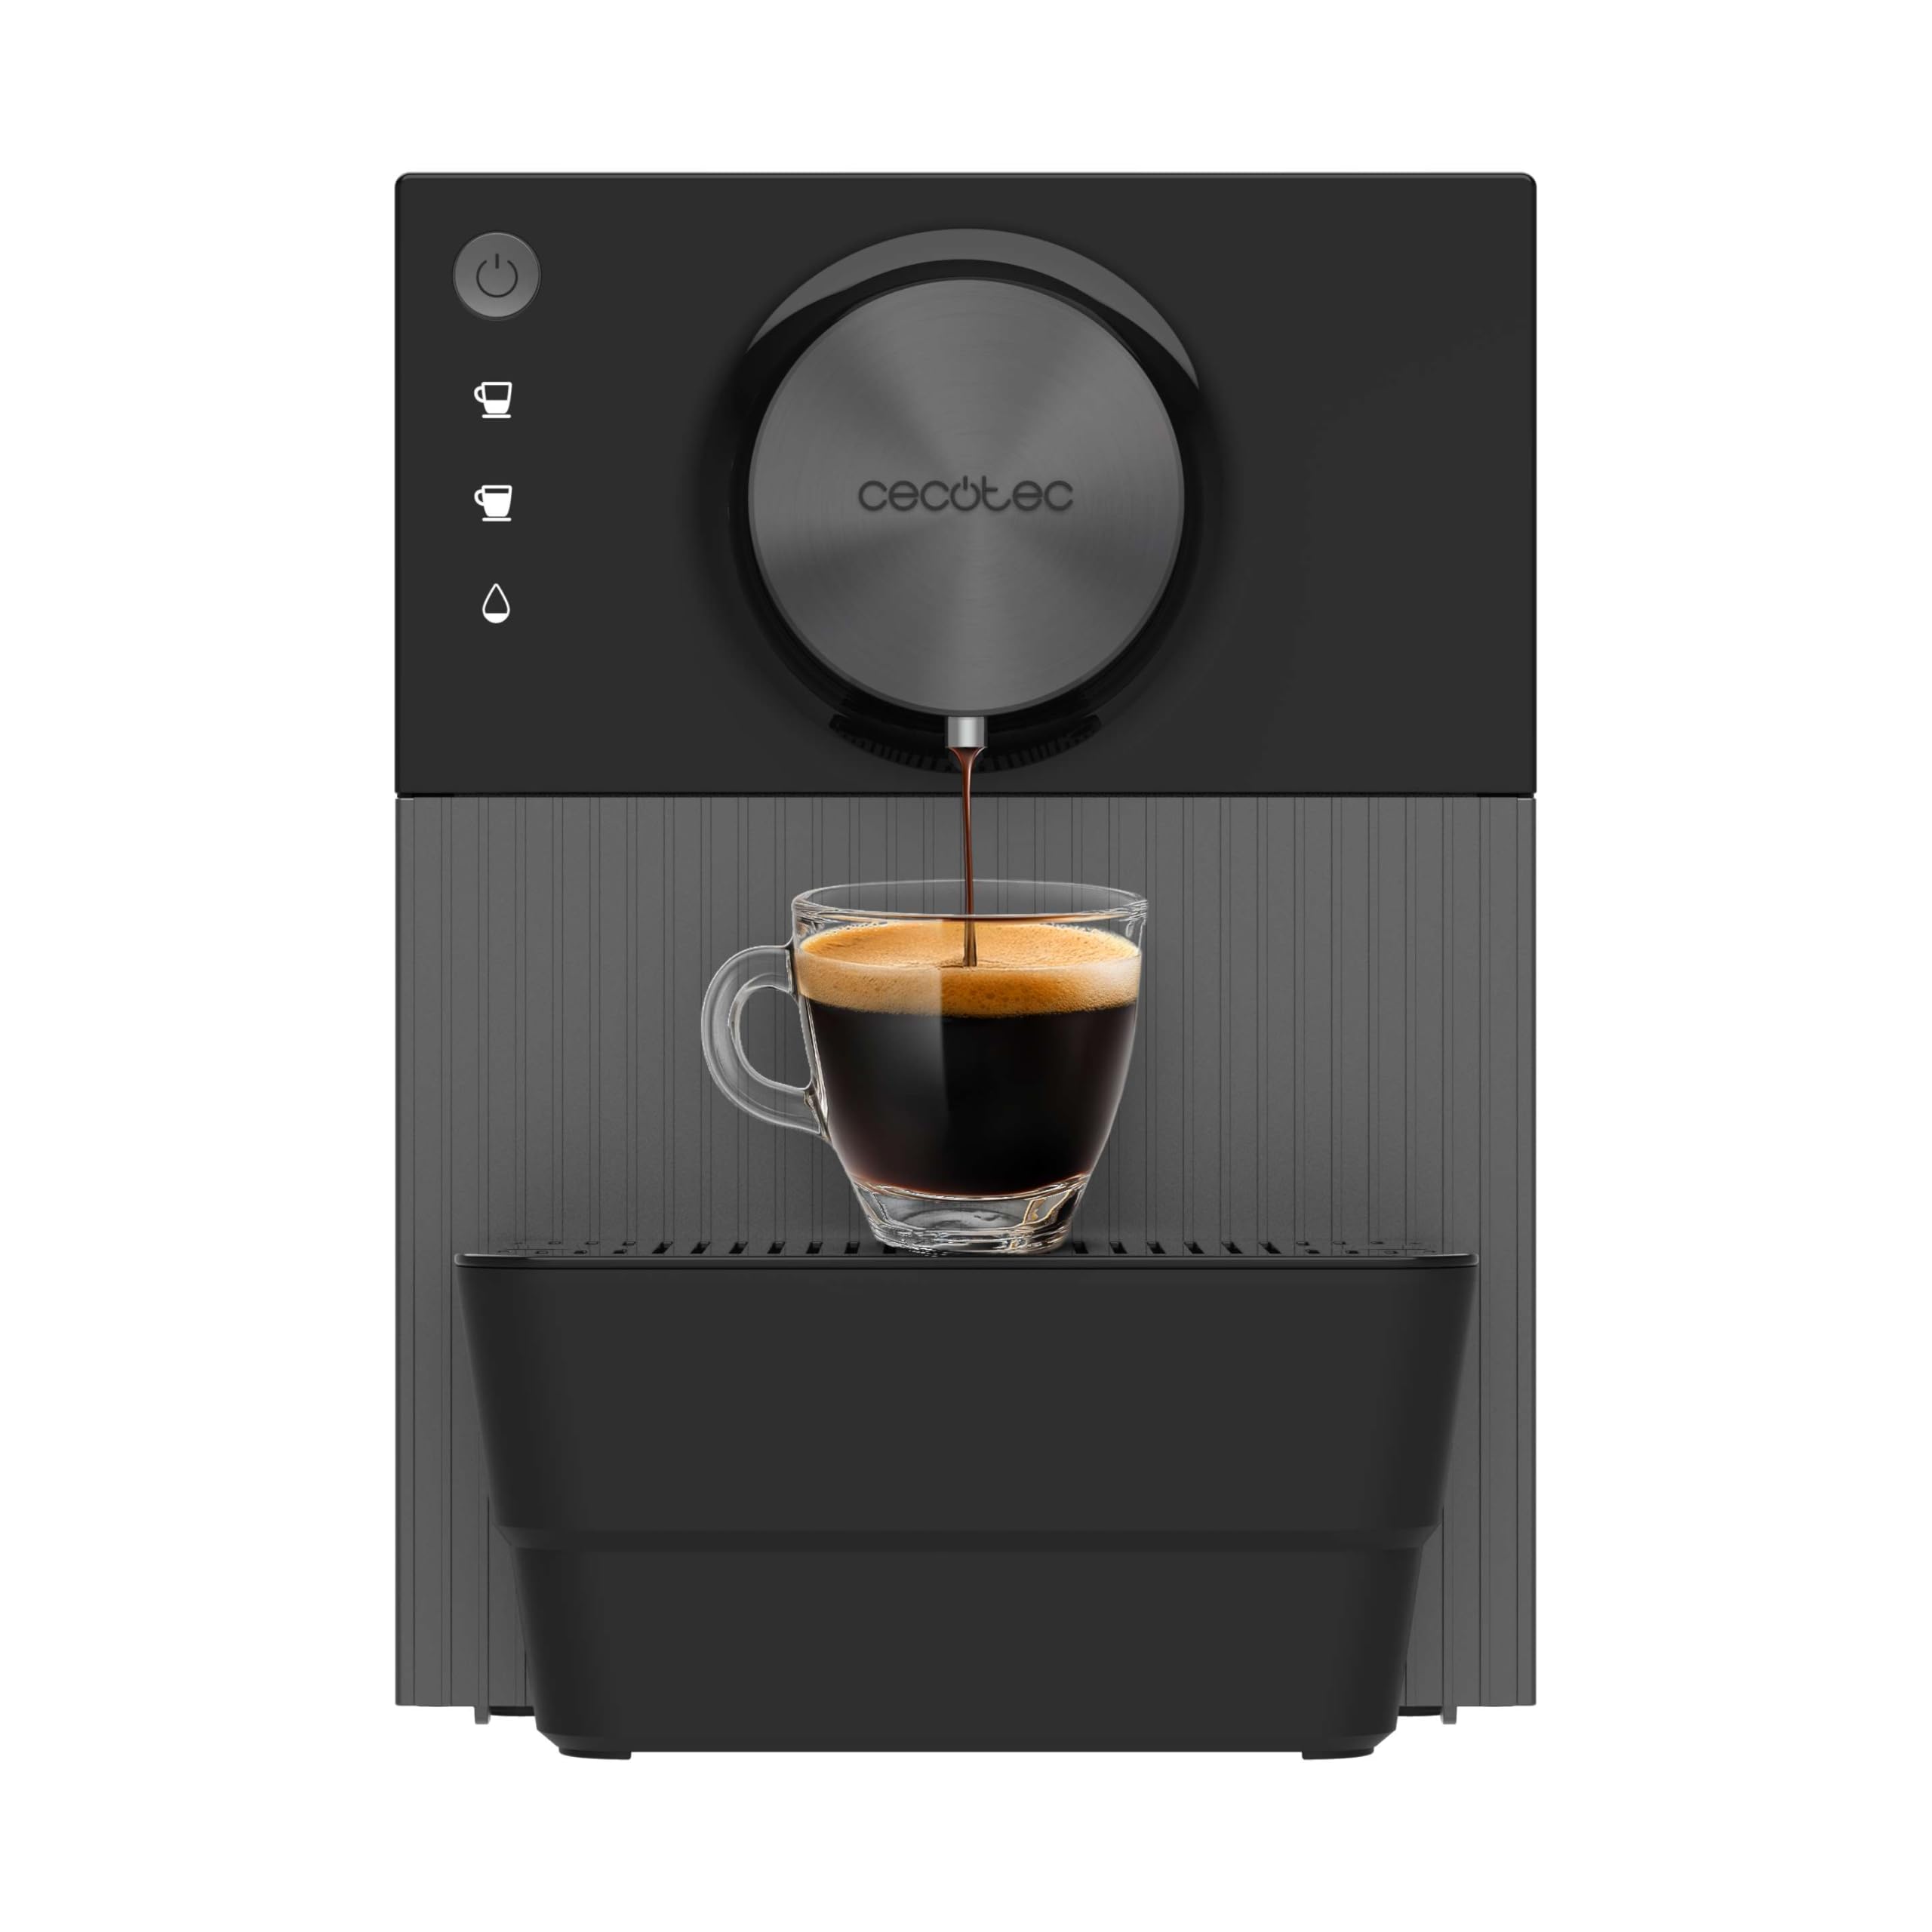
Beeld 3.1: verbyview of the Cecotec Cremmaet Cube coffee machine, showing its compact design and main components.
4. Opstelling
4.1 Uitpak en Aanvanklike Skoonmaak
- Verwyder die koffiemasjien versigtig uit sy verpakking.
- Verwyder alle verpakkingsmateriaal en beskermende films.
- Was die watertenk, drupbak en koffiedikhouer met warm water en sagte skoonmaakmiddel. Spoel deeglik af en droog af.
- Vee die buitekant van die masjien af met adamp lap.
4.2 Vul die watertenk
- Verwyder die watertenk van die kant van die masjien af.
- Vul die tenk met vars, koue drinkwater tot by die 'MAX'-vlakaanwyser.
- Plaas die watertenk terug in die masjien en maak seker dat dit stewig vas is.
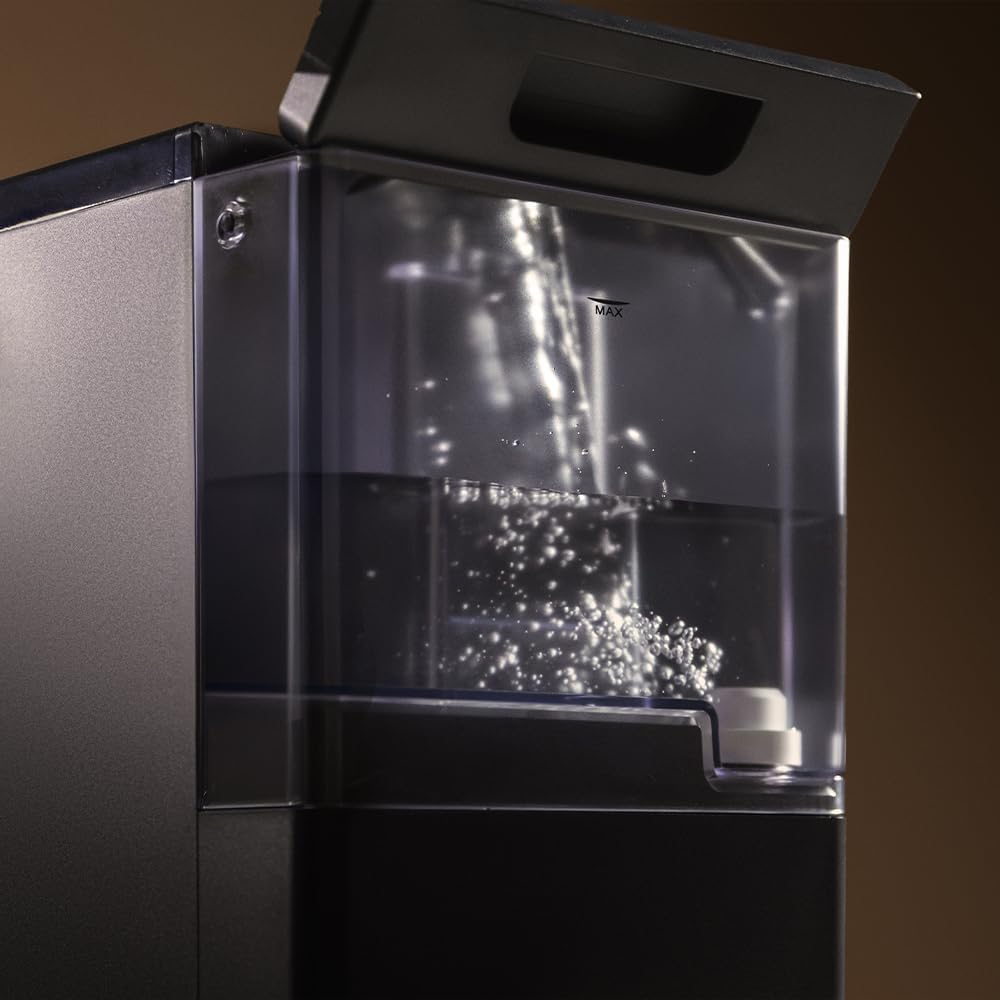
Image 4.1: A hand filling the transparent water tank of the coffee machine with water.
4.3 Vul die boontjiehouer
- Maak die deksel van die boontjiehouer bo-op die masjien oop.
- Pour fresh whole coffee beans into the hopper. Do not overfill.
- Close the lid securely to preserve bean freshness.
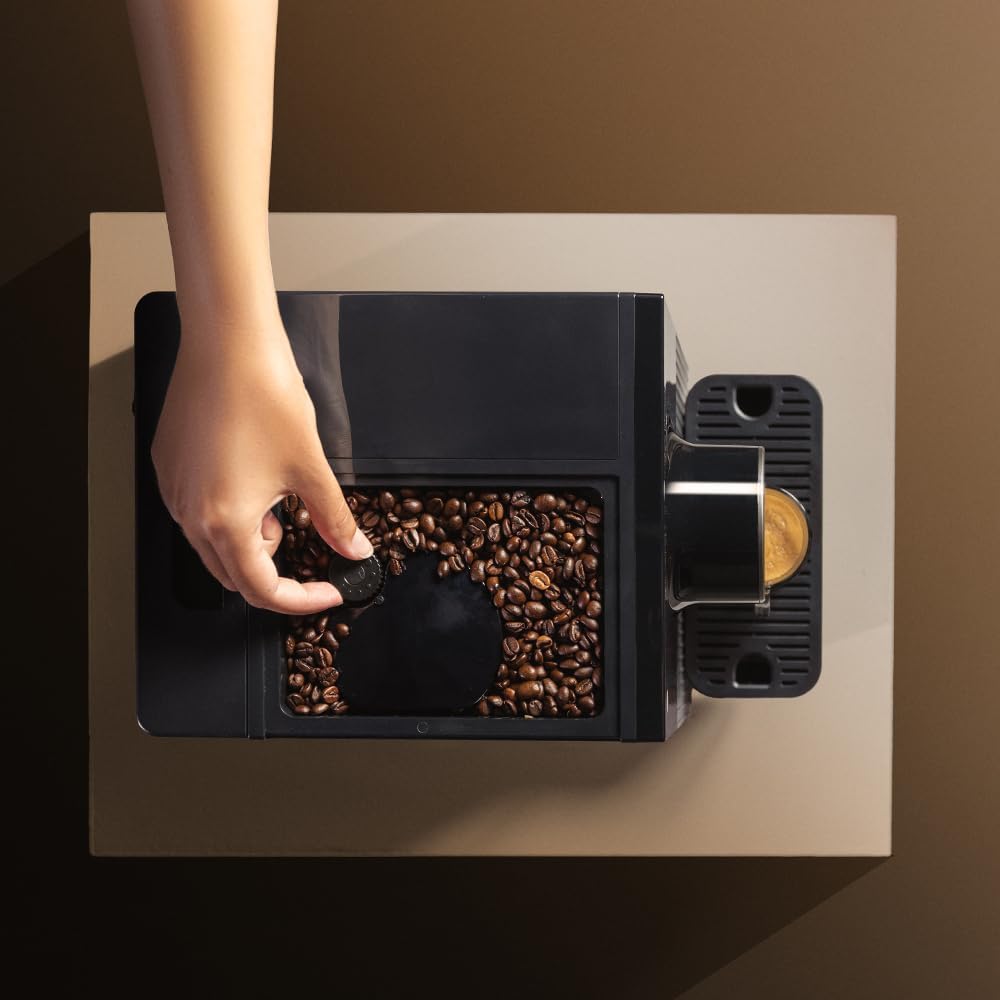
Image 4.2: A hand adding coffee beans into the top-mounted bean hopper of the machine.
4.4 Eerste gebruik / voorbereiding
- Steek die masjien in 'n geaarde kragaansluiting.
- Press the power button to turn on the machine. It will perform an initial rinse cycle.
- Plaas 'n houer onder die koffietuit.
- The machine may prompt you to run a hot water cycle to prime the system. Follow the instructions on the control panel or refer to the specific hot water function in section 5.3.
- Discard the water from the priming cycle. The machine is now ready for use.
5. Bedien die koffiemasjien
5.1 Skakel aan/af
- Om aan te sit: Druk die aan / uit-knoppie (O) on the control panel. The machine will heat up and perform an automatic rinse.
- Om af te sit: Druk die aan / uit-knoppie (O) again. The machine will perform a final rinse before shutting down.

Image 5.1: A finger pressing the power button on the tactile control panel.
5.2 Koffie maak
The machine offers two types of coffee with a single touch.
- Place a cup under the coffee spout. Adjust the spout height if necessary to fit your cup (up to 180mm).
- Press the desired coffee button (e.g., single espresso, double espresso).
- The machine will grind the beans, pre-infuse, and brew your coffee.
- Die brouproses sal outomaties stop.

Image 5.2: Freshly brewed coffee pouring into a glass cup from the machine's spout.

Image 5.3: Two different coffee machines, one with a small espresso cup and another with a larger coffee mug, demonstrating versatility.
5.3 Adjusting Grind Level
The machine features 5 adjustable grind levels to suit your preference. The grind adjustment knob is typically located inside the bean hopper. Turn the knob to select a finer or coarser grind. Adjustments should only be made while the grinder is operating.
5.4 Warmwaterfunksie
For infusions or tea, the machine provides a hot water option.
- Plaas 'n koppie onder die koffietuit.
- Press the hot water button on the control panel.
- Hot water will dispense. Press the button again to stop the flow.
5.5 Saving Coffee Settings
The machine allows you to save your preferred coffee volume. To do this:
- Press and hold the desired coffee button until the machine starts brewing.
- Release the button when the coffee reaches your desired volume. The machine will remember this setting for future use.
6. Onderhoud
Gereelde skoonmaak en onderhoud verseker optimale werkverrigting en lang lewensduur van u koffiemasjien.
6.1 Daaglikse skoonmaak
- Druipbak en koffiedikhouer: Empty and rinse daily. The machine will indicate when the grounds container is full.
- Koffie-tuit: Vee af met advertensieamp lap om enige koffiereste te verwyder.
6.2 Weeklikse/Maandelikse Skoonmaak
- Watertenk: Clean thoroughly with warm water and mild detergent.
- Brou-eenheid: The brew unit is removable for cleaning. Consult the machine's internal diagrams for removal instructions. Rinse under running water until clean. Allow to air dry before reinserting.
6.3 Ontkalking
The machine features an automatic descaling function. The frequency of descaling depends on water hardness and usage. The machine will indicate when descaling is required.
- When the descaling indicator lights up, prepare a descaling solution according to the descaler manufacturer's instructions.
- Gooi die oplossing in die watertenk.
- Follow the on-screen prompts or specific button sequence for initiating the descaling cycle.
- After the descaling cycle, rinse the water tank and run several cycles with fresh water to thoroughly flush the system.
7. Probleemoplossing
Hier is 'n paar algemene probleme en hul oplossings:
| Probleem | Moontlike oorsaak | Oplossing |
|---|---|---|
| Geen koffie word uitgedeel nie | Water tank empty; no coffee beans; brew unit clogged. | Vul die watertenk; vul die boontjiehouer; maak die brou-eenheid skoon. |
| Koffie is te swak | Maal te grof; onvoldoende koffiedosis; ou bone. | Adjust grind to finer setting; check bean quality; ensure hopper is full. |
| Masjien lek water | Watertenk nie korrek geplaas nie; interne seëlprobleem. | Re-seat water tank; contact customer support if problem persists. |
| Descaling indicator on | Masjien benodig ontkalking. | Perform descaling cycle as per section 6.3. |
If you encounter issues not listed here or if solutions do not resolve the problem, please contact Cecotec customer support.
8. Spesifikasies
| Kenmerk | Detail |
|---|---|
| Handelsmerk | Cecotec |
| Model | Cremmaet Cube (A01_EU01_102811) |
| Krag | 1350 W |
| Druk | 19 Bar |
| Watertenk kapasiteit | 1.1 liter |
| Kapasiteit van koffieboonhouer | 110 g |
| Grind Levels | 5 |
| Afmetings (D x B x H) | 29.5 x 34.2 x 22 cm |
| Item gewig | 7.17 kg |
| Spesiale kenmerke | Automatic shut-off, Pre-infusion system, Thermoblock system, Tactile control panel |
9. Waarborg en Ondersteuning
The Cecotec Cremmaet Cube Automatic Coffee Machine comes with a standard manufacturer's warranty. Please refer to the warranty card included in your product packaging for specific terms and conditions.
For technical assistance, troubleshooting, or warranty claims, please contact Cecotec customer support through their official webwebwerf of die kontakinligting verskaf met jou aankoop.
Let wel: No official product videos were found in the provided data for embedding.