1. Inleiding
This manual provides essential instructions for setting up, operating, maintaining, and troubleshooting your MIRO A1 Unlocked 4G Cell Phone. Please read this guide thoroughly to ensure proper use and to maximize the device's performance.

Figure 1: MIRO A1 Smartphone
2. Pakketinhoud
Verifieer dat alle items in die pakket teenwoordig is:
- MIRO A1 Smartphone (1 unit)
- Battery (1 eenheid)
- Herlaaier (1 eenheid)
- USB-kabel (1 eenheid)
- Gebruikershandleiding (1 eenheid)

Figuur 2: Ingesluite Toebehore
3. Opstelling
3.1. Battery Installasie
- Verwyder die agterkant van die foon versigtig.
- Rig die batterykontakte met die terminale binne-in die foon.
- Gently press the battery into place until it is secure.
- Plaas die agterste deksel terug en maak seker dat dit in posisie klik.

Figuur 3: Battery-installasie
3.2. SIM-kaart en MicroSD-kaart Installasie
The MIRO A1 supports Dual SIM cards and a MicroSD card for expandable storage.
- With the back cover removed, locate the SIM card slots and the MicroSD card slot.
- Insert your Nano SIM card(s) into the designated SIM slots with the gold contacts facing down.
- If using a MicroSD card for additional storage (up to 256GB), insert it into the MicroSD card slot.
- Ensure all cards are seated correctly.
Figuur 4: Installasie van SIM-kaart
3.3. Aanvanklike laai en aanskakeling
- Connect the USB cable to the phone's USB Type C port and the charger.
- Plug the charger into a power outlet. Allow the phone to charge for at least 30 minutes before first use.
- Press and hold the Power button (usually on the side) until the MIRO logo appears.
- Follow the on-screen prompts to complete the initial setup of the Android 14 Go Edition operating system.
4. Bedryfsinstruksies
4.1. Basiese navigasie
The MIRO A1 runs on Android 14 Go Edition, designed for efficient performance. Use touch gestures to navigate:
- Tik: Kies 'n item of maak 'n toepassing oop.
- Swiep: Blaai deur skerms of lyste.
- Knyp: Zoem in of uit op foto's en web bladsye.
- Lang pers: Kry toegang tot kontekstuele spyskaarte of skuif programikone.
4.2. Oproepe maak en boodskappe stuur
- Open the 'Phone' app to dial numbers or access contacts.
- Open the 'Messages' app to send and receive SMS/MMS.
- For Dual SIM users, you can select which SIM to use for calls or messages before initiating them.
4.3. Kameragebruik
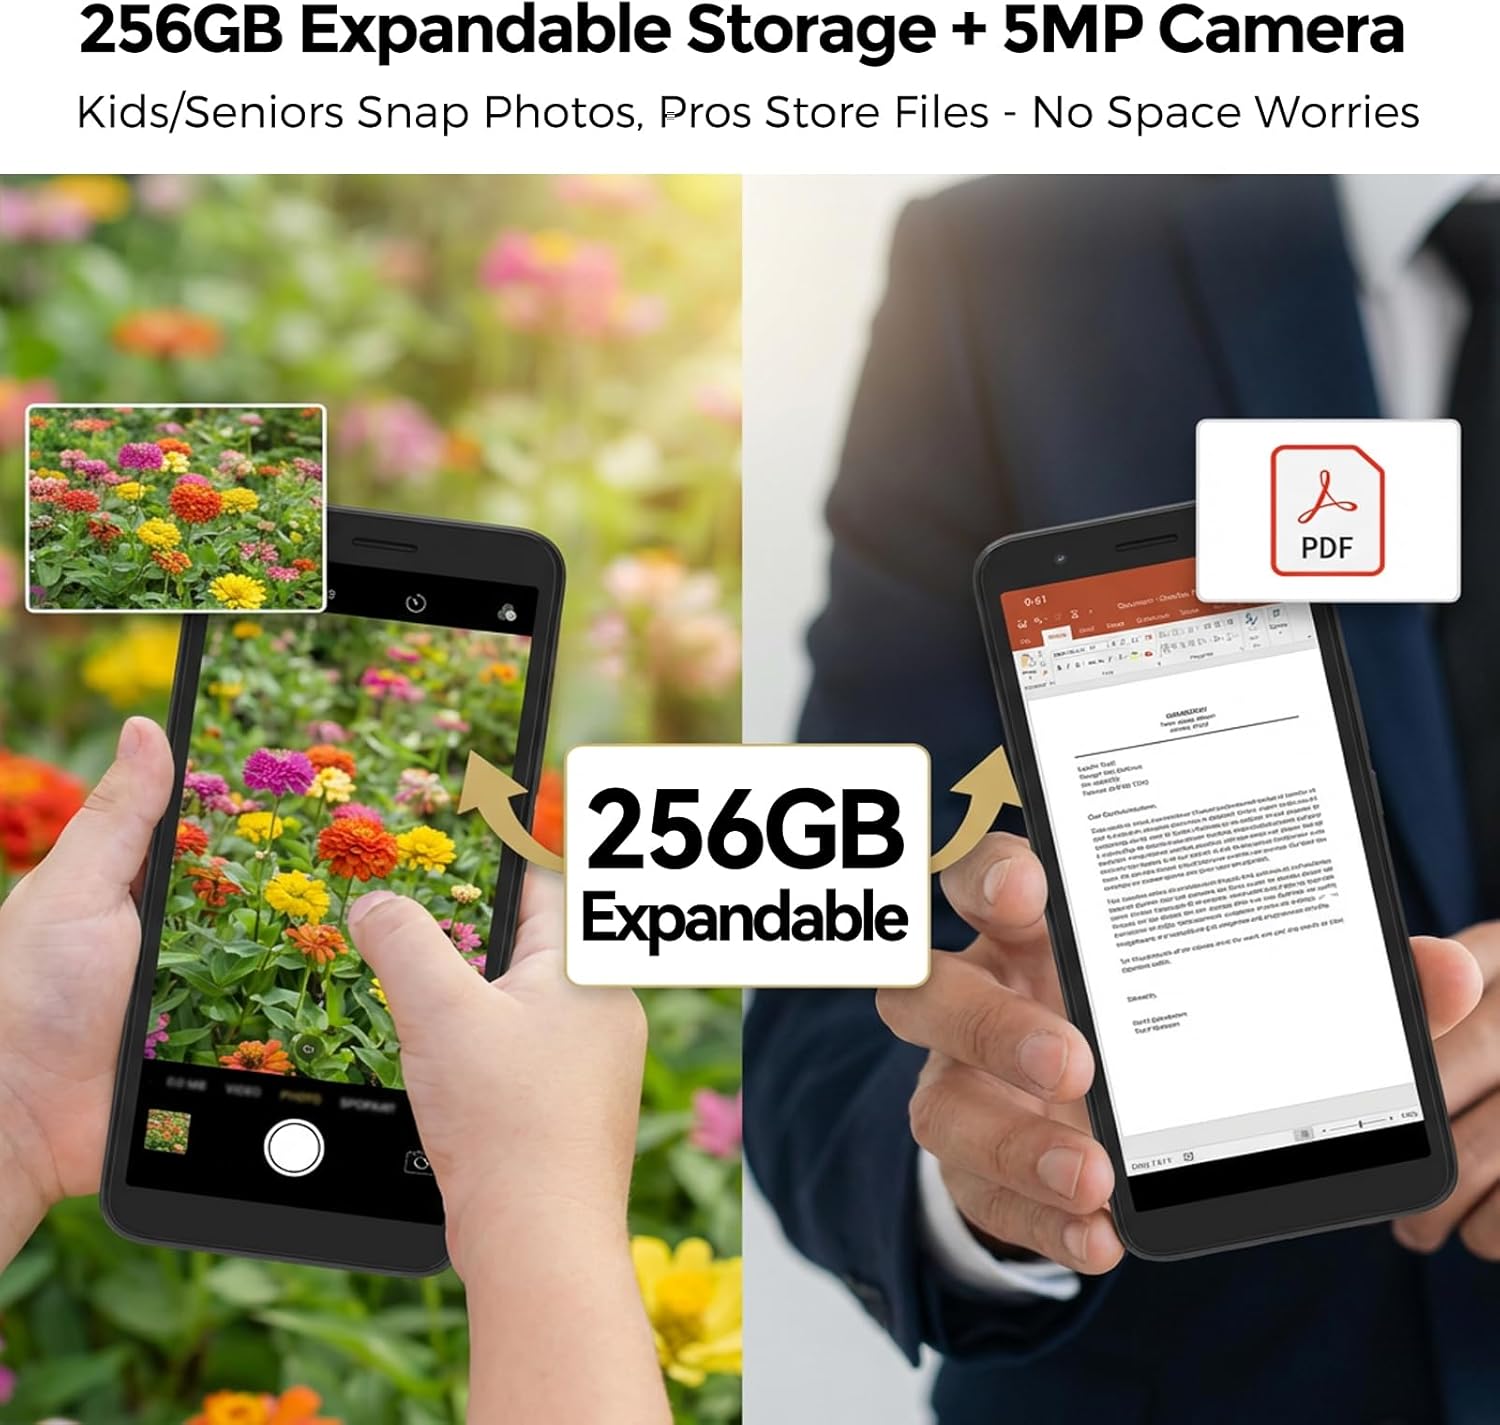
The MIRO A1 features a 5MP rear camera and a 2MP front camera.
- Maak die 'Kamera'-app oop vanaf die tuisskerm of applaai.
- Tik die sluiterknoppie om 'n foto te neem.
- Wissel tussen voor- en agterkameras deur die kamera-skakelikoon te gebruik.

Figure 5: Camera Module
4.4. Bergingbestuur
Your MIRO A1 comes with 32GB of internal storage, expandable up to 256GB via a MicroSD card.
- Om stoorplekgebruik na te gaan, gaan na Instellings > Berging.
- Skuif foto's, video's en ander files to the MicroSD card to free up internal space.

Figure 6: Expandable Storage
4.5. Wi-Fi-konneksie
- Gaan na Instellings > Netwerk en internet > Wi-Fi.
- Skakel Wi-Fi aan.
- Kies die verlangde netwerk uit die lys en voer die wagwoord in indien gevra.
5. Onderhoud
5.1. Batteryversorging
- Vermy uiterste temperature, wat die batterylewe kan verminder.
- Moenie die foon vir lang tye laat laai nadat dit 100% bereik het nie.
- As die battery verwyderbaar is, maak seker dat dit behoorlik geplaas is.
5.2. Maak die toestel skoon
- Gebruik 'n sagte, pluisvrye lap om die skerm en liggaam van die foon skoon te maak.
- Vermy die gebruik van harde chemikalieë of skuurmateriaal.
- Hou poorte vry van stof en puin.
5.3. Sagteware-opdaterings
Periodically check for system updates to ensure your phone has the latest features and security patches. Go to Instellings > Stelsel > Stelselopdatering.
6. Probleemoplossing
6.1. Foon skakel nie aan nie
- Maak seker dat die battery korrek geïnstalleer en gelaai is.
- Connect the phone to the charger and wait a few minutes before attempting to power on again.
- As die battery verwyderbaar is, probeer om dit te verwyder en weer in te sit.
6.2. Network Issues
- Kyk of die SIM-kaart behoorlik ingesit is.
- Verify that your mobile data is enabled in Instellings > Netwerk en internet > Mobiele netwerk.
- Herbegin die foon.
- Confirm with your carrier that your plan is active and compatible with an unlocked 4G device.
6.3. Stoorplek Vol
- Delete unnecessary apps, photos, and videos.
- Beweeg files to a MicroSD card if one is installed.
- Vee kasdata uit vir programme in Settings > Apps & notifications > [App Name] > Storage & cache.
6.4. Fabrieksterugstelling
If persistent issues occur, a factory reset may be necessary. This will erase all data on your phone. Back up important data before proceeding.
- Gaan na Instellings > Stelsel > Herstelopsies.
- Kies Vee alle data uit (fabriekterugstelling).
- Bevestig jou besluit.
7. Spesifikasies
| Kenmerk | Spesifikasie |
|---|---|
| Handelsmerk | MIRO |
| Model Naam | MIRO A1 |
| Bedryfstelsel | Android 14 Go-uitgawe |
| RAM geheue | 2 GB |
| Interne berging | 32 GB |
| Uitbreidbare berging | Tot 256 GB (MicroSD) |
| Skerm grootte | 5.99 duim |
| Resolusie | 576 x 1152 |
| Agterste kamera | 5 MP |
| Voorste kamera | 2 MP |
| Battery kapasiteit | 3000 mAh |
| SIM-kaartgleuftelling | Dual SIM (Nano) |
| Konnektiwiteit | 4G, Wi-Fi, Bluetooth, 3.5mm Headphone Jack, USB Type C |
| Biometriese sekuriteit | Vingerafdrukherkenning |
| Gewig | 182 g (6.42 ons) |
8. Waarborg en Ondersteuning
8.1. Waarborginligting
The MIRO A1 smartphone comes with a 1-jaar beperkte waarborg from the date of purchase. This warranty covers manufacturing defects. It does not cover damage caused by misuse, accidents, unauthorized modifications, or normal wear and tear.
8.2. Kliëntediens
For technical assistance, warranty claims, or further inquiries, please contact MIRO customer support through the retailer where you purchased the device or refer to the official MIRO webwebwerf vir kontakinligting.