Inleiding
Welcome and thank you for choosing the PHI VILLA Farmhouse Counter Height Dining Table Set. This manual provides detailed instructions for assembly, usage, and maintenance to ensure a long-lasting and enjoyable experience with your new furniture. Please read all instructions carefully before beginning assembly.
Veiligheidsinligting
- Volg altyd die monteerinstruksies noukeurig.
- Do not tighten all screws completely until all frame components are assembled. This ensures proper alignment.
- Hou klein dele weg van kinders tydens montering.
- Ensure the table and seating are placed on a flat, stable surface.
- Do not exceed the stated weight capacities for the table, stools, and bench.
- Regularly inspect all connections and tighten hardware as needed to maintain stability.
Pakketinhoud
Before assembly, ensure all parts listed below are present. If any parts are missing or damaged, please contact customer support.
Tabel komponente
- Tafelblad (1)
- Tafelpote (4)
- Hardware for Table Assembly (screws, Allen key)
Bank komponente
- Bench Seat (1)
- Bench Legs (2 sets)
- Bench Support Beams (2)
- Hardware for Bench Assembly (screws, wooden hole covers)
Stoelkomponente
- Stool Seats (2)
- Stool Legs (4 sets)
- Stool Support Beams (4)
- Hardware for Stool Assembly (screws, wooden hole covers)
Monteer-instruksies
Algemene wenke
- Plaas al die komponente op 'n sagte, skoon oppervlak om skrape te voorkom.
- Identifiseer alle onderdele en hardeware met behulp van die verskafde lys en diagramme.
- Do not fully tighten screws until all parts are loosely assembled to allow for adjustments.
Die samestelling van die tafel
Attach the four table legs to the underside of the tabletop. Each leg requires two screws for secure fastening. Use the provided Allen key to tighten the screws.
Video: Watch the table assembly process from 0:29 to 0:40 in the installation guide.
Beskrywing: The table assembly involves attaching the four legs to the underside of the tabletop using the provided screws. Ensure each leg is securely fastened with two screws. Remember to only partially tighten until all legs are in place, then fully tighten.
Assembling the Bench
Attach the bench legs to each side of the bench seat. Insert the center support beams between the legs before fully tightening the outer screws. This ensures the bench is stable and properly aligned.
Video: Watch the bench assembly process from 0:41 to 0:56 in the installation guide.
Beskrywing: For the bench, attach the legs to each side of the seat, ensuring the support beams are inserted before fully tightening the outer screws. This step is crucial for structural integrity.
Assembling the Stools
Assemble the stools following a similar process to the bench. Attach the stool legs to the stool seat, then secure the center support beams between the legs. Partially tighten screws until all parts are in place, then fully tighten.
Video: Watch the stool assembly process from 0:57 to 1:07 in the installation guide.
Beskrywing: Stools are assembled similarly to the bench, attaching legs to the seat and then securing the center support beams. Repeat for both stools.
Finale aanraking
Once all components are assembled and all screws are fully tightened, tap in the provided wooden hole covers to conceal the screws for a clean and finished appearance.
Video: Watch the final step of tapping in wooden hole covers from 1:08 to 1:10 in the installation guide.
Beskrywing: After all components are assembled and screws are tightened, use the provided wooden caps to cover the screw holes, enhancing the aesthetic appeal.
Gebruik
Ruimtebesparende ontwerp
The stools and bench are thoughtfully designed to tuck neatly under the table when not in use. This feature helps optimize space in smaller dining areas, keeping your kitchen or dining room tidy and organized.

Image Description: This image displays the dining table with the two stools and the bench neatly tucked underneath, showcasing its efficient space-saving design.
Sitplek kapasiteit
The set comfortably seats 4 people, with two individual stools and one long bench. The bench can accommodate two individuals, offering flexible seating arrangements for meals and gatherings.
Gewig kapasiteit
- Tabel: Tot 300 lbs
- Each Stool: Tot 300 lbs
- Bank: Tot 330 lbs
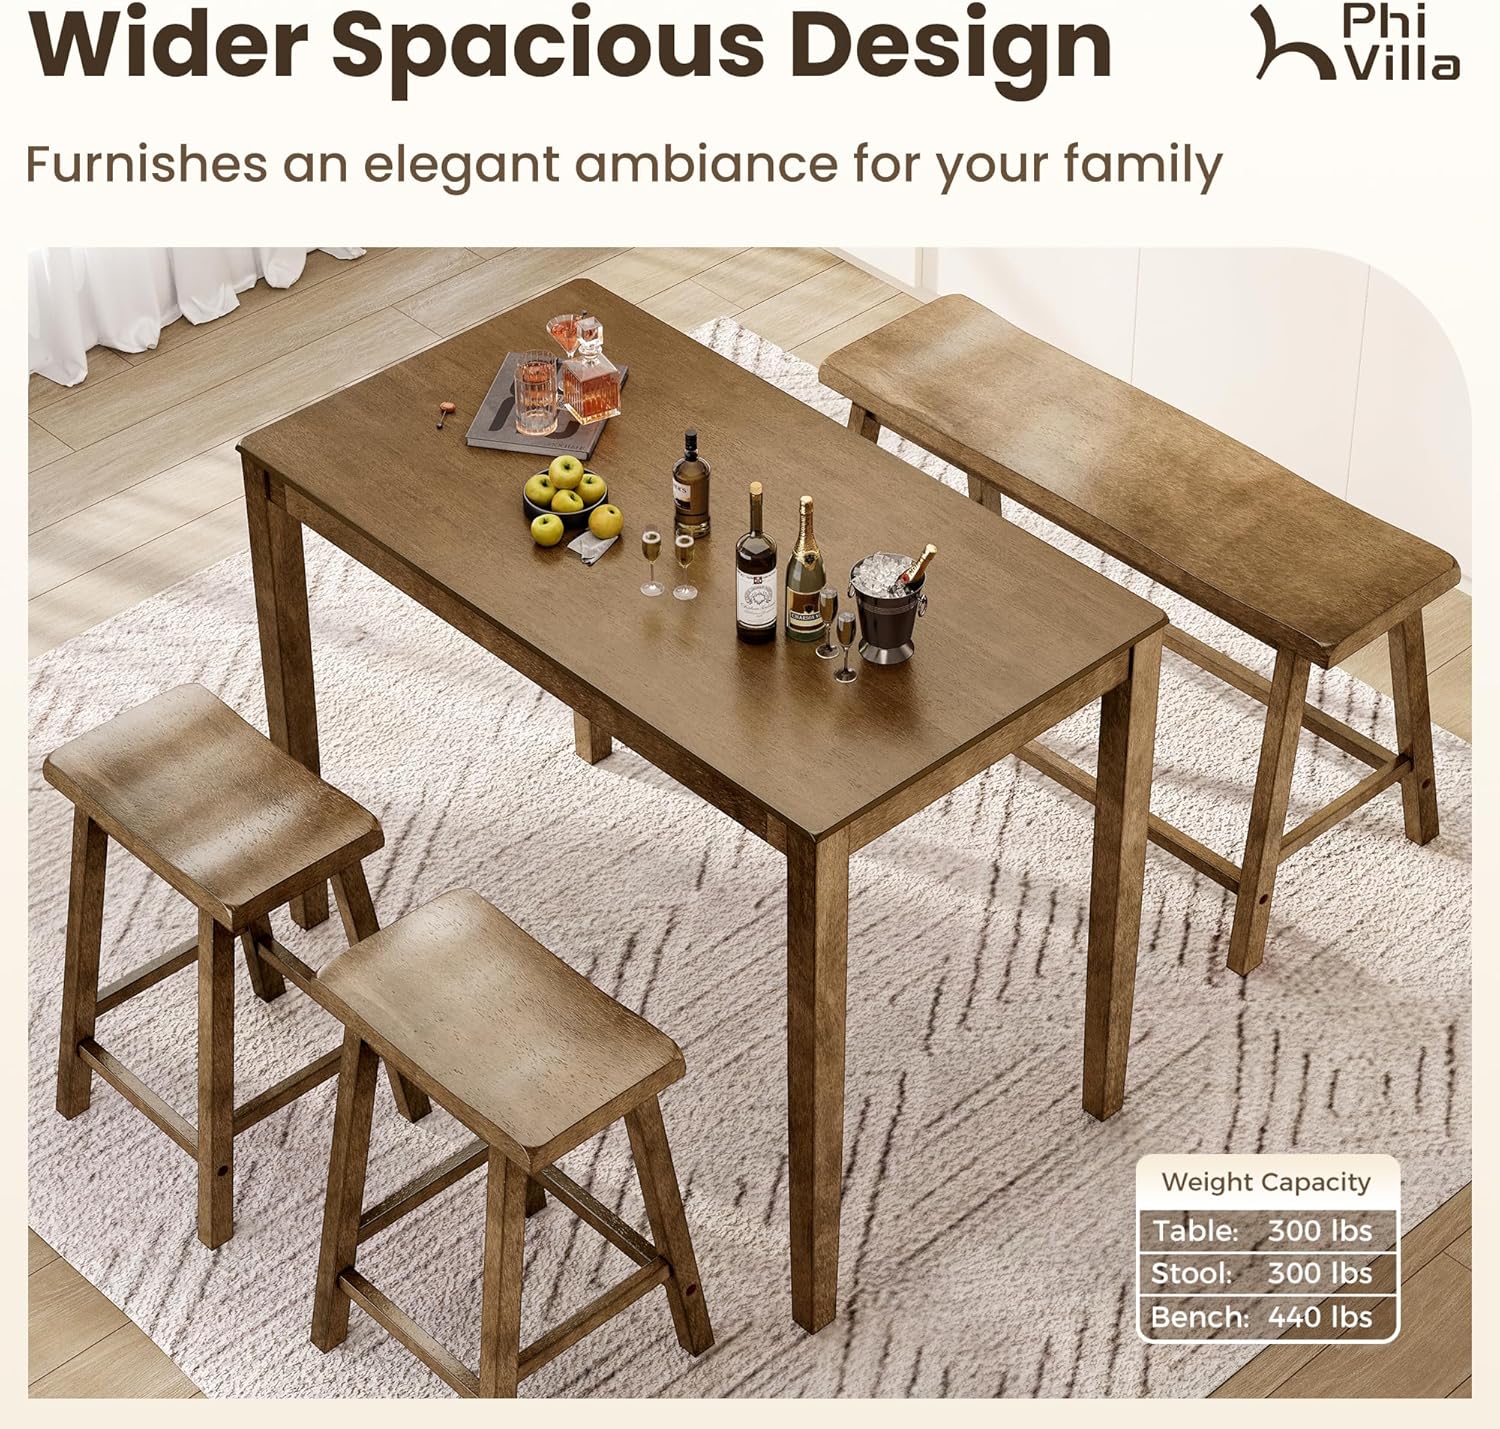
Image Description: This diagram illustrates the maximum weight capacities for each component: 300 lbs for the table, 300 lbs for each stool, and 440 lbs for the bench.
Sorg en Onderhoud
- Skoonmaak: Vee oppervlaktes af met 'n sagte, damp lap. Vermy die gebruik van harde chemikalieë of skuurmiddels wat die afwerking kan beskadig.
- Beskerming: Protect surfaces from excessive heat, moisture, and direct sunlight to prevent warping or fading. Use coasters and placemats.
- Stabiliteitstoets: Periodically check and tighten all screws and bolts to ensure the continued stability and safety of the furniture.
- Beweging: When moving the table or seating, lift rather than drag to prevent damage to legs and floor.
Spesifikasies
| Komponent | Afmetings (L x B x H) | Gewig kapasiteit |
|---|---|---|
| Tafel | 47.3" x 23.3" x 35.5" | 300 pond |
| Stool (each) | 17.5" x 14" x 23.5" | 300 pond |
| Bank | 42.5" x 14" x 23.5" | 330 pond |
| Materiaal | Solid Rubber Wood, MDF Tabletop | NVT |
| Kleur | Karamelbruin | NVT |

Image Description: This diagram provides precise measurements for the table, stools, and bench, aiding in understanding the product's physical attributes.
Waarborg en Ondersteuning
Waarborg
This PHI VILLA product is covered by a one-year warranty from the date of purchase. This warranty covers manufacturing defects and material flaws under normal use. Please retain your proof of purchase for warranty claims.
Kliënte ondersteuning
For any questions, concerns, or assistance with assembly, missing parts, or warranty claims, please do not hesitate to contact PHI VILLA customer support. You can also visit our official store for more information.