1. Inleiding
This manual provides detailed instructions for the installation, operation, maintenance, and troubleshooting of your GIGABYTE B760 DS3H GEN5 Desktop Motherboard. This motherboard is designed to support Intel Core 14th, 13th, and 12th Generation Processors, offering advanced features for a robust computing experience.
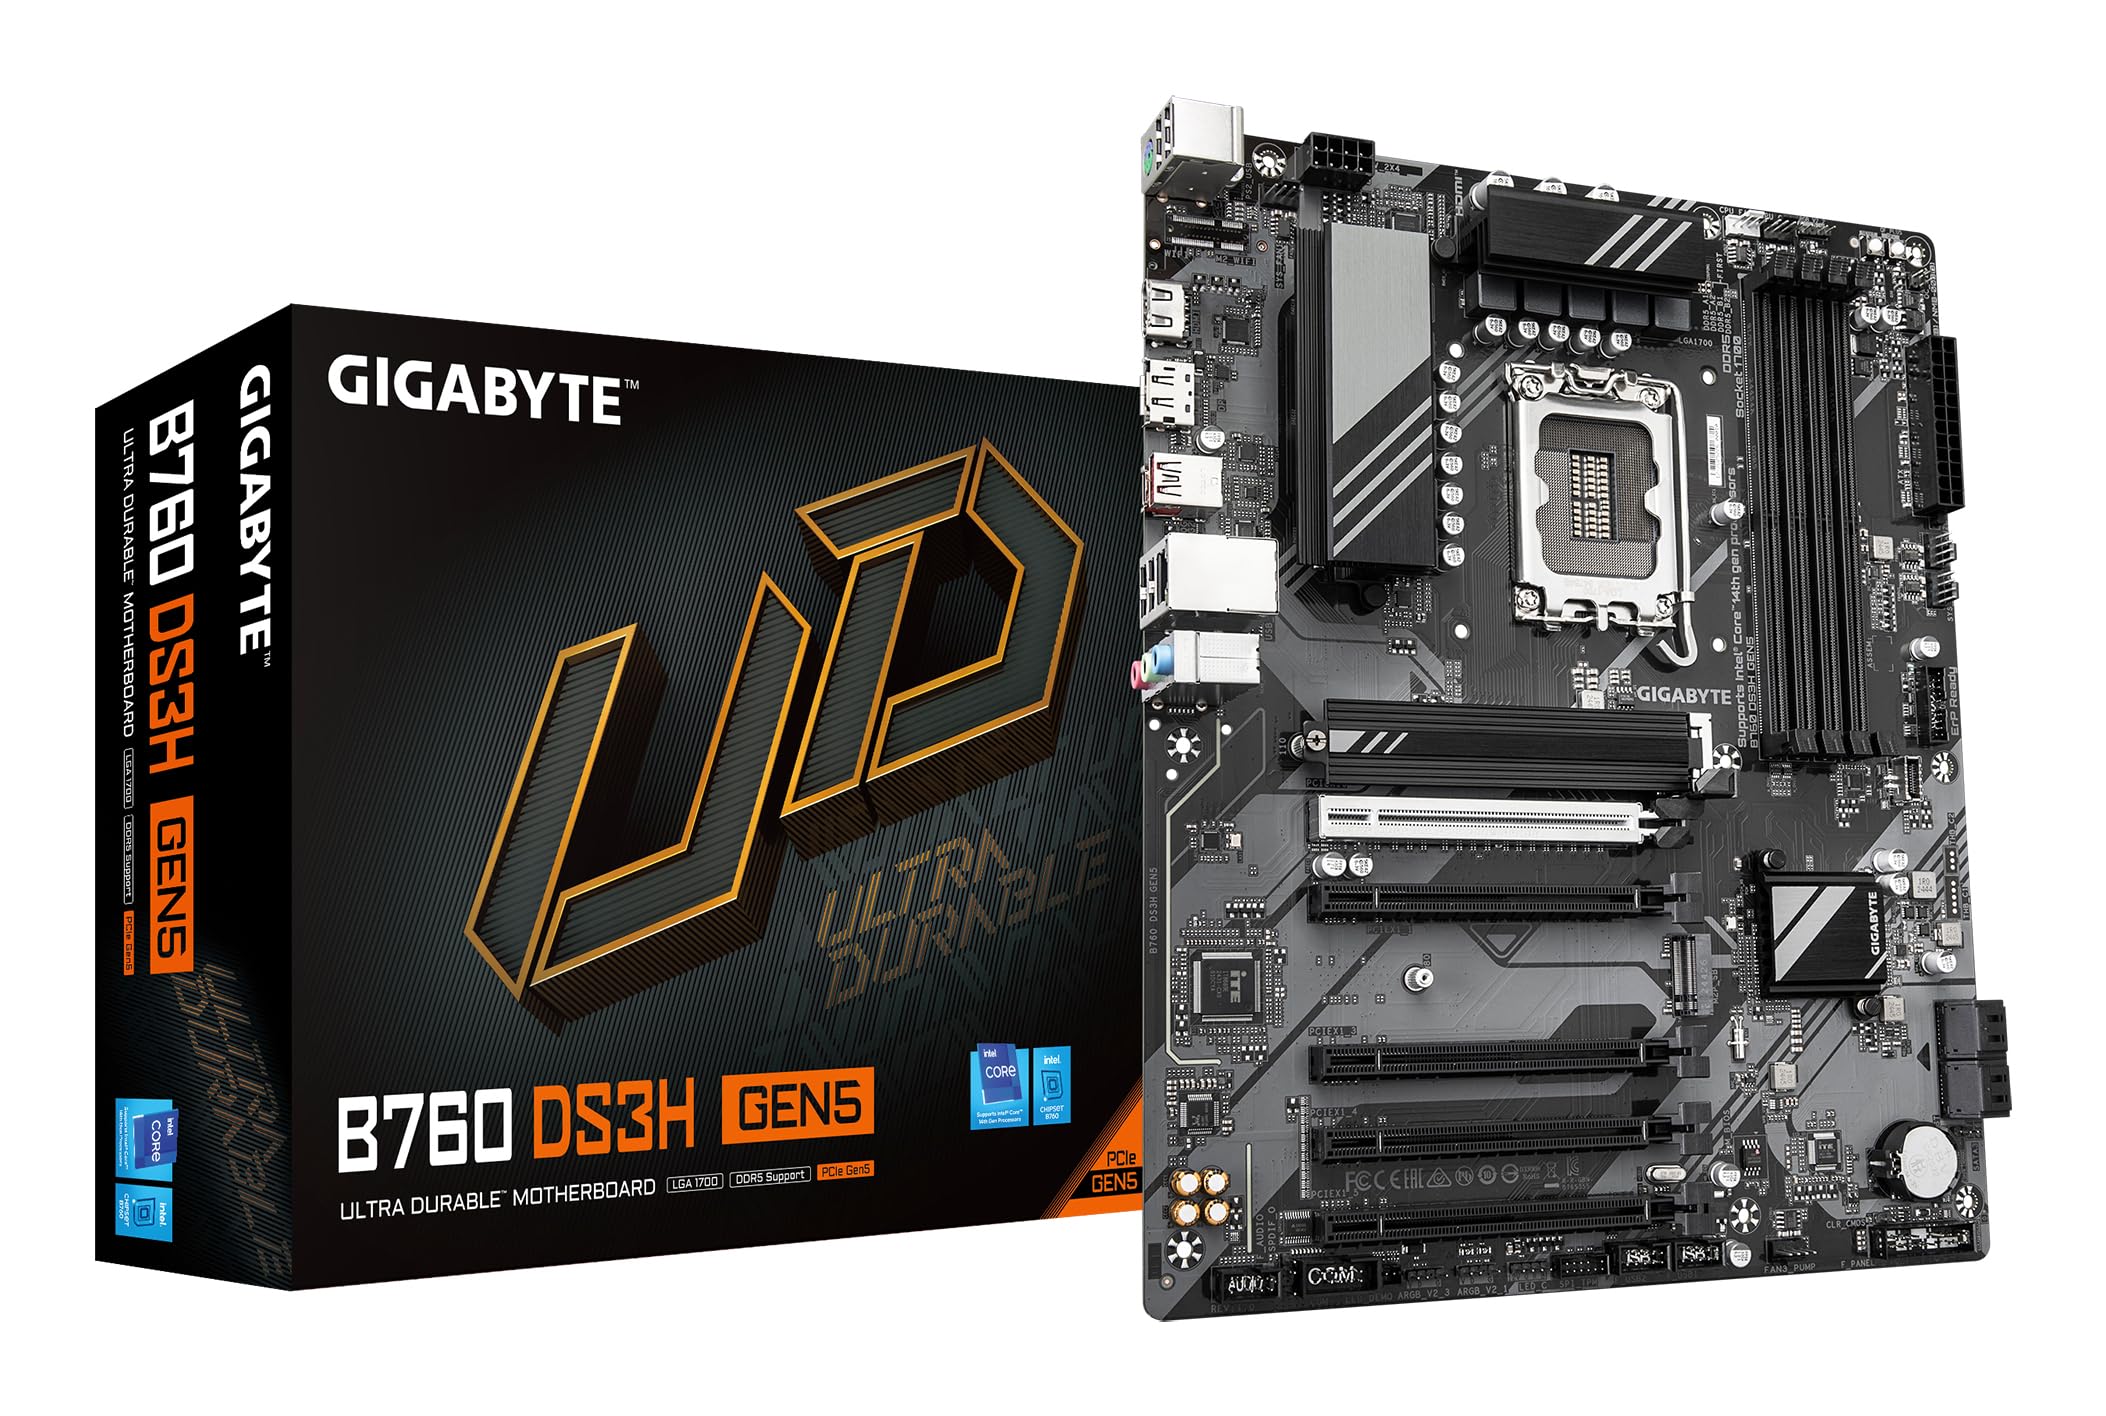
Figure 1.1: GIGABYTE B760 DS3H GEN5 Motherboard Layout. This image displays the overall layout of the motherboard, highlighting the LGA 1700 CPU socket, four DDR5 DIMM slots, and multiple PCIe expansion slots.
2. Sleutel kenmerke
- PCIe Gen5 Performance: Equipped with a PCIe 5.0 x16 slot for high-speed graphics card support.
- Verwerker ondersteuning: Compatible with 14th, 13th, and 12th Gen Intel Core Processors (LGA 1700 socket).
- EZ-grendel: Features a quick-release design for the PCIe 5.0 x16 slot, simplifying component installation and removal.
- PCIe UD Slot: Enhanced PCIe 5.0 SMD Armor for improved graphics card stability and durability.
- Kraglewering: Robust 8+2+1 Phase Hybrid VRM Solution for stable power to the CPU.
- Geheue ondersteuning: Dual Channel DDR5 with support for 4 DIMMs of XMP Memory Modules, up to 5600MHz.
- Netwerk: Integrated GbE LAN for reliable wired network connectivity.
- Berging: Two PCIe 4.0 x4 M.2 Connectors for high-speed NVMe SSDs.
- Verbinding: Rear USB-C 20Gb/s, DisplayPort (DP), and HDMI for versatile peripheral and display connections.
- Verkoeling: Smart Fan 6 with multiple temperature sensors and hybrid fan headers, including FAN STOP functionality for optimized cooling.

Figure 2.1: Motherboard Features Overview. This image provides an angled perspective, showcasing the VRM heatsinks, M.2 slots, and the PCIe 5.0 x16 slot with its reinforced design.
3. Opstelling en installering
3.1 Veiligheidsmaatreëls
Always disconnect power from your system before installing or removing any components. Wear an anti-static wrist strap to prevent electrostatic discharge (ESD) damage to sensitive components.
3.2 Komponentinstallasie
- SVE Installasie: Carefully open the CPU socket lever. Align the triangular mark on the Intel processor with the mark on the LGA 1700 socket. Gently place the CPU into the socket without forcing it. Close the lever to secure the CPU.
- Installasie van die CPU-verkoeler: Installeer jou SVE-verkoeler volgens die vervaardiger se instruksies. Maak seker dat jy die termiese pasta behoorlik aanwend en dit veilig monteer.
- RAM-installasie: Open the clips on the DDR5 DIMM slots. Align the notch on the memory module with the key in the slot. Press down firmly on both ends of the module until the clips snap into place. For dual-channel operation, refer to your motherboard manual for recommended slot pairing.
- M.2 SSD installasie: Locate the M.2 connectors. Remove the M.2 screw/standoff. Insert the M.2 SSD into the slot at an angle, then gently push it down and secure it with the screw/standoff.
- Installasie van grafiese kaart: Open the EZ-Latch on the PCIe 5.0 x16 slot. Align your graphics card with the slot and press down firmly until it is fully seated and the latch clicks into place. Secure the card to your case with screws.
- Moederbordmontering: Install standoffs in your PC case according to the ATX form factor. Carefully place the motherboard onto the standoffs and secure it with screws.
- Kragverbindings: Connect the 24-pin ATX main power connector and the 8-pin (or 4+4-pin) CPU power connector from your power supply to the motherboard. Connect SATA power cables to storage devices if applicable.
- Voorpaneelverbindings: Connect the front panel headers (power button, reset button, USB ports, audio jacks, LED indicators) to the corresponding pins on the motherboard. Refer to the motherboard's silkscreen labels for correct orientation.
3.3 Agterste I/O-paneelverbindings
Koppel jou randapparatuur aan die toepaslike poorte op die agterste I/O-paneel.

Figure 3.1: Rear I/O Panel. This image illustrates the available ports on the rear of the motherboard, including USB 3.2 Gen 2x2 Type-C, USB Type-A, DisplayPort, HDMI, GbE LAN, and audio jacks.
- USB-poorte: Connect keyboards, mice, and other USB devices. The USB-C port offers 20Gb/s data transfer.
- Video-uitsette: Use HDMI or DisplayPort for connecting to a monitor if using an integrated GPU.
- LAN-poort: Koppel 'n Ethernet-kabel vir netwerktoegang.
- Oudio-aansluitings: Koppel luidsprekers, oorfone of mikrofone.
4. Bedryfsinstruksies
4.1 Aanvanklike opstart en BIOS/UEFI-opstelling
After assembling your system, connect a monitor, keyboard, and mouse. Power on the system. During startup, repeatedly press the DEL key to enter the BIOS/UEFI setup utility. Here you can configure boot order, system time, and other advanced settings.
4.2 Bestuurderinstallasie
After installing your operating system (Windows 10 or Windows 11 recommended), install the necessary drivers for the motherboard chipset, LAN, audio, and any other integrated components. These drivers are typically available on the GIGABYTE support webwebwerf vir jou spesifieke moederbordmodel.
4.3 Smart Fan 6
The Smart Fan 6 utility allows for precise control over your system's cooling. You can monitor temperatures, adjust fan curves, and utilize the FAN STOP feature to keep your system quiet during low loads. Access these settings through the BIOS/UEFI or a dedicated GIGABYTE software utility.
5. Onderhoud
5.1 Skoonmaak
Regularly clean your PC to prevent dust buildup, which can lead to overheating and reduced performance. Use compressed air to remove dust from fans, heatsinks, and other components. Ensure the system is powered off and unplugged before cleaning.
5.2 BIOS/UEFI-opdaterings
Kontroleer die GIGABYTE gereeld website for BIOS/UEFI updates. Updates can provide improved compatibility, stability, and new features. Follow the instructions provided by GIGABYTE carefully when performing a BIOS update to avoid system damage.
5.3 Dryweropdaterings
Keep your motherboard drivers updated to ensure optimal performance and compatibility with new hardware and software. Download the latest drivers from the official GIGABYTE support page.
6. Probleemoplossing
If you encounter issues with your motherboard, refer to the following basic troubleshooting steps:
- Geen krag: Ensure all power cables (24-pin ATX, 8-pin CPU) are securely connected. Check your power supply unit (PSU) and wall outlet.
- Geen skerm: Verify that your monitor is connected to the graphics card (or motherboard if using integrated graphics) and is powered on. Reseat the graphics card and RAM modules.
- Stelselonstabiliteit/Ineenstortings: Check CPU and GPU temperatures. Ensure RAM modules are properly seated. Update drivers and BIOS/UEFI. Test components individually if possible.
- Komponent nie opgespoor nie: Ensure the component (e.g., M.2 SSD, SATA drive, PCIe card) is correctly installed and powered. Check BIOS/UEFI settings to ensure it is enabled.
- Piepkodes: If your system emits a series of beeps, consult the GIGABYTE website or the motherboard's full manual for a list of beep codes and their meanings, which can indicate specific hardware issues.
If troubleshooting steps do not resolve the issue, contact GIGABYTE technical support for further assistance.
7. Spesifikasies
| Kenmerk | Spesifikasie |
|---|---|
| Handelsmerk | GIGABYTE |
| Model Naam | B760 DS3H GEN5 |
| CPU-sok | LGA 1700 |
| Versoenbare verwerkers | Intel 14th/13th/12th Gen Core Processors |
| Chipset Tipe | Intel B760 Express |
| RAM geheue tegnologie | DDR5 |
| Geheue Klokspoed | Tot 5600 MHz (XMP) |
| Geheuegleuwe beskikbaar | 4 |
| Ram Memory Maximum Size | 256 GB |
| Grafiese kaart koppelvlak | PCI Express (PCIe 5.0 x16) |
| Total PCIe Ports | 5 |
| Next Generation Storage | 2 x PCIe 4.0 x4 M.2 Connectors |
| Total SATA Ports | 4 |
| LAN | GbE LAN |
| Totale USB-poorte | 6 (Rear I/O) + Internal Headers |
| Rear USB-C | 1 x USB 3.2 Gen 2x2 (20Gb/s) |
| Total Number of HDMI Ports | 1 |
| DisplayPort | Ja |
| Tipe hoofkragaansluiting | 24-Pin ATX |
| Platform | Windows 10, Windows 11 |
| Itemafmetings L x B x H | 12.01 cm L x 9.61 cm B x 1.38 cm H |
| Item gewig | 1000 gram |
8. Waarborginligting
GIGABYTE-moederborde kom gewoonlik met 'n beperkte vervaardigerwaarborg. Die duur en bepalings van die waarborg kan per streek en kleinhandelaar verskil. Bewaar asseblief u bewys van aankoop vir waarborgeise. Vir meer inligting oor waarborge, besoek die amptelike GIGABYTE-webwerf. webwebwerf of kontak jou aankooppunt.
9. Ondersteuning
Vir tegniese bystand, dryweraflaaie, BIOS-opdaterings en verdere produkinligting, besoek asseblief die amptelike GIGABYTE-ondersteuning. website. You can also find FAQs and community forums there to help with common issues.
GIGABYTE Amptelik Webwebwerf: https://www.gigabyte.com/