OGERY F11
OGERY F11 Camping Fan Gebruikershandleiding
Model: F11 | Brand: OGERY
1. Inleiding
Thank you for choosing the OGERY F11 Camping Fan. This portable and versatile fan is designed to provide powerful airflow and illumination for various outdoor and indoor activities. With its long-lasting battery, fast charging capabilities, and multiple features, it is an essential companion for camping, travel, and everyday use.
1.1 Pakketinhoud
- OGERY F11 Camping Fan (1 unit)
- Afstandbeheer (1 eenheid)
- USB-laaikabel (1 eenheid)
- Gebruikershandleiding (hierdie dokument)
1.2 Sleutelkenmerke
- Upgraded Stronger Wind: Delivers wind speeds up to 5.3m/s with Turbocharging and PWM Control for higher wind pressure and lower noise.
- Longer Battery Endurance: Equipped with a 20000mAh battery, providing 12 to 138 hours of operation (fan/lighting dependent).
- Vinnige laai: Supports 20W fast charging, reaching 100% in approximately 4.5 hours.
- 3-Level Eye-Protective LED Lantern: Offers soft, comfortable illumination with three brightness settings.
- Multi-funksionele ontwerp: Features 30°/60°/90°/120° automatic oscillation, 270° manual rotation, remote control, folding handle, and a 360° rotatable hook.
- Kragbank-funksionaliteit: Dual outputs for charging other devices simultaneously.
2. Belangrike veiligheidsinstruksies
Please read and understand all safety instructions before using the OGERY F11 Camping Fan. Failure to follow these instructions may result in electric shock, fire, or serious injury.
- Moenie die waaier in water of ander vloeistowwe dompel nie.
- Hou buite bereik van kinders en troeteldiere.
- Moenie vingers of enige voorwerpe in die waaierrooster steek terwyl dit werk nie.
- Use only the provided charging cable or a compatible 20W (or higher) adapter/power bank for charging.
- Do not attempt to disassemble, repair, or modify the fan. Contact qualified service personnel for assistance.
- Avoid exposing the fan to extreme temperatures, direct sunlight, or high humidity.
- Maak seker dat die waaier op 'n stabiele, plat oppervlak geplaas word om te verhoed dat dit kantel.
- Turn off and unplug the fan before cleaning or when not in use for extended periods.
3. Produk verbyview
3.1 Komponente

Figure 3.1: OGERY F11 Camping Fan showing the main unit and remote control.
Die OGERY F11 Camping Fan consists of a main fan unit with an integrated LED light and a sturdy base that houses the battery and control panel. It also includes a detachable remote control for convenient operation.
3.2 Beheerpaneel

Figuur 3.2: Gedetailleerd view of the fan's control panel, indicating various buttons and indicators.
The control panel on the fan's base features a power indicator, fan speed indicator, rocking head indicator, and timer indicator. Buttons include Sleep, Lighting, Fan Speed Control Knob (OFF to MAX), Oscillation, and Timer.
3.3 afstandbeheer

Figure 3.3: The remote control for the OGERY F11 fan, showing buttons for power, fan speed, lighting, timer, and oscillation settings.
The remote control allows for convenient operation of all fan functions from a distance. It includes buttons for Power on/off, Increase/Decrease Fan Speed, Lighting Increase/Decrease, Timer Setting, Sleep Mode, and Oscillation Setting.
4. Opstelling
4.1 Aanvanklike laai
Before first use, fully charge the OGERY F11 Camping Fan. Connect the provided USB charging cable to the fan's input port and a compatible power source (e.g., >18W adapter or power bank). The battery indicator lights on the control panel will show charging progress. A full charge takes approximately 4.5 hours.

Figure 4.1: The fan's fast charging capability, demonstrating connection to an external power source.
4.2 Plasingsopsies
The OGERY F11 fan offers versatile placement options:
- Tabletop/Ground: Place the fan on any stable, flat surface.
- Hang: Utilize the integrated 360° rotatable hook on the top handle to hang the fan inside a tent, from a branch, or other suitable points.
- Driepoot Mount: The fan base may include a standard tripod screw hole for mounting on compatible tripods (tripod not included).
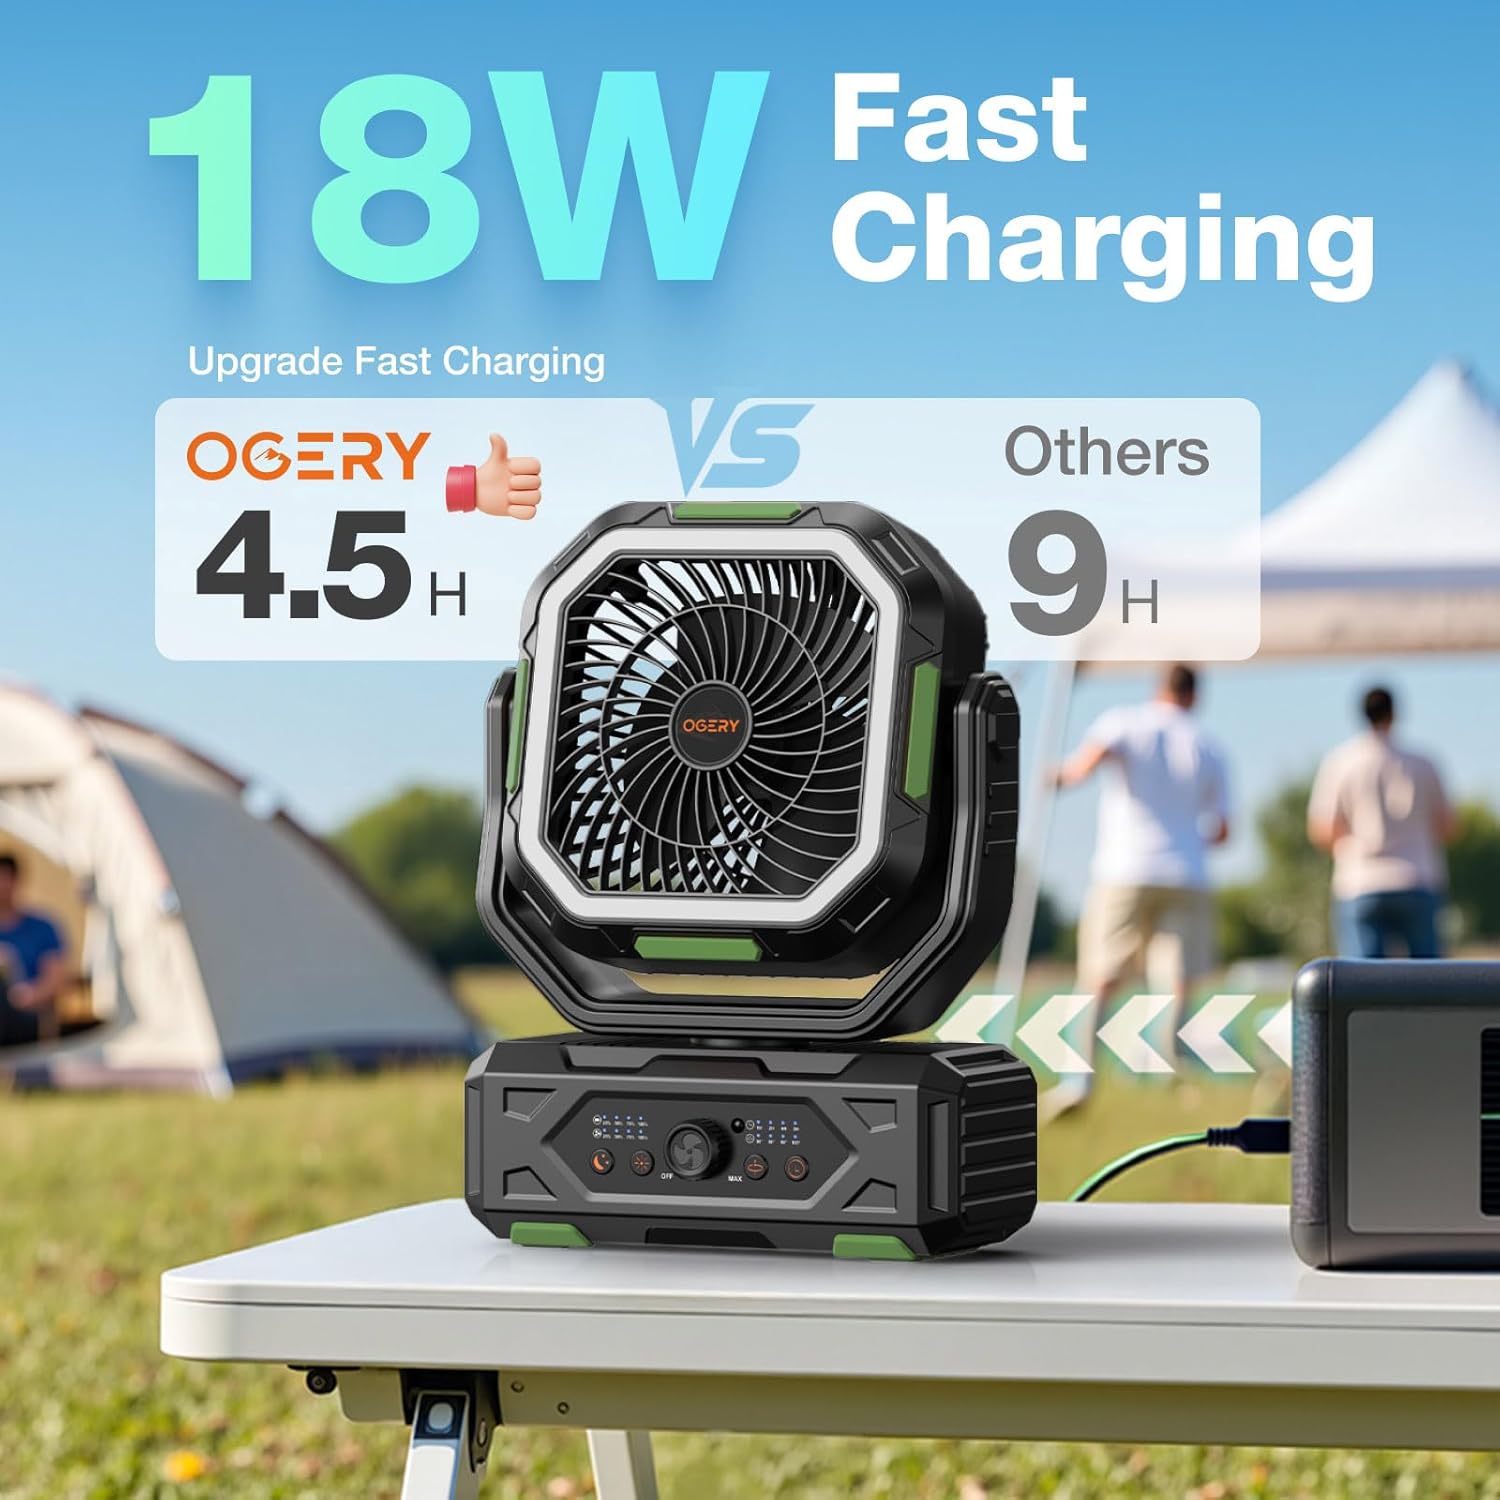
Figure 4.2: The fan positioned on a table, suitable for various outdoor activities.
5. Bedryfsinstruksies
5.1 Krag aan/af
To turn the fan ON, rotate the Fan Speed Control Knob from "OFF" towards "MAX" on the control panel, or press the Power button on the remote control. To turn the fan AF, rotate the knob to "OFF" or press the Power button on the remote again.
5.2 Aanpassing van waaierspoed
The OGERY F11 features stepless speed regulation. Rotate the Fan Speed Control Knob on the control panel to precisely adjust the airflow from minimum to maximum. Alternatively, use the "Increase Fan Speed" and "Decrease Fan Speed" buttons on the remote control.

Figure 5.2: Adjusting fan speed using the control knob on the base unit.
5.3 Oscillation Control
Press the "Oscillation" button on the control panel or remote to activate automatic oscillation. The fan supports 30°, 60°, 90°, and 120° oscillation angles. Press the button repeatedly to cycle through the available angles or turn oscillation off. The fan head can also be manually rotated 270° vertically to direct airflow.

Figure 5.3: The fan's omnidirectional airflow capabilities, including automatic oscillation and manual tilt.
5.4 LED Lantern Operation
Press the "Lighting" button on the control panel or remote to turn on the LED lantern. Press repeatedly to cycle through the three brightness levels (Low, Medium, Strong). The ring light design is eye-protective. Press a fourth time to turn the light off.

Figure 5.4: The fan's integrated LED lantern with three adjustable brightness levels, providing illumination for various settings.
5.5 Timer-funksie
Press the "Timer" button on the control panel or remote to set an automatic shut-off timer. Available settings are 1 hour, 2 hours, 4 hours, and 8 hours. The corresponding indicator light will illuminate. The fan will automatically turn off after the selected time period.
5.6 Kragbankfunksionaliteit
The OGERY F11 fan can also serve as a power bank to charge other electronic devices. Locate the dual output ports (USB and Type-C) on the side of the fan's base. Connect your device using an appropriate charging cable. The fan supports 22.5W super fast charging for connected devices.

Figure 5.6: The fan's power bank feature, showing it charging multiple devices simultaneously.
5.7 Slaapmodus
Press the "Sleep" button on the control panel or remote to activate Sleep Mode. In this mode, the fan operates at its lowest, quietest setting (less than 23dB), and all indicator lights on the control panel will turn off to ensure an undisturbed sleep environment.

Figure 5.7: The fan's quiet operation in Sleep Mode, ideal for use during rest.
5.8 Amptelike Produkvideo
Video 5.8: An official product video from OGERY-Outdoors showcasing the features and benefits of the OGERY F11 Camping Fan.
6. Onderhoud
6.1 Skoonmaak
- Maak seker dat die waaier afgeskakel en ontkoppel is voordat dit skoongemaak word.
- Gebruik 'n sagte, damp lap om die buite-oppervlaktes van die waaier af te vee.
- For dust accumulation on the fan blades or grille, use a soft brush or a vacuum cleaner with a brush attachment. Do not use abrasive cleaners or solvents.
- Do not spray water directly onto the fan.
6.2 Berging
When storing the fan for an extended period, ensure it is fully charged and then turn it off. Store it in a cool, dry place away from direct sunlight and extreme temperatures. It is recommended to recharge the fan every 3-6 months to maintain battery health.
7. Probleemoplossing
If you encounter any issues with your OGERY F11 Camping Fan, please refer to the following table for common problems and solutions:
| Probleem | Moontlike oorsaak | Oplossing |
|---|---|---|
| Die waaier skakel nie aan nie. | Battery is leeg. Kragskakelaar is af. Afstandbeheerbattery is laag. | Laai die waaier ten volle. Ensure the control knob is turned from "OFF". Replace remote control batteries (CR5 included). |
| Swak lugvloei. | Waaierspoed te laag gestel. Obstruction in front/back of fan. | Increase fan speed using the control knob or remote. Clear any obstructions around the fan. |
| LED lig werk nie. | Light is off or set to lowest brightness. Battery is baie laag. | Press the Lighting button to cycle through brightness levels. Laai die waaier. |
| Afstandbeheer reageer nie. | Afstandbeheerder se battery is leeg. Obstruksie tussen afstandbeheerder en waaier. | Vervang die afstandbeheerbatterye. Verseker 'n duidelike siglyn na die waaier se ontvanger. |
If the problem persists after trying these solutions, please contact OGERY customer support.
8. Spesifikasies
| Kenmerk | Detail |
|---|---|
| Handelsmerk | OGERY |
| Model Naam | F11 |
| Produk afmetings | 4.3" D x 9.5" B x 15" H |
| Item gewig | 3.91 pond |
| Kragbron | Battery aangedrewe |
| Battery kapasiteit | 20000mAh |
| Laai tyd | Approx. 4.5 hours (with >18W adapter) |
| Maks windspoed | Tot 5.3 m/s |
| Geraasvlak | Ultra quiet, ≤ 23dB (in Sleep Mode) |
| ossillasie | 30°/60°/90°/120° Automatic, 270° Manual Tilt |
| Beheer metode | Push Button, Remote, Touch |
| UPC | 716597693999 |
9. Waarborg en Ondersteuning
Die OGERY F11 Camping Fan comes with a standard manufacturer's warranty. Please refer to the product packaging or the official OGERY webwebwerf vir spesifieke waarborgbepalings en -voorwaardes.
For product support, technical assistance, or warranty claims, please contact OGERY customer service through the official OGERY Store on Amazon or via the contact information provided on the product packaging.
Ask a question about this manual
Ask about setup, troubleshooting, compatibility, parts, safety, or missing instructions. Manuals+ will review the question and use this page’s manual context to help answer it.