1. Opstelling
Follow these steps to prepare your Gevi Professional Barista Coffee Machine for first use.
1.1 Uitpak en inspeksie
Carefully remove all components from the packaging. Inspect the machine for any signs of damage during transit. Retain packaging for future transport or service needs. Ensure all accessories listed in the packing list are present.
1.2 Plasing
Place the coffee machine on a stable, level, and heat-resistant surface. Ensure there is adequate space around the machine for ventilation, especially at the back and sides. Keep it away from direct sunlight, heat sources, and areas with high humidity. The power outlet should be easily accessible.
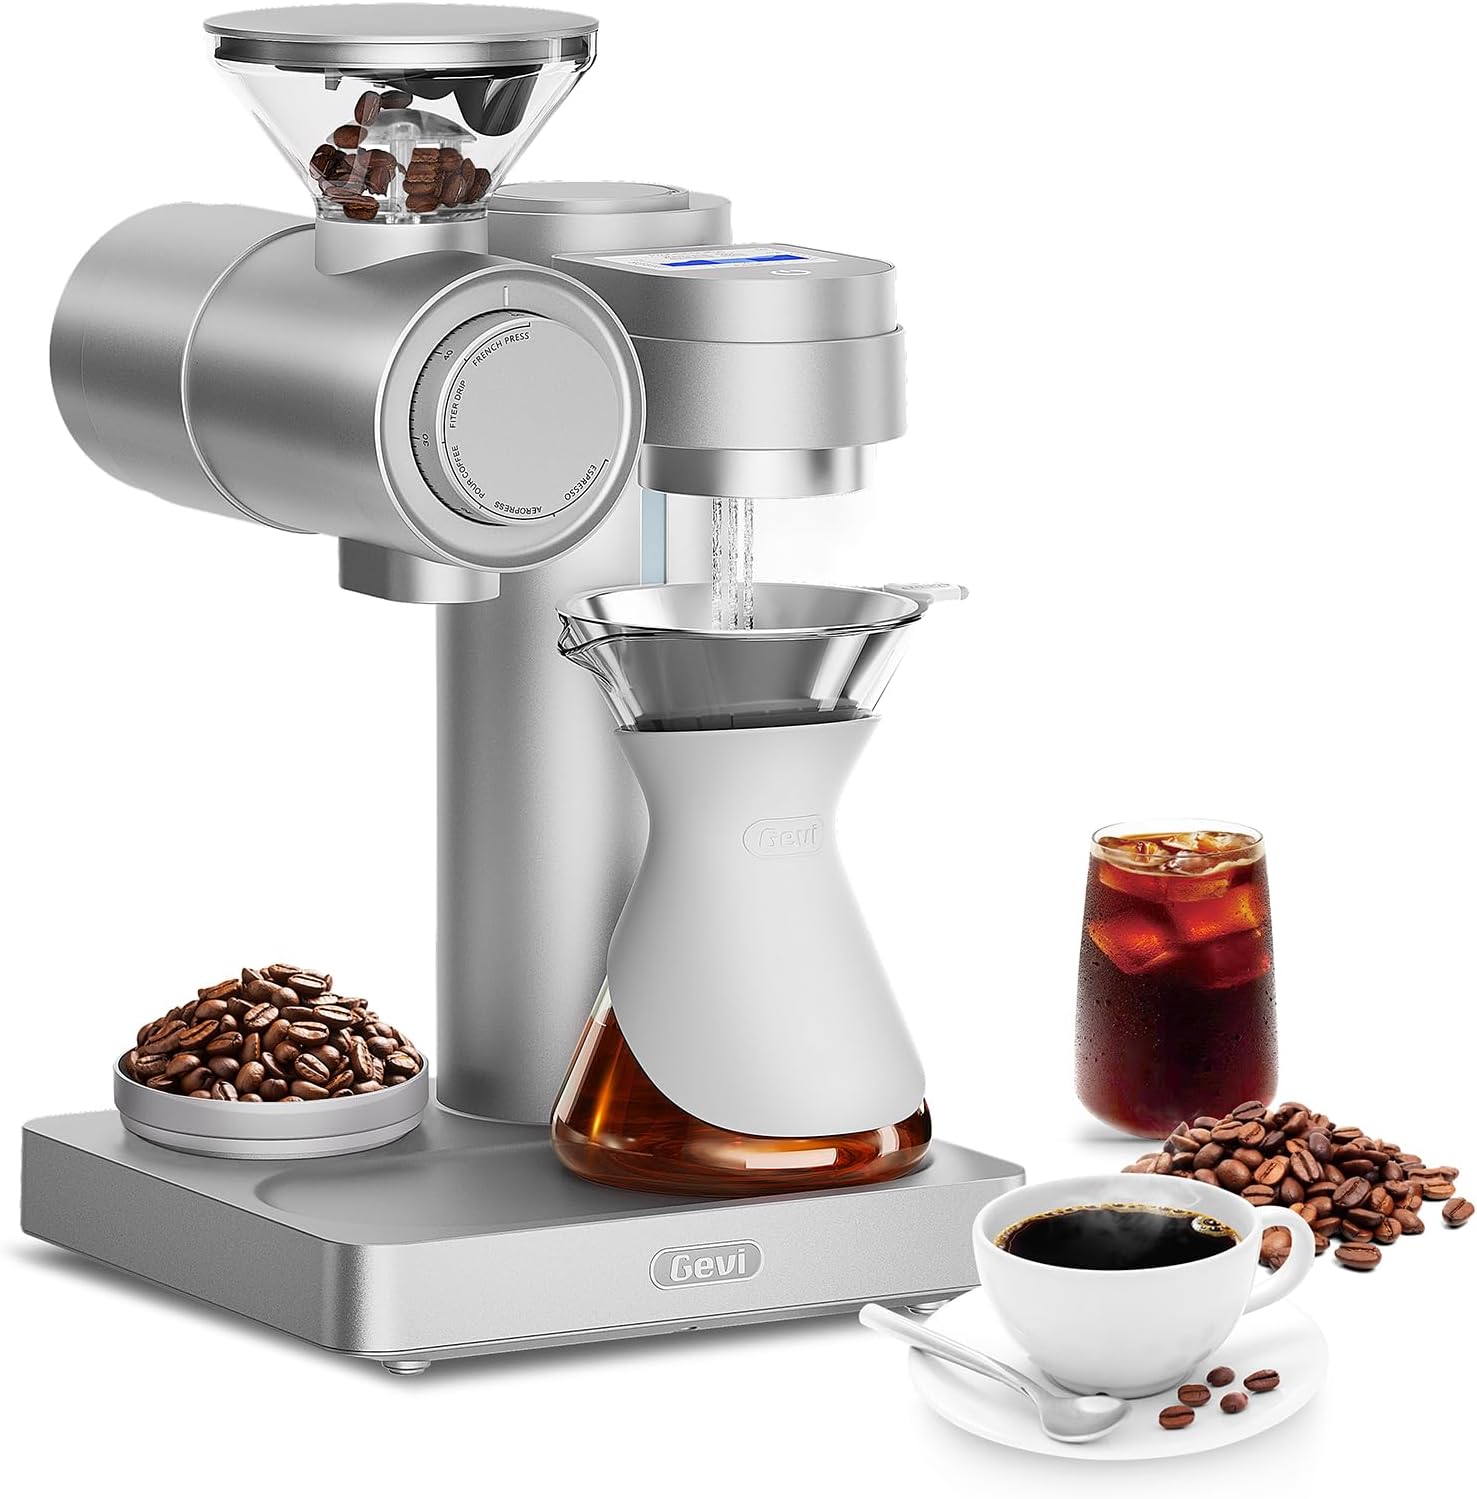
Figuur 1: The Gevi Professional Barista Coffee Machine. This image displays the front view of the machine, highlighting the control panel, portafilter, and steam wand. The water tank is typically located at the back or side.
1.3 Voorbereiding van die watertenk
- Verwyder die watertenk aan die agterkant van die masjien.
- Spoel die watertenk deeglik uit met skoon water.
- Fill the water tank with fresh, cold, filtered water up to the MAX line indicated. Do not overfill.
- Securely place the water tank back into its position on the machine.
1.4 Initial Cleaning Cycle
Before brewing coffee, perform an initial cleaning cycle to flush out any manufacturing residues.
- Maak seker dat die watertenk gevul is.
- Place a large container under the brew group and steam wand.
- Power on the machine. Allow it to heat up until the indicator light signals readiness.
- Run a cycle of hot water through the brew group without coffee.
- Open the steam valve to dispense hot water through the steam wand for 30-60 seconds.
- Herhaal hierdie proses 2-3 keer.
2. Bedryfsinstruksies
This section details the steps for brewing espresso and steaming milk with your Gevi coffee machine.
2.1 Aan-/afskakel
Druk die Krag button located on the front panel. The machine will begin to heat up. Wait for the indicator light to turn solid, signifying it has reached the optimal brewing temperature.
2.2 Coffee Preparation (Espresso)
- Slyp: Use freshly roasted coffee beans and grind them to a fine consistency suitable for espresso.
- Dosering: Fill the portafilter basket with the appropriate amount of ground coffee (e.g., 7-8g for a single shot, 14-16g for a double shot).
- Tamping: Gebruik byamper to press the coffee grounds firmly and evenly into the portafilter basket. Ensure the surface is level.
- Locking Portafilter: Insert the portafilter into the brew group and turn it firmly to the right until it is securely locked.
2.3 Brou Espresso
- Plaas jou espressokoppie(s) op die drupbak direk onder die portafilter se tuite.
- Druk die Enkelskoot or Dubbelskoot button. The machine will begin pre-infusion, followed by brewing.
- The brewing process will stop automatically. For manual control, press the button again to stop.
- Remove the portafilter, discard the spent coffee grounds (puck), and rinse the portafilter.
2.4 Stoommelk
- Ensure the machine is at steaming temperature (steam indicator light solid).
- Fill a stainless steel milk pitcher with cold milk, typically to just below the spout.
- Dompel die punt van die stoompyp net onder die oppervlak van die melk.
- Draai die Stoombeheerknop to activate steam.
- Lower the pitcher slightly to introduce air for frothing, then submerge the tip deeper to heat the milk.
- Continue until the milk reaches the desired temperature (around 140-150°F / 60-65°C) and texture.
- Turn off the steam control knob. Immediately wipe the steam wand with a damp lap om te verhoed dat melkreste uitdroog.
2.5 Warmwatertoediening
Om warm water vir tee of Americanos te tap:
- Plaas 'n koppie onder die stoomstaf.
- Draai die Stoombeheerknop to the hot water position (if available, otherwise use the steam function briefly).
- Dispense the desired amount of hot water.
- Close the knob.
3. Onderhoud
Regular cleaning and maintenance ensure optimal performance and longevity of your Gevi coffee machine.
3.1 Daaglikse skoonmaak
- Portafilter en Filtermandjies: Na elke gebruik, verwyder die portafilter, gooi die koffiegronde weg en spoel die portafilter en filtermandjie onder warm water af.
- Stoomstaaf: Vee die stoompyp onmiddellik af nadat jy melk gestoom het met 'n advertensie.amp lap. Spoel 'n klein hoeveelheid stoom uit om enige interne melkreste te verwyder.
- Lekbak: Empty and rinse the drip tray daily or when the indicator floats.
- Buitekant: Vee die buitekant van die masjien af met 'n sagte, damp lap. Moenie skuur skoonmaakmiddels gebruik nie.
3.2 Weeklikse skoonmaak
- Watertenk: Remove, wash with mild detergent, rinse thoroughly, and refill with fresh water.
- Brougroep: Use a brew group brush to clean any coffee grounds from the shower screen and gasket. Perform a backflush if your machine supports it (refer to specific instructions for backflushing).
3.3 Ontkalking
Descaling removes mineral buildup from the machine's internal components, which can affect performance and taste. The frequency depends on water hardness and usage, typically every 2-3 months.
- Empty the water tank and fill it with a descaling solution mixed according to the descaler manufacturer's instructions.
- Place a large container under the brew group and steam wand.
- Run the descaling solution through the brew group and steam wand until the tank is empty.
- Rinse the water tank thoroughly and refill with fresh water.
- Run several cycles of fresh water through the machine to flush out any remaining descaling solution.
Waarskuwing: Only use descaling solutions specifically designed for coffee machines. Do not use vinegar, as it can damage internal components.
4. Probleemoplossing
Verwys na hierdie afdeling vir oplossings vir algemene probleme wat u mag teëkom.
| Probleem | Moontlike oorsaak | Oplossing |
|---|---|---|
| Masjien skakel nie aan nie. | Nie ingeprop nie; kragpuntprobleem; hoofskakelaar af. | Check power cord connection; test outlet with another appliance; ensure main power switch is on. |
| No water dispensing from brew group. | Water tank empty or not seated correctly; pump airlock; machine not primed. | Fill water tank and ensure it's seated; run hot water through steam wand to prime pump; descale if necessary. |
| Espresso brou te stadig of glad nie. | Koffie gemaal te fyn; koffie tamped too hard; brew group clogged; machine needs descaling. | Use a coarser grind; reduce tamping pressure; clean brew group; descale the machine. |
| Espresso brou te vinnig, swak koffie. | Coffee ground too coarse; not enough coffee; coffee tamped te lig. | Use a finer grind; increase coffee dose; tamp stewiger. |
| Geen stoom van die stoompyp af nie. | Machine not at steaming temperature; steam wand clogged; water tank empty. | Wait for steam indicator light; clean steam wand tip with a pin; fill water tank. |
If the problem persists after attempting these solutions, please contact Gevi Customer Support.
5. Spesifikasies
Key technical specifications for the Gevi Professional Barista Coffee Machine Model GESCMA705-U.
- Modelnommer: GESCMA705-U
- Produk afmetings: 10 x 10.3 x 17 duim (Lengte x Breedte x Hoogte)
- Item gewig: 23 pond
- UPC: 767791888858
- Krag/Voltage: Refer to the product label on the machine for specific electrical requirements.
6. Waarborg en ondersteuning
Gevi provides a limited warranty for this product. Please register your product to activate your warranty and receive important updates.
6.1 Beperkte waarborg
This Gevi Professional Barista Coffee Machine (Model GESCMA705-U) is covered by a manufacturer's limited warranty against defects in materials and workmanship for a period of one (1) year from the original date of purchase. This warranty does not cover damage caused by misuse, neglect, accident, alteration, or unauthorized repair. Proof of purchase is required for warranty claims.
6.2 Kliëntediens
For technical assistance, warranty claims, or general inquiries, please contact Gevi Customer Support:
- Webwebwerf: www.gevi.com (Please visit our website for FAQs, product registration, and support resources.)
- E-pos: support@gevi.com
- Telefoon: 1-800-XXX-XXXX (Availability may vary by region. Please check the website for local contact numbers.)
When contacting support, please have your product model number (GESCMA705-U) and proof of purchase readily available.