1. Inleiding
Thank you for choosing the Zeuslap Z13KT 13.3-inch Portable Touchscreen Monitor. This device is designed to enhance your productivity and entertainment experience with its high-resolution 2K IPS display, 100% sRGB color gamut, and responsive touch functionality. This manual provides essential information for the safe and efficient use of your monitor, including setup, operation, maintenance, and troubleshooting.
2. Veiligheidsinligting
- Lees alle instruksies sorgvuldig deur voordat u die monitor gebruik.
- Moenie die monitor aan reën, vog of uiterste temperature blootstel nie.
- Vermy die plasing van die monitor naby hittebronne of in direkte sonlig.
- Gebruik slegs die kragadapter en kabels wat deur die vervaardiger voorsien of aanbeveel word.
- Moenie probeer om die monitor self uitmekaar te haal of te herstel nie. Verwys alle diens na gekwalifiseerde personeel.
- Clean the monitor with a soft, dry cloth. Avoid using liquid cleaners or aerosols.
- Hou die monitor weg van sterk magnetiese velde.
3. Pakketinhoud
Kontroleer asseblief die inhoud van die verpakking wanneer u dit uitpak. Kontak u kleinhandelaar indien enige items ontbreek of beskadig is.
- Zeuslap Z13KT Portable Monitor
- USB-C to USB-C Cable (for power and video/touch)
- Mini HDMI to HDMI Cable (for video)
- USB-A na USB-C-kabel (vir krag)
- Kragadapter (indien ingesluit)
- Beskermende Omslag/Staan
- Gebruikershandleiding (hierdie dokument)
4. Produk verbyview
Familiarize yourself with the monitor's components and ports.
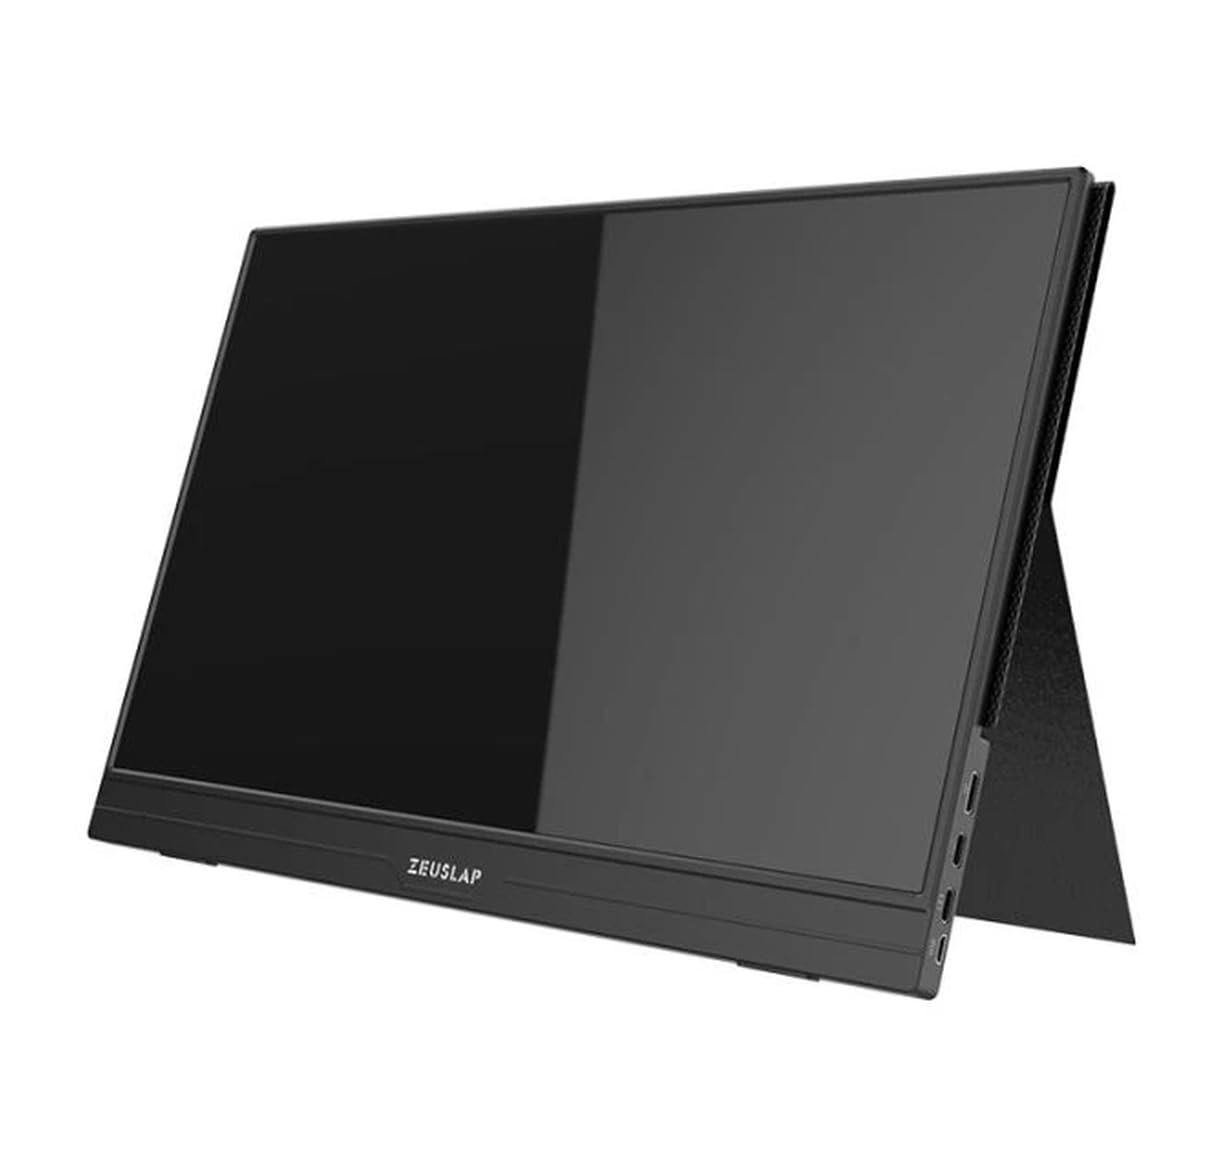
Figuur 4.1: Voorkant view of the Zeuslap Z13KT portable monitor, showcasing its slim design and screen.
4.1. Monitor Components
- 13.3-inch 2K IPS Touchscreen: Main display area with touch input capability.
- Kragknoppie: Turns the monitor on/off and can be used to access the OSD menu.
- Kieslys-/Navigasieknoppies: For navigating the On-Screen Display (OSD) menu.
- Luidsprekers: Geïntegreerde klankuitvoer.
4.2. Available Ports
- USB-C Port (Full-featured): For power, video signal, and touch data transmission from compatible devices (e.g., laptops, smartphones).
- USB-C Port (Power Only): For connecting to an external power adapter to supply power to the monitor.
- Mini HDMI-poort: For video signal input from devices like gaming consoles, cameras, or older laptops.
- 3.5 mm oudio-aansluiting: Vir die koppeling van eksterne oorfone of luidsprekers.
5. Opstelling
Follow these steps to connect your Zeuslap Z13KT monitor to your device.
5.1. Connecting to a Laptop/PC (USB-C with DisplayPort Alt Mode)
- Ensure your laptop's USB-C port supports DisplayPort Alternate Mode (DP Alt Mode) and power delivery.
- Connect one end of the provided USB-C to USB-C cable to the full-featured USB-C port on the monitor.
- Connect the other end of the USB-C to USB-C cable to your laptop's compatible USB-C port.
- The monitor should automatically detect the signal and power on. If not, press the monitor's power button.
- For touch functionality, ensure the USB-C connection is established correctly.
5.2. Connecting to a Laptop/PC (HDMI + USB for Power/Touch)
- Connect one end of the Mini HDMI to HDMI cable to the Mini HDMI port on the monitor.
- Connect the other end of the HDMI cable to your laptop's HDMI port.
- For power, connect the USB-A to USB-C cable from your laptop's USB-A port (or a power adapter) to the power-only USB-C port on the monitor.
- For touch functionality, if your laptop has a USB-A port, connect the USB-A end of the USB-A to USB-C cable to your laptop and the USB-C end to the full-featured USB-C port on the monitor. This will provide touch data.
- The monitor should power on and display the image.
5.3. Connecting to a Smartphone (USB-C with DisplayPort Alt Mode)
Note: Not all smartphones support video output via USB-C. Check your phone's specifications.
- Connect one end of the USB-C to USB-C cable to the full-featured USB-C port on the monitor.
- Connect the other end of the USB-C to USB-C cable to your compatible smartphone's USB-C port.
- The monitor will draw power from the phone. For extended use or if the phone cannot supply enough power, connect an external power adapter to the monitor's power-only USB-C port.
- The monitor should display your phone's screen, and touch functionality should be active.
6. Bedryfsinstruksies
6.1. Skakel aan/af
- Om aan te skakel: Druk die Power-knoppie.
- Om af te skakel: Druk en hou die Power-knoppie vir 3 sekondes.
6.2. On-Screen Display (OSD)-kieslys
Die OSD-kieslys laat jou toe om verskeie monitorinstellings aan te pas.
- Toegang tot die OSD: Press the Menu button (or short press the Power button, depending on model variation).
- Navigasie: Use the navigation buttons (or touch gestures if enabled) to move through menu options.
- Keuse: Press the Menu button (or tap) to select an option.
- Verlaat: Navigate to the "Exit" option or wait for the OSD to time out.
6.3. Algemene OSD-instellings
- Helderheid/kontras: Adjust display luminance and contrast levels.
- Kleurinstellings: Verander kleurtemperatuur, skakering en versadiging.
- Invoerbron: Kies handmatig tussen USB-C- en Mini HDMI-insette.
- Aspekverhouding: Change the display aspect ratio (e.g., 16:9, 4:3).
- Volume: Adjust the built-in speaker volume.
- Taal: Kies die OSD-kieslystaal.
6.4. Raakskermfunksionaliteit
The monitor supports multi-touch gestures. Ensure your device (laptop/smartphone) is compatible and connected via a full-featured USB-C cable for touch input to function.
- Tik: Gelykstaande aan 'n muisklik.
- Swiep: Vir blaai of navigeer.
- Knyp-om-te-Zoem: For zooming in or out on content.
7. Onderhoud
7.1. Skoonmaak van die monitor
- Skakel altyd die monitor af en ontkoppel die stekker voordat u dit skoonmaak.
- Gebruik 'n sagte, pluisvrye lap om die skerm en c saggies af te vee.asing.
- Vir hardnekkige vlekke, liggies veeampMaak die lap skoon met water of 'n skermspesifieke skoonmaakoplossing. Moenie vloeistof direk op die skerm spuit nie.
- Vermy die gebruik van skuurmiddels, alkohol of ammoniak-gebaseerde oplossings, aangesien dit die skermoppervlak kan beskadig.
7.2. Berging
- When not in use, store the monitor in a cool, dry place.
- Gebruik die meegeleverde beskermende omslag om skrape en stofophoping te voorkom.
- Vermy om swaar voorwerpe bo-op die monitor te plaas.
8. Probleemoplossing
Indien u probleme met u monitor ondervind, raadpleeg die volgende algemene probleme en oplossings.
| Probleem | Moontlike oorsaak | Oplossing |
|---|---|---|
| No display/No signal |
|
|
| Raakskerm werk nie |
|
|
| Flickering or unstable display |
|
|
| No audio from monitor speakers |
|
|
9. Spesifikasies
| Kenmerk | Detail |
|---|---|
| Model | ZL-Z13KT |
| Skerm grootte | 13.3 duim |
| Resolusie | 2560 x 1600 (2K) |
| Herlaaitempo | 60Hz |
| Paneel tipe | IPS |
| Kleur Omvang | 100% sRGB |
| Helderheid | 300 cd/m² |
| Raakskerm | Ja |
| Konnektiwiteit | 2x USB-C (1x Full-featured, 1x Power), 1x Mini HDMI, 1x 3.5mm Audio Jack |
| Krag Invoer | USB-C (5V-20V) |
10. Waarborg en Ondersteuning
Specific warranty information for the Zeuslap Z13KT monitor is not available in the provided product data. Please refer to the warranty card included with your product or visit the official ZEUSLAP webwebwerf vir gedetailleerde waarborgbepalings en -voorwaardes.
For technical support, product inquiries, or service requests, please contact your retailer or the manufacturer directly through their official support channels.