1. Inleiding
This manual provides essential instructions for the safe and efficient operation, installation, and maintenance of your WILPREP 3-Pan Commercial Food Warmer with Sneeze Guard. Please read this manual thoroughly before use and retain it for future reference. Proper use ensures optimal performance and longevity of the appliance.
Belangrike veiligheidsinligting
- Maak altyd seker dat die toestel aan 'n geaarde kragaansluiting met die korrekte volum gekoppel is.tage (110V).
- Do not operate the warmer without water in the reservoir. Dry boiling can damage the heating elements.
- Surfaces will become hot during operation. Use caution and wear protective gloves when handling hot components.
- Hou kinders en ongemagtigde personeel weg van die toestel tydens werking.
- Ontkoppel die toestel van die kragbron voordat u skoonmaak of enige onderhoud uitvoer.
- Moenie die elektriese komponente in water dompel nie.
2. Produk verbyview
The WILPREP 3-Pan Commercial Food Warmer is designed to keep various food items at serving temperatures for extended periods. It features a durable stainless steel construction, adjustable temperature control, and a sneeze guard for hygiene.
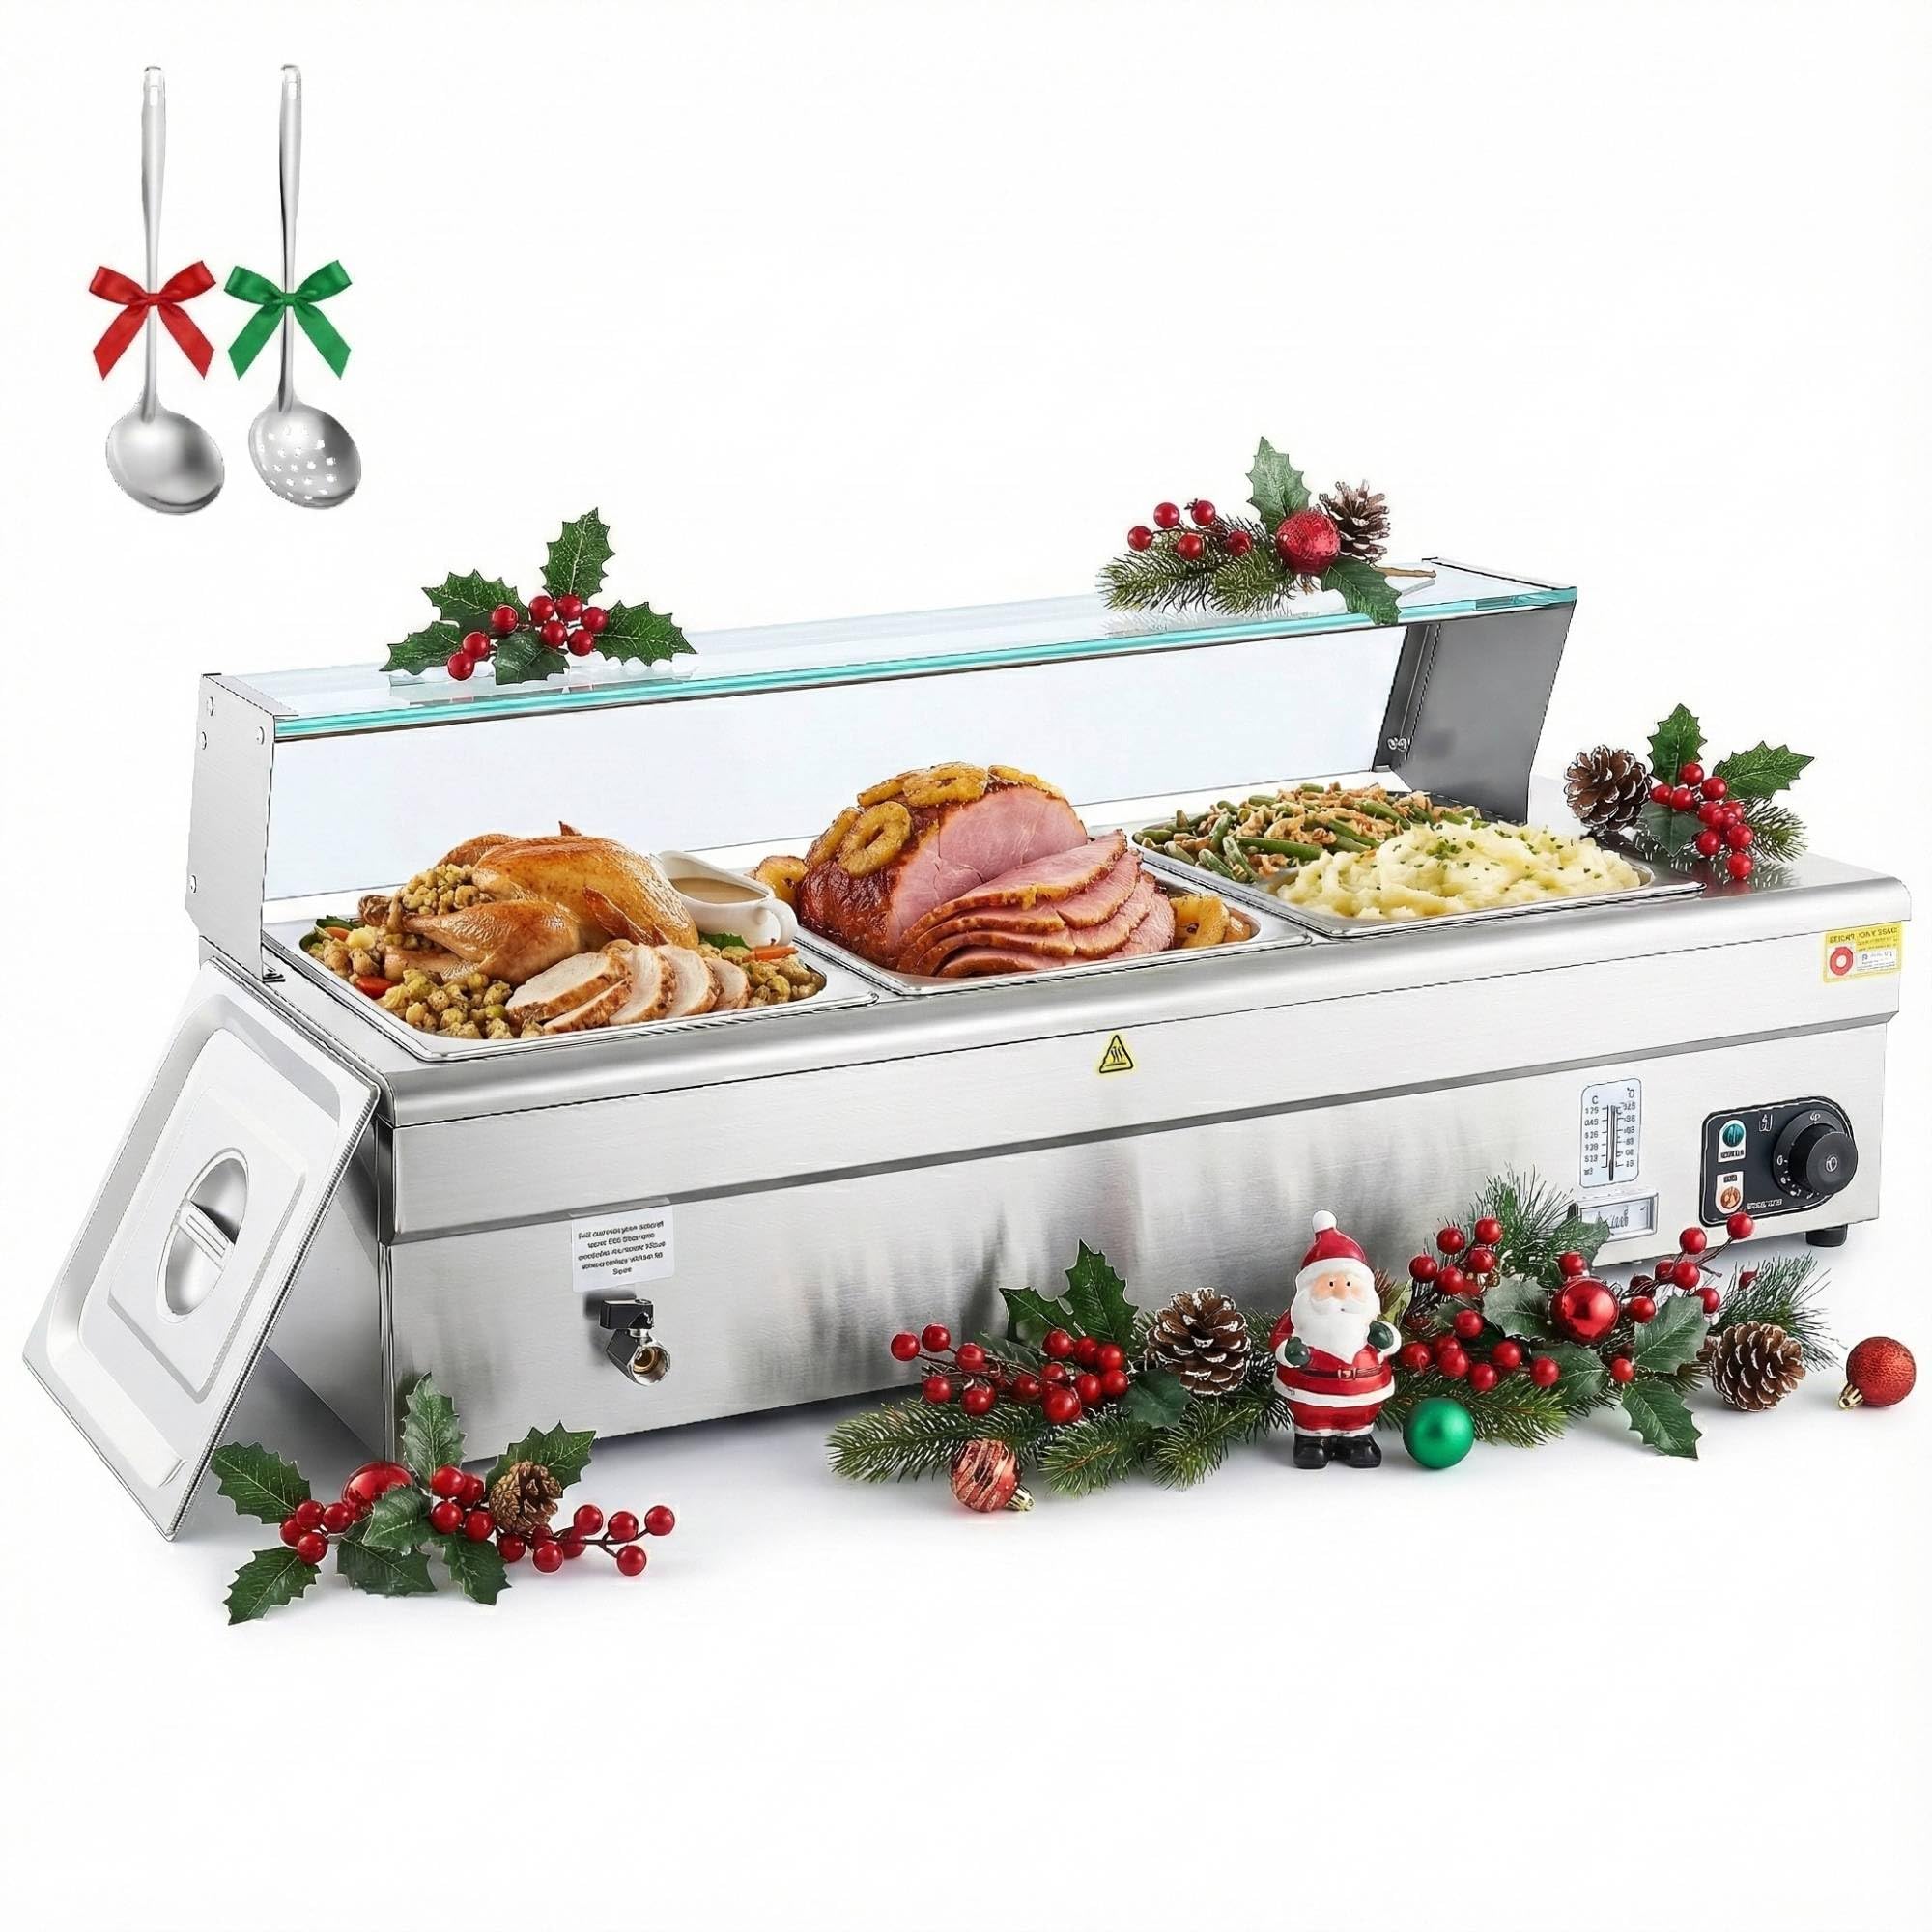
Figuur 2.1: Voorkant view of the WILPREP 3-Pan Commercial Food Warmer.
Sleutel kenmerke:
- Kapasiteit: Equipped with three 1/2 size food pans (12.8 x 10.4 x 5.9 inches each) for versatile food holding.
- Doeltreffende verhitting: 1500W U-shaped heating tubes made from 304 stainless steel ensure rapid and even heat distribution.
- Verstelbare temperatuur: Maintain food temperatures between 86°F and 185°F (30°C to 85°C) with precise control.
- Integrated Sneeze Guard: Crystal-clear sneeze guards help maintain food hygiene and freshness.
- Easy Drainage: Features a built-in drain valve for convenient water removal without lifting.
- Veiligheidskenmerke: Hidden heating tubes, repositioned thermostat, and an auto shutoff at 356°F (180°C) for enhanced safety.
- Duursame konstruksie: Made from food-grade stainless steel for commercial use, resisting corrosion and simplifying cleaning.

Figure 2.2: Food warmer in use, showcasing its capacity for various dishes.
3. Opstelling en samestelling
Follow these steps to assemble your food warmer and sneeze guard before initial use.
3.1 Sneeze Guard Assembly
- Identify the two side boards, screws, holding bars, tempered glass panels, and supporting tubes.
- Attach the holding bars onto the side boards using the provided screws. Ensure they are securely fastened.
- Remove the pre-installed screws from the top corners of the warmer holder.
- Secure the assembled side boards to the warmer holder using the removed screws.
- Mount the supporting tubes between the two side boards.
- Carefully slide the tempered glass panels between the side boards and the supporting tubes.
Video 3.1: This video demonstrates the installation process for the WILPREP Commercial Food Warmer, including assembly of the sneeze guard and drain valve.
3.2 Drain Valve Assembly
- Place the gasket into the drain valve opening on the warmer.
- Wrap thread seal tape around the pipe connection point to ensure a watertight seal.
- Attach the pipe to the drain valve, tightening it securely. Note: The water valve may appear tight initially; unscrew it counter-clockwise to loosen if needed.

Figuur 3.1: oorview of user-friendly features, including the drain valve and water level markings.
3.3 Plasing
Place the food warmer on a stable, level, and heat-resistant surface. Ensure adequate ventilation around the unit.

Figure 3.2: The food warmer features non-skid feet for stability.
4. Bedryfsinstruksies
Follow these steps for safe and effective operation of your food warmer.
- Vul waterreservoir: Open the drain valve to ensure it is closed. Fill the water reservoir with clean water up to the 'MAX' level indicated by the clear water markings. Do not overfill.
- Place Food Pans: Insert the empty 1/2 size food pans into the warmer. Then, place your pre-cooked and hot food into the pans.
- Koppel krag: Steek die kragkabel in 'n geaarde 110V-elektriese aansluiting.
- Krag aan: Turn the power switch to the 'ON' position. The power indicator light will illuminate.
- Stel temperatuur: Rotate the temperature control knob to your desired holding temperature, typically between 86°F and 185°F (30°C to 85°C). The heat indicator light will turn on when heating is active and cycle on/off to maintain the set temperature.
- Moniteer Kos: Regularly check food temperatures to ensure they remain within safe serving ranges.
- Outo-afskakeling: The unit is equipped with an auto shutoff feature that activates if the temperature exceeds 356°F (180°C) to prevent overheating.
- Skakel af: After use, turn the temperature control knob to the 'OFF' position and switch off the power. Unplug the unit from the electrical outlet.

Figure 4.1: Close-up of the control panel with power and temperature settings.

Figure 4.2: Intuitive control knob for precise temperature management.

Figure 4.3: Clear water level markings for accurate filling.
5. Onderhoud en Skoonmaak
Regular cleaning and maintenance will extend the life of your food warmer and ensure hygienic operation.
5.1 Daaglikse skoonmaak
- Dreineer water: After the unit has cooled, open the drain valve to empty the water from the reservoir.
- Clean Pans and Lids: Remove the food pans and lids. Wash them with warm, soapy water, rinse thoroughly, and dry completely.
- Skoon reservoir: Wipe down the interior of the water reservoir with a damp cloth and mild detergent. Rinse with clean water and dry thoroughly to prevent water spots or mineral buildup.
- Skoon buitekant: Wipe the exterior surfaces, including the sneeze guard, with a damp cloth and mild cleaner. Dry with a soft cloth.

Figure 5.1: Convenient drain valve for easy water removal.
5.2 Ontkalking (Maandeliks of soos nodig)
Mineral deposits can accumulate in the water reservoir over time. To descale:
- Fill the reservoir with a solution of water and white vinegar (1:1 ratio) or a commercial descaling agent.
- Heat the solution for 15-30 minutes (do not boil dry).
- Drain the solution and rinse the reservoir thoroughly with clean water several times to remove any residue.
5.3 Berging
When not in use for extended periods, ensure the unit is clean, dry, and stored in a cool, dry place.
6. Probleemoplossing
Verwys na hierdie afdeling vir algemene probleme en hul oplossings.
| Probleem | Moontlike oorsaak | Oplossing |
|---|---|---|
| Eenheid verhit nie. | No power supply; Power switch off; Temperature knob set too low. | Check power connection and outlet; Turn power switch on; Adjust temperature knob to a higher setting. |
| Ongelyke verhitting. | Insufficient water in reservoir; Mineral buildup on heating elements. | Ensure water level is at 'MAX'; Perform descaling procedure. |
| Food drying out. | Temperature set too high; Lids not properly placed. | Lower temperature setting; Ensure food pan lids are securely in place to retain moisture. |
| Water leakage from drain valve. | Drain valve not fully closed; Gasket missing or damaged; Pipe not securely attached. | Ensure drain valve is fully closed; Check and replace gasket if necessary; Re-attach pipe with thread seal tape. |
Indien die probleem voortduur nadat u hierdie oplossings probeer het, kontak asseblief kliëntediens.
7. Spesifikasies
Technical specifications for the WILPREP 3-Pan Commercial Food Warmer.
| Kenmerk | Detail |
|---|---|
| Modelnommer | CFW-YY23-US |
| Handelsmerk | Wilprep |
| Materiaal | Voedselgraad vlekvrye staal |
| Kleur | Silwer |
| Produkafmetings (L x B x H) | 38.58" x 16.34" x 15.94" |
| Item gewig | 39.7 pond |
| Kapasiteit | 3 x 1/2 Pans (Total 31.8 Quarts) |
| Voltage | 110 V |
| Wattage | 1500 W |
| Bedryfstemperatuurreeks | 86°F - 185°F (30°C - 85°C) |
| Auto Shutoff Temperature | 356°F (180°C) |

Figuur 7.1: Produkdimensies en belangrike spesifikasies.
8. Waarborg en Ondersteuning
For warranty information, technical support, or service inquiries, please contact Wilprep customer service. Keep your purchase receipt and model number handy for faster assistance.