B0F8BYDBSR
Generic Rectangular Industrial Steel Locker: User Manual
Model: B0F8BYDBSR
Inleiding
This manual provides essential information for the safe and efficient assembly, operation, and maintenance of your Generic Rectangular Industrial Steel Locker. Please read these instructions carefully before assembly and retain them for future reference.
Veiligheidsinligting
WARNING: To prevent injury, this product must be securely attached to the wall in accordance with the assembly instructions. Tipping furniture can cause serious or fatal crushing injuries. Always use tip-over restraints.

Image: Anti-tip warning symbol. This symbol indicates the danger of furniture tipping over, especially when children climb on it. Always secure the locker to a wall to prevent accidents.
- Maak seker dat alle onderdele teenwoordig en onbeskadig is voor montering.
- Monteer op 'n sagte, skoon oppervlak om skrape te voorkom.
- Twee mense word aanbeveel vir die vergadering.
- Do not exceed the maximum weight capacity of 661 pounds (300 kg) for the entire unit.
- This locker is designed for indoor use only.
Pakketinhoud
Before beginning assembly, verify that all components listed below are present:
- Locker cabinet components
- Keys (for each compartment)
- Monteringshardeware (skroewe, boute, ens.)
- Monteringsinstruksies (hierdie dokument)
Spesifikasies
| Kenmerk | Detail |
|---|---|
| Model | B0F8BYDBSR |
| Afmetings (B x D x H) | 35.4 x 17.7 x 70.9 duim (90 x 45 x 180 cm) |
| Materiaal | Metaal Staal |
| Voltooi | Powder-coated, Painted |
| Kleur | Grys |
| Aantal kompartemente | 12 |
| Maksimum gewig kapasiteit | 661 pond (300 kg) |
| Montage tipe | Vloerbevestiging (met muurbevestiging aanbeveel) |
| Binne/buiteluggebruik | Slegs binnenshuis |

Image: Detailed dimensions of the steel locker, including overall height, width, depth, and internal compartment measurements.
Opstelling en samestelling
Assembly requires two people and basic tools (not included). Follow these steps carefully:
- Pak komponente uit: Carefully remove all parts from the packaging. Lay them out on a clean, soft surface to prevent damage. Identify all panels (side, top, bottom, back, doors) and hardware.

Image: The locker with all doors open, illustrating the internal layout and individual compartments before assembly of contents.
- Stel die raam bymekaar: Begin by attaching the side panels to the base and top panels using the provided hardware. Ensure all connections are secure.

Beeld: Agter view of the locker, demonstrating the back panel attachment points during assembly.
- Install Internal Dividers and Shelves: Insert the horizontal and vertical dividers to create the 12 individual compartments. Secure them according to the hardware instructions.

Beeld: Voorkant view with doors open, showing the internal structure and compartments, useful for understanding divider placement.
- Attach the Doors: Carefully attach each of the 12 doors to their respective compartments using the hinges and hardware. Ensure they open and close smoothly.
- Installeer voete: Attach the four feet to the bottom corners of the locker. These provide stability and elevate the unit slightly.
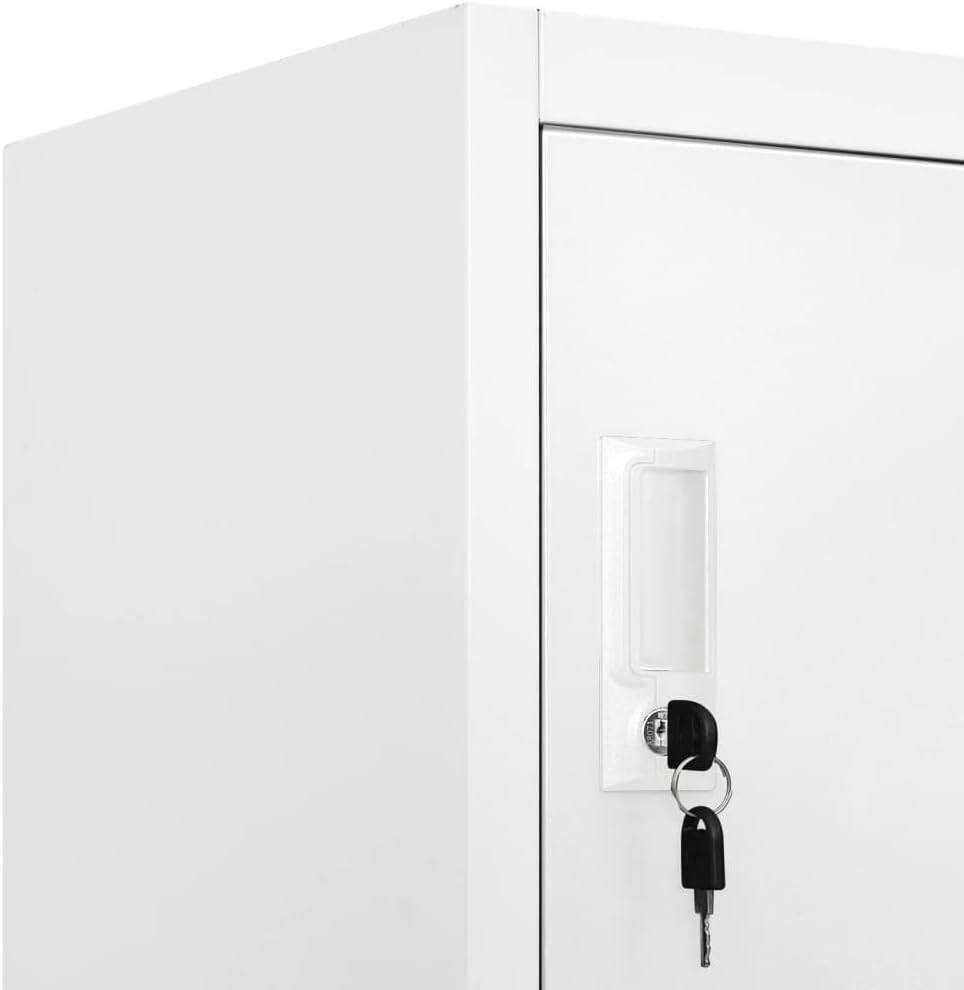
Image: Close-up of a locker foot, illustrating how it attaches to the base for stability.
- Secure to Wall (Mandatory): For safety, especially in households with children, use the provided anti-tip hardware to secure the locker to a sturdy wall. Follow the specific instructions included with the anti-tip kit.
Bedryfsinstruksies
Each compartment of the locker is equipped with a lock and key for securing personal items.
- Locking a Compartment: Insert the key into the lock, turn it clockwise until the door is securely fastened, and then remove the key.
- Unlocking a Compartment: Insert the correct key into the lock, turn it counter-clockwise, and pull the door open.
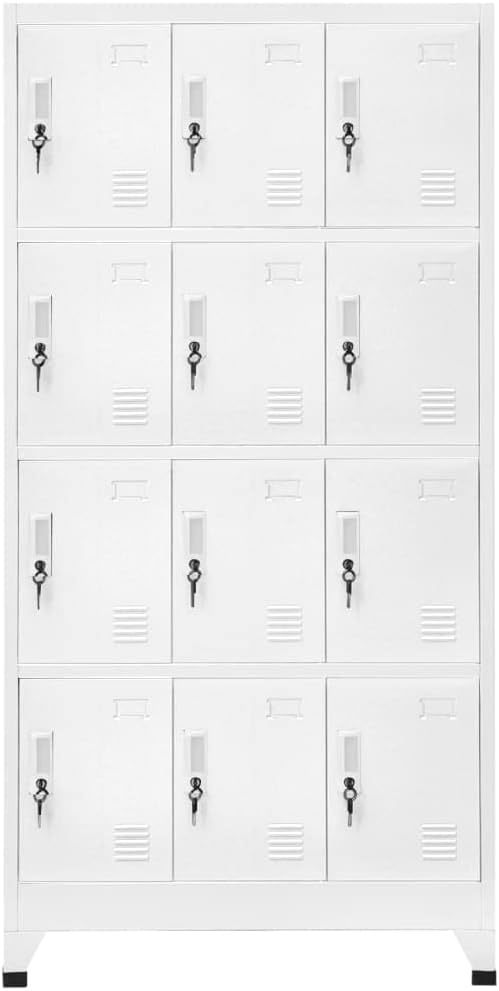
Beeld: Voorkant view of the locker with all doors closed and keys in locks, demonstrating the locking mechanism.
- Sleutelbestuur: Keep track of your keys. It is advisable to label them if multiple lockers are in use.
Onderhoud
- Skoonmaak: Vee oppervlaktes af met 'n sagte, damp cloth. Avoid abrasive cleaners or harsh chemicals, which can damage the powder-coated finish.
- Inspeksie: Kontroleer gereeld alle skroewe en boute om te verseker dat hulle styf bly. Draai weer vas indien nodig.
- Deurskarniere: If doors become stiff, apply a small amount of silicone-based lubricant to the hinges.
- Gewig verspreiding: Distribute weight evenly across compartments to maintain stability and prevent stress on the structure.
Probleemoplossing
- Deure maak nie behoorlik toe nie:
- Check for obstructions inside the compartment or around the door frame.
- Ensure the locker is on a level surface. Adjust feet if necessary.
- Verify hinges are properly aligned and tightened.
- Locker feels unstable:
- Maak seker dat alle monteerhardeware stewig vasgedraai is.
- Confirm the locker is placed on a flat, stable floor.
- Verify the anti-tip mechanism is correctly installed and secured to the wall.
- Keys are lost:
- Contact the retailer or manufacturer for potential replacement key options, providing the locker model and any lock identification numbers if available.
Waarborg en Ondersteuning
Information regarding warranty coverage and customer support for this product may be available from your retailer or the manufacturer, vidaXL. Please refer to your purchase documentation for specific details.
For further assistance, please contact your point of purchase.
Ask a question about this manual
Ask about setup, troubleshooting, compatibility, parts, safety, or missing instructions. Manuals+ will review the question and use this page’s manual context to help answer it.