1. Inleiding
Thank you for choosing the Powerology Portable Air Compressor Jump Starter. This multi-functional device is designed to provide reliable assistance in various emergency situations, including jump-starting vehicles and inflating tires. Please read this manual thoroughly before use to ensure safe and optimal performance.

Figure 1.1: The Powerology Portable Air Compressor Jump Starter, showcasing its main unit, jump starter cables (red and black clamps), and the air inflation hose. The digital display is visible on the unit.
2. Veiligheidsinligting
Volg altyd die volgende veiligheidsmaatreëls om beserings of skade aan die toestel te voorkom:
- Moenie die toestel blootstel aan uiterste temperature, direkte sonlig of vog nie.
- Hou buite bereik van kinders.
- Verseker behoorlike ventilasie tydens werking en laai.
- Moenie die toestel uitmekaar haal of wysig nie. Verwys alle diens na gekwalifiseerde personeel.
- Use only the provided accessories and cables.
- Vermy kortsluiting van die aansitterklepamps.
3. Produk verbyview
3.1 Komponente
- Main Unit (Portable Air Compressor Jump Starter)
- Smart Jump Starter Cables
- Air Inflation Hose
- USB-C-laaikabel
- Various Nozzle Adapters for inflation
3.2 Sleutelkenmerke
- Battery kapasiteit: 8800mAh
- Piekstroom: 800A (for jump starting)
- Max Inflation Pressure: 150 PSI
- Inflasiespoed: 31.4 Liter/Minuut
- Enjinversoenbaarheid: Up to 5.0L Gasoline, 3.0L Diesel
- Kragbankfunksie: Dual USB Output, including 20W Power Delivery (PD) via USB-C
- Vertoon: Digital LED screen for real-time pressure and battery status

Figuur 3.1: 'n Gedetailleerde view of the digital display on the Powerology unit, indicating battery charge, selectable pressure units (PSI, BAR, KPA, KG/CM²), and control buttons for mode selection and pressure adjustment.
4. Opstelling
4.1 Aanvanklike laai
Before first use, fully charge the device. Connect the provided USB-C charging cable to the device's USB-C input port and the other end to a compatible USB power adapter (not included). The digital display will indicate the charging status. A full charge typically takes approximately 2 hours with a 20W PD charger.
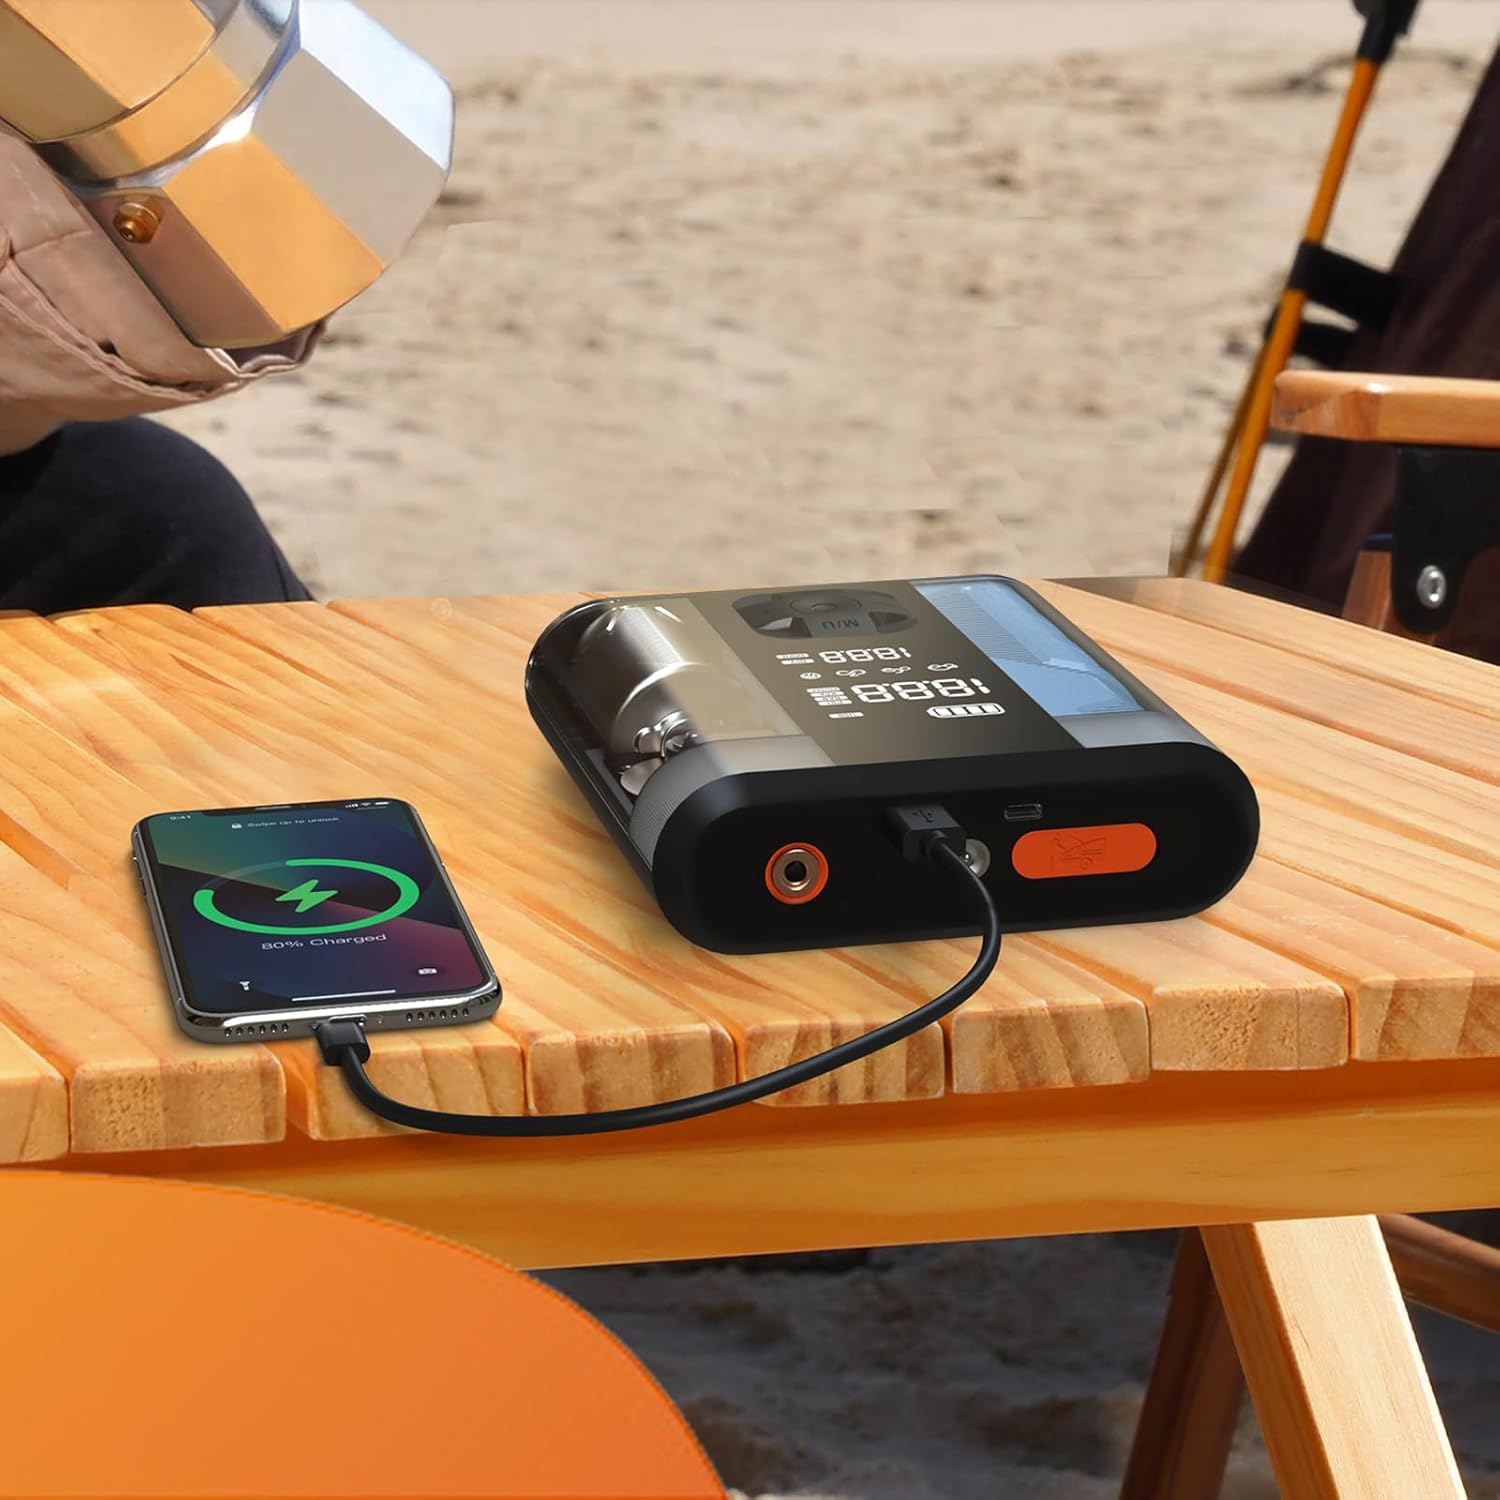
Figure 4.1: The Powerology device connected via USB-C cable to a smartphone, demonstrating its power bank functionality. The phone screen shows a charging indicator.
5. Bedryfsinstruksies
5.1 Spring aan die gang van 'n voertuig
- Maak seker dat die springaanjaer ten minste 50% gelaai is.
- Turn off the vehicle's ignition and all accessories.
- Koppel die rooi (+) clamp na die positiewe (+) terminaal van die voertuig se battery.
- Koppel die swart (-) clamp na die negatiewe (-) terminaal van die voertuig se battery.
- Connect the smart cable connector to the jump starter port on the device.
- Start the vehicle. If it doesn't start immediately, wait 30 seconds and try again. Do not attempt more than 3 consecutive starts.
- Once the vehicle starts, disconnect the smart cable from the jump starter, then remove the black (-) clamp, gevolg deur die rooi (+) clamp.
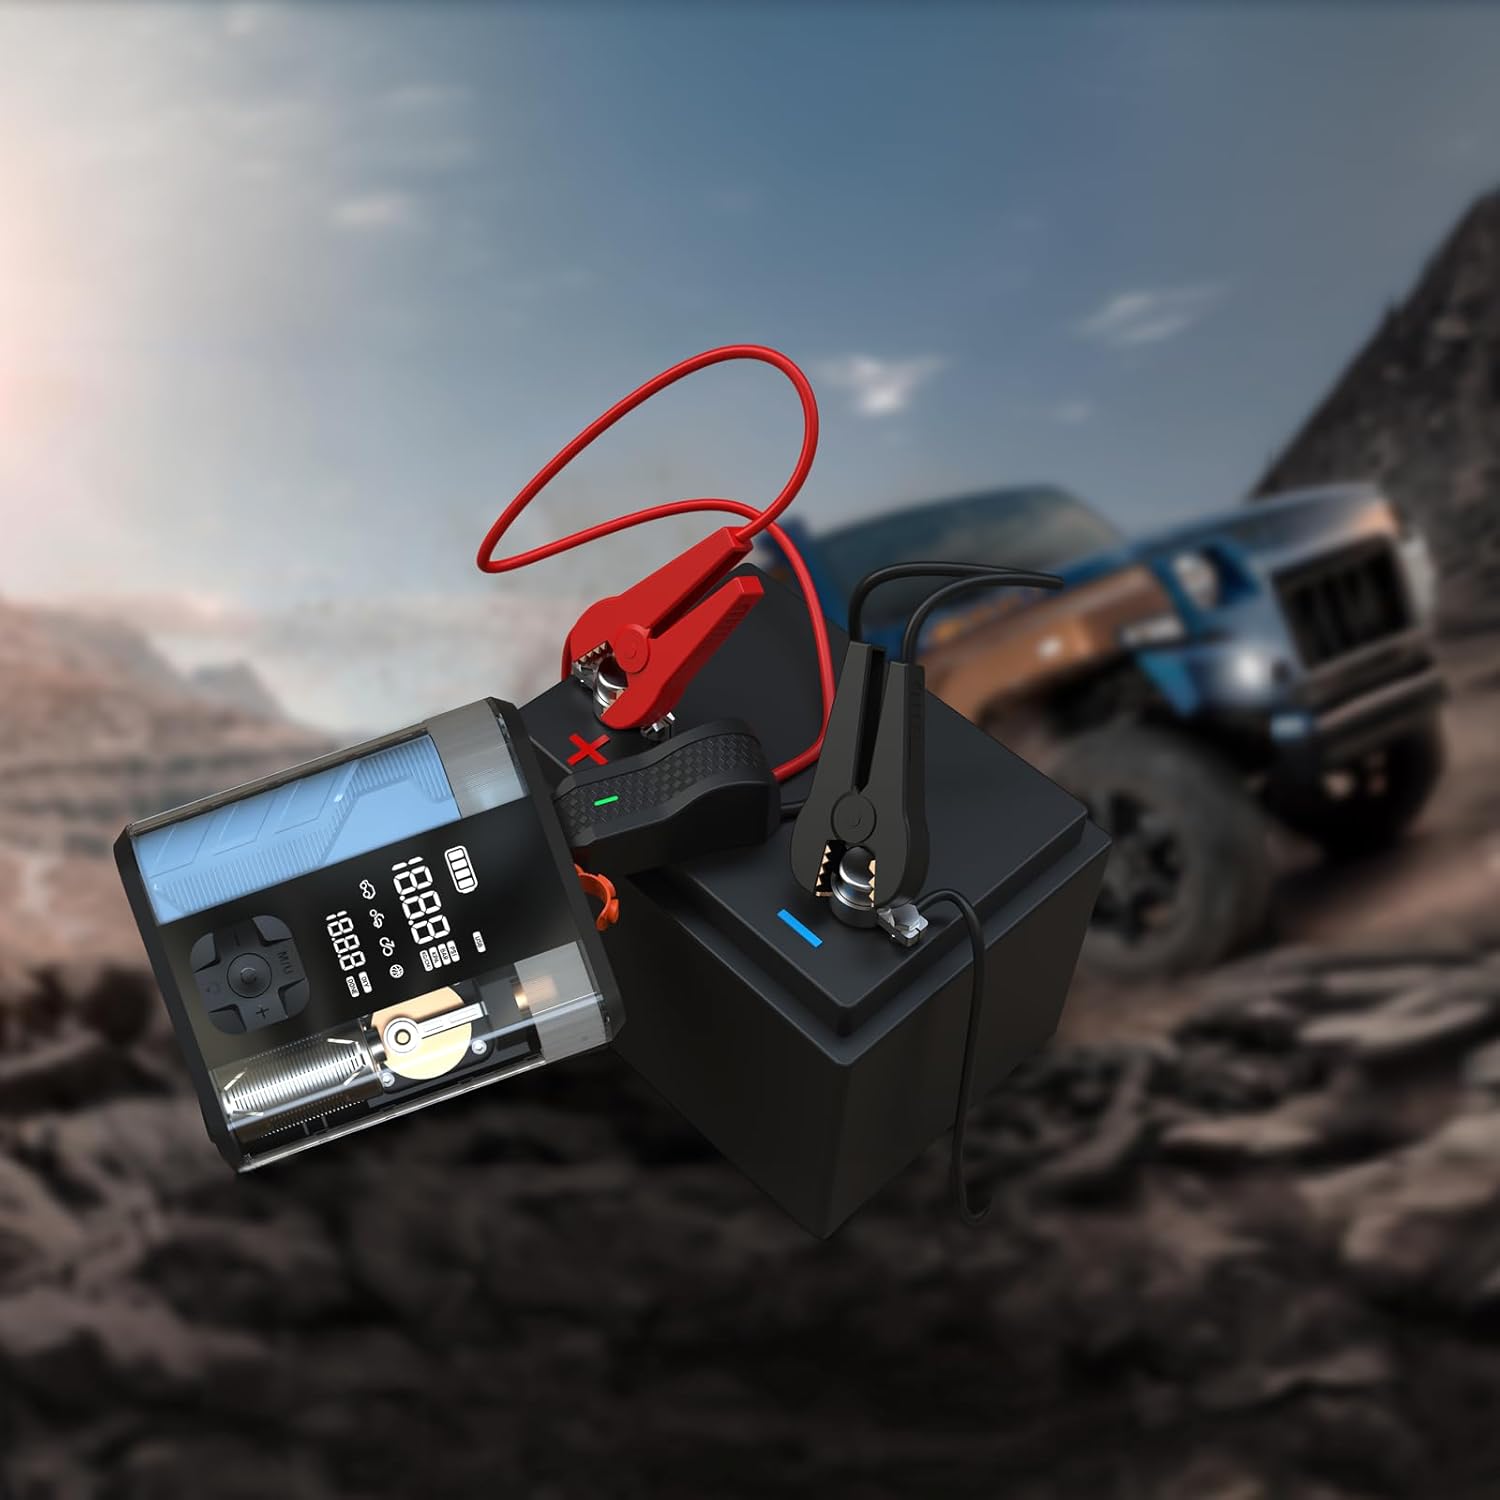
Figure 5.1: The Powerology device with its jump starter cables connected to a vehicle battery, illustrating the process of jump starting a car in an outdoor setting.
5.2 Inflating Tires
- Connect the air inflation hose to the device's inflation port.
- Attach the other end of the hose to the tire valve.
- Turn on the device. The digital display will show the current tire pressure.
- Use the '+' and '-' buttons to set the desired pressure.
- Press the start button to begin inflation. The device will automatically stop when the preset pressure is reached.
- Disconnect the hose from the tire valve and the device.

Figure 5.2: The Powerology device positioned next to a car tire, with the inflation hose connected, demonstrating its use as an air compressor for tire inflation.
5.3 Gebruik as 'n kragbank
Connect your electronic devices (e.g., smartphones, tablets) to the USB-A or USB-C output ports on the Powerology unit using a compatible charging cable. The device will automatically begin charging your connected device.
6. Onderhoud
- Skoonmaak: Vee die toestel af met 'n sagte, droë lap. Moenie harde chemikalieë of skuurmiddels gebruik nie.
- Berging: Store the device in a cool, dry place away from direct sunlight and extreme temperatures. Ensure it is fully charged before long-term storage and recharge every 3-6 months to maintain battery health.
- Batterysorg: Vermy om die battery gereeld heeltemal te ontlaai om sy lewensduur te verleng.
7. Probleemoplossing
| Probleem | Moontlike oorsaak | Oplossing |
|---|---|---|
| Toestel skakel nie aan nie | Lae battery of geen lading | Laai die toestel ten volle. |
| Vehicle does not jump start | Verkeerde clamp connection; vehicle battery too low; engine too large | Check connections; ensure device is fully charged; verify engine compatibility. |
| Tire not inflating | Hose not securely connected; wrong pressure unit selected; hose kinked | Ensure hose is tight; check pressure unit; straighten hose. |
| Toestel oorverhit | Prolonged use; blocked vents | Allow device to cool down; ensure vents are clear. |
8. Spesifikasies
| Kenmerk | Detail |
|---|---|
| Handelsmerk | Kragologie |
| Model | PPBCHA47 |
| Battery Tipe | Litium-ioon |
| Battery kapasiteit | 8800mAh |
| Piekstroom | 800A |
| Maksimum Inflasiedruk | 150 PSI |
| Inflasie spoed | 31.4 l/min |
| USB-C-uitset | 20W PD |
| Produk afmetings | 4.1 x 13.6 x 15.7 cm |
| Produk Gewig | 740 g |
9. Waarborg en Ondersteuning
This Powerology product comes with a standard manufacturer's warranty. For detailed warranty information, technical support, or service inquiries, please refer to the warranty card included in your product packaging or visit the official Powerology webwebwerf. Bewaar u aankoopbewys as bewys van aankoop.