Belangrike veiligheidsinstruksies
Please read all instructions carefully before using this heater and retain for future reference. Failure to follow these instructions may result in electric shock, fire, or serious injury.
- Elektriese veiligheid: Maak seker dat die kragtoevoer ooreenstem met die voltage specified on the heater. Do not overload electrical circuits. Always plug the heater directly into a wall outlet; never use with an extension cord or power strip.
- Plasing: This heater is designed for wall-mounting. Ensure it is installed securely and away from curtains, furniture, and other combustible materials. Maintain a minimum clearance of 3 feet (0.9 meters) from the front and sides of the heater.
- Waterdigte ontwerp (IPX2): This heater is rated IPX2 for protection against dripping water, making it suitable for use in bathrooms. However, do not immerse the heater in water or expose it to direct water spray. Ensure the power outlet is not in a location where it can be splashed.
- Kinders en Troeteldiere: Keep children and pets away from the heater. Do not allow them to operate or play near the appliance.
- Ventilasie: Do not block the air inlets or outlets. Ensure proper airflow around the heater to prevent overheating.
- Onderhoud: Unplug the heater before cleaning or performing any maintenance. Do not attempt to repair the heater yourself; contact qualified service personnel.
- Oorverhittingsbeskerming: The heater is equipped with an automatic overheating protection system. If it overheats, it will shut off automatically. Unplug the heater, allow it to cool down, and then check for any obstructions before restarting.
Produk verbyview
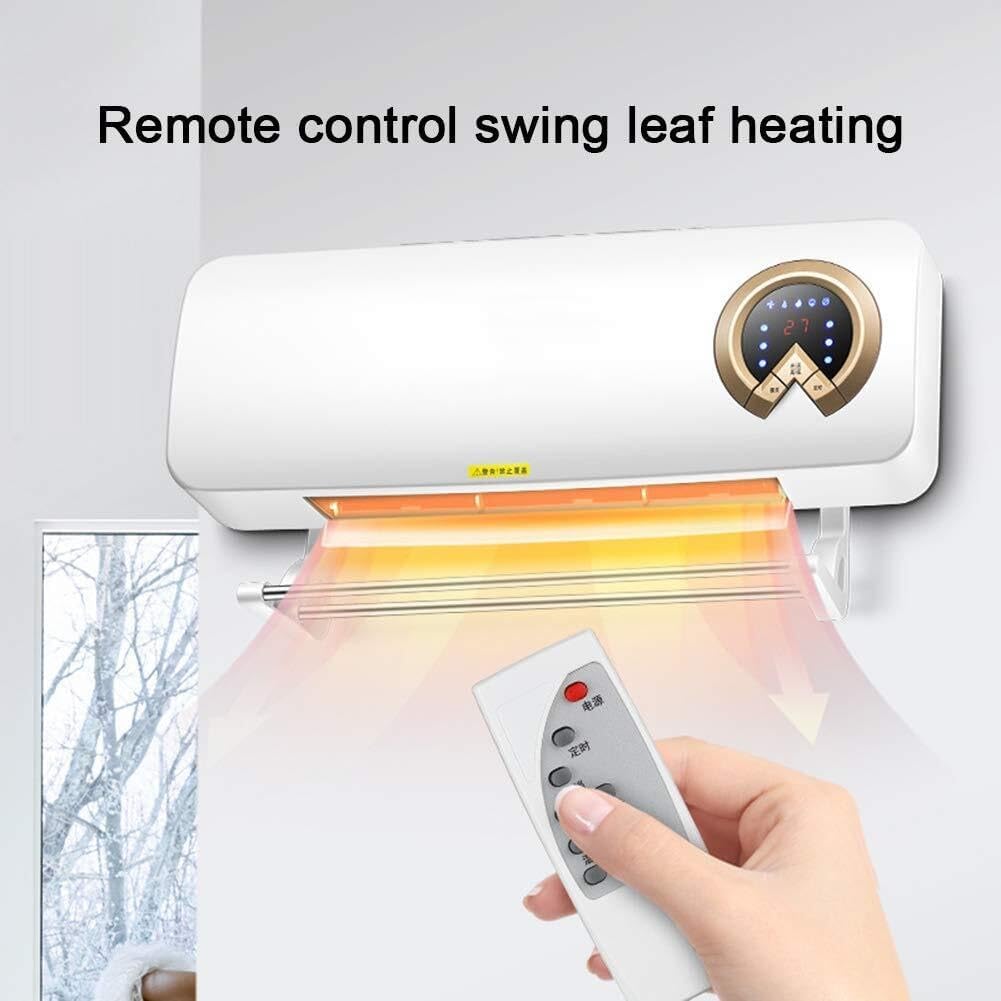
The Generic 2000W Ceramic PTC Fan Heater provides efficient and rapid heating for various rooms. It features a wall-mounted design, remote control operation, and multiple heat settings for customized comfort.
Sleutel kenmerke:
- PTC Keramiek Verhitting: Provides fast, uniform warmth without drying the air.
- 3 hitte instellings: Offers 29W (Fan Only), 1000W (Low Heat), and 2000W (High Heat) options.
- Afstandbeheer: Pas instellings gerieflik op 'n afstand aan.
- 8-uur timer: Program automatic shut-off for energy saving.
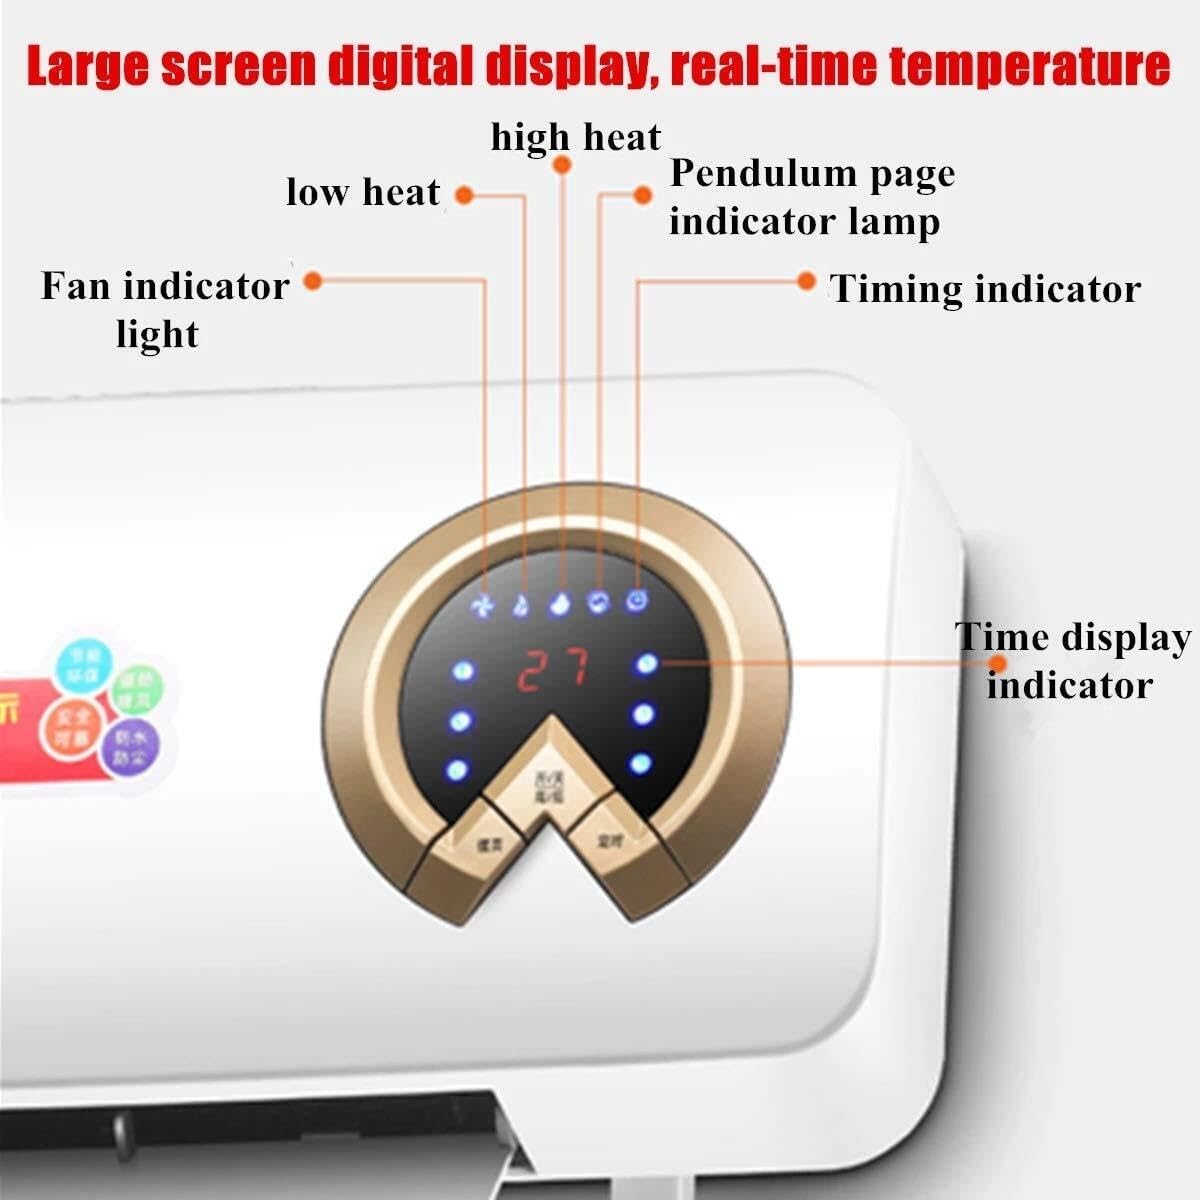
- Digitale LED-skerm: Easy monitoring of temperature and settings.
- IPX2 waterdig: Safe for use in damp omgewings soos badkamers.
- Lae geraas werking: Verseker 'n stil omgewing.
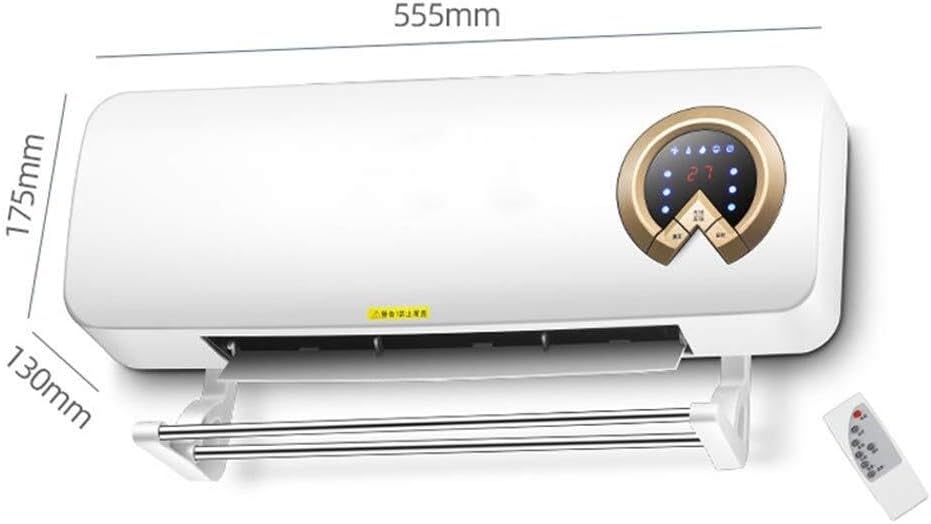
- Muur gemonteerde ontwerp: Saves floor space and provides efficient heating.
Komponente:


Opstelling en installasie
Wall-Mounting Instructions:
- Kies ligging: Select a suitable wall location, ensuring it is away from water sources (other than the intended bathroom use area), flammable materials, and out of reach of children. Ensure there is a power outlet nearby.
- Merk boorpunte: Use the provided mounting template or measure the distance between the mounting holes on the back of the heater. Mark these points on the wall.
- Boorgate: Drill holes at the marked points using an appropriate drill bit for your wall type. Insert wall anchors if necessary.
- Veilige hakie: Attach the mounting bracket (if separate) or directly mount the heater to the wall using the provided screws. Ensure it is firmly secured.
- Kragverbinding: Prop die verwarmer in `n geaarde elektriese aansluiting.
For optimal performance and safety, ensure the heater is level and securely fastened to the wall.
Bedryfsinstruksies
Gebruik die afstandbeheer:
The remote control allows you to operate all functions of the heater from a distance. Ensure the remote has working batteries and is pointed towards the heater's receiver.
- AAN/UIT-knoppie: Press to turn the heater on or off.
- TIMING Button: Press to set the automatic shut-off timer. Each press cycles through timer settings (e.g., 1 hour, 2 hours, up to 8 hours). The selected time will be displayed on the LED screen.
- High Wind (High Heat) Button: Selects the 2000W high heat setting.
- Low Wind (Low Heat) Button: Selects the 1000W low heat setting.
- Temperature + / Temperature - Buttons: Pas die verlangde temperatuurinstelling aan.
- Swing Leaf Button: Activates or deactivates the oscillation function, allowing the internal heating element to swing and distribute heat more widely.
Manual Operation (if applicable, refer to unit buttons):
The heater may also have control buttons directly on the unit for basic functions. Refer to the digital display (Figure 3) for visual indicators of current settings.
- Kragknoppie: Skakel die eenheid aan/uit.
- Modusknoppie: Cycles through heat settings (Fan Only, Low Heat, High Heat).
- Timer-knoppie: Stel die timer.
Onderhoud
Gereelde onderhoud verseker die lang lewensduur en doeltreffende werking van u verwarmer.
- Skoonmaak: Before cleaning, always unplug the heater from the power outlet and allow it to cool completely. Use a soft, damp cloth to wipe the exterior surfaces. Do not use abrasive cleaners, solvents, or harsh chemicals.
- Stofverwydering: Use a vacuum cleaner with a brush attachment to gently remove dust from the air intake and outlet grilles. Do not insert any objects into the grilles.
- Berging: Indien die verwarmer vir 'n lang tydperk gestoor word, maak dit deeglik skoon en bêre dit op 'n koel, droë plek, verkieslik in sy oorspronklike verpakking.
- Geen interne onderhoud: The heater contains no user-serviceable parts. Do not attempt to open or repair the unit.
Probleemoplossing
Indien u probleme met u verwarmer ondervind, raadpleeg die volgende algemene probleme en oplossings:
| Probleem | Moontlike oorsaak | Oplossing |
|---|---|---|
| Verwarmer skakel nie aan nie. | No power supply; power switch off; overheating protection activated. | Check power outlet and plug connection. Ensure the ON/OFF switch is pressed. Unplug, wait 30 minutes, and restart. |
| Verwarmer produseer geen hitte nie. | Fan-only mode selected; heating element malfunction. | Ensure a heat setting (Low Heat or High Heat) is selected. If problem persists, contact support. |
| Afstandbeheer werk nie. | Dead batteries; remote not pointed at receiver; obstruction. | Replace batteries. Ensure clear line of sight to the heater. |
| Die verwarmer maak ongewone geraas. | Loose internal component; fan obstruction. | Turn off and unplug the heater. Check for any visible obstructions. If noise persists, discontinue use and contact support. |
Indien die probleem voortduur nadat u hierdie oplossings probeer het, kontak asseblief kliëntediens.
Spesifikasies
| Kenmerk | Detail |
|---|---|
| Handelsmerk | Generies |
| Modelnommer | FJAQZODQQ |
| Kragbron | AC |
| Kraguitset | 2000 W (maksimum) |
| Hitte instellings | 29W (Fan), 1000W (Low), 2000W (High) |
| Produk Afmetings (D x B x H) | 3"D x 2"B x 1"H (7.62cm D x 5.08cm B x 2.54cm H) |
| Item gewig | 50 gram |
| Waterdigte gradering | IPX2 |
| Afteller | Tot 8 uur |
| Verhittingselement | PTC Keramiek |

Waarborg en Ondersteuning
This product comes with a standard manufacturer's warranty. Please refer to the packaging or contact your retailer for specific warranty terms and conditions.
For technical support, troubleshooting assistance, or to inquire about replacement parts, please contact the retailer or manufacturer directly. Keep your purchase receipt and model number (FJAQZODQQ) handy when contacting support.