1. Produk verbyview
The YESWELDER FLUX-135 MINI is a versatile 135Amp 3-in-1 welding machine designed for various welding tasks. It supports Flux Core Gasless MIG, Stick, and Lift TIG welding processes. This machine is suitable for both beginners and experienced welders due to its intuitive controls and synergic features.
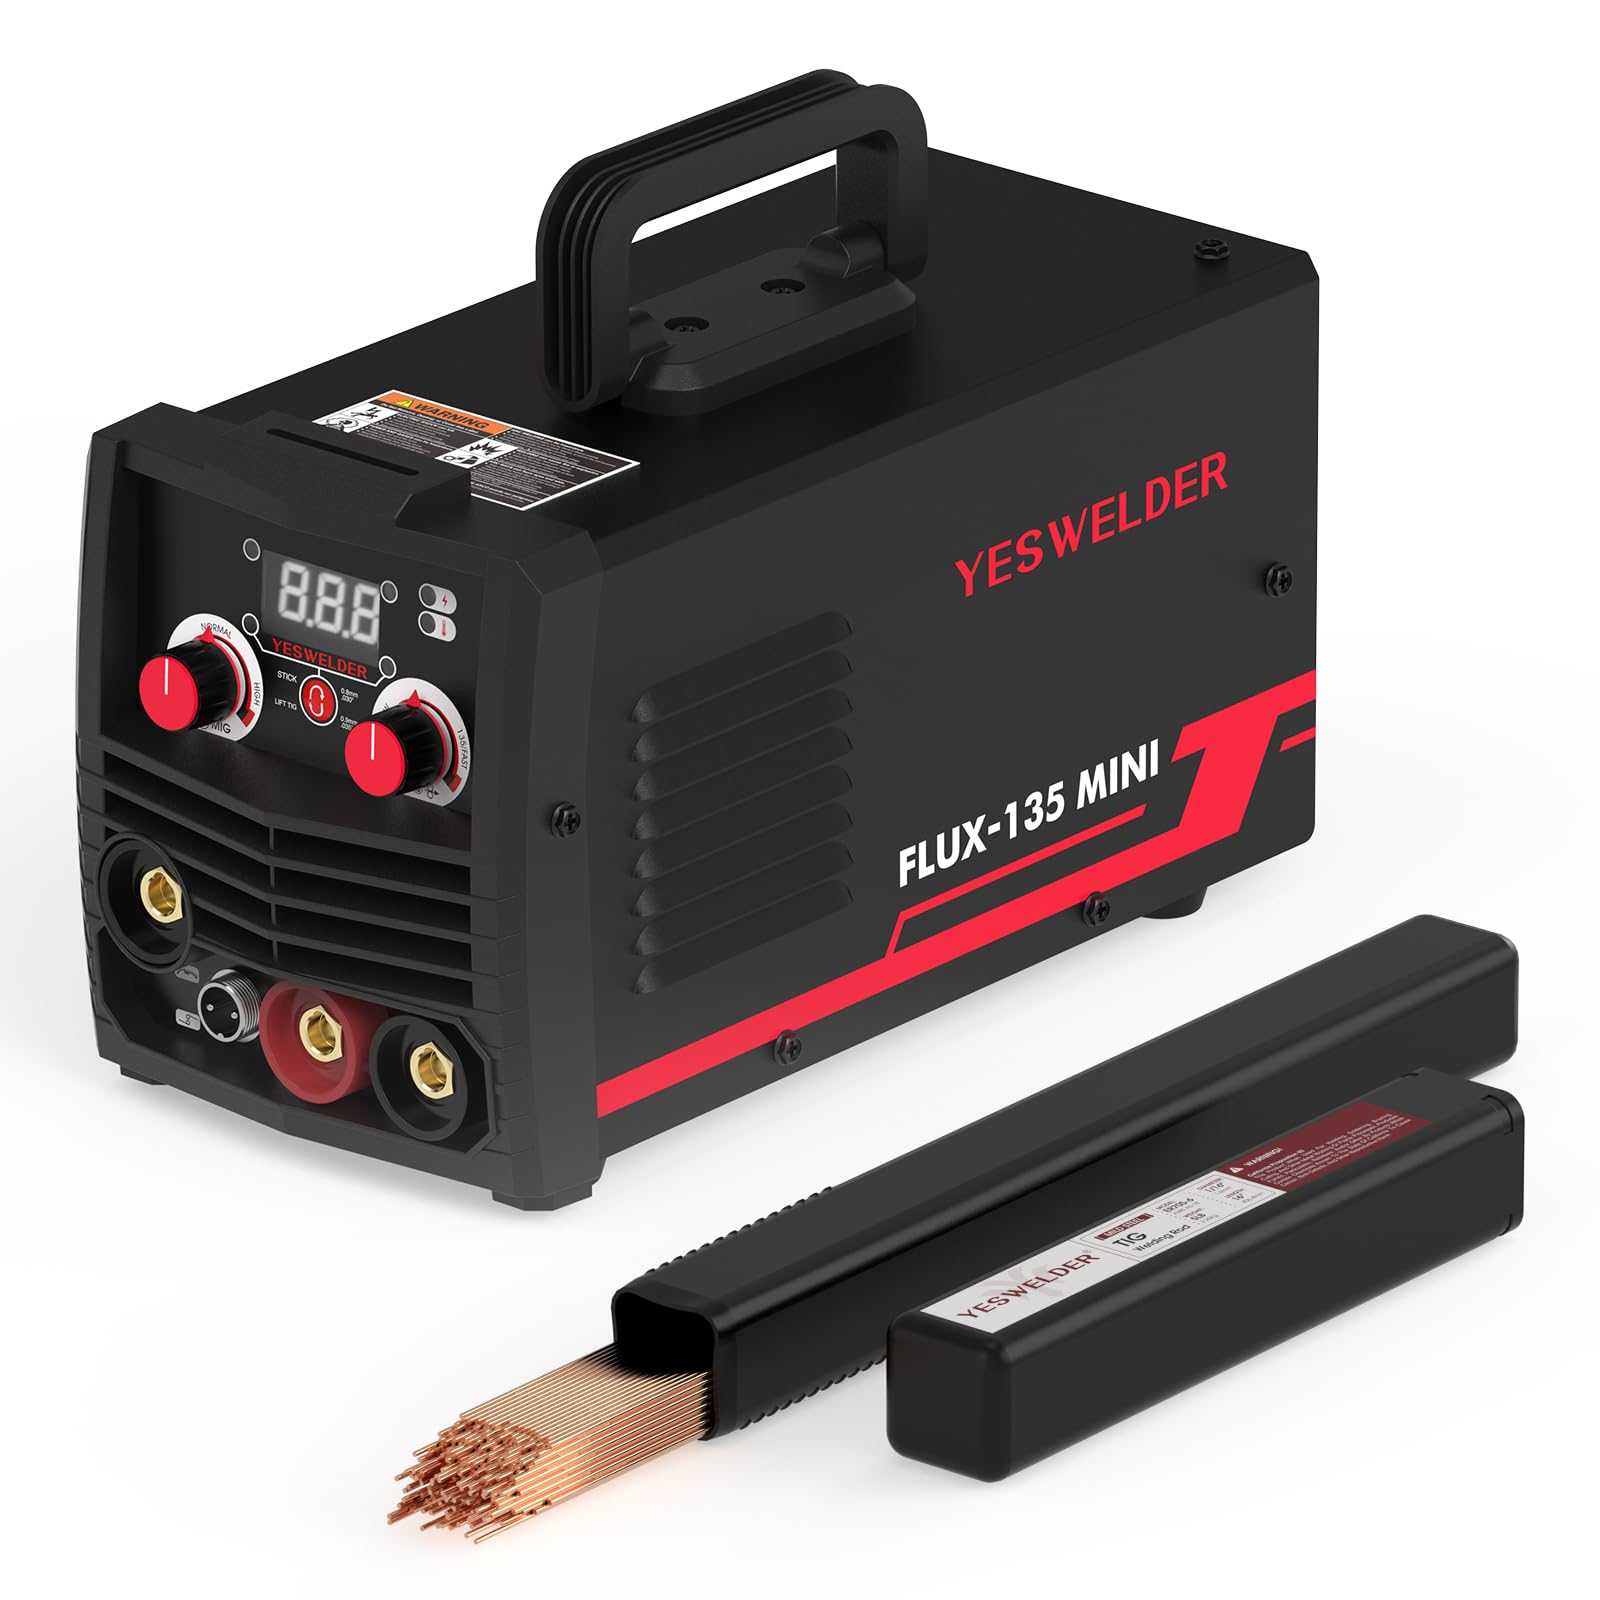
Figuur 1: Voorkant view of the YESWELDER FLUX-135 MINI welding machine.
Sleutel kenmerke:
- Multi-Process Capability: Supports Flux Core Gasless MIG, Stick, and Lift TIG welding.
- Sinergiese Beheer: Automatically matches recommended voltage when adjusting wire feed speed for optimized welding parameters.
- Maklike werking: Intuitive control panel for straightforward adjustment of welding modes, voltage, and current/wire feed speed.
- Kompakte ontwerp: Mini size for portability and convenience.

Figure 2: The 3-in-1 multi-function welding machine illustrating Flux Cored, Lift TIG, and Stick welding capabilities.
2. Veiligheidsinligting
Welding can be hazardous. Always follow safety precautions to prevent injury or damage. Read and understand all safety warnings and instructions before operating this equipment.
Algemene veiligheidsmaatreëls:
- Elektriese skok: Can kill. Do not touch live electrical parts. Wear dry welding gloves and protective clothing. Ensure the welding machine is properly grounded.
- Gasse en dampe: Can be hazardous to your health. Keep your head out of the fumes. Use ventilation or exhaust to remove fumes from the breathing zone and general area.
- Boogstrale: Can burn eyes and skin. Wear a welding helmet with a proper shade filter and protective clothing.
- Vuur en ontploffing: Welding sparks and hot metal can cause fires. Keep flammable materials away from the welding area. Have a fire extinguisher nearby.
- Warm onderdele: Kan ernstige brandwonde veroorsaak. Laat toerusting afkoel voordat dit aangeraak word.
- Geraas: Oormatige geraas kan gehoorskade veroorsaak. Dra oorbeskerming.
- Werksarea: Keep the work area clean, dry, and free from clutter. Ensure adequate lighting.
3. Opstelling en installering
3.1 Kragverbinding
Connect the welder to a standard 110V AC power outlet. Ensure the power source is capable of providing sufficient current for the welding operations.
3.2 Welding Wire Installation (Flux Core MIG)
- Open the wire feeder compartment.
- Place a 2LB (4-inch spool diameter) welding wire spool onto the spindle. The FLUX-135 MINI is compatible with .030"/.08mm flux cored wire.
- Thread the wire through the guide tube and into the drive roller mechanism.
- Close the drive roller tension arm and adjust the tension appropriately.
- Feed the wire through the MIG torch liner until it exits the nozzle.

Figure 3: Installation of a 2LB gasless flux cored welding wire spool.
3.3 Electrode/Torch Connections
- MIG-sweiswerk: The MIG torch is typically pre-connected. Ensure the ground clamp is securely attached to the workpiece.
- Stick Welding: Connect the electrode holder to the positive (+) terminal and the ground clamp to the negative (-) terminal for most common electrodes. Refer to electrode manufacturer specifications.
- Lig TIG-sweising: An additional Lift TIG torch (not included) is required. Connect the TIG torch to the negative (-) terminal and the ground clamp na die positiewe (+) terminaal.
4. Bedryfsinstruksies
4.1 Beheerpaneel verbyview
The FLUX-135 MINI features a simple and intuitive control panel. It includes a digital display, mode selection knob, and adjustment knobs for voltage/current and wire feed speed.

Figuur 4: Gedetailleerd view of the control panel, highlighting synergic control and efficiency.
4.2 Moduskeuse
Use the mode selection knob to choose between Flux MIG, Stick, or Lift TIG welding processes.
4.3 Sinergiese Beheer en Parameteraanpassing
The synergic control feature simplifies parameter setting. When operating in Flux MIG mode, adjusting the wire feed speed knob will automatically suggest the corresponding voltage for optimal welding performance. For Stick and Lift TIG modes, the knobs will adjust current (ampouderdom).
4.4 Welding Processes
- Flux Core Gasless MIG Welding:
This mode uses flux-cored wire, eliminating the need for external shielding gas. Select Flux MIG mode, set your wire feed speed (voltage will adjust synergically), and begin welding. Ensure proper stick-out and travel speed for best results. - Stick Welding (SMAW):
Select Stick mode. Insert the appropriate electrode into the electrode holder. Adjust the current (amperage) based on the electrode type and material thickness. Maintain a consistent arc length and travel speed. - Lift TIG Welding (GTAW):
Note: Requires an additional Lift TIG torch (not included). Select Lift TIG mode. Connect the TIG torch and ground clamp as described in Section 3.3. Use ER70S-6 mild steel TIG welding rods for fabrication of mild steel. Initiate the arc by gently touching the tungsten electrode to the workpiece and then lifting it slightly. Adjust current (amperage) as needed.
Figure 5: YESWELDER ER70S-6 mild steel TIG welding rods.

Figure 6: ER70S-6 TIG welding rods available in 1/16", 3/32", and 1/8" diameters, all 16" long.

Figure 7: An operator performing Lift TIG welding.
5. Onderhoud
Gereelde onderhoud verseker die lang lewensduur en optimale werkverrigting van u sweismasjien.
5.1 Skoonmaak
- Maak die buitekant van die masjien gereeld skoon met 'n droë, sagte lap.
- Use compressed air to blow out dust and debris from the cooling vents. Ensure the machine is unplugged before cleaning.
5.2 Kabel- en verbindingsinspeksie
- Regularly inspect all welding cables, torch leads, and ground clamps for signs of wear, damage, or loose connections. Replace damaged components immediately.
- Maak seker dat alle elektriese verbindings styf en veilig is.
5.3 Wire Feeder Maintenance (MIG)
- Clean the drive rollers and wire guide tubes to prevent wire feeding issues.
- Check the MIG torch liner for blockages or wear. Replace if necessary.
6. Probleemoplossing
Hierdie afdeling bied oplossings vir algemene probleme wat u mag teëkom.
| Probleem | Moontlike oorsaak | Oplossing |
|---|---|---|
| Sweismasjien skakel nie aan nie | No power from outlet; Power switch off; Circuit breaker tripped | Check power outlet; Turn power switch on; Reset circuit breaker |
| No welding arc | Poor ground connection; Incorrect settings; Damaged cables | Verseker grondreinheidamp is secure; Verify mode and parameter settings; Inspect and replace damaged cables |
| Draadtoevoerprobleme (MIG) | Incorrect drive roller tension; Kinked wire; Clogged liner; Wrong size tip | Adjust drive roller tension; Straighten wire; Clean or replace liner; Use correct contact tip size |
| Swak sweiskwaliteit | Incorrect parameters; Improper technique; Contaminated material | Pas voltage/current and wire speed; Practice welding technique; Clean workpiece thoroughly |
Indien u probleme ondervind wat nie hier gelys word nie, of indien die probleem voortduur, kontak asseblief kliëntediens.
7. Spesifikasies
Technical specifications for the YESWELDER FLUX-135 MINI.
| Kenmerk | Detail |
|---|---|
| Model | FLUX-135 MINI |
| Invoer Voltage | 110 V |
| Maks Amperageer | 135Amp |
| Sweisprosesse | Flux Core Gasless MIG, Stick, Lift TIG |
| Draadversoenbaarheid | 2LB (4" spool) Flux Cored Wire (.030"/.08mm) |
| TIG Rod Compatibility | ER70S-6 Mild Steel TIG Welding Rods |
| ASIN | B0DJVGP23K |
| Datum Eerste Beskikbaar | 11 Oktober 2024 |
8. Waarborginligting
This product is covered by a manufacturer's warranty. Please refer to the warranty card included with your purchase or visit the official YESWELDER webwebwerf vir gedetailleerde waarborgbepalings en -voorwaardes. Bewaar u bewys van aankoop vir waarborgeise.
9. Kliëntediens
For technical assistance, spare parts, or any inquiries regarding your YESWELDER FLUX-135 MINI, please contact YESWELDER customer support. You can typically find contact information on the official YESWELDER webwebwerf of deur jou kleinhandelaar.
Aanlyn hulpbronne: Besoek die YESWELDER Store on Amazon vir produkinligting en ondersteuning.