1. Inleiding
Thank you for choosing the Zopsc 1080P HD Digital Camera. This manual provides essential information for setting up, operating, and maintaining your camera. Please read it thoroughly before use to ensure optimal performance and longevity of your device.
This compact digital camera is designed for ease of use, featuring 1080P video recording, 50MP photo capabilities, a 2.8-inch TFT screen, 16x digital zoom, and a built-in LED flash, making it suitable for various photography needs.
2. Produk verbyview
2.1 Sleutelkenmerke
- High Definition Imaging: Capture 50MP still images and record 1080P high-definition videos.
- 2.8-inch TFT Screen: View your shots and navigate menus with clarity.
- 16x Digital Zoom & Autofocus: Achieve precise focus and zoom in on distant subjects.
- Ingeboude LED-flitslig: Illuminate subjects in low-light conditions for clear photos and videos.
- Veelsydige funksies: Includes playback, fill light, time-lapse video, slow motion, continuous shooting, and auto timer (2s, 5s, 10s).
- Beeldverbetering: Supports exposure compensation, white balance adjustment, ISO settings, and anti-shake functionality.
- Kompak en draagbaar: Lightweight design for easy carrying and travel.
2.2 Pakketinhoud
Maak asseblief seker dat al die volgende items in u pakket ingesluit is:
- Zopsc Digital Camera
- Drasak
- Charging Data Cable (USB)
- Handband
- Gebruikershandleiding (hierdie dokument)
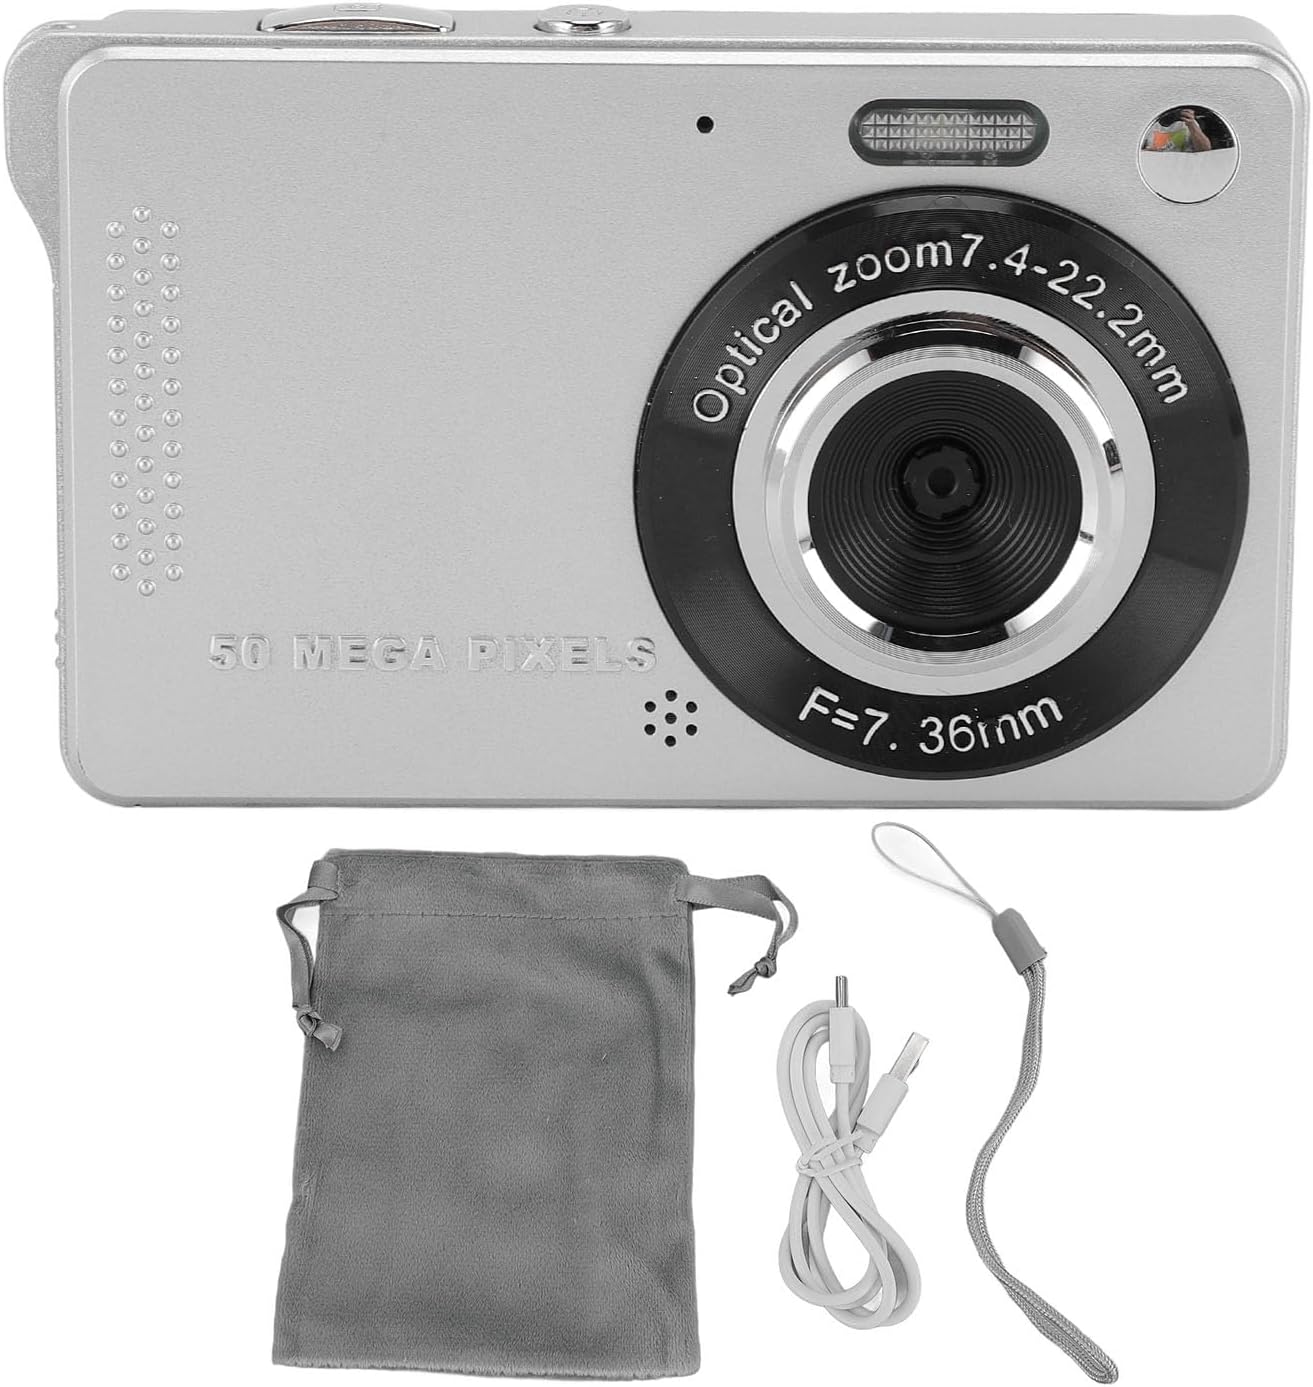
Image: The Zopsc Digital Camera shown with its included accessories: a gray carrying pouch, a white USB charging cable, and a gray hand strap.
3. Kameraonderdele en -kontroles
Familiarize yourself with the camera's layout and controls:
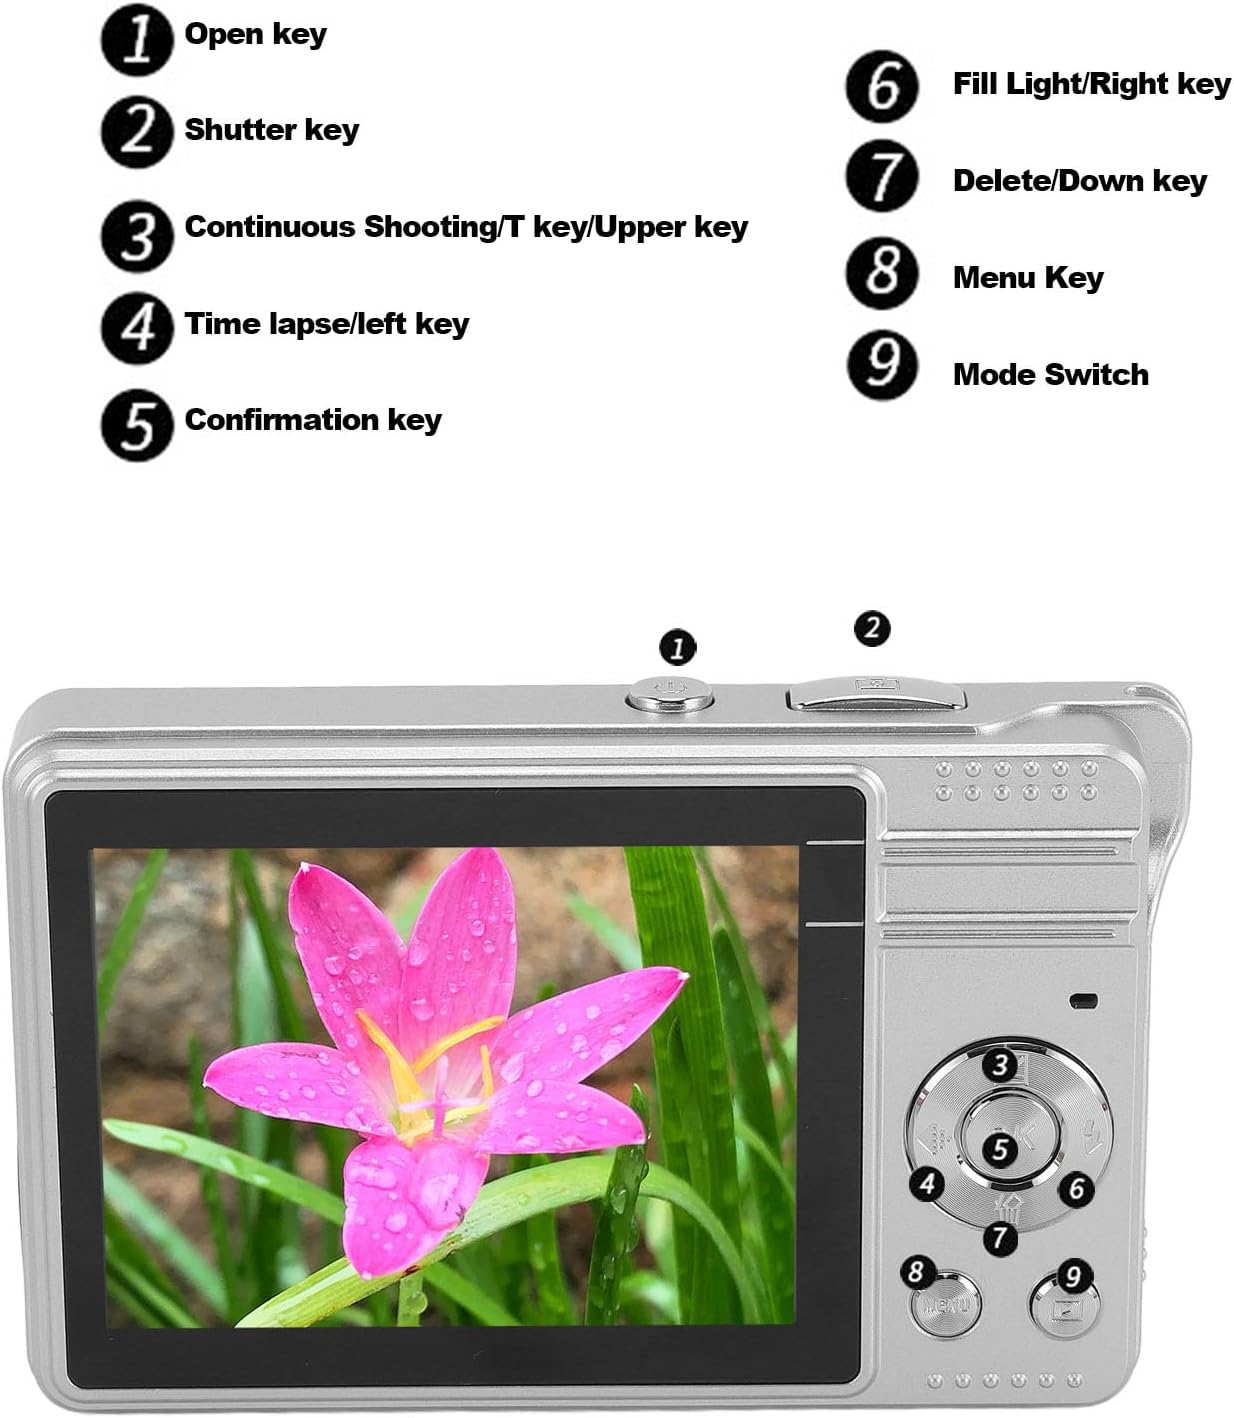
Image: A diagram illustrating the camera's buttons and their corresponding functions. Keyed numbers point to: 1. Open key, 2. Shutter key, 3. Continuous Shooting/T key/Upper key, 4. Time lapse/left key, 5. Confirmation key, 6. Fill Light/Right key, 7. Delete/Down key, 8. Menu Key, 9. Mode Switch.
- Oop sleutel: Skakel die kamera aan of af.
- Shutter Key: Press to take a photo or start/stop video recording.
- Continuous Shooting/T Key/Upper Key: Activates continuous shooting mode, controls zoom in (Telephoto), or navigates up in menus.
- Time Lapse/Left Key: Activates time-lapse mode or navigates left in menus.
- Confirmation Key: Bevestig keuses in spyskaarte.
- Fill Light/Right Key: Toggles the LED fill light or navigates right in menus.
- Delete/Down Key: Vee geselekteerdes uit files or navigates down in menus.
- Kieslys: Accesses the camera's settings menu.
- Modusskakelaar: Changes between photo, video, and playback modes.

Beeld: 'n Nabyskoot van die kant view of the Zopsc Digital Camera, highlighting the USB port and the memory card slot (labeled TF for TransFlash/microSD).
4. Opstelling
4.1 Laai die battery
- Locate the USB port on the side of the camera.
- Connect the provided USB charging data cable to the camera's USB port.
- Koppel die ander kant van die USB-kabel aan 'n USB-kragadapter (nie ingesluit nie) of 'n rekenaar se USB-poort.
- The charging indicator light will illuminate. Once fully charged, the light will change or turn off.
Note: The camera has a built-in 750mAh lithium battery. Ensure the camera is fully charged before first use.
4.2 Invoeging van 'n geheuekaart
The camera requires a small memory card (up to 64GB, not included) for storing photos and videos.
- Locate the memory card slot next to the USB port.
- Gently insert the memory card into the slot with the gold contacts facing the correct direction (refer to the diagram or markings on the camera).
- Push the card in until it clicks into place. To remove, push it in again until it springs out.
Caution: Do not force the memory card. Incorrect insertion may damage the card or camera.
5. Bedryfsinstruksies
5.1 Aan-/afskakel
- Om aan te skakel, hou die Oop Sleutel.
- Druk en hou die. In om uit te skakel Oop Sleutel weer.
5.2 Foto's neem
- Ensure the camera is in photo mode using the Modusskakelaar.
- Raam jou foto met behulp van die 2.8-duim TFT-skerm.
- Druk die Sluiter sleutel halfway down to activate autofocus. The focus indicator will appear.
- Druk die Sluiter sleutel fully down to capture the photo.

Image: The Zopsc Digital Camera in silver, showcasing its compact design and front lens. This camera is capable of capturing 50MP images.
5.3 Opneem van video's
- Switch to video mode using the Modusskakelaar.
- Druk die Sluiter sleutel om opname te begin. 'n Opname-aanwyser sal op die skerm verskyn.
- Druk die Sluiter sleutel weer om op te hou opneem.
5.4 Gebruik van digitale zoom
While in photo or video mode, use the Continuous Shooting/T Key/Upper Key to zoom in (Telephoto) and the Delete/Down Key to zoom out (Wide).
5.5 Activating LED Flashlight
In low light conditions, press the Fill Light/Right Key to turn the built-in LED flashlight on or off.

Image: A side-by-side comparison showing the effect of the built-in LED flash. The "Before" image is darker, while the "After" image, taken with the flash, is brighter and clearer, demonstrating its utility in low-light environments.
5.6 Auto Timer Function
To use the auto timer for self-portraits or group photos:
- In fotomodus, druk die Kieslys sleutel.
- Navigate to the self-timer option using the arrow keys.
- Select your desired delay (2s, 5s, or 10s) using the Bevestiging Sleutel.
- Druk die Sluiter sleutel. The camera will count down before taking the picture.
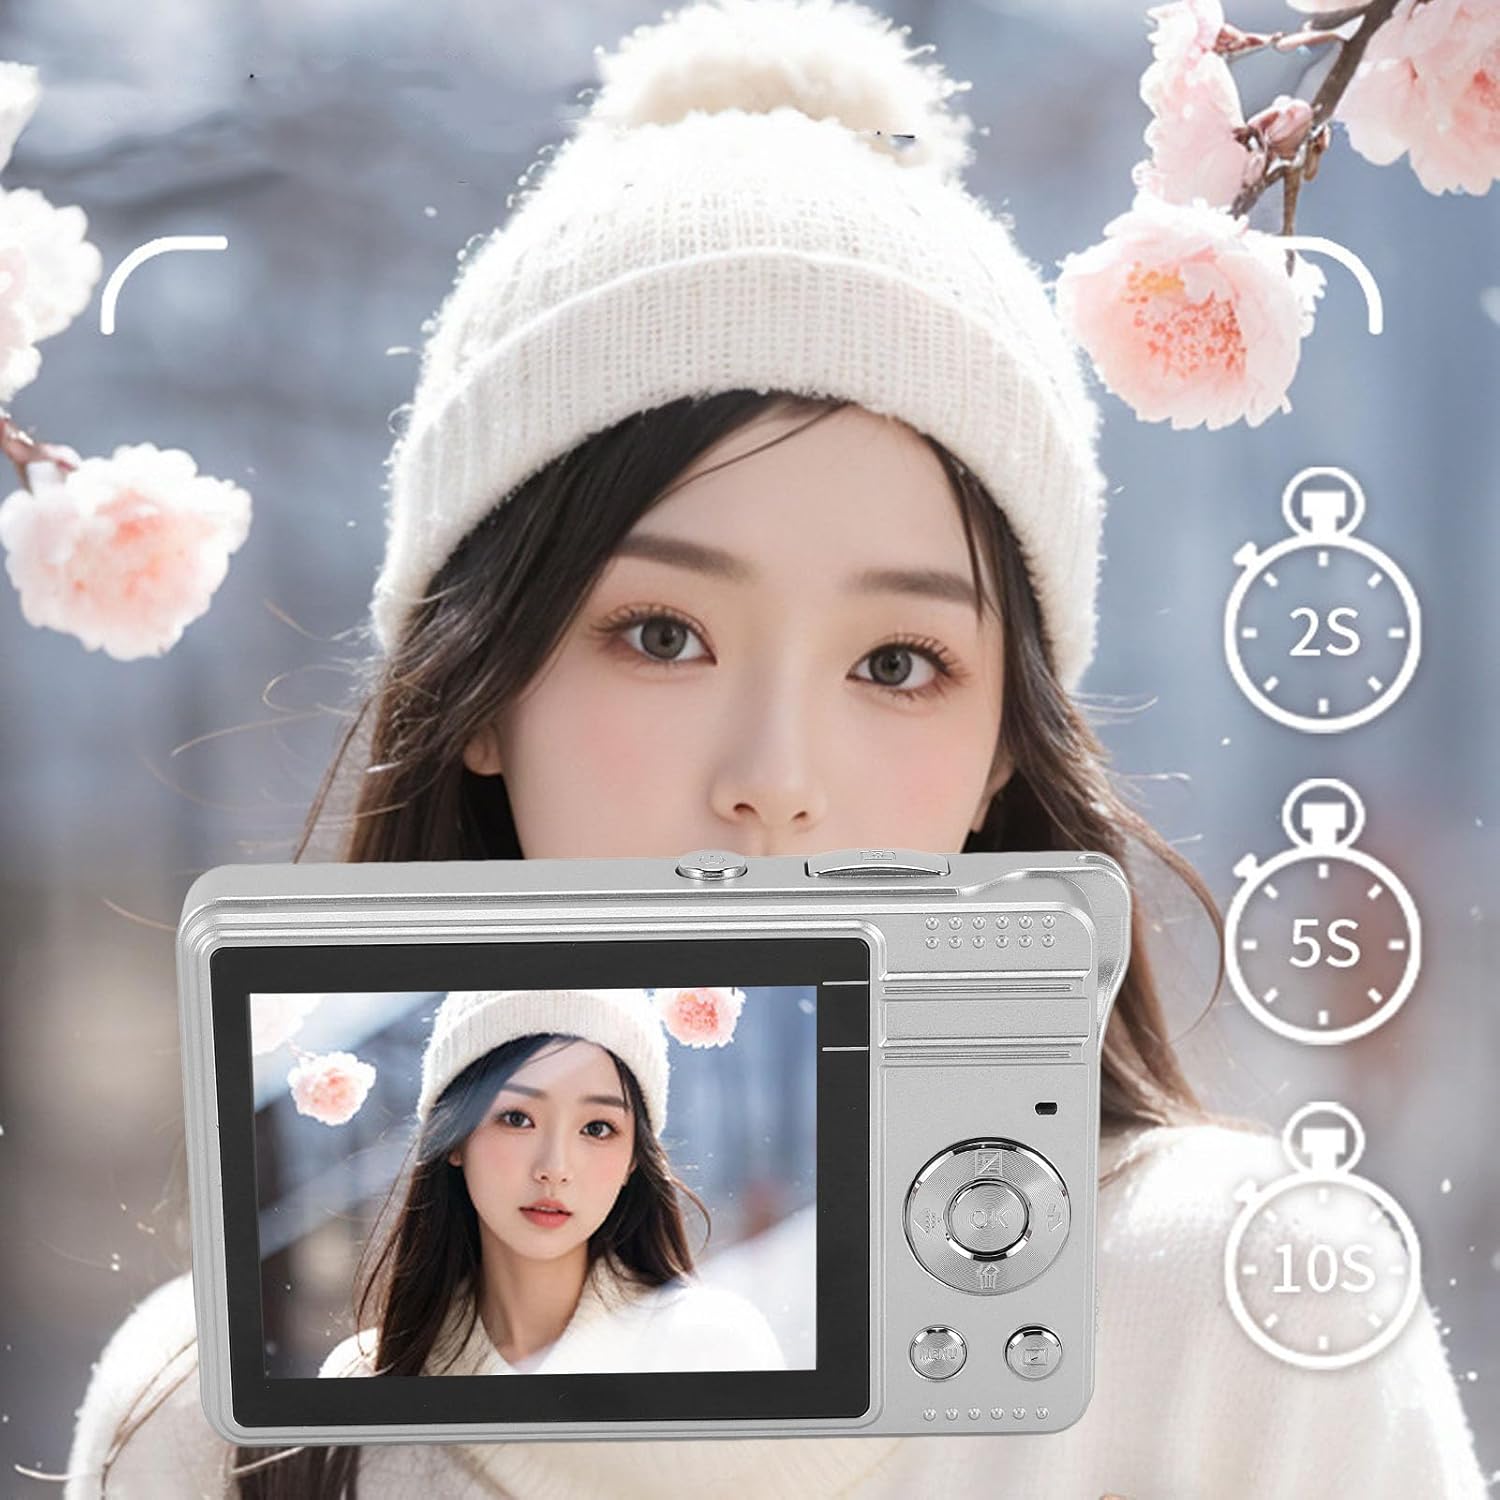
Image: The Zopsc Digital Camera held up, with the screen showing options for a 2-second, 5-second, or 10-second self-timer, indicating the camera's auto-timer functionality.
5.7 Afspeelmodus
Om view jou vasgelegde foto's en video's:
- Switch to playback mode using the Modusskakelaar.
- Use the arrow keys to navigate through your files.
- Druk die Bevestiging Sleutel aan view a video or a larger image.
- Om a file, kies dit en druk die Delete/Down Key, bevestig dan.

Image: The Zopsc Digital Camera's screen showing a grid of six different filter effects applied to an image, demonstrating the camera's ability to shoot in various styles.
6. Onderhoud
6.1 Skoonmaak van die kamera
- Gebruik 'n sagte, droë lap om die kamera se liggaam skoon te maak.
- Vir die lens en skerm, gebruik 'n gespesialiseerde lensskoonmaakdoek en -oplossing. Vermy skuurmiddels.
- Do not use organic solvents or strong chemicals to clean the camera.
6.2 Berging
- Bêre die kamera op 'n koel, droë plek weg van direkte sonlig en uiterste temperature.
- Indien dit vir 'n lang tydperk gestoor word, maak seker dat die battery gedeeltelik gelaai is (ongeveer 50%) en herlaai dit elke paar maande om diep ontlading te voorkom.
- Use the provided carrying bag to protect the camera from dust and scratches.
6.3 Batterysorg
- Vermy om die battery gereeld heeltemal te ontlaai.
- Moenie die battery aan hoë temperature of direkte hitte blootstel nie.
- If the battery performance significantly degrades, it may need replacement by a qualified service center.
7. Probleemoplossing
| Probleem | Moontlike oorsaak | Oplossing |
|---|---|---|
| Kamera skakel nie aan nie. | Battery is leeg. | Charge the camera battery using the provided USB cable. |
| Kan nie foto's/video's neem nie. | Geheuekaart is vol of nie korrek geplaas nie. | Insert a new memory card or delete unnecessary files. Ensure the card is properly seated. |
| Beelde is vaag. | Lens is dirty; camera shake; subject too close/far for autofocus. | Clean the lens. Hold the camera steady. Ensure subject is within autofocus range. |
| LED flash not working. | Flash is turned off; battery low. | Druk die Fill Light/Right Key to activate. Charge the battery. |
| Kamera vries of reageer nie meer nie. | Sagtewarefout. | Druk en hou die Oop Sleutel to force a shutdown, then restart the camera. |
8. Spesifikasies
| Kenmerk | Detail |
|---|---|
| Model Naam | Zopscqx4w6gnfpa-12 |
| Maksimum beeldresolusie | 50 MP |
| Maksimum video resolusie | 1980x1080 (1080P) at 30 FPS |
| Skerm grootte | 2.8 duim TFT |
| Digitale zoom | 16x |
| Berging | Supports small memory card up to 64GB (not included) |
| Battery Tipe | Built-in Lithium battery, 750mAh |
| File Formaat | JPEG (images), MP4 (videos) |
| Beeldstabilisasie | Digitaal |
| Flits | Ingeboude LED-flitslig |
| Minimum sluiterspoed | 0.001 sekondes |
| Beheer van blootstelling | Outomatiese |
| Fokus Tipe | Outofokus |
| Konnektiwiteit | USB |
| Waterweerstandvlak | Nie waterbestand nie |
9. Waarborg en Ondersteuning
This product comes with a standard manufacturer's warranty. Please refer to the warranty card included in your package for specific terms and conditions, including warranty duration and coverage details.
For technical support, troubleshooting assistance, or warranty claims, please contact Zopsc customer service through the retailer where you purchased the product or visit the official Zopsc brand store online:
Please have your model number (Zopscqx4w6gnfpa-12) and purchase information ready when contacting support.