1. Belangrike veiligheidsinstruksies
Lees asseblief alle instruksies sorgvuldig deur voordat u hierdie toestel gebruik. Versuim om hierdie instruksies te volg, kan lei tot elektriese skok, brand of ernstige persoonlike besering.
- Moenie aan warm oppervlaktes raak nie. Gebruik handvatsels of knoppe.
- Om teen elektriese skok te beskerm, moenie koord, proppe of toestel in water of ander vloeistof dompel nie.
- Noukeurige toesig is nodig wanneer enige toestel deur of naby kinders gebruik word.
- Trek uit die stopcontact wanneer dit nie gebruik word nie en voor skoonmaak. Laat afkoel voor jy dele aan- of afhaal.
- Moenie enige toestel gebruik met 'n beskadigde koord of prop of nadat die toestel wanfunksioneer of op enige manier beskadig is nie.
- Die gebruik van bykomstighede wat nie deur die toestelvervaardiger aanbeveel word nie, kan beserings veroorsaak.
- Moenie buite gebruik nie.
- Moenie dat koord oor die rand van tafel of toonbank hang, of aan warm oppervlaktes raak nie.
- Moenie op of naby 'n warm gas- of elektriese brander, of in 'n verhitte oond plaas nie.
- Uiterste versigtigheid moet gebruik word wanneer 'n toestel wat warm olie of ander warm vloeistowwe bevat, verskuif word.
- Koppel altyd eers die prop aan die toestel, en steek dan die koord in die muursok. Om te ontkoppel, draai enige beheer na "af" en verwyder dan die prop uit die muursok.
- Moenie die toestel vir ander as die bedoeling gebruik nie.
- Groot kosse of metaalgereedskap moet nie in 'n broodrooster geplaas word nie, aangesien dit 'n brand of die risiko van elektriese skok kan skep.
- ’n Brand kan ontstaan as die oond bedek is of aan vlambare materiaal raak, insluitend gordyne, gordyne, mure en dies meer, wanneer dit in werking is.
- Moenie enige ander materiaal as die vervaardiger se aanbevole bykomstighede in hierdie oond plaas wanneer dit nie gebruik word nie.
- Moenie enige van die volgende materiale in die oond plaas nie: papier, karton, plastiek of soortgelyke materiale.
- Moenie die krummelbak of enige deel van die oond met metaalfoelie bedek nie. Dit sal oorverhitting van die oond veroorsaak.
2. Produk verbyview
This 22L tabletop electric mini oven is designed for household baking and toasting. It features adjustable temperature control, a 120-minute timer, and a three-layer baking position for versatile cooking.

Figuur 1: Voorkant view of the 22L Tabletop Electric Mini Oven with food cooking inside.

Figure 2: Dimensions of the oven: 421mm (width), 252mm (depth), 273mm (height).
3. Opstelling
3.1 Uitpak
- Carefully remove the oven and all packaging materials from the box.
- Remove any protective films or stickers from the oven surfaces.
- Kontroleer vir enige skade tydens vervoer. Indien beskadig, moenie dit gebruik nie en kontak kliëntediens.
3.2 Plasing
- Plaas die oond op 'n stabiele, plat, hittebestande oppervlak.
- Ensure there is adequate ventilation around the oven (at least 10 cm clearance on all sides).
- Moenie die oond naby vlambare materiale soos gordyne of mure plaas nie.
- Maak seker dat die kragkabel nie geblokkeer of vasgeknyp is nie.
3.3 Voor eerste gebruik
- Wash the baking tray, wire rack, and crumb tray in warm, soapy water. Rinse and dry thoroughly.
- Vee die binne- en buitekant van die oond af met adamp lap.
- To eliminate any manufacturing odors, operate the oven empty for approximately 15 minutes at 200°C (400°F). Ensure the area is well-ventilated during this process.
4. Bedryfsinstruksies
4.1 kontroles oorview
The oven features three mechanical control knobs:
- Boonste Knop: Temperature Control (0-250°C)
- Middelste Knop: Function Selector (Controls upper/lower heating elements)
- Onderste Knop: Afteller (0-120 minute)

Figure 3: Temperature control knob, adjustable from 70°C to 250°C.

Figure 4: Timer knob, adjustable from 0 to 120 minutes.
4.2 Preheating the Oven
- Place the wire rack or baking tray in the desired position.
- Draai die temperatuurbeheerknop na die verlangde temperatuur.
- Turn the Timer knob to the desired preheating time (e.g., 10-15 minutes). The power indicator light will illuminate.
- Once the preheating time has elapsed, the oven is ready for use.
4.3 Baking and Roasting
This oven offers three-layer baking positions and independent temperature control for upper and lower heating tubes.

Figure 5: The 22L capacity oven features three distinct baking positions for versatile cooking.
- Preheat the oven as described above.
- Carefully place your food on the baking tray or wire rack into the desired baking position. Use oven mitts.
- Select the appropriate temperature using the Temperature Control knob (0-250°C).
- Use the Function Selector knob to choose between upper heating, lower heating, or simultaneous upper and lower heating, depending on your recipe's requirements. This allows for precise control over browning and cooking.
- Set the cooking time using the Timer knob (0-120 minutes). The oven will automatically shut off and ring a bell when the timer expires.
- Monitor food through the wide view venster.

Figure 6: The wide viewing window allows for easy monitoring of food changes during cooking.
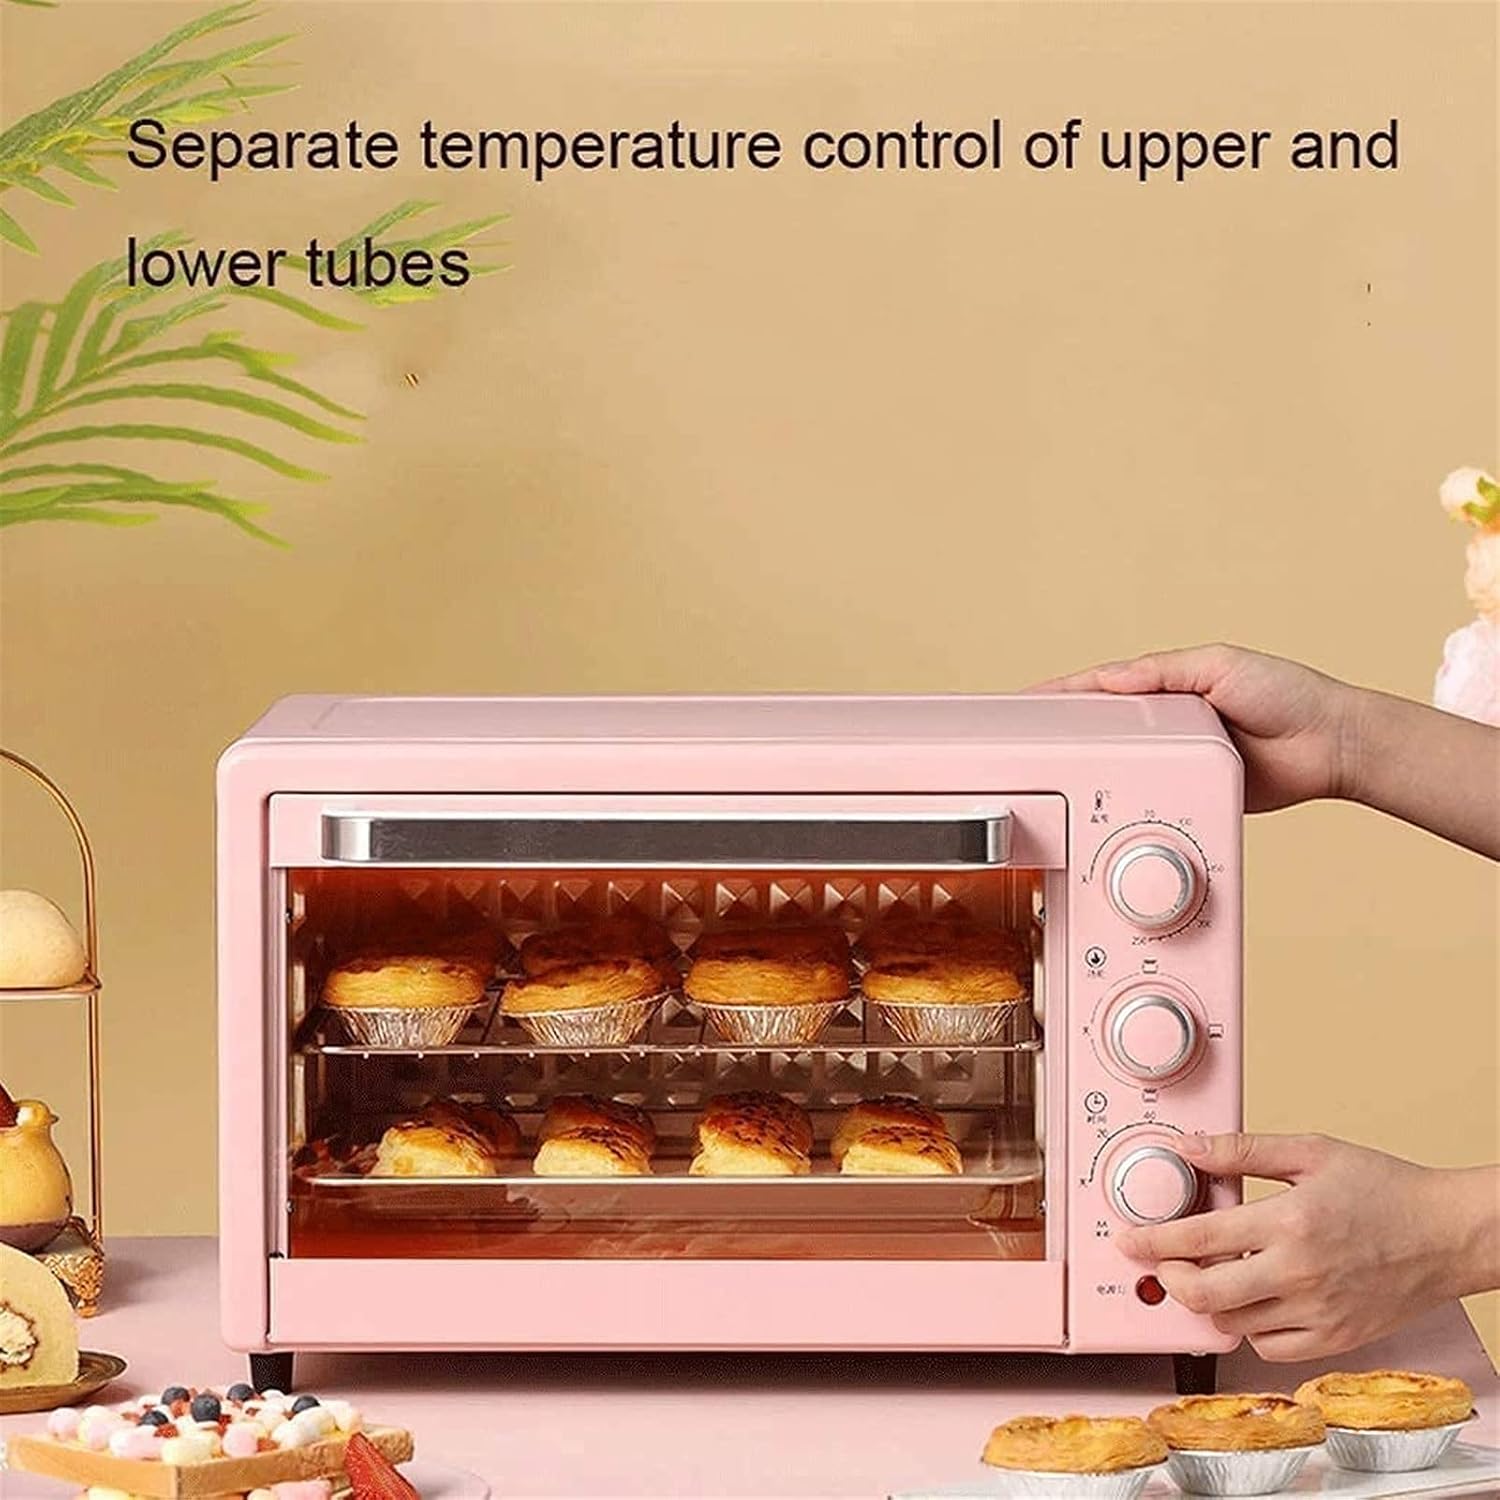
Figure 7: The oven features separate temperature control for upper and lower heating tubes, enabling precise cooking.
5. Onderhoud en Skoonmaak
5.1 Algemene Skoonmaak
- Ontkoppel altyd die oond van die kragtoevoer en laat dit heeltemal afkoel voordat jy dit skoonmaak.
- Moenie die oond se liggaam, koord of prop in water of enige ander vloeistof dompel nie.
- Vee die buitekant met adamp lap en sagte skoonmaakmiddel. Moenie skuurskoonmakers of skuursponsies gebruik nie.
5.2 Cleaning Interior and Accessories
- Remove the baking tray, wire rack, and crumb tray. Wash them in warm, soapy water. For stubborn stains, soak them before cleaning.
- Die binnemure kan met advertensie afgevee wordamp cloth and mild detergent. Avoid touching the heating elements.
- Ensure all parts are thoroughly dry before reassembling and storing the oven.

Figure 8: The oven door features a three-layer safety explosion-proof glass for enhanced durability and safety, including a transparent layer, tempered glass layer, and oil-proof cleaning layer.
6. Probleemoplossing
If you encounter any issues with your oven, please refer to the following common problems and solutions:
- Oond skakel nie aan nie:
- Maak seker dat die kragkabel stewig in 'n werkende elektriese aansluiting ingeprop is.
- Check if the timer knob is set to a cooking duration. The oven will not operate if the timer is at "OFF" or "0".
- Verifieer dat die stroombreker nie afgeskakel het nie.
- Food is not cooking evenly:
- Ensure the oven is preheated to the correct temperature.
- Check that the correct heating function (upper, lower, or both) is selected for your recipe.
- Rotate food halfway through cooking for more even results.
- Ensure there is adequate space around the food for heat circulation.
- Rook of ongewone reuk tydens eerste gebruik:
- This is normal during the initial use as manufacturing oils burn off. Ensure good ventilation. If it persists after the first few uses, discontinue use and contact support.
7. Spesifikasies
| Kenmerk | Spesifikasie |
|---|---|
| Model | 22L Mini Oond |
| Kapasiteit | 22 liter |
| Gegradeerde Voltage | 110V-240V/50Hz |
| Gegradeerde krag | 1300 W |
| Temperatuurreeks | 0-250°C (Controllable) |
| Baktydteller | 0-120 Minutes with Bell Ring and Auto Shut Off |
| Heating Tube Material | Stainless Steel (4 tubes) |
| Voerstof materiaal | Galvanized Sheet |
| Beheer metode | Mechanical Knobs |
| Afmetings (B×D×H) | 421 mm × 252 mm × 273 mm |
| Deurstyl | Aftrekdeur |
8. Waarborg en Ondersteuning
8.1 Beperkte waarborg
This product comes with a limited warranty against defects in materials and workmanship. Please refer to the warranty card included with your purchase or contact the retailer for specific warranty terms and conditions. Keep your proof of purchase for warranty claims.
8.2 Kliëntediens
For technical assistance, troubleshooting, or parts replacement, please contact the retailer where you purchased the product. If purchased directly from the manufacturer, refer to the contact information provided in your packaging or on their official webwebwerf.