Inleiding
This manual provides instructions for the Disney Spiderman 3D Digital Alarm Clock with Nightlight, Model SPD3621. This device features an LED display for time and date, an alarm function, and a comforting nightlight. Please read these instructions carefully before use to ensure proper operation and to maximize the product's lifespan.
Pakketinhoud
- 1 x Spiderman 3D Digital Alarm Clock with Nightlight (Model SPD3621)
- 1 x Instruksiehandleiding (hierdie dokument)
Let wel: Batterye is nie ingesluit nie en moet afsonderlik aangekoop word.
Veiligheidsinligting
- Hou die toestel weg van water en vog.
- Moet nie aan uiterste temperature of direkte sonlig blootstel nie.
- Use only the recommended battery type and ensure correct polarity during installation.
- Verwyder batterye as die toestel vir 'n lang tydperk nie gebruik gaan word nie.
- Moenie ou en nuwe batterye, of verskillende tipes batterye meng nie.
- Hierdie produk is nie 'n speelding nie. Volwasse toesig word aanbeveel vir jong kinders.
Opstelling
- Battery installasie: Locate the battery compartment on the underside of the alarm clock. Open the compartment cover. Insert the required batteries (e.g., 3 x AAA, specific type not provided in data) ensuring correct polarity (+/-). Close the battery compartment cover securely.
- Aanvanklike aanskakeling: Once batteries are installed, the LED display should illuminate, showing a default time.
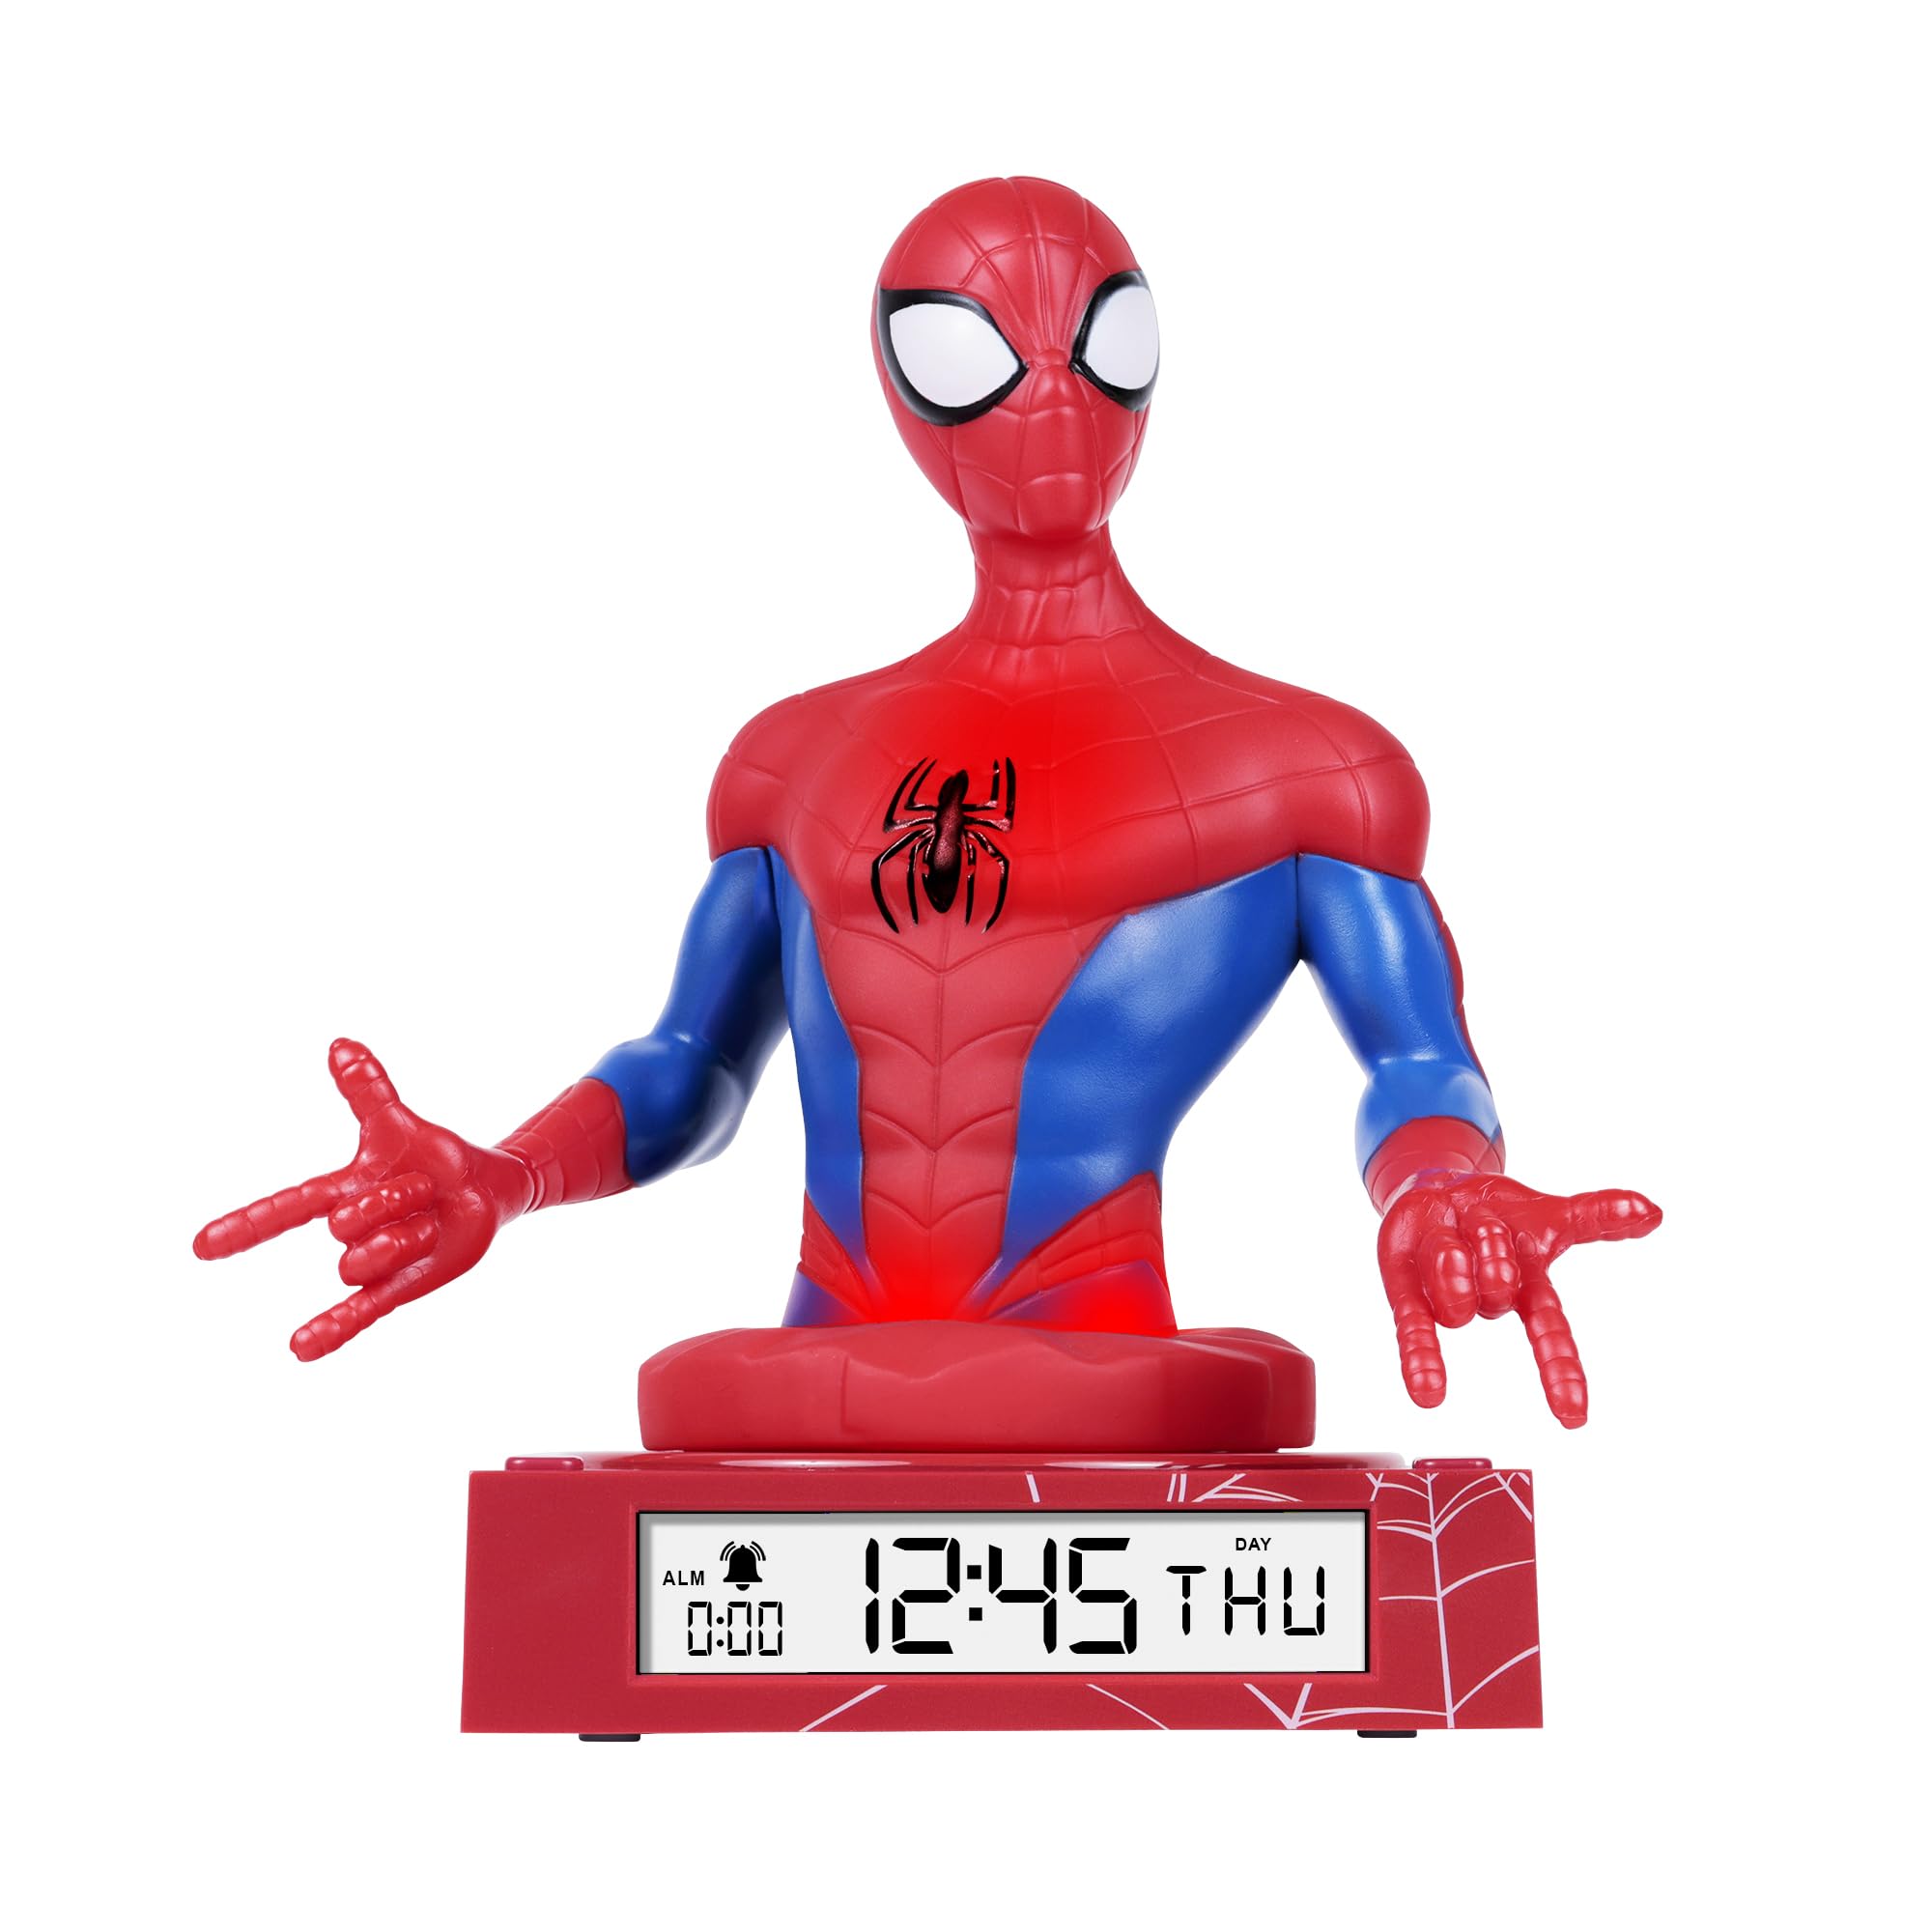
Figure 1: Spiderman 3D Digital Alarm Clock. The image displays the red and blue Spiderman figure on a red base, with the digital time '12:45 THU' visible on the LED display. The base also shows a spiderweb patroon.
Bedryfsinstruksies
The alarm clock features several buttons, typically located on the back or bottom of the unit, for setting time, date, and alarm functions. Refer to the labels on your specific unit for exact button identification.
Stel tyd en datum in
- Enter Time/Date Setting Mode: Druk en hou die STEL button (or similar, e.g., MODE) for a few seconds until the time display starts flashing.
- Pas ure aan: Gebruik die UP en AF buttons (or similar, e.g., HOUR/MINUTE) to adjust the hour. Press STEL weer om te bevestig en na minute oor te skakel.
- Pas minute aan: Gebruik die UP en AF knoppies om die minute aan te pas. Druk STEL again to confirm and move to date settings (Year, Month, Day).
- Pas Datum aan: Follow the same procedure using UP/AF en STEL buttons to set the Year, Month, and Day.
- Verlaat Instellingsmodus: Nadat die dag ingestel is, druk STEL one last time, or wait a few seconds for the display to stop flashing automatically.
Stel die alarm
- Gaan na die alarminstellingsmodus: Druk die ALARMSTEL button (or similar, e.g., ALM) once. The alarm time will be displayed, and the hour digits may flash.
- Adjust Alarm Hours: Gebruik die UP en AF knoppies om die verlangde alarmuur in te stel. Druk ALARMSTEL om te bevestig en na minute oor te skakel.
- Adjust Alarm Minutes: Gebruik die UP en AF knoppies om die verlangde alarmminute in te stel. Druk ALARMSTEL te bevestig.
- Aktiveer/deaktiveer alarm: After setting the alarm time, there may be a separate switch or button (e.g., ALARM ON/OFF) to enable or disable the alarm. A bell icon on the display usually indicates the alarm is active.
- Sluimer-funksie: As die alarm klink, druk die SLUIMER button (if available, often a large button on top) will temporarily silence the alarm for a few minutes.
- Stop alarm: Om die alarm heeltemal te stop, druk enige ander knoppie (bv. ALARM AF or STELDie alarm sal vir die volgende dag herstel word.
Gebruik die naglig
The Spiderman figure on the alarm clock functions as a nightlight. There is typically a dedicated button or switch to control this feature.
- Turn On/Off Nightlight: Druk die NAG LIG button (or similar, e.g., LIGHT) to turn the nightlight on or off.
- The nightlight provides a soft glow, helping children feel secure in the dark.
Onderhoud
- Skoonmaak: Wipe the surface of the alarm clock with a soft, dry cloth. Do not use abrasive cleaners or solvents, as these may damage the finish.
- Battery vervanging: When the display dims or the functions become erratic, it is time to replace the batteries. Follow the battery installation steps in the "Setup" section.
Probleemoplossing
| Probleem | Moontlike oorsaak | Oplossing |
|---|---|---|
| Die skerm is leeg of dof. | Batterye is laag of verkeerd geïnstalleer. | Vervang batterye met nuwes, en verseker die korrekte polariteit. |
| Die alarm lui nie. | Die alarm is nie geaktiveer nie of verkeerd gestel. | Ensure the alarm is set and activated (check for bell icon on display). Verify alarm time. |
| Nightlight is not working. | Nightlight function is off or batteries are low. | Press the NIGHTLIGHT button to turn it on. Replace batteries if necessary. |
| Tyd is verkeerd. | Time was not set correctly or batteries were removed. | Reset the time and date following the operating instructions. |
Spesifikasies
- Handelsmerk: Disney
- Modelnommer: SPD3621
- Vertoon tipe: Digitale LED
- Spesiale kenmerke: Alarm, 3D Spiderman Design, Nightlight Mode
- Kragbron: Battery Operated (Batteries not included)
- Afmetings: Ongeveer 20 cm (L) x 17 cm (H)
- Materiaal: Plastiek
- Kleur: Rooi
Waarborg en Ondersteuning
This product comes with a one-year warranty from the date of purchase. This warranty covers manufacturing defects under normal use. It does not cover damage caused by misuse, accidents, unauthorized modifications, or normal wear and tear.
For warranty claims or technical support, please contact the retailer where the product was purchased. Please retain your proof of purchase for warranty validation.