1. Inleiding
This manual provides essential instructions for the safe and effective use of your Dyson WashG1 hard floor cleaner. Please read this manual thoroughly before first use and retain it for future reference. The Dyson WashG1 is designed for powerful cleaning of both wet and dry messes on hard floor surfaces.
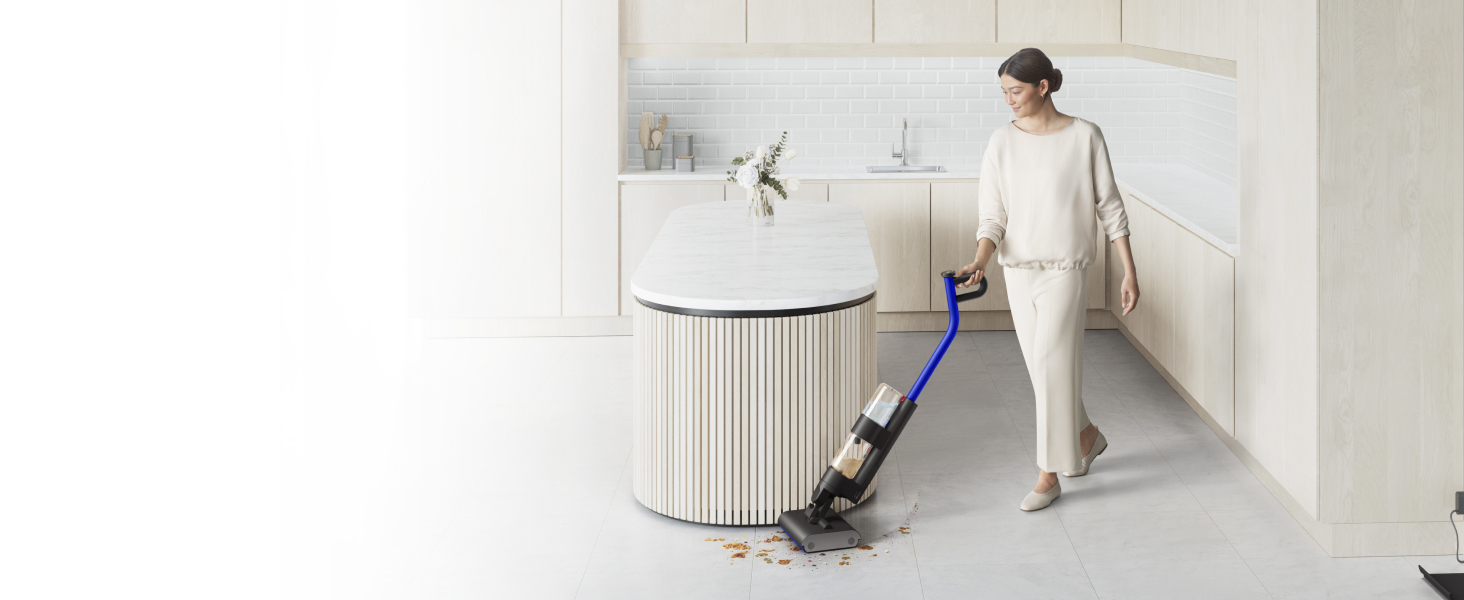
Image: The Dyson WashG1 in action, effectively cleaning up liquid and solid debris from a hard floor.
2. Veiligheidsinligting
Volg altyd basiese veiligheidsmaatreëls wanneer u elektriese toestelle gebruik om die risiko van brand, elektriese skok of besering te verminder.
- Lees alle instruksies voordat u die toestel gebruik.
- Moenie die toestel in water of ander vloeistowwe dompel nie.
- Hou hare, los klere, vingers en alle dele van die liggaam weg van openinge en bewegende dele.
- Gebruik slegs soos beskryf in hierdie handleiding. Gebruik slegs die vervaardiger se aanbevole aanhegsels.
- Moenie met 'n beskadigde koord of prop gebruik nie. As die toestel nie werk soos dit moet nie, laat val, beskadig is, buite gelaat is of in water laat val het, stuur dit terug na 'n dienssentrum.
- Moenie aan koord trek of dra nie, gebruik koord as 'n handvatsel, maak 'n deur op koord toe, of trek koord om skerp kante of hoeke. Moenie die toestel oor die koord laat loop nie. Hou koord weg van verhitte oppervlaktes.
- Moenie die prop uittrek deur aan die koord te trek nie. Om die prop te ontkoppel, gryp die prop vas, nie die koord nie.
- Moenie prop of toestel met nat hande hanteer nie.
- Moenie enige voorwerp in openinge sit nie. Moet nie gebruik met enige opening geblokkeer nie; hou vry van stof, pluis, hare en enigiets wat lugvloei kan verminder.
- Skakel alle kontroles af voordat u die prop ontkoppel.
- Wees ekstra versigtig wanneer jy op trappe skoonmaak.
- Moet nie gebruik om vlambare of brandbare vloeistowwe, soos petrol, op te tel of in gebiede te gebruik waar hulle teenwoordig kan wees nie.
- Moenie iets optel wat brand of rook nie, soos sigarette, vuurhoutjies of warm as.
- Moet nie sonder tenks en filters in plek gebruik nie.
- Hierdie toestel is slegs vir huishoudelike gebruik.
3. Opstelling
3.1 Uitpak en monteer
Carefully remove all components from the packaging. Refer to the image below for the contents of the package.

Image: The Dyson WashG1 main unit, charging dock, and power adapter as included in the box.
Assemble the handle to the main body of the cleaner until it clicks securely into place. Ensure all connections are firm before use.
3.2 Laai die toestel
Before first use, fully charge the Dyson WashG1. Place the cleaner on its charging dock and connect the power adapter to a wall outlet. The display will indicate charging status.
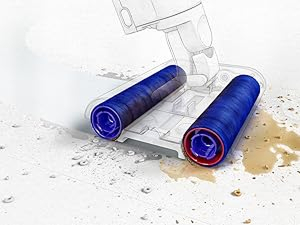
Image: The Dyson WashG1 positioned on its charging station, connected to a power outlet.
3.3 Vul die skoonwatertenk
Locate the clean water tank on the appliance. Remove it and fill with clean tap water. You may add a small amount of Dyson-approved cleaning solution if desired. Do not overfill. Reattach the tank securely.

Image: A hand demonstrating the removal of the clean water tank from the appliance.
4. Operasie
4.1 Aanskakel- en Skoonmaakmodusse
Press the power button to turn on the appliance. The display will show the current cleaning mode and battery level. The Dyson WashG1 features a 'Max' mode for tackling stubborn stains, indicated by a 'MAX' icon and three water droplets on the display.

Image: Close-up of the Dyson WashG1's digital display, showing the 'MAX' cleaning mode activated.
4.2 Skoonmaakproses
The Dyson WashG1 is designed to remove both liquid and dry debris simultaneously. Its powerful microfibre rollers hydrate the floor with clean water and scrub away dirt, while a separate system extracts dirty water and debris into the dirty water tank.
Video: An animated demonstration of the Dyson WashG1's cleaning mechanism, showing how it applies clean water, scrubs with rollers, and separates wet and dry debris into different tanks.
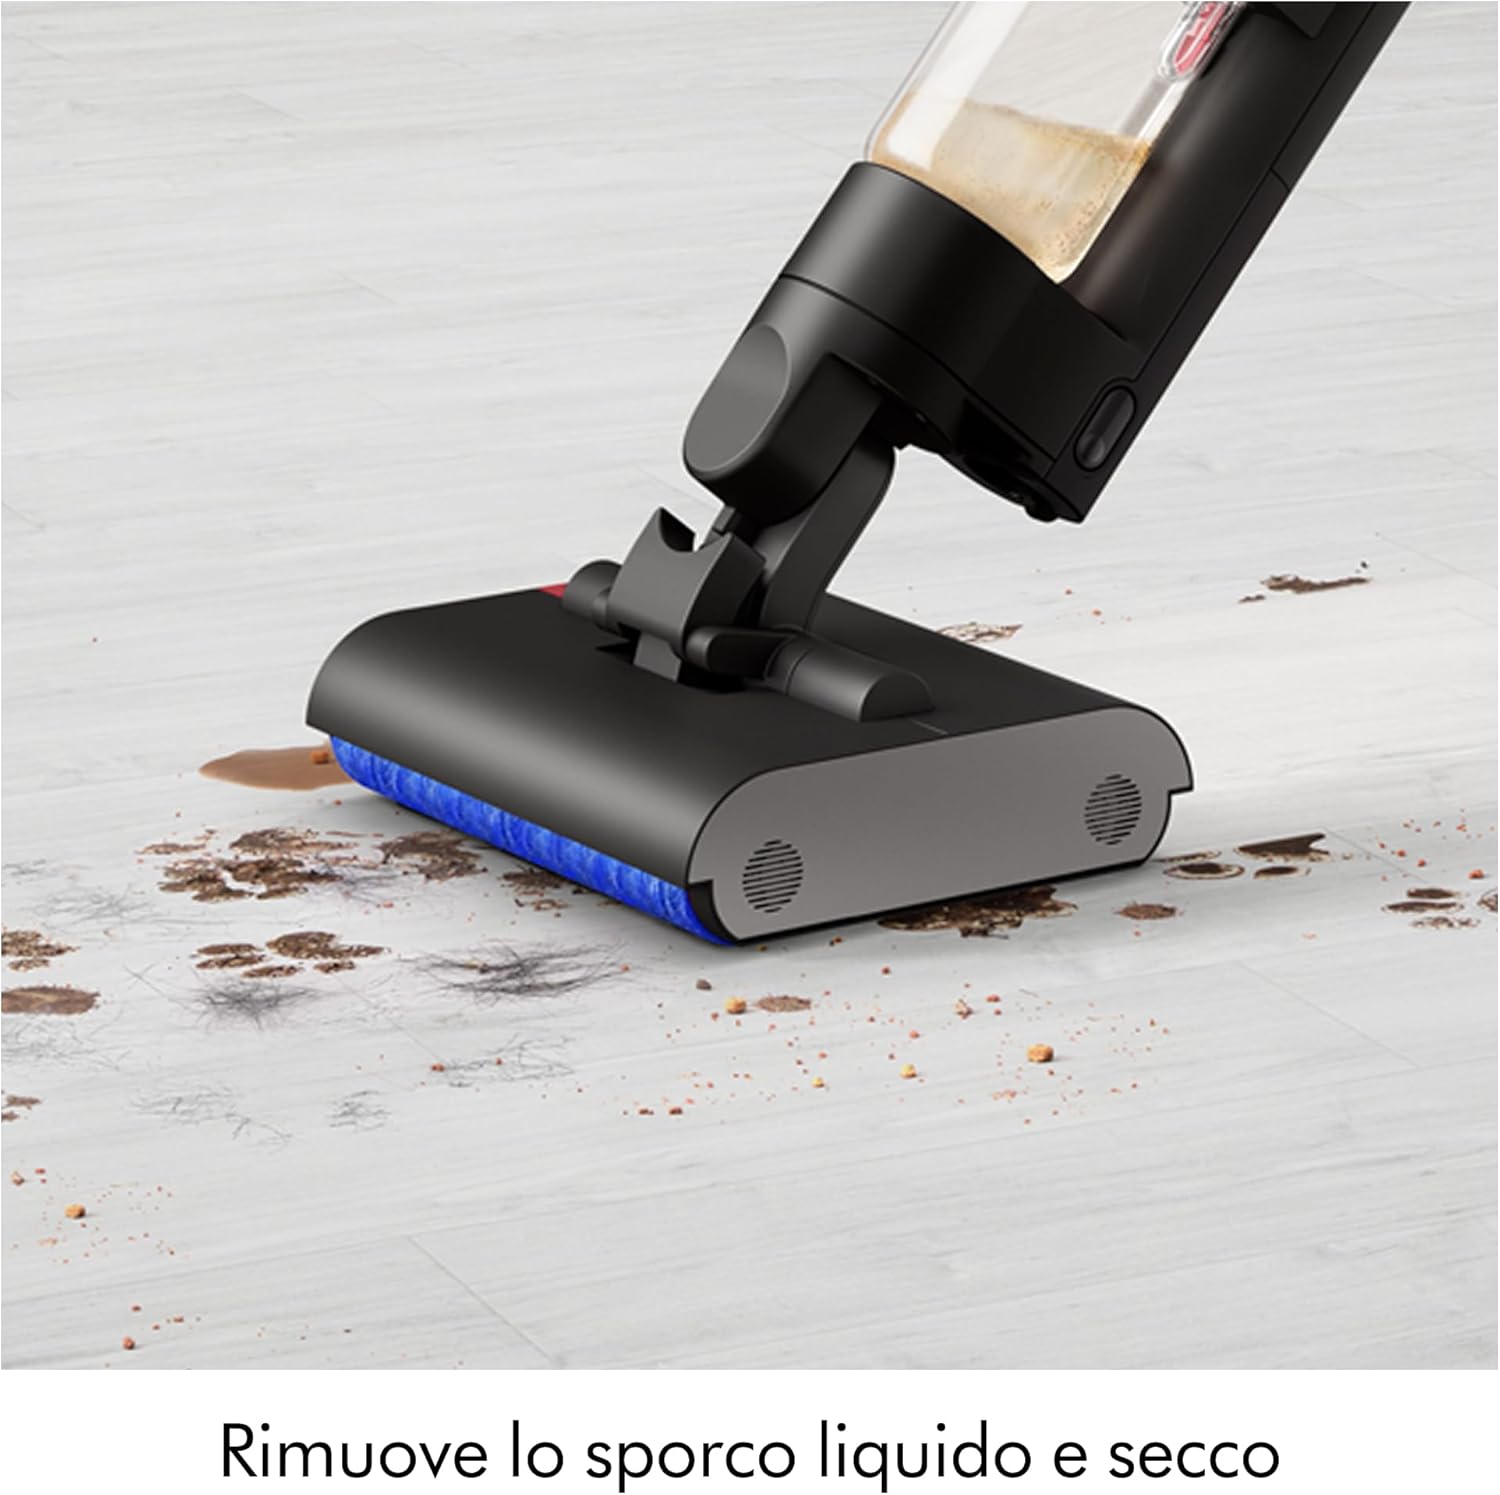
Image: The cleaner head actively removing a combination of liquid spills and solid particles from a hard floor surface.
4.3 Maneuverability and Coverage
The appliance is designed for easy maneuverability, allowing it to clean close to edges and under furniture. It provides up to 35 minutes of runtime, suitable for cleaning large floor areas.

Image: The Dyson WashG1 cleaning effectively under a dining chair, demonstrating its low-profile ontwerp.

Image: A user operating the Dyson WashG1 to clean a spacious hard floor in a contemporary kitchen setting.
5. Onderhoud
Regular maintenance ensures optimal performance and longevity of your Dyson WashG1.
5.1 Leegmaak van die vuilwatertenk
After each use, remove the dirty water tank and empty its contents. The appliance separates liquid and solid debris for hygienic disposal.

Image: Demonstrates the two-step hygienic disposal process: pouring out dirty liquid and discarding solid waste.
5.2 Selfreinigende funksie
The Dyson WashG1 features an automatic self-cleaning cycle. After placing the cleaner on its dock, activate the self-clean function. The display will show 'Self clean Complete' once finished.
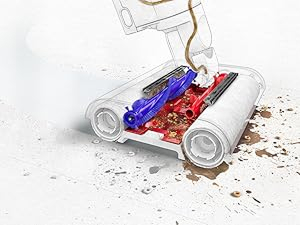
Image: The appliance's screen indicating that the self-cleaning cycle has been successfully completed.
5.3 Cleaning Rollers and Filters
For thorough cleaning, periodically remove the microfibre rollers and wash them under running water. Ensure they are completely dry before reinserting. Clean the filter regularly to maintain suction and water flow efficiency.

Beeld: 'n Interne view showing the brush mechanism cleaning the rotating microfibre rollers.
6. Probleemoplossing
If you encounter any issues with your Dyson WashG1, please refer to the following general troubleshooting tips. For more detailed assistance, consult the official Dyson support webwebwerf of kontak kliëntediens.
- Toestel skakel nie aan nie: Ensure the battery is charged. Check that the power button is pressed firmly.
- Swak skoonmaakprestasie: Check if the clean water tank is filled and the dirty water tank is empty. Ensure rollers are clean and properly installed. Clean any clogged filters.
- Water lekkasie: Verify that all tanks and components are securely attached. Check for any cracks or damage to the tanks or seals.
- Onaangename reuke: This often indicates that the dirty water tank or rollers need thorough cleaning. Perform a self-cleaning cycle and manually clean components as needed.
- Foutkodes op skerm: Refer to the Dyson support webwebwerf vir spesifieke foutkode betekenisse en oplossings.
7. Spesifikasies
| Handelsmerk | Dyson |
| Model Naam | WR01 |
| Spesiale kenmerk | HEPA |
| Filter tipe | Sikloniese filter |
| Aanbevole oppervlaktes | Hard Floor, Stained Floor |
| Kragbron | Battery aangedrewe |
| Kapasiteit | 1 liter |
| Kleur | Swart |
| Geraasvlak | 78 Desibel |
| Motorperdkrag | 0.127 perdekrag |
| Styl | Stok |
| Aantal snelhede | 4 |
| Draagbaar | Ja |
| Binne/buiteluggebruik | Binneshuise |
| Voltage | 14.4 Volt |
| Wattage | 95 watt |
| Batterylewe | 35 minute |
| Looptyd | 30 minute |
| Item gewig | 4.9 kilogram |
| Beheer metode | Raak |
8. Waarborg en ondersteuning
Your Dyson WashG1 comes with a manufacturer's warranty. For details regarding warranty coverage, registration, and to access customer support, please visit the official Dyson webwebwerf of kontak hul kliëntediensafdeling. Bewaar u bewys van aankoop vir waarborgeise.
For further assistance, including spare parts and accessories, please refer to the Dyson official channels.