1. Inleiding
Thank you for choosing the HAPPYGRILL Portable 2-Burner Gas Grill. This manual provides essential information for the safe assembly, operation, and maintenance of your new grill. Please read all instructions carefully before use and retain this manual for future reference.
This portable gas grill features two 10,000 BTU burners, a 119 square inch cooking area, and a built-in thermometer for precise temperature control. Its compact design with foldable legs and a portable handle makes it suitable for outdoor use, including RV trips, camping, en pieknieks.
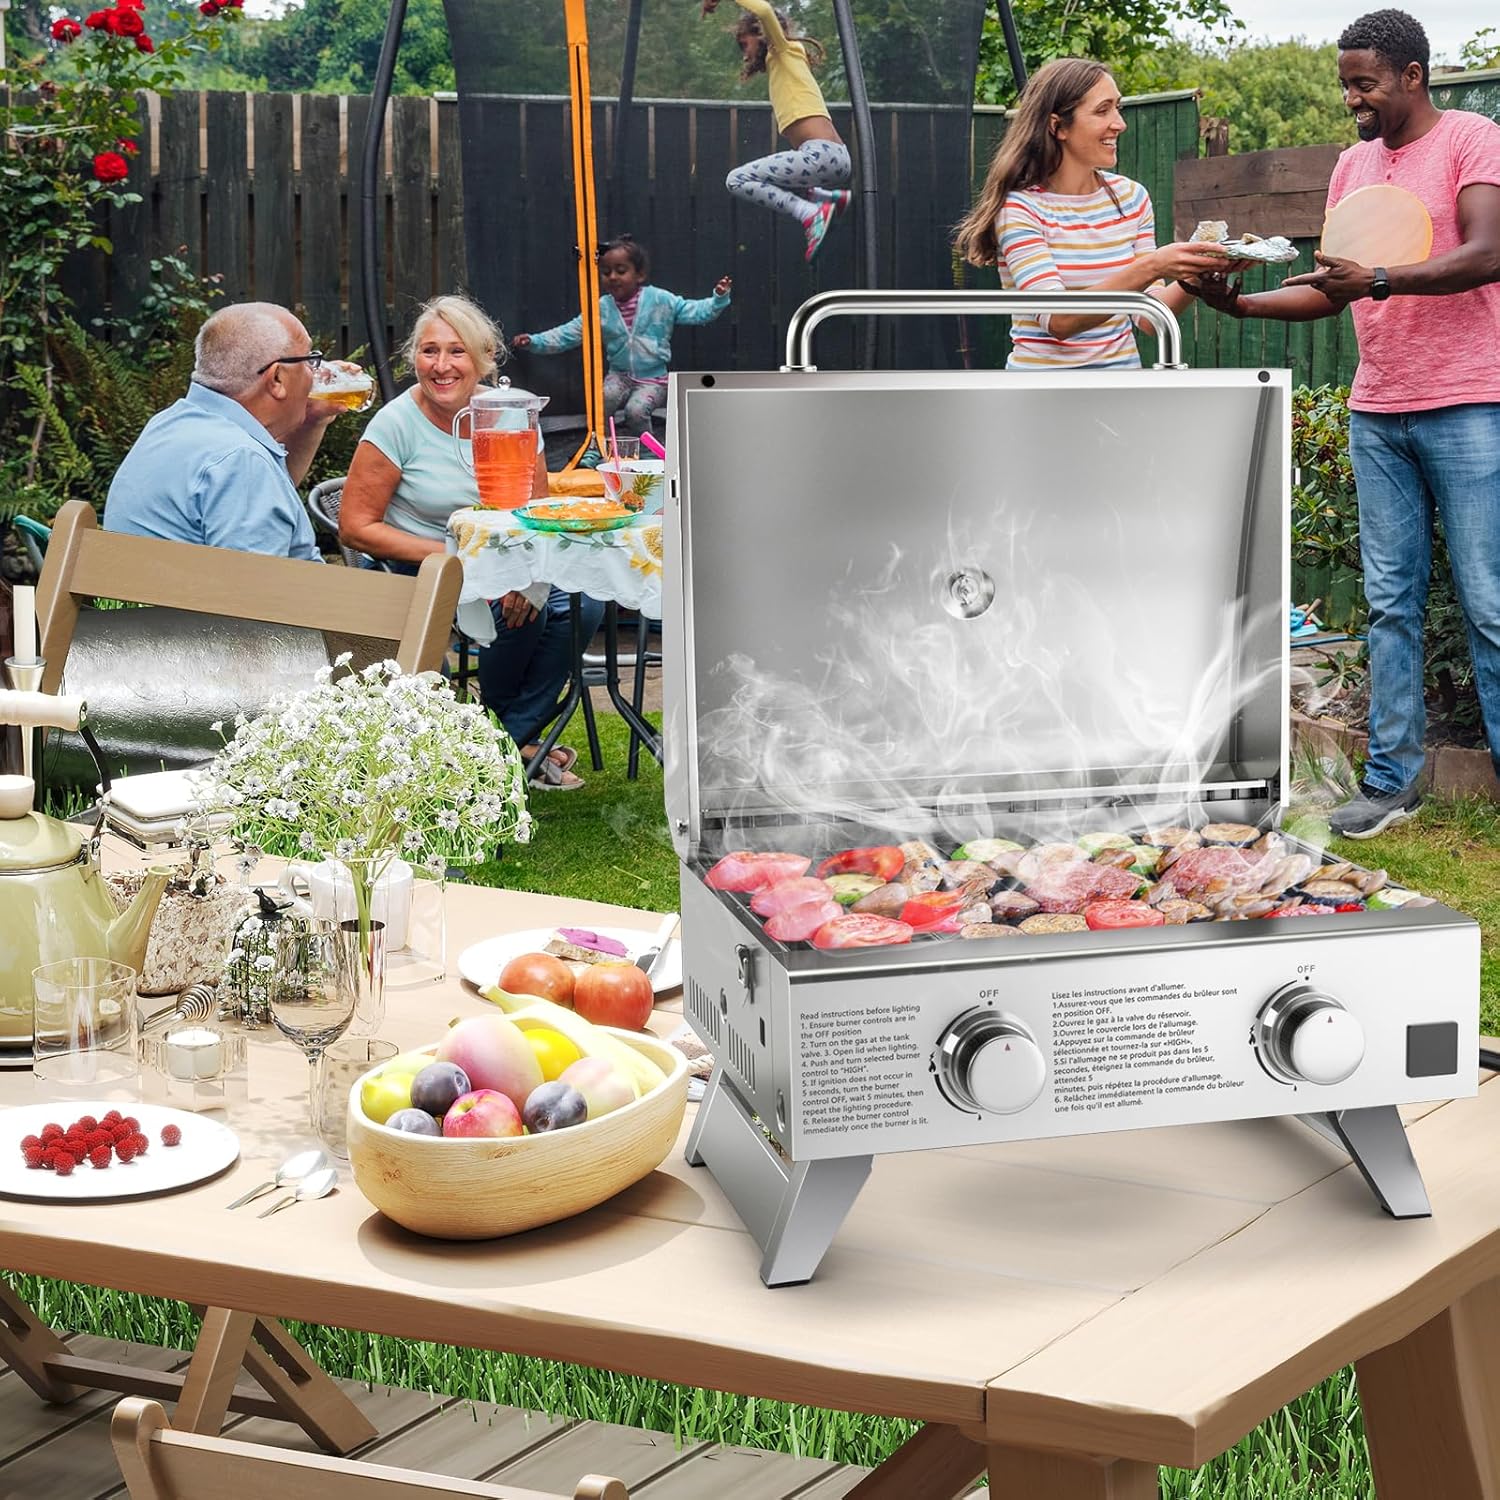
Image: The HAPPYGRILL Portable Gas Grill in an outdoor setting, demonstrating its use for cooking various foods.
2. Belangrike veiligheidsinligting
WAARSKUWING: Failure to follow these instructions could result in fire, explosion, or burn hazard, which could cause property damage, personal injury, or death.
- Slegs vir buitegebruik. Moenie hierdie toestel binne enige gebou, motorhuis of ander geslote area gebruik nie.
- Moenie petrol of ander vlambare dampe en vloeistowwe in die omgewing van hierdie of enige ander toestel berg of gebruik nie.
- 'n LP-silinder wat nie vir gebruik gekoppel is nie, mag nie in die omgewing van hierdie of enige ander toestel gestoor word nie.
- Hou kinders en troeteldiere te alle tye weg van die rooster.
- Always ensure the grill is on a stable, level, non-combustible surface.
- Moenie die rooster sonder toesig laat terwyl dit gebruik word nie.
- Dra beskermende handskoene wanneer warm oppervlaktes hanteer word.
- Verseker behoorlike ventilasie tydens werking.
- Kontroleer altyd vir gaslekkasies voor elke gebruik.
3. Pakketinhoud
Verify that all components are present before beginning assembly. If any parts are missing or damaged, do not attempt to assemble or operate the grill. Contact customer support for assistance.
- 1 x Portable Gas Grill Unit
- 1 x Grill Grate
- 2 x Flame Tamers
- 1 x Regulator Hose with Gas Connector
- 1 x Instruksiehandleiding (hierdie dokument)

Beeld: 'n Ontplofte view of the grill components, including the main unit, grill grate, and flame tamers, along with key dimensions.
4. Monteer-instruksies
Assembly is required before first use. Please follow these steps carefully. It is recommended to have a short screwdriver for certain screws.
- Pak komponente uit: Verwyder alle dele versigtig uit die verpakking. Inspekteer vir enige skade.
- Heg bene aan: The grill comes with foldable legs. Unfold each leg and secure it into position. Ensure the locking mechanisms are engaged. Note: Some users have reported difficulty aligning screw holes for leg attachment. Exercise caution and patience. A short screwdriver may be helpful.
- Install Flame Tamers: Place the two flame tamers over the burners inside the grill body. Ensure they are seated correctly.
- Place Grill Grate: Position the stainless steel grill grate on top of the flame tamers.
- Connect Regulator Hose: Attach the regulator hose to the gas inlet on the side of the grill. Hand-tighten securely.

Image: Details of the foldable legs and locking latches, highlighting the grill's portability features.
5. Setup Before Use
- Position the Grill: Place the grill on a stable, level, non-combustible surface, away from any flammable materials. Ensure adequate clearance from walls or other structures.
- Connect Propane Cylinder: Connect the regulator hose to a 20 lbs propane cylinder (not included). Turn the cylinder valve clockwise until hand-tight. Do not overtighten.
- Lektoets: Before first use and after any cylinder change, perform a leak test.
- Meng 'n oplossing van gelyke dele vloeibare skottelgoedseep en water.
- Maak seker dat alle branderbeheerknoppies in die "AF"-posisie is.
- Turn on the propane cylinder valve slowly.
- Apply the soap solution to all gas connections and the hose.
- If bubbles appear, there is a leak. Immediately turn off the propane cylinder valve and tighten connections. Repeat the test. If leaks persist, do not use the grill and contact customer support.

Beeld: 'n Gedetailleerde view of the regulator hose connecting to a propane cylinder and the grill's control knobs for ignition and flame adjustment.
6. Bedryfsinstruksies
6.1 Aansteek van die rooster
- Maak seker dat die propaansilinder se klep heeltemal oop is.
- Push and rotate one burner control knob to the "HIGH" position. You should hear a clicking sound as the igniter sparks.
- If the burner does not ignite within 5 seconds, turn the knob to "OFF", wait 5 minutes for gas to dissipate, and repeat the lighting procedure.
- Once the first burner is lit, you can light the second burner by pushing and rotating its control knob to "HIGH".
6.2 Temperatuurbeheer
The grill features a built-in thermometer on the lid, displaying temperatures from 0-752°F (0-400°C). Adjust the individual burner control knobs to achieve your desired cooking temperature. The lid helps with heat circulation and maintaining consistent temperatures.

Beeld: 'n Nabyskoot view of the grill's built-in thermometer and various foods, such as steaks and sausages, cooking on the grill grate.
6.3 Die Braai Afskakel
- Draai alle branderbeheerknoppies na die "AF"-posisie.
- Turn off the propane cylinder valve by rotating it clockwise until fully closed.
- Laat die rooster heeltemal afkoel voordat dit skoongemaak of verskuif word.
7. Onderhoud en Skoonmaak
Gereelde skoonmaak en onderhoud sal die lewensduur van jou rooster verleng en optimale prestasie verseker.
- Na elke gebruik:
- Laat die rooster heeltemal afkoel.
- Remove the grill grate and clean it with a grill brush and warm soapy water. Rinse thoroughly and dry.
- Remove the grease collector tray and empty any accumulated grease. Wash with warm soapy water, rinse, and dry.
- Vee die vlekvrye staal oppervlaktes af met adamp cloth and mild detergent. For stubborn stains, use a stainless steel cleaner.
- Periodiek:
- Inspect the regulator hose for any cuts, abrasions, or wear. Replace if damaged.
- Check burner ports for any blockages and clean if necessary.

Image: Visual representation of the grill's side vents, flame rod, the process of cleaning the stainless steel surface, and the removable drip tray for grease collection.
7.1 Berging
When not in use, especially for extended periods, store the grill in a dry, protected area. Disconnect the propane cylinder and store it separately in a well-ventilated outdoor area. The foldable legs and locking latches allow for compact storage and easy transport.
8. Probleemoplossing
| Probleem | Moontlike oorsaak | Oplossing |
|---|---|---|
| Brander ontsteek nie |
|
|
| Lae vlam of ongelyke hitte |
|
|
| Gas leak detected (smell of gas) |
|
|
9. Produkspesifikasies
| Kenmerk | Detail |
|---|---|
| Modelnommer | NP11463SL |
| Handelsmerk | HAPPYGRILL |
| Brandstof tipe | Propaangas |
| Totale BTU-uitset | 30 000 BTU (2 x 10 000 BTU-branders) |
| Kook Oppervlakte | 119 sq. inches (18.5" x 14") |
| Materiaal | Vlekvrye staal |
| Product Dimensions (Lid Open) | 20.5" x 18" x 27" (L x B x H) |
| Overall Height (Lid Closed) | 14.5" |
| Grondvrystelling | 4.5" |
| Regulator Hose Length | 2 voet (64 cm) |
| Netto gewig | 22 lbs (10 kg) |
| Spesiale kenmerke | Portable, Foldable Legs, Built-in Thermometer, Removable Grease Collector, Ignition Knobs |
10. Waarborg en Kliëntediens
For warranty information or customer support, please refer to the warranty card included with your product or contact HAPPYGRILL directly through their official webwebwerf of die kleinhandelaar waar die produk gekoop is.
When contacting support, please have your model number (NP11463SL) and purchase date available.