GoorDik J3
GoorDik Mini USB C Wireless Lavalier Microphone
Model: J3
Inleiding
The GoorDik Mini USB C Wireless Lavalier Microphone (Model J3) is designed to provide superior audio quality for content creators, vloggers, podcasters, and anyone needing clear sound recording on the go. Featuring advanced Active Denoise technology, this microphone ensures crystal-clear audio even in noisy environments. Its plug-and-play design, long battery life, and wide compatibility with USB-C and USB devices make it an ideal tool for various recording scenarios.

Image: Sound Quality Comparison. This image illustrates the significant improvement in audio clarity when using the GoorDik wireless microphone compared to a phone's built-in microphone. The "Before" image shows a person holding a phone with "Distant & Muffled Phone Sound" indicated, while the "After" image shows a person wearing the GoorDik microphone with "Clear & Crisp Wireless Audio" indicated.

Image: Superior USB-C Microphone. This image highlights the GoorDik USB-C microphone, emphasizing its upgraded DSP noise cancellation chip for excellent audio. It shows sound waves being processed, indicating noise reduction capabilities.
Wat is in die boks
Your GoorDik Mini USB C Wireless Lavalier Microphone kit includes the following components:
- 2 x Wireless Microphone Transmitters
- 1 x Wireless Microphone Receiver
- 1 x USB-laaikabel
- 4 x Skuimmikrofoonbedekkings
- 2 x Furry Outdoor Microphone Windscreens
- 1 x USB Adapter (USB-C to USB-A)
- 1 x Gebruikershandleiding

Image: Kit Contents. This image displays all the items included in the GoorDik wireless microphone package: two transmitters with furry windscreens, one receiver, a USB-C to USB-A adapter, a Lightning adapter, a charging cable, and additional foam microphone covers.
Opstelling
Setting up your GoorDik wireless microphone is a straightforward plug-and-play process:
- Koppel die ontvanger: Plug the wireless microphone receiver directly into the USB-C port of your recording device (iPhone 15, Android phone, tablet, or PC). If your device uses a standard USB-A port, use the included USB-C to USB-A adapter.
- Aanskakel-senders: Press and hold the power button on each wireless microphone transmitter until the indicator light illuminates. The transmitters will automatically pair with the receiver.
- Heg mikrofoon aan: Clip the microphone transmitter securely to your clothing, ensuring the microphone capsule is facing towards your mouth for optimal sound capture. The rotatable clip allows for easy adjustment of direction.
- Android OTG Activation (if needed): For some Android phones, you may need to enable the OTG (On-The-Go) function in your phone's settings to allow external audio devices. Refer to your phone's manual for specific instructions.
- PC/Laptop Settings (if needed): When connecting to a computer, ensure the GoorDik microphone is selected as the default input device in your sound settings.
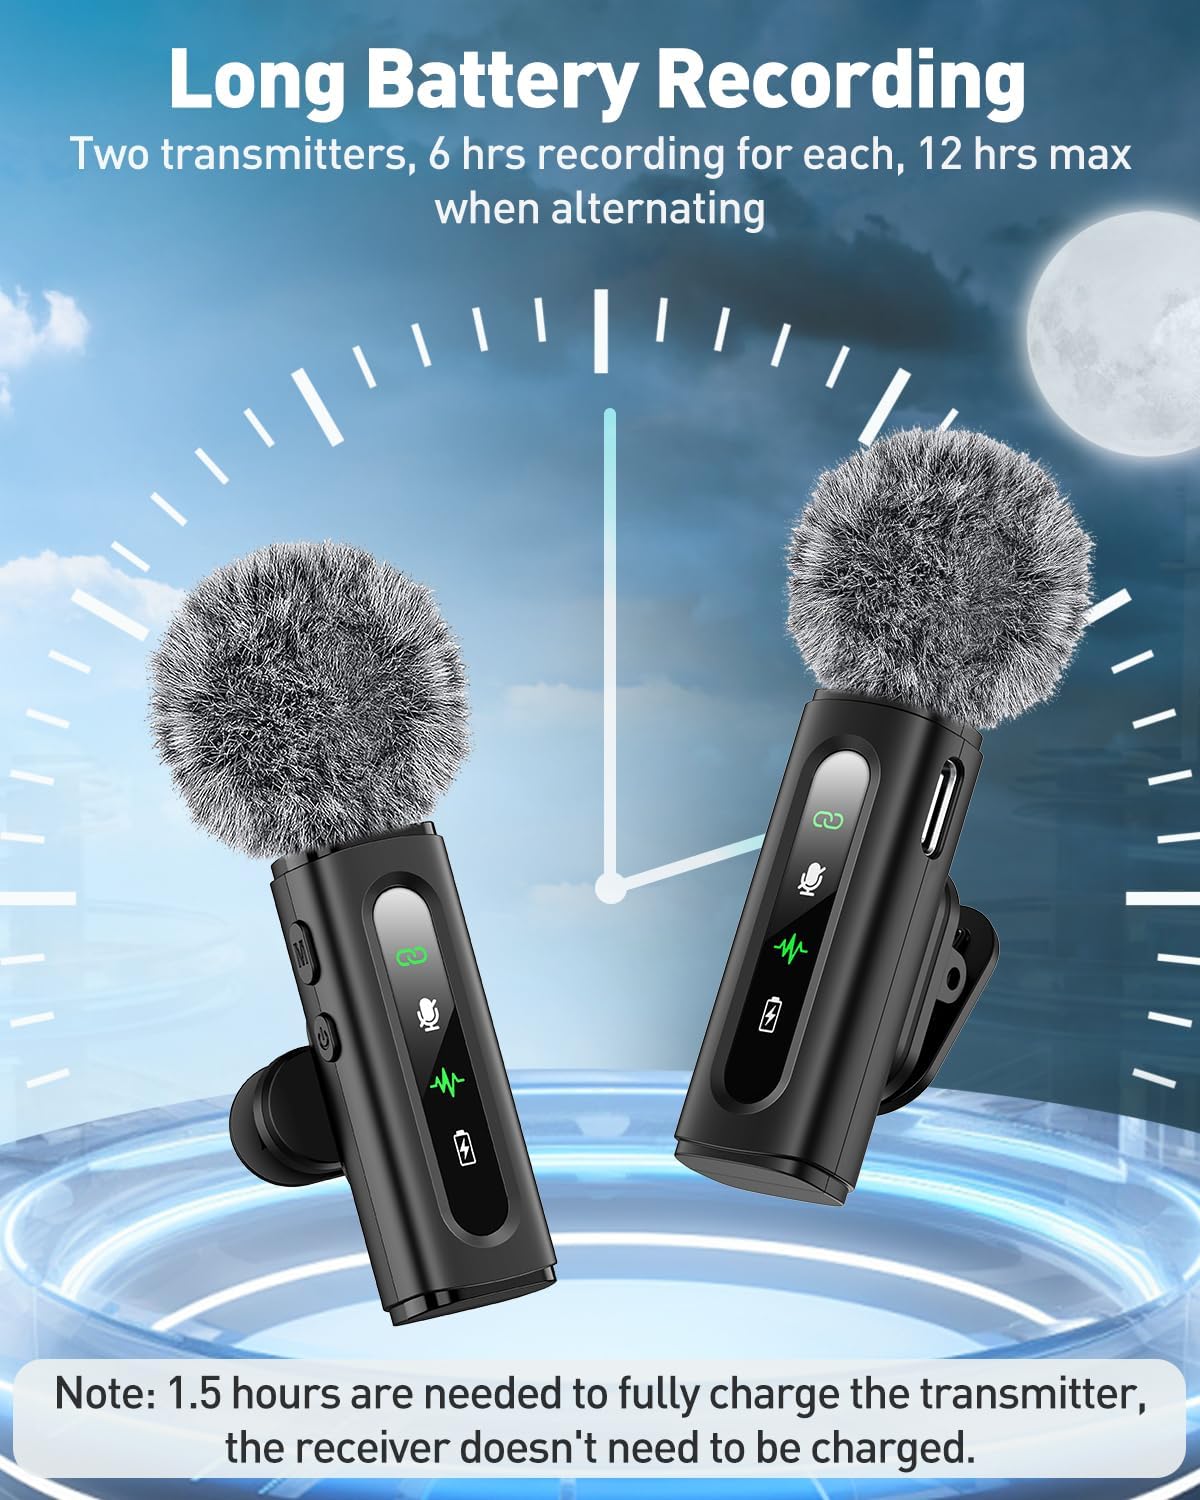
Image: Device Compatibility. This image illustrates the broad compatibility of the GoorDik microphone system, showing its connection to Type-C phones (Samsung Galaxy, Google Pixel, iPhone 15/16), iPhones via a Lightning adapter (iPhone 14/13/12/11/XR/X/8/6), and laptops/PCs via a USB-A adapter.
Bedryfsinstruksies
The GoorDik microphone features an intuitive interface with clear indicators for easy operation:
- Krag aan/af: Press and hold the power button (marked with a power symbol) on the transmitter to turn it on or off.
- Demp-funksie: Briefly press the mute button (marked with a microphone symbol) on the transmitter to mute or unmute the microphone. The mute indicator light will change accordingly.
- Geraasverminderingsmodus: The microphone offers two noise reduction modes. Press the noise reduction button (marked with a waveform) to cycle between active noise reduction and original sound mode.
- Aanwyserligte:
- Verbindingsstatus: Indicates if the transmitter is successfully paired with the receiver.
- Mute Indicator: Shows whether the microphone is currently muted.
- Geraasvermindering: Indicates when noise reduction is active.
- Kragaanwyser: Toon die batteryvlak van die sender.

Image: At-a-glance Status. This image details the various LED indicators on the GoorDik microphone transmitter, including Connection Status, Mute Indicator, Noise Reduction status, and Power Indicator, providing instant feedback on the microphone's operational state.
The GoorDik microphone offers a wireless range of up to 20 meters (65 feet), providing ample freedom for movement during recording.

Image: Freedom to Create. This image illustrates the wireless range of the GoorDik microphone, showing two individuals recording outdoors with the microphones clipped to their shirts, emphasizing stable and clear audio from up to 65 feet (20 meters) away.
Onderhoud
Charging the Transmitters
Each GoorDik microphone transmitter is equipped with a 60 mAh battery, providing 6 to 12 hours of use on a single charge. A full charge takes approximately 1.5 hours. The receiver does not require charging as it draws power from the connected device.
- Use the included 1-to-2 USB charging cable to charge both transmitters simultaneously.
- Koppel die USB-laaikabel aan 'n standaard USB-kragadapter (nie ingesluit nie) of 'n rekenaar se USB-poort.
- The power indicator light on the transmitter will show charging status.

Image: Long Battery Recording. This image visually represents the extended battery life of the GoorDik microphone transmitters, showing two transmitters and a clock indicating up to 6 hours of recording per transmitter, or 12 hours maximum when alternating. A note specifies that 1.5 hours are needed to fully charge the transmitter.
Skoonmaak en berging
- Skoonmaak: Gently wipe the microphone and receiver with a soft, dry cloth. Do not use liquid cleaners or abrasive materials.
- Voorruite: Regularly clean or replace the foam microphone covers and furry windscreens to maintain optimal sound quality and hygiene.
- Berging: Store the microphone kit in a cool, dry place away from direct sunlight and extreme temperatures. When not in use for extended periods, ensure the transmitters are fully charged before storage.
Probleemoplossing
If you encounter issues with your GoorDik wireless microphone, please refer to the following common troubleshooting steps:
| Probleem | Moontlike oorsaak/oplossing |
|---|---|
| Geen klankuitset nie |
|
| Poor Sound Quality / Background Noise |
|
| Microphone Not Charging |
|
| Intermitterende verbinding |
|
Spesifikasies
| Kenmerk | Detail |
|---|---|
| Handelsmerk | GoorDik |
| Modelnommer | J3 |
| Mikrofoonvormfaktor | lavalier mikrofoon |
| Verbindingstegnologie | Draadloos |
| Connector Tipe | USB Type-C, Micro-USB (for charging cable) |
| Polêre patroon | Omnirigting |
| Frekwensierespons | 20 Hz - 20 kHz |
| Sein-tot-geraas verhouding | 65 dB |
| Kragbron | Battery aangedrewe |
| Battery Tipe | Litium-ioon (2 ingesluit) |
| Battery Capacity (each transmitter) | 60 mAh |
| Batterylewe | 6-12 hours (per transmitter) |
| Charging Time (transmitters) | Ongeveer. 1.5 uur |
| Wireless Range | Tot 20 meter (65 voet) |
| Materiaal | Vlekvrye staal, plastiek |
| Item gewig | 70 gram |
| Afmetings (L x B x H) | 13.2 x 9.7 x 1.7 cm |
| Versoenbare toestelle | Persoonlike rekenaar, skootrekenaar, slimfoon, tablet |
| Spesiale kenmerke | Clip, Mute Function, Noise Reduction, Battery Indicator Light |
Waarborg en Ondersteuning
GoorDik is committed to providing high-quality products and excellent customer service. While specific warranty details are not provided in this manual, our dedicated customer service team is always available to assist you with any questions, concerns, or technical support needs regarding your GoorDik Mini USB C Wireless Lavalier Microphone.
Verwys asseblief na die produkverpakking of die kleinhandelaar se website for any specific warranty information or return policies.
For assistance, please contact GoorDik customer support through the platform where you purchased the product.
Ask a question about this manual
Ask about setup, troubleshooting, compatibility, parts, safety, or missing instructions. Manuals+ will review the question and use this page’s manual context to help answer it.