
1. Inleiding
This manual provides essential instructions for setting up, operating, and maintaining your PELADN HA-4 Mini PC. Please read this manual thoroughly before using the device to ensure proper function and longevity.
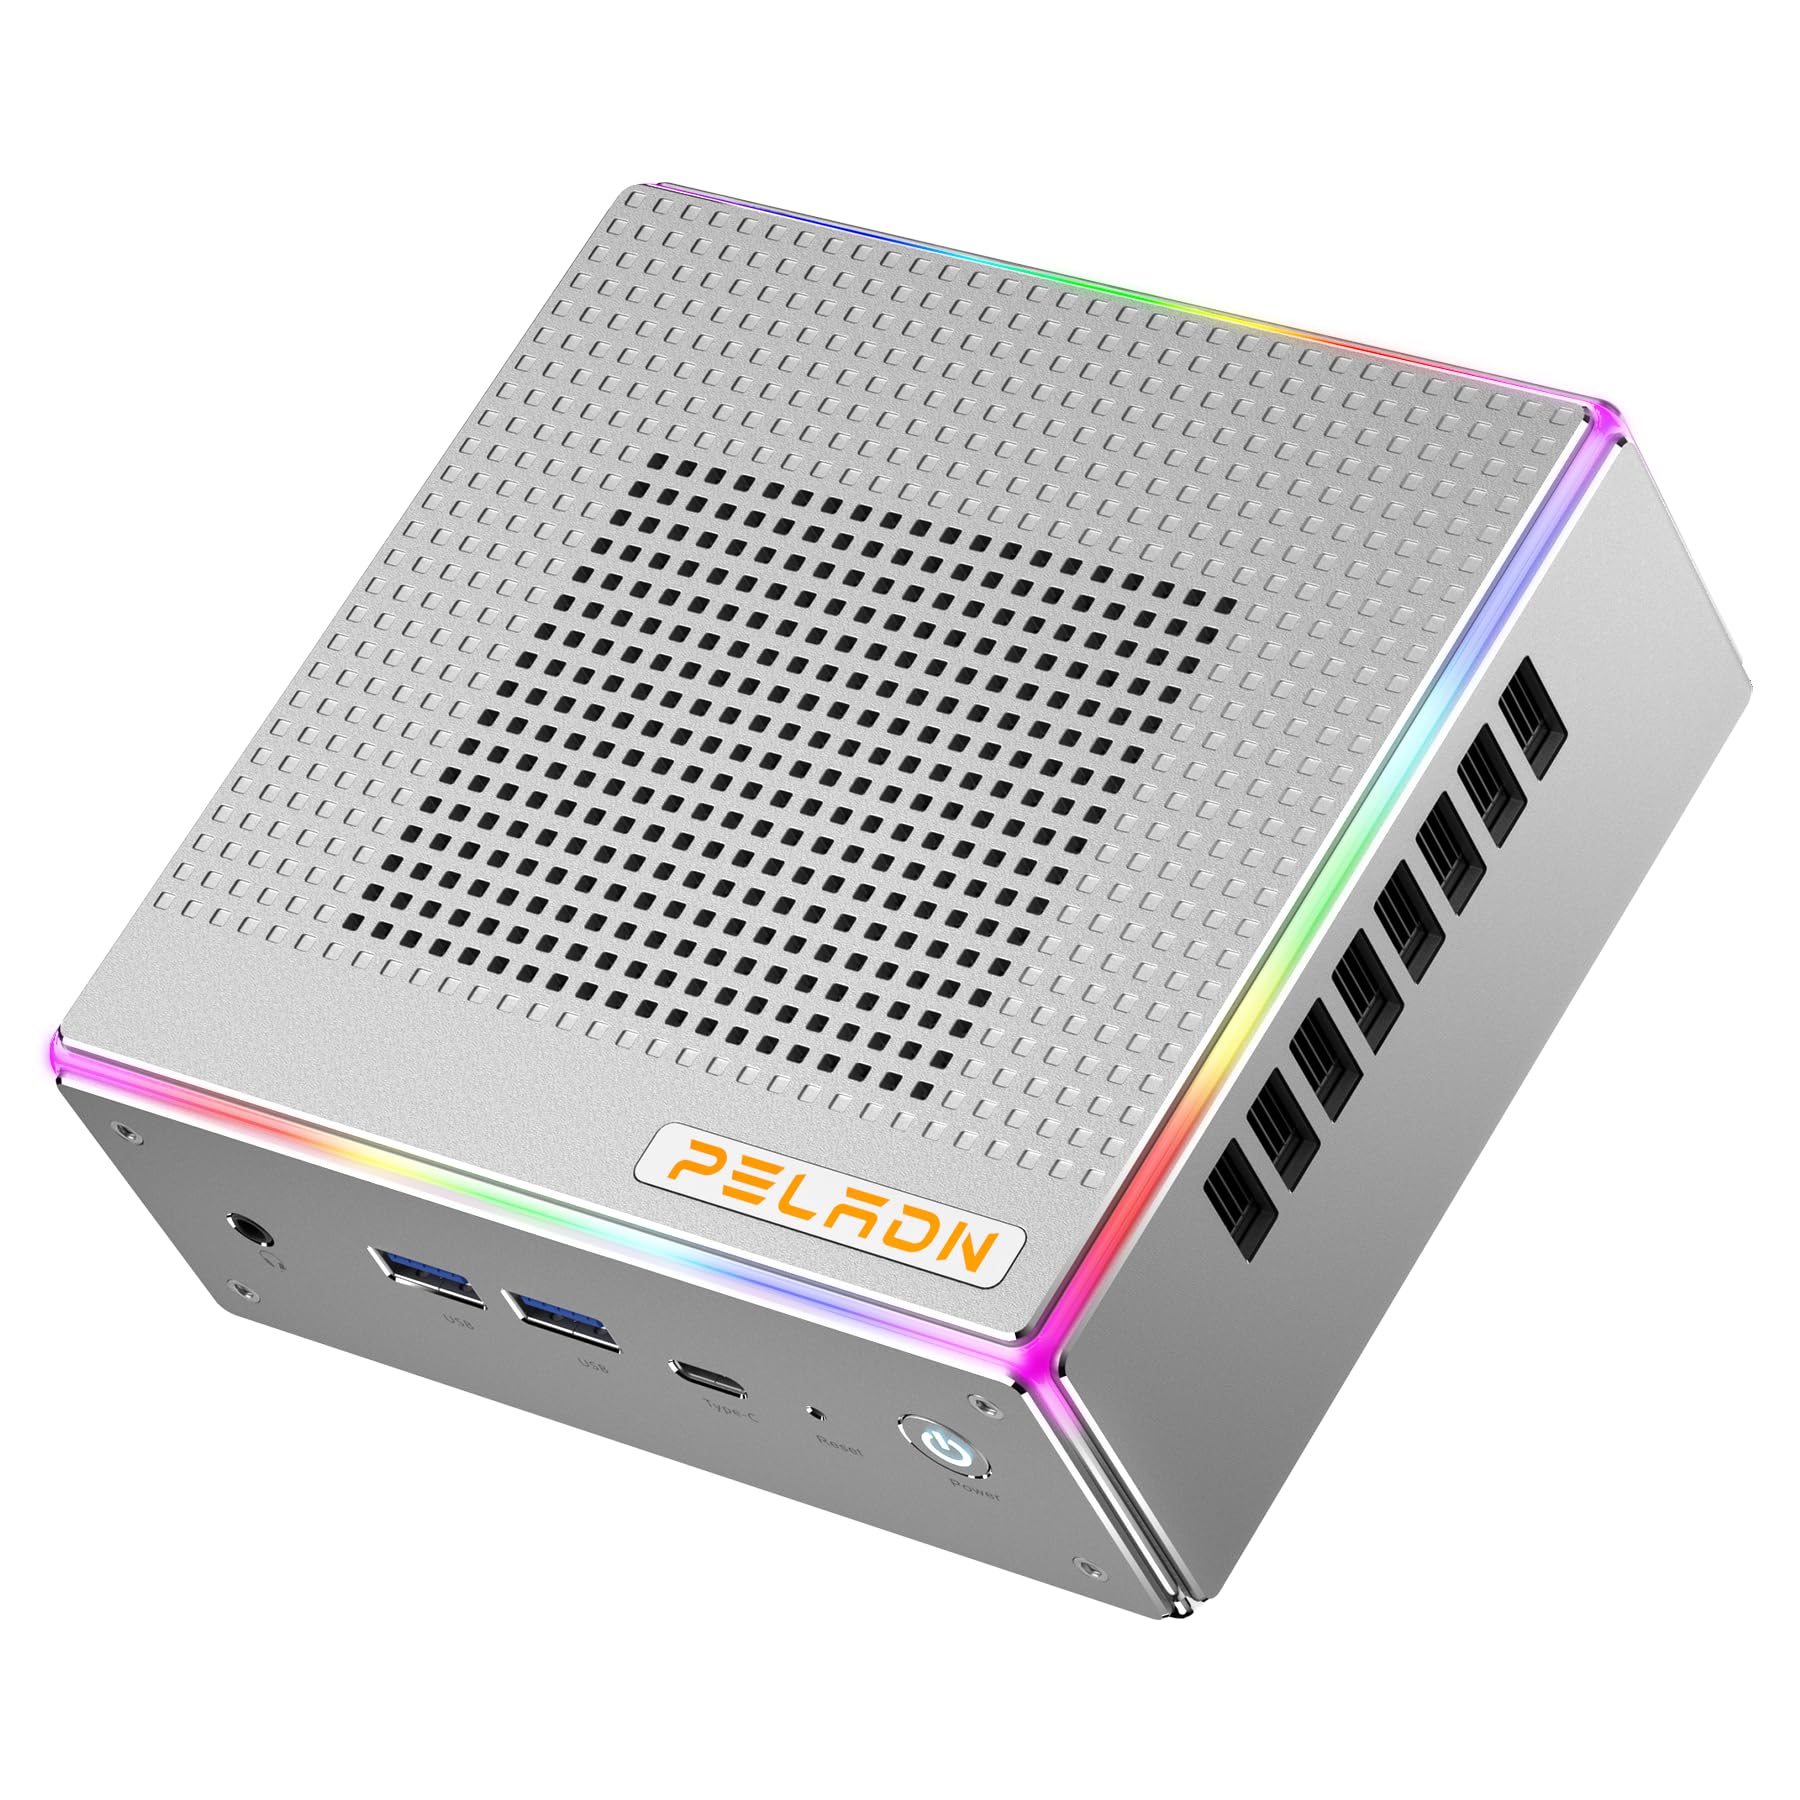
Beeld: Voorkant view of the PELADN HA-4 Mini PC, showcasing sy kompakte ontwerp.
2. Veiligheidsinligting
- Ensure the device is placed on a stable, flat surface with adequate ventilation.
- Do not expose the Mini PC to water, moisture, or extreme temperatures.
- Gebruik slegs die meegeleverde kragadapter om skade te voorkom.
- Avoid opening the casing unless performing authorized upgrades (e.g., RAM/SSD installation) as per instructions.
- Hou buite bereik van kinders.
3. Pakketinhoud
Verifieer dat alle items in die pakket teenwoordig is:
- PELADN HA-4 Mini PC
- Kragadapter
- HDMI kabel
- Gebruikershandleiding (hierdie dokument)
- VESA Mount (optional, may vary by package)
4. Produk verbyview
4.1 Voorpaneelpoorte

Image: Diagram illustrating the front and back ports of the PELADN HA-4 Mini PC.
- Audio Jack (HP&MIC): Vir oorfone en mikrofoon.
- USB 3.2 x 2: High-speed data transfer for peripherals.
- Type-C (data & video): Versatile port for data, display, and power delivery.
- Reset (Clear CMOS): Button to clear CMOS settings.
- Kragknoppie: Om die toestel aan of af te skakel.
4.2 Agterpaneelpoorte
- GS-poort: Om die kragadapter aan te sluit.
- USB 2.0-poort: Vir die koppeling van standaard USB-toestelle.
- USB 3.2-poort: Hoëspoed-data-oordrag.
- RJ45 LAN: 2.5G Ethernet port for wired network connection.
- HD Port x 2 (HDMI 2.0): Vir die koppeling van skerms.
- Beligtingbeheer: Button to adjust RGB lighting.
5. Opstelinstruksies
- Koppel randapparatuur: Connect your monitor(s) using HDMI or Type-C cables. Plug in your keyboard, mouse, and any other USB devices into the available USB ports.
- Koppel krag: Insert the power adapter into the DC port on the rear panel, then plug the adapter into a power outlet.
- Krag aan: Press the Power Button on the front panel. The system will boot up.
- Aanvanklike opstelling: Follow the on-screen instructions to complete the operating system setup (e.g., Windows 11 Pro).

Image: The PELADN HA-4 Mini PC connected to a monitor and peripherals, ready for use.
6. Bedryfsinstruksies
6.1 Krag aan/af
- Om aan te skakel: Druk een keer op die aan / uit-knoppie.
- Om af te skakel: Click the Start menu in the operating system and select "Shut down." Alternatively, press and hold the Power Button for 5 seconds for a forced shutdown (not recommended for regular use).
6.2 Netwerkverbinding
- Bedrade verbinding: Connect an Ethernet cable to the RJ45 LAN port on the rear panel.
- Wireless Connection (Wi-Fi 6): Access network settings in your operating system, select your Wi-Fi network, and enter the password.
6.3 Triple Display Output
The PELADN HA-4 supports up to three 4K@60Hz displays simultaneously using its two HDMI 2.0 ports and one Type-C port (which supports video output).
- Connect your primary monitor to one of the HDMI ports.
- Connect your second monitor to the other HDMI port.
- Connect your third monitor to the Type-C port using a compatible Type-C to DisplayPort/HDMI adapter or cable.
- Adjust display settings within your operating system to extend or duplicate your desktop across the connected monitors.

Image: The PELADN HA-4 Mini PC connected to three monitors, demonstrating its triple display output capability.
7. Onderhoud en Opgraderings
7.1 Skoonmaak
- Maak die buitekant van die Mini-rekenaar gereeld skoon met 'n sagte, droë lap.
- Gebruik saamgeperste lug om stof uit ventilasie-openinge te verwyder om optimale lugvloei te handhaaf.
- Maak seker die toestel is afgeskakel en ontkoppel voordat dit skoongemaak word.
7.2 RAM- en SSD-opgraderings
The PELADN HA-4 supports dual-channel DDR5-5600MHz RAM up to 64GB and a single M.2 2280 PCIe 4.0 SSD up to 2TB. Refer to the diagram below for component location.

Beeld: Intern view of the PELADN HA-4 Mini PC, highlighting the dual-channel RAM slots and the M.2 SSD slot for upgrades.
Belangrik: Disconnect the power adapter before performing any internal upgrades. If you are unsure about the upgrade process, consult a qualified technician.
8. Probleemoplossing
| Probleem | Moontlike oorsaak | Oplossing |
|---|---|---|
| Geen krag nie | Kragadapter nie gekoppel nie; probleem met kragsok. | Ensure power adapter is securely connected to both the Mini PC and a working power outlet. |
| Geen vertoonuitset nie | Monitor nie gekoppel nie; verkeerde invoerbron op monitor; foutiewe kabel. | Check HDMI/Type-C cable connections. Ensure monitor is set to the correct input source. Try a different cable or monitor. |
| Wi-Fi verbind nie | Incorrect password; router issue; driver problem. | Verify Wi-Fi password. Restart your router. Check device manager for Wi-Fi driver status. |
| System slow/unresponsive | Too many applications running; insufficient RAM/SSD space; overheating. | Close unnecessary applications. Check available storage. Ensure proper ventilation. Consider RAM/SSD upgrade if consistently slow. |
9. Spesifikasies
| Kenmerk | Detail |
|---|---|
| Model | PELADN HA-4 |
| Verwerker | AMD Ryzen 7 7840HS (8C/16T, up to 5.1 GHz) |
| Grafika | AMD Radeon 780M Grafika |
| RAM | 32GB DDR5-5600MHz (Dual Channel, upgradeable to 64GB) |
| Berging | 1TB PCIe 4.0 SSD (M.2 2280, upgradeable to 2TB) |
| Video-uitset | 2x HDMI 2.0, 1x Type-C (Triple 4K@60Hz output) |
| Netwerk | 2.5G LAN, Wi-Fi 6 (802.11ax), Bluetooth 5.2 |
| USB-poorte | 2x USB 3.2 (Front), 1x USB 3.2 (Rear), 1x USB 2.0 (Rear), 1x Type-C (Front) |
| Oudio | 1x Oudio-aansluiting (HP & MIC) |
| Bedryfstelsel | Windows 11 Pro (vooraf geïnstalleer) |
| Afmetings | Approx. 7.56 x 7.56 x 3.82 inches (Package) |
| Gewig | Ongeveer. 3.76 pond |

Beeld: Oorview of the PELADN HA-4 Mini PC's core features including CPU, GPU, RAM, SSD, connectivity, and cooling.
10. Waarborg en Ondersteuning
For warranty information and technical support, please refer to the warranty card included with your product or visit the official PELADN webwebwerf. Kontak kliëntediens vir hulp met enige probleme wat nie in hierdie handleiding gedek word nie.