VCHICS DPS305U 30V 5A
VCHICS DPS305U DC Power Supply User Manual
Model: DPS305U (30V 5A)
1. Inleiding
Dankie vir die aankoopasing the VCHICS DPS305U Variable DC Regulated Power Supply. This device is designed for laboratory, electronic repair, DIY projects, communication equipment maintenance, product lines, scientific research, and educational units. It offers high precision, low noise, and multiple safety features to ensure reliable and safe operation. Please read this manual thoroughly before use to ensure proper operation and to maximize the lifespan of your power supply.
2. Veiligheidsmaatreëls
To prevent electric shock, fire, or damage to the device, please observe the following safety guidelines:
- Koppel altyd die kragtoevoer aan 'n geaarde aansluiting.
- Moenie die toestel in nat of damp voorwaardes.
- Ensure proper ventilation. Do not block the cooling fan or vents.
- Moenie die c oopmaak nieasing. Daar is geen onderdele binne wat deur die gebruiker onderhou kan word nie. Verwys alle onderhoud na gekwalifiseerde personeel.
- Before connecting or disconnecting loads, ensure the power supply is turned off.
- Avoid short-circuiting the output terminals for extended periods, although the device has short-circuit protection.
- Verifieer die invoer voltage switch (115V/230V) on the back matches your local power supply before connecting.
3. Pakketinhoud
Nadat u die pakket oopgemaak het, maak asseblief seker dat al die items hieronder gelys ingesluit is en in 'n goeie toestand is:
- 1 x VCHICS DPS305U DC Power Supply Host
- 1 x Output Power Cord (Alligator clips)
- 1 x Input Power Cord
- 1 x Gebruikershandleiding
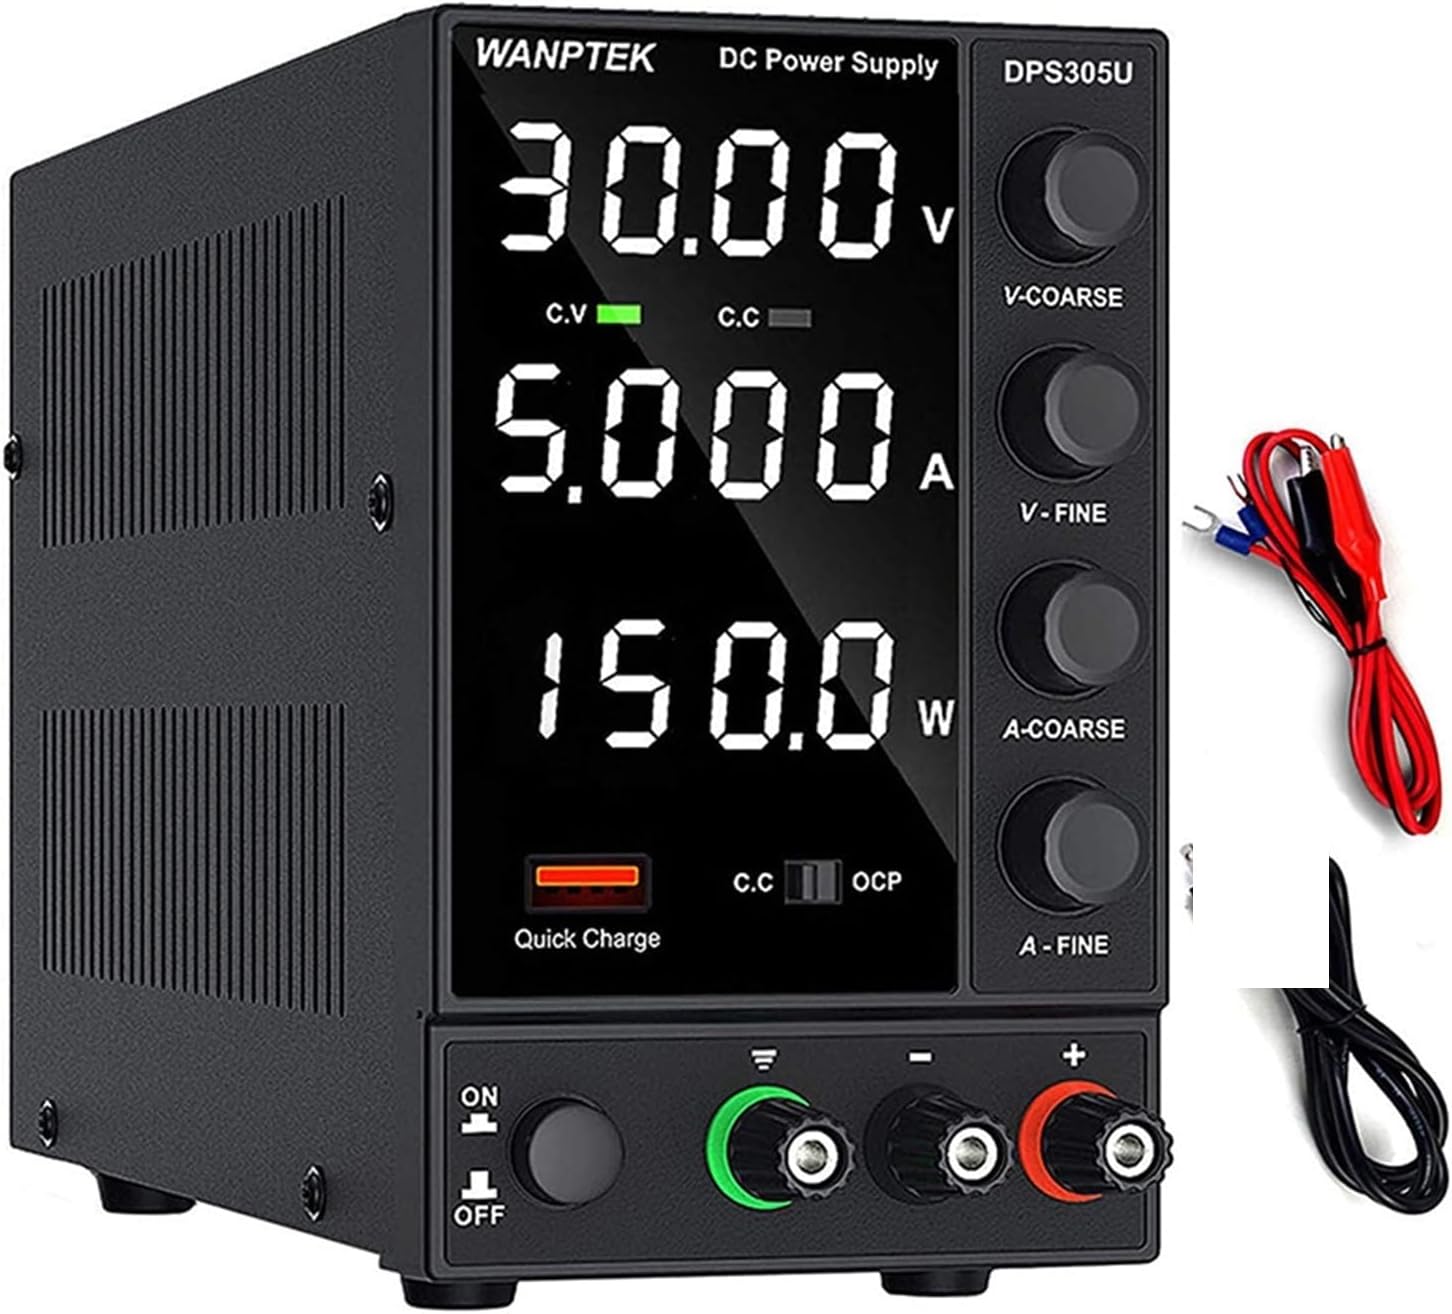
Image: The VCHICS DPS305U DC Power Supply unit shown with its included output power cords (red and black with alligator clips) and input power cord.
4. Produkkenmerke
- Automatic Power Calculation: Unlike other DC power supplies, the WANPTEK DPS305U automatically calculates the power value. It simultaneously displays voltage, current, and power values with a precision of 0.01V, 0.001A, and 0.001W.
- 5V / 3.6A USB Interface: Equipped with a high-speed charging protocol identification chip, this variable power supply supports USB fast charging. It provides a 5V / 3.6A output, allowing for quick charging of mobile phones and other devices, or for powering devices under repair.
- Short Circuit Alarm: Designed to enhance safety and extend the lifespan of the DC power supply. When a short circuit occurs, the adjustable DC power supply unit stops output and emits an alarm. The bench power supply includes safety protections such as over-voltage, over-current, over-temperature, and overload protection.
- Wye toepassing: This adjustable power supply features an electrically controlled fan and an excellent heat sink for efficient heat dissipation. It is particularly suitable for laboratories, electronic repair DIY, communication equipment maintenance, product lines, scientific research, and educational units.
- Hoë presisie: The power supply boasts a high resolution of 0.01V and 0.001A, ensuring accurate and stable output.

Beeld: Nabyskoot view highlighting the Short Circuit Alarm indicator and the USB Quick-Charge Interface on the front panel of the power supply.

Beeld: 'n Interne view of the power supply, illustrating the cooling fan and heat sink components responsible for intelligent temperature control and heat dissipation.

Image: The power supply unit displayed alongside a digital multimeter, demonstrating its high precision output readings for voltage en huidige.
5. Produk verbyview en komponente
Familiarize yourself with the various parts and controls of your VCHICS DC Power Supply:

Image: A detailed diagram of the power supply, clearly labeling its front panel controls and rear panel connections.
- Vertoon skerm: Vertonings Voltage (V), Current (A), and Power (W) readings.
- Beskermende film: A film on the display screen to prevent scratches during transport. Remove it for clearer viewing.
- Voltage Coarse Knob (V-COARSE): Pas voltage in larger increments.
- Voltage Fine Knob (V-FINE): Pas voltage in smaller, precise increments.
- Current Coarse Knob (A-COARSE): Adjusts current limit in larger increments.
- Current Fine Knob (A-FINE): Adjusts current limit in smaller, precise increments.
- USB Quick Charging Interface: 5V/3.6A output for charging devices.
- Short Circuit Alarm Indicator: Lights up and unit alarms when a short circuit is detected.
- Krag aan/af skakelaar: Skakel die eenheid aan of af.
- GND Terminal: Grondterminaal.
- Positiewe terminaal (+): Red output terminal for positive connection.
- Negatiewe terminaal (-): Black output terminal for negative connection.
- Koelwaaier: Aktiveer outomaties om hitte te versprei.
- 230V/115V±10% Switch: Voltage selection switch for input power. Ensure this matches your local voltage.
- Wisselstroominset: Connects the input power cord.
- Sekeringboks: Bevat die beskermende sekering.
6. Opstelling
- Uitpak: Verwyder die kragtoevoer versigtig uit sy verpakking.
- Voltage Keuse: Locate the 230V/115V switch on the rear panel. Ensure it is set to the correct voltage for your region (e.g., 115V for North America, 230V for Europe/Asia). Verkeerde voltage-keuse kan die eenheid beskadig.
- Kragverbinding: Connect the provided input power cord to the AC Power Input on the rear of the unit and then to a grounded wall outlet.
- Uitsetverbinding:
- Connect the red output power cord (alligator clip) to the Positive Terminal (+).
- Connect the black output power cord (alligator clip) to the Negative Terminal (-).
- If grounding is required for your application, connect a separate ground wire to the GND terminal.
- Aanvanklike kontrole: Before connecting any load, ensure all knobs (V-COARSE, V-FINE, A-COARSE, A-FINE) are turned fully counter-clockwise to their minimum settings.
7. Bedryfsinstruksies
7.1 Basiese werking
- Krag aan: Flip the Power On/Off switch to the "ON" position. The display will light up.
- Aanpassing Voltage (Konstante Voltage Mode - CV):
- Turn the V-COARSE knob clockwise to set the approximate desired voltage.
- Use the V-FINE knob to precisely adjust the voltage to the exact desired value.
- The "C.V" indicator on the display will light up when the unit is operating in Constant Voltage modus.
- Adjusting Current Limit (Constant Current Mode - CC):
- To set the current limit, first short-circuit the output terminals (connect the red and black alligator clips together). The "C.C" indicator will light up.
- Turn the A-COARSE knob clockwise to set the approximate desired current limit.
- Use the A-FINE knob to precisely adjust the current limit.
- Remove the short circuit from the output terminals. The unit will return to Constant Voltage mode if no load is connected or if the load draws less current than the set limit.
- The "C.C" indicator will light up when the unit is operating in Constant Current mode (i.e., the load is drawing the maximum set current).
- Verbindingslading: After setting the desired voltage and current limits, connect your device or circuit to the output terminals. Ensure correct polarity.
- Monitering: Observe the display for real-time voltage-, stroom- en kraglesings.
7.2 USB Quick Charging Interface
The 5V/3.6A USB port on the front panel can be used to quickly charge compatible devices. Simply connect your device's USB cable to this port. This output is independent of the main DC output settings.
8. Onderhoud
- Skoonmaak: Disconnect the power supply from the main power outlet before cleaning. Use a soft, dry cloth to wipe the exterior. Do not use abrasive cleaners or solvents.
- Ventilasie: Ensure the cooling fan and vents are free from dust and obstructions. Periodically check for dust buildup and gently clean with compressed air if necessary.
- Berging: Wanneer dit nie vir lang tye gebruik word nie, bêre die kragtoevoer op 'n koel, droë plek, weg van direkte sonlig en uiterste temperature.
- Sekering vervanging: If the unit does not power on, check the fuse located in the fuse box on the rear panel. Replace it only with a fuse of the same type and rating. Refer to the specifications for fuse details.
9. Probleemoplossing
| Probleem | Moontlike oorsaak | Oplossing |
|---|---|---|
| Eenheid skakel nie aan nie. | No power from outlet; Power cord not connected; Blown fuse; Power switch off. | Check outlet with another device; Ensure power cord is securely connected; Replace fuse (refer to Maintenance); Flip power switch to ON. |
| Geen uitset voltage/huidige. | Output terminals not connected; Voltage/Current knobs set to minimum; Overload/Short circuit protection activated. | Ensure load is properly connected; Adjust voltage/current knobs clockwise; Check for short circuit in load, reduce load, or increase current limit. |
| Short Circuit Alarm activates. | Short circuit in the connected load or output cables. | Immediately disconnect the load. Identify and resolve the short circuit in your circuit/cables. Reconnect after resolving. |
| Display is blurry or unclear. | Protective film still on the display. | Carefully peel off the protective film from the display screen. |
| Unit gets excessively hot. | Blocked ventilation; Overload. | Ensure cooling fan and vents are clear; Reduce load or operating time. |
10. Spesifikasies
| Kenmerk | Detail |
|---|---|
| Model | DPS305U |
| Handelsmerk | VCHICS |
| Uitset Voltage | 0-30V (Verstelbaar) |
| Uitsetstroom | 0-5A (Verstelbaar) |
| Uitset krag | 150 W (maksimum) |
| Voltage Vertoon Akkuraatheid | 0.01 V |
| Current Display Accuracy | 0.001A |
| Power Display Accuracy | 0.001 W |
| USB-uitset | 5V / 3.6A |
| Verkoelingsmetode | Air Cooling (Intelligent Fan) |
| Produk Gewig | Ongeveer. 2 kg (4.4 lbs) |
| Invoer Voltage Skakel | 115V/230V ±10% (selectable) |

Image: A visual comparison illustrating the compact and lightweight design of the switching power supply (DPS3010U model shown) compared to a traditional linear power supply, highlighting its space-saving benefits.
11. Waarborg en Ondersteuning
VCHICS products are manufactured to high quality standards. This product comes with a standard manufacturer's warranty against defects in materials and workmanship. For specific warranty terms and conditions, please refer to the warranty card included in your package or contact your point of purchase.
For technical support, troubleshooting assistance, or warranty claims, please contact VCHICS customer service through the retailer where you purchased the product.