Alpine S2-A120M
Alpine S2-A120M S-Series Mono Subwoofer Amplifier and RUX-KNOB.2 Remote Bass Knob User Manual
Model: S2-A120M Amplifier & RUX-KNOB.2 Remote Bass Knob
1. Inleiding
This manual provides comprehensive instructions for the Alpine S2-A120M S-Series Class-D Mono Subwoofer Amplifier and the Alpine RUX-KNOB.2 Remote Bass Knob. It covers essential information regarding product features, proper setup, operational guidelines, maintenance procedures, troubleshooting common issues, and detailed technical specifications. Please read this manual thoroughly before installation and operation to ensure correct usage and optimal performance.
2. Produk verbyview
2.1. Sleutel kenmerke
- S2-A120M Amplewendiger: Class-D Mono Subwoofer Amplifier with 1200W RMS power output at 1 or 2 Ohms.
- Features Alpine's Class D Amplifier Circuitry.
- Designed with a two-sided terminal layout for efficient wiring.
- Includes built-in selectable and adjustable crossovers.
- Compatible with optional remote bass knobs (RUX-KNOB.2 or RUX-H01).
- RUX-KNOB.2 Remote Bass Knob: Allows for convenient adjustment of amplifier bass gain from within the vehicle cabin.
- Ondersteun verskeie amplifier control with telephone cord adapters.
2.2. Komponente
The product bundle includes the Alpine S2-A120M Mono Subwoofer Amplifier and the Alpine RUX-KNOB.2 Remote Bass Knob.
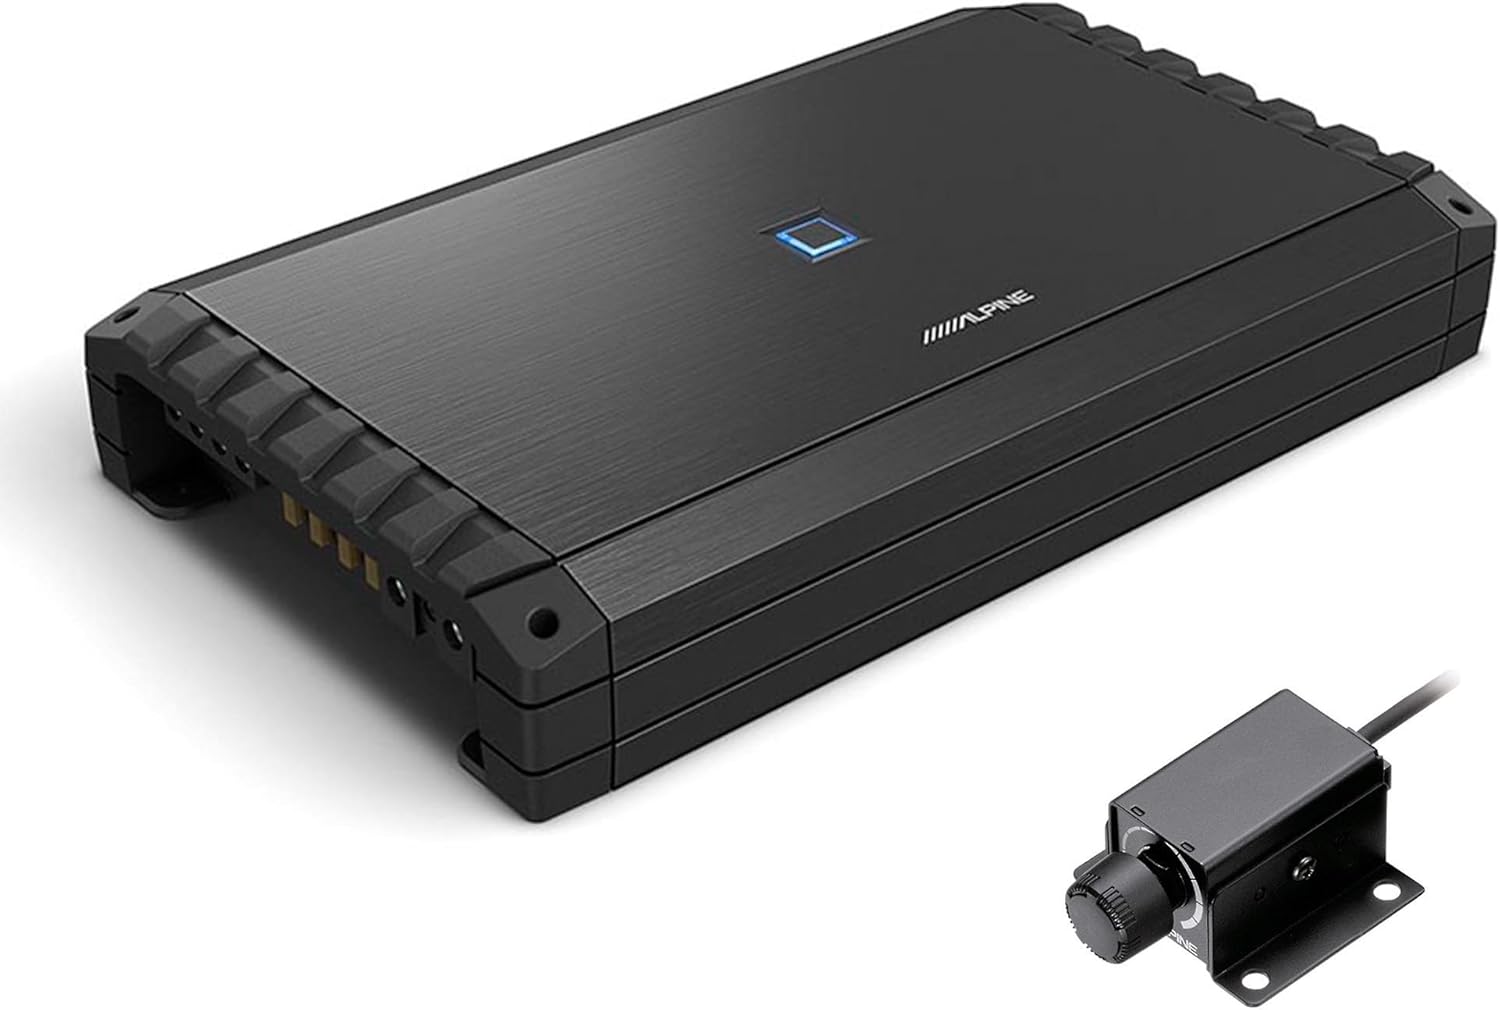
Figuur 1: Alpine S2-A120M S-Series Mono Subwoofer Amplifier and RUX-KNOB.2 Remote Bass Knob. This image displays the amplifier unit and the separate remote bass knob.

Figuur 2: Top view of the Alpine S2-A120M Amplifier. The top panel features the Alpine logo and a central indicator light.

Figuur 3: Close-up view of the Alpine RUX-KNOB.2 Remote Bass Knob. This image highlights the control knob and its mounting bracket.
3. Opstelling en installering
Behoorlike installasie is noodsaaklik vir die prestasie en lang lewensduur van u ampDit word aanbeveel dat installasie deur 'n gekwalifiseerde professionele persoon uitgevoer word.
3.1. Ampverligter Plasing
- Choose a location that is dry, well-ventilated, and protected from direct sunlight or excessive heat.
- Verseker voldoende ruimte rondom die ampverligter vir behoorlike hitte-afvoer.
- Monteer die amplifier securely to prevent movement during vehicle operation.
3.2. Bedradingsverbindings
The S2-A120M amplifier features a two-sided terminal layout for organized wiring.

Figuur 4: Rear panel connections of the Alpine S2-A120M Ampverligter. Hierdie view shows the power supply terminals (BATT, REM, GND) and speaker output terminals (SPK OUT).
- Kragverbinding: Connect the main power cable from the vehicle battery to the BATT terminal. Ensure an appropriate fuse is installed close to the battery.
- Grondverbinding: Koppel 'n kort, dik aardkabel vanaf die GND terminal to a clean, unpainted metal surface on the vehicle chassis.
- Afstand aanskakel: Connect a remote turn-on wire from your head unit to the REM terminal. This wire signals the amplifier to turn on and off with your audio system.
- Oudio-invoer: Connect RCA cables from your head unit's subwoofer output to the amplifier's input jacks (not explicitly shown in the provided image, but standard for amplewendes).
- Luidspreker Uitset: Koppel jou subwoofer(s) aan die SPK UIT terminals. Observe correct polarity (+ to + and - to -).
3.3. RUX-KNOB.2 Installation
The RUX-KNOB.2 remote bass knob connects to the amplifier via a telephone cord adapter. Install the knob in a convenient location within the vehicle cabin for easy access.
- Mount the RUX-KNOB.2 using the provided bracket and screws.
- Connect the telephone cord from the RUX-KNOB.2 to the designated remote bass knob port on the S2-A120M amplewendiger.
4. Bedryfsinstruksies
4.1. Aanvanklike aanskakeling
- After all connections are made, turn on your vehicle's ignition and audio system.
- Die amplifier's power indicator should illuminate.
4.2. Wins Aanpassing
The gain control on the amplifier matches the output voltage of your head unit to the amplifier's input. Set the gain carefully to avoid distortion.
- Begin met die amplifier gain set to minimum.
- Play a familiar music track with strong bass content.
- Slowly increase the head unit volume until it reaches about 75-80% of its maximum.
- Verhoog die geleidelik amplifier gain until you hear slight distortion, then back off slightly.
4.3. Oorkruisinginstellings
The S2-A120M features built-in selectable and adjustable crossovers to filter frequencies sent to your subwoofer.
- Adjust the low-pass filter (LPF) to send only low frequencies to the subwoofer. A common starting point is 80-100 Hz.
- Refer to your subwoofer's specifications for recommended crossover points.
4.4. Using the RUX-KNOB.2 Remote Bass Knob
The RUX-KNOB.2 allows for real-time adjustment of the subwoofer's bass level from the driver's seat.
- Rotate the knob clockwise to increase bass output.
- Rotate the knob counter-clockwise to decrease bass output.
- This knob provides fine-tuning of the bass level without needing to access the ampverligter direk.
5. Onderhoud
Regular maintenance helps ensure the longevity and optimal performance of your Alpine amplifier and bass knob.
- Skoonmaak: Vee gereeld die amplifier and bass knob with a soft, dry cloth to remove dust and debris. Avoid using harsh chemicals or abrasive cleaners.
- Verbindingskontrole: Annually, inspect all wiring connections (power, ground, remote, RCA, speaker) to ensure they are secure and free from corrosion. Loose connections can lead to performance issues or damage.
- Ventilasie: Maak seker dat die amplifier's cooling fins are not obstructed to allow for proper heat dissipation.
6. Probleemoplossing
If you encounter issues with your Alpine amplifier, refer to the following troubleshooting guide before seeking professional assistance.
| Probleem | Moontlike oorsaak | Oplossing |
|---|---|---|
| Geen krag / Amplifer skakel nie aan nie |
|
|
| Geen klankuitset nie |
|
|
| Verwronge klank |
|
|
| RUX-KNOB.2 Not Functioning |
|
|
7. Spesifikasies
7.1. Alpine S2-A120M Amplewendiger
- Power Output (14.4V, <0.1% THD+N):
- 600W x 1 @ 4Ω
- 1200W x 1 @ 2Ω
- 1200W x 1 @ 1Ω
- Sein-tot-geraas-verhouding (S/N-verhouding): > 85dB
- Frekwensie reaksie: 20Hz – 400Hz
- Dampfaktor: >750
- Afmetings (B x H x D): 13.1 cm x 2.25 cm x 8.25 cm (33.27 x 5.72 x 20.96 cm)
- Gewig: Approximately 8 lbs, 11 oz (3.94 kg)
7.2. Alpine RUX-KNOB.2 Remote Bass Knob
- Funksie: Remote bass gain adjustment for compatible Alpine amplewendes.
- Verenigbaarheid: Designed for use with S2-A120M and other compatible Alpine amplifiers (e.g., MRX-M50, MRX-M100, MRX-V60, PDX-M12, PDX-M6).
- Verbinding: Via telephone cord adapter.
8. Waarborg en Ondersteuning
For warranty information and technical support, please refer to the official Alpine website or contact Alpine customer service directly. Keep your purchase receipt as proof of purchase for warranty claims.
Alpine Kliëntediens: Visit Alpine's Support Page