LC-Power LC-POWER
LC-M27-QHD-180 - 27" PC Monitor User Manual
Brand: LC-Power | Model: LC-POWER
Produk verbyview
The LC-M27-QHD-180 is a 27-inch (68.58 cm) PC monitor designed to deliver a high-quality visual experience. It features a QHD resolution of 2560 x 1440 pixels, providing sharp and detailed images. The IPS panel ensures an ultra-fast 1 ms response time, excellent color accuracy, and wide viewing angles. With a refresh rate of 180 Hz, content display is very fluid, making it suitable for fast-paced applications and gaming.
Key features include Adaptive Sync for smooth gameplay, Picture-by-Picture (PbP) and Picture-in-Picture (PiP) for multi-source viewing, and a height-adjustable stand with integrated cable management for ergonomic use. The monitor also supports a pivot feature, allowing it to be rotated 90 degrees for vertical document viewing.
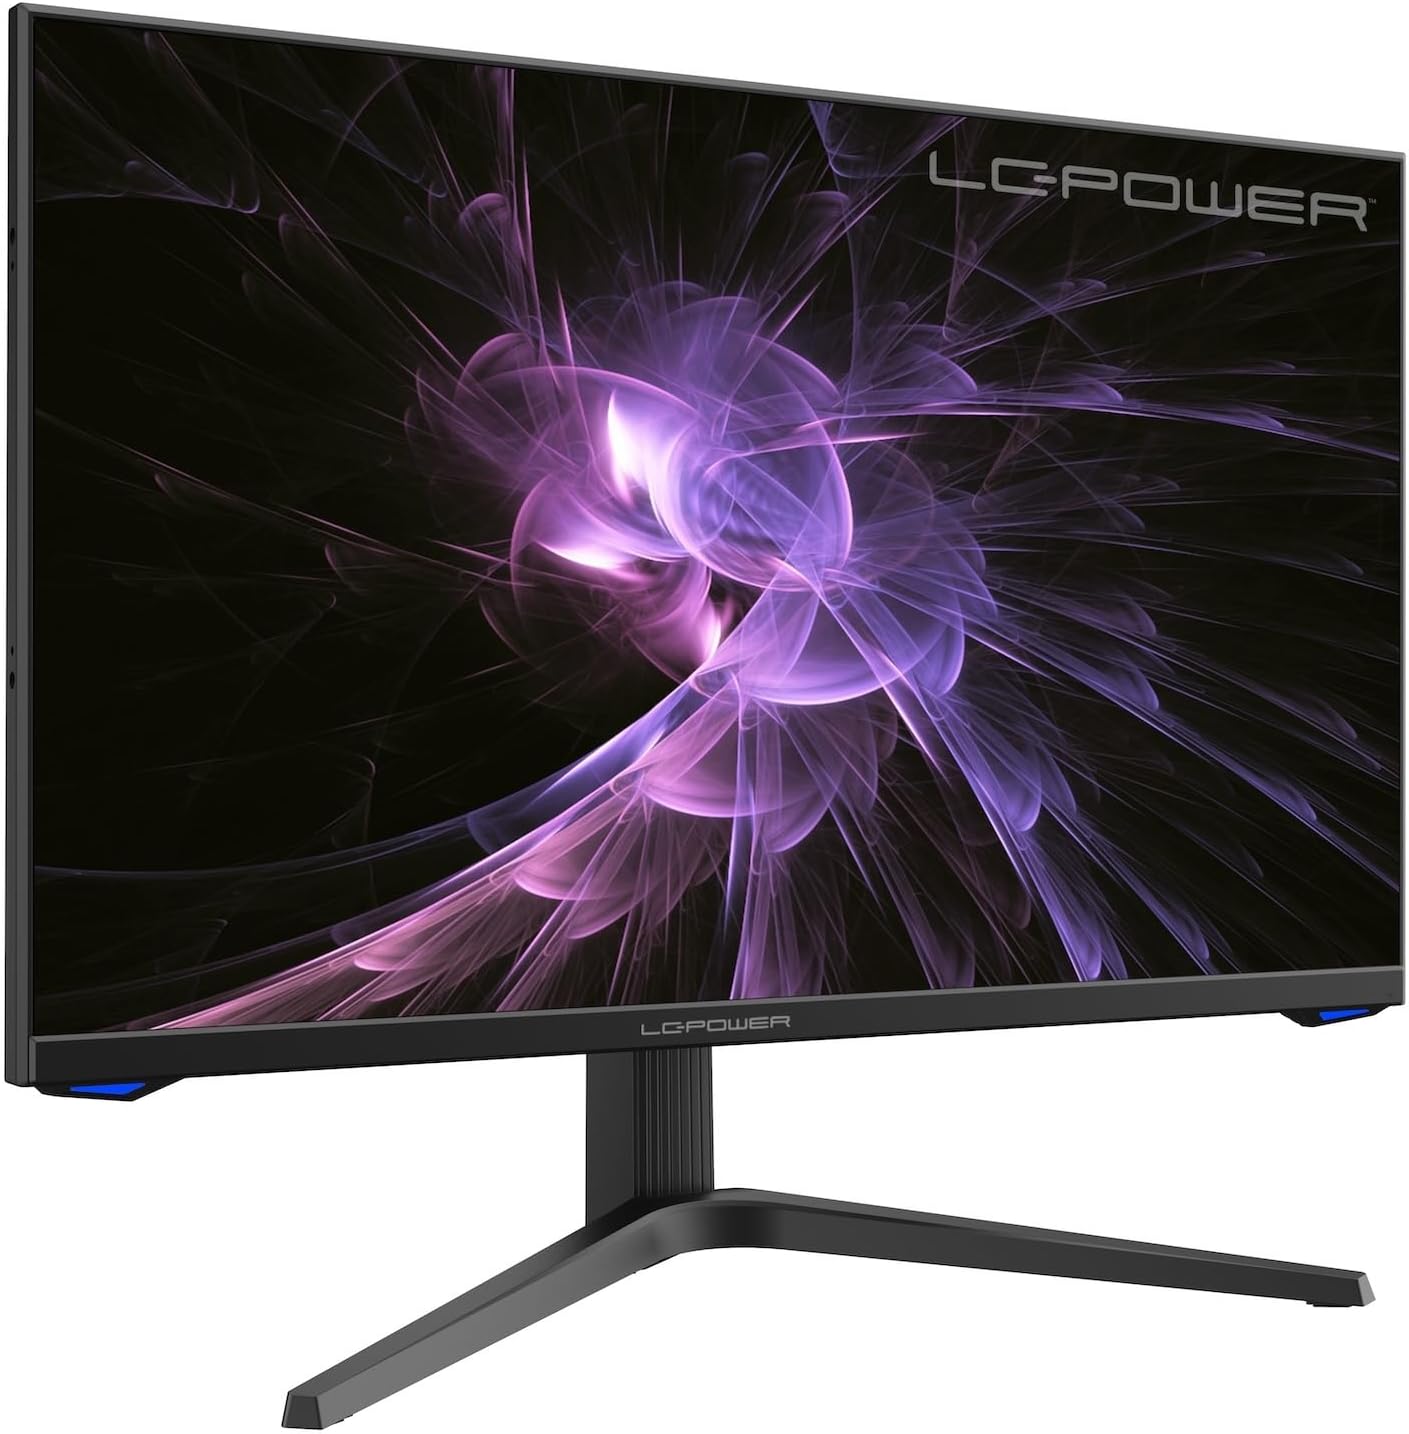
Beeld: Voorkant view of the LC-M27-QHD-180 monitor, showcasing sy skerm en slanke ontwerp.
Opstelgids
1. Uitpak en Inhoud
Carefully remove all components from the packaging. Please verify that all items listed below are present:
- LC-M27-QHD-180 Monitor
- Monitor basis
- HDMI kabel
- Kragadapter
- Montage materiaal
- Gebruikershandleiding (hierdie dokument)
2. Vergadering
Bevestiging van die basis:
- Plaas die monitorskerm met die gesig na onder op 'n sagte, skoon oppervlak om skrape te voorkom.
- Align the stand arm with the slot on the back of the monitor.
- Bevestig die staanderarm aan die monitor met die meegeleverde skroewe.
- Attach the base plate to the stand arm and tighten the screws.
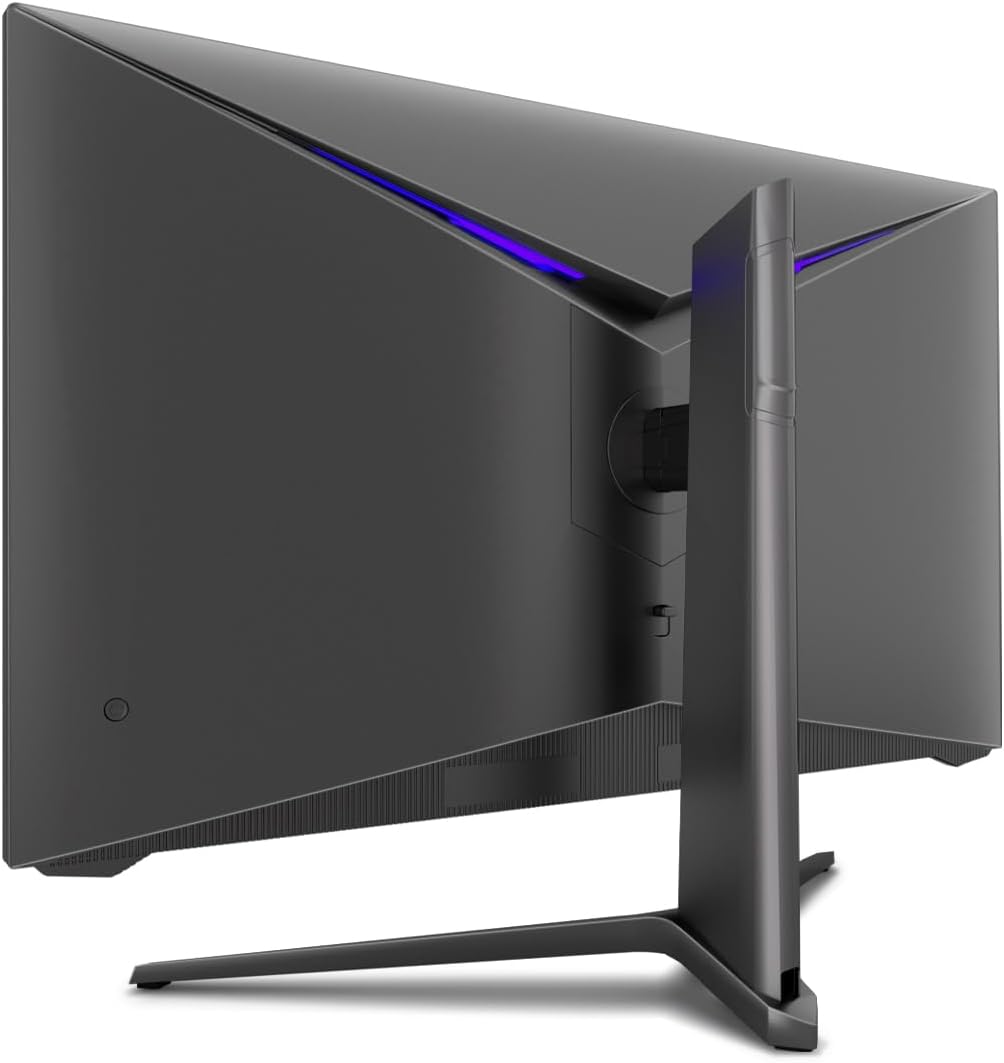
Beeld: Agter view of the monitor, illustrating the stand assembly area and cable management design.
VESA Montering: The monitor is VESA compatible. If you intend to use a VESA mount, remove the stand arm after assembly and attach your VESA mount according to its instructions.
3. Koppel die monitor
- Kragverbinding: Connect the power adapter to the monitor's power input and then plug the power adapter into a wall outlet.
- Videoverbinding: Connect one end of the provided HDMI cable to the HDMI port on your computer's graphics card and the other end to an HDMI input port on the monitor.
- Maak seker dat alle verbindings veilig is.
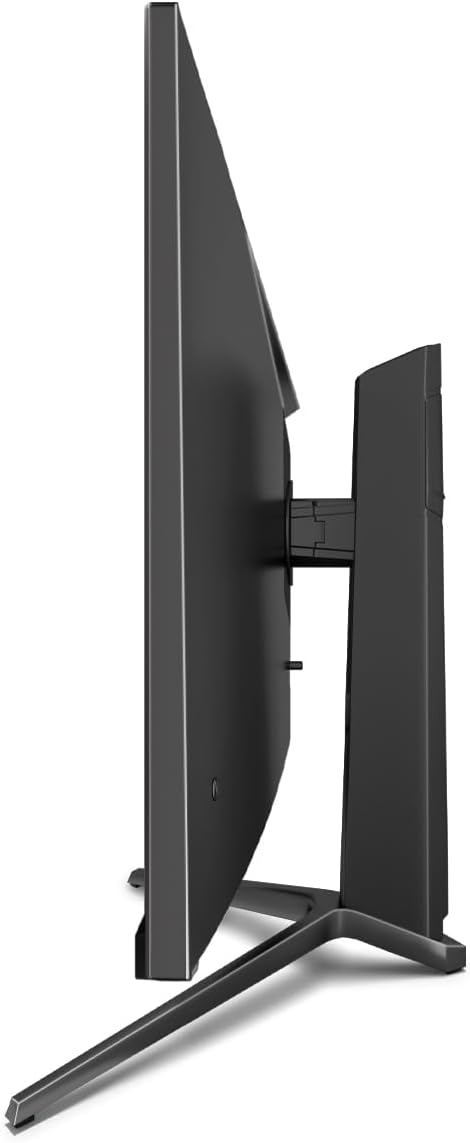
Beeld: Sykant view of the monitor, showing its slim design and connectivity ports.
4. Aanvanklike aanskakeling
Press the power button on the monitor. The power indicator light should illuminate. Your computer should automatically detect the new display. If not, adjust display settings in your operating system.
Bedryfsinstruksies
On-Screen Display (OSD)-kieslys
The monitor features an On-Screen Display (OSD) menu for adjusting various settings. Use the control buttons located on the monitor (typically on the back or bottom edge) to navigate the OSD menu.
Belangrike kenmerke en instellings
- Aanpasbare sinkronisering: This technology synchronizes the monitor's refresh rate with your graphics card's frame rate, reducing screen tearing and stuttering for a smoother gaming experience. Enable this feature in your graphics card settings and on the monitor's OSD if applicable.
- Oordryf: Overdrive pre-calculates and accelerates specific pixels, significantly reducing response times for both black-and-white and color nuance changes, resulting in clearer motion.
- Lae blou lig: The Low Blue Light filter reduces the emission of harmful blue light from the screen, minimizing eye strain and fatigue during prolonged use. This feature can be adjusted via the OSD menu.
- Picture-by-Picture (PbP) / Picture-in-Picture (PiP):
- PbP: Allows you to display content from two different input sources side-by-side on the same screen.
- PiP: Displays the image from a second source as a smaller, scalable window (up to 25% of original size) that can be positioned anywhere on the main screen.
- FPS / RTS Modes: Dedicated display modes optimized for First Person Shooter (FPS) and Real-Time Strategy (RTS) games. These modes enhance visibility and provide a better gaming experience by adjusting display parameters.
- Spilkenmerk: The monitor can be rotated 90 degrees to a vertical (portrait) orientation. This is particularly useful for reading documents, coding, or web blaai.

Image: Diagram illustrating the monitor's ability to pivot 90 degrees for vertical viewing.
Note: After physically rotating the monitor, you must adjust the display orientation settings within your operating system (e.g., Windows Display Settings) to match the new physical orientation.
- Height Adjustable Stand & Cable Management: The integrated stand allows for height adjustment to achieve an ergonomic viewing position. Cables can be neatly routed through the stand's built-in cable management system to maintain a tidy workspace.

Image: Close-up of the monitor's stand, highlighting the integrated cable management feature.
Onderhoud
Om die lang lewensduur en optimale werkverrigting van u monitor te verseker, volg hierdie onderhoudsriglyne:
- Skoonmaak van die skerm: Vee die skerm liggies af met 'n sagte, pluisvrye lap wat spesifiek vir elektronika ontwerp is. Vir hardnekkige merke, vee liggiesampMaak die lap skoon met water of 'n nie-skurende, monitor-veilige skoonmaakoplossing. Moenie vloeistof direk op die skerm spuit nie.
- Maak die C skoonasing: Gebruik 'n sagte, droë lap om die monitor se ... skoon te maak.asing. Vermy die gebruik van harde chemikalieë of skuurmiddels.
- Ventilasie: Maak seker dat die ventilasie-openinge op die monitor nie geblokkeer is om oorverhitting te voorkom nie.
- Skakel af: Always power off the monitor and unplug it from the power outlet before cleaning or if it will not be used for an extended period.
- Vermy direkte sonlig: Moenie die monitor aan direkte sonlig of oormatige hitte blootstel nie.
Probleemoplossing
If you encounter issues with your LC-M27-QHD-180 monitor, please refer to the following common troubleshooting steps:
| Probleem | Moontlike oorsaak | Oplossing |
|---|---|---|
| Geen beeld op die skerm nie | Monitor not powered on; video cable loose or disconnected; incorrect input source selected. | Ensure power cable is securely connected and monitor is turned on. Check video cable connections (HDMI). Select the correct input source via the OSD menu. |
| Beeld is vaag of verwring | Incorrect resolution setting; video cable issue. | Set the display resolution to 2560 x 1440 pixels in your computer's display settings. Try a different HDMI cable if available. |
| No sound (if monitor has speakers/audio out) | Audio cable not connected; volume too low; incorrect audio output selected on computer. | Ensure audio cable (if used) is connected. Adjust monitor volume via OSD. Select the monitor as the default audio output device in your computer's sound settings. |
| Skerm flikker | Refresh rate mismatch; faulty cable; graphics driver issue. | Ensure refresh rate is set to 180 Hz in display settings. Try a different video cable. Update your graphics card drivers. |
For more detailed troubleshooting or persistent issues, please consult the full user manual or contact LC-Power customer support.
Spesifikasies
| Kenmerk | Detail |
|---|---|
| Modelnommer | LC-POWER (LC-M27-QHD-180) |
| Skerm grootte | 27 duim (68.58 cm) |
| Resolusie | QHD Wide 1440p (2560 x 1440 pixels) |
| Aspekverhouding | 16:9 |
| Herlaaitempo | 180 Hz |
| Reaksie Tyd | 1 ms |
| Paneel tipe | IPS |
| Skermoppervlak | Flach (Flat) |
| Produkafmetings (L x B x H) | 28.74 x 18.9 x 8.66 duim |
| Item gewig | 17.73 pond |
| Vervaardiger | LC krag |
| ASIN | B0CQJNV3YR |
| Datum Eerste Beskikbaar | 31 Mei 2024 |

Image: EU Energy Label for the LC-M27-QHD-180 monitor. For more details, scan the QR code or visit eprel.ec.europa.eu/qr/1758049.
Waarborg en Ondersteuning
The LC-M27-QHD-180 monitor is manufactured by LC Power.
- Algemene Waarborg: The product comes with a 3-year general warranty from the date of purchase.
- Guaranteed Availability of Spare Parts: Onderdele word gewaarborg om beskikbaar te wees vir 7 jaar vanaf die datum waarop die produk op die mark geplaas word.
- Guaranteed Product Support: Product support is guaranteed for 7 years.
For technical support, warranty claims, or service inquiries, please contact LC-Power customer support through their official channels. Refer to the packaging or the brand's official webwebwerf vir spesifieke kontakinligting.
Ask a question about this manual
Ask about setup, troubleshooting, compatibility, parts, safety, or missing instructions. Manuals+ will review the question and use this page’s manual context to help answer it.