1. Inleiding
This manual provides detailed instructions for the installation, operation, and maintenance of your ARPHA D160 Keyless Entry Door Lock. Please read this manual thoroughly before installation and use to ensure proper function and longevity of the product. Keep this manual for future reference.
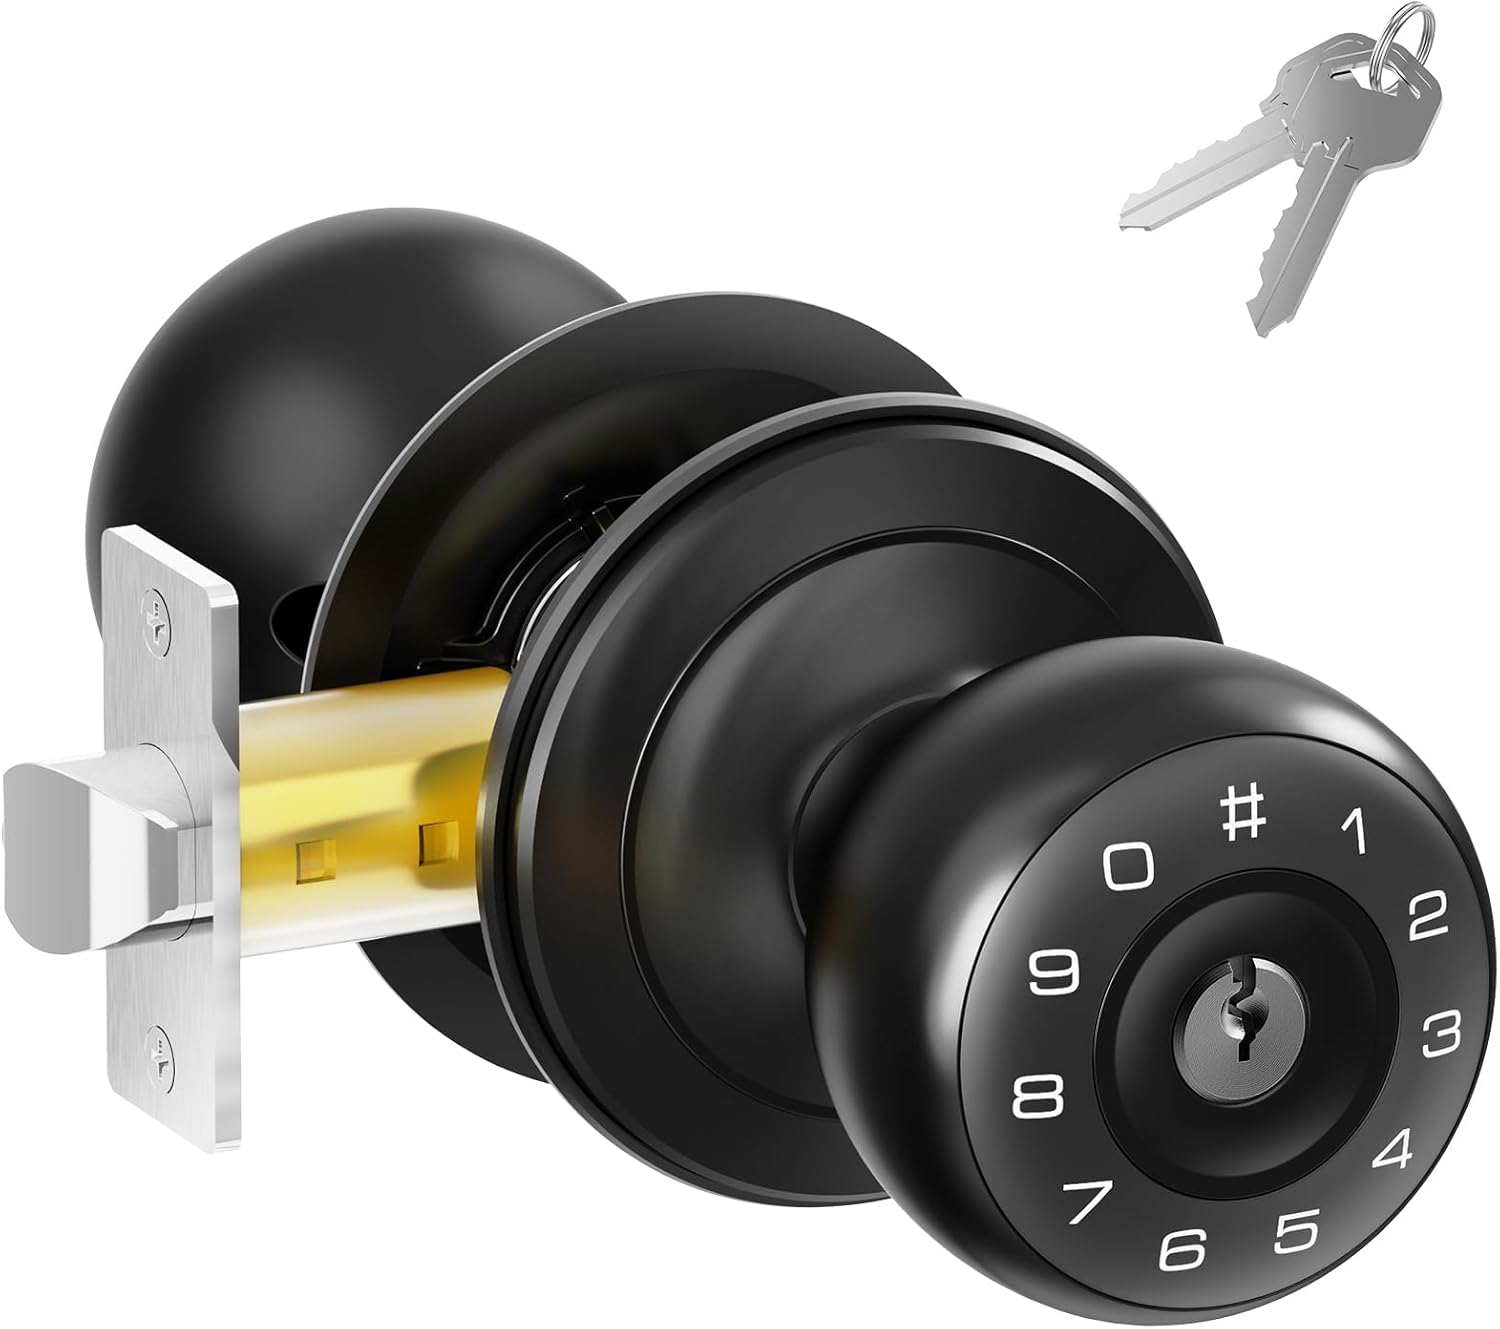
Figure 1.1: The ARPHA D160 Keyless Entry Door Lock, shown with its mechanical keys.
2. Veiligheidsinligting
- Do not attempt to disassemble or repair the lock yourself. Contact qualified personnel for service.
- Use only specified battery types (4x AA batteries, not included). Do not mix old and new batteries or different types of batteries.
- Keep mechanical keys in a secure location outside the property to prevent lockout in case of battery failure or electronic malfunction.
- Avoid exposing the lock to direct water spray or extreme temperatures.
- Regularly check battery levels and replace batteries when the low battery alert is activated.
3. Pakketinhoud
Verifieer dat alle komponente teenwoordig is voordat u met die installasie begin:
- Exterior Keypad Knob
- Binne-knop
- Vergrendelbout
- Stakplaat
- Monteringshardeware (skroewe, spil)
- Meganiese sleutels (2)
- Gebruikershandleiding
4. Produk verbyview
The ARPHA D160 Keyless Entry Door Lock offers convenient and secure access with multiple features designed for ease of use and enhanced security.

Figuur 4.1: oorview of ARPHA D160 Keypad Door Knob features, including low battery alert, auto-lock, virtual password, support for 50 user codes, silent mode, and emergency charging capabilities.
Sleutel kenmerke:
- Sleutellose toegang: Access your door using a programmable passcode.
- Programbeheer: Manage lock settings and access codes via a dedicated mobile application.
- Eenmalige kode: Generate temporary access codes for guests or service providers.
- Anti-loer wagwoord: Enter random digits before or after your actual code to prevent unauthorized viewing.
- Outo-sluit: Automatically locks the door after a set period.
- Stille modus: Disables keypad sounds for quiet operation.
- Noodlaai: USB-C port for temporary power in case of battery depletion.
- Lae battery waarskuwing: Visual and audible indicators for low battery status.
5. Installasie
Follow these steps for proper installation of your ARPHA D160 door lock. Ensure your door thickness is between 1.4"-2.7" (35-55mm) and the backset is 2-3/8" or 2-3/4" (60 or 70mm).
5.1 Berei die Deur Voor
- Remove any existing door hardware.
- Verify door dimensions match the lock specifications.
5.2 Install the Latch Bolt
- Insert the latch bolt into the door edge. Ensure the latch is oriented correctly for your door's swing.
- Bevestig met skroewe.
5.3 Install the Exterior Keypad Knob
- Pass the spindle and wires from the exterior keypad knob through the latch bolt and door hole.
- Ensure the knob is flush against the door.
5.4 Install the Interior Knob
- Connect the wires from the exterior knob to the interior knob, matching colors (e.g., red to red, black to black, yellow to yellow).
- Align the interior knob with the spindle and secure it to the exterior knob using the provided mounting hardware.
- Insert 4 AA batteries into the interior knob's battery compartment.
5.5 Installeer die Slagplaat
- Install the strike plate on the door frame, aligning it with the latch bolt.
- Bevestig met skroewe.
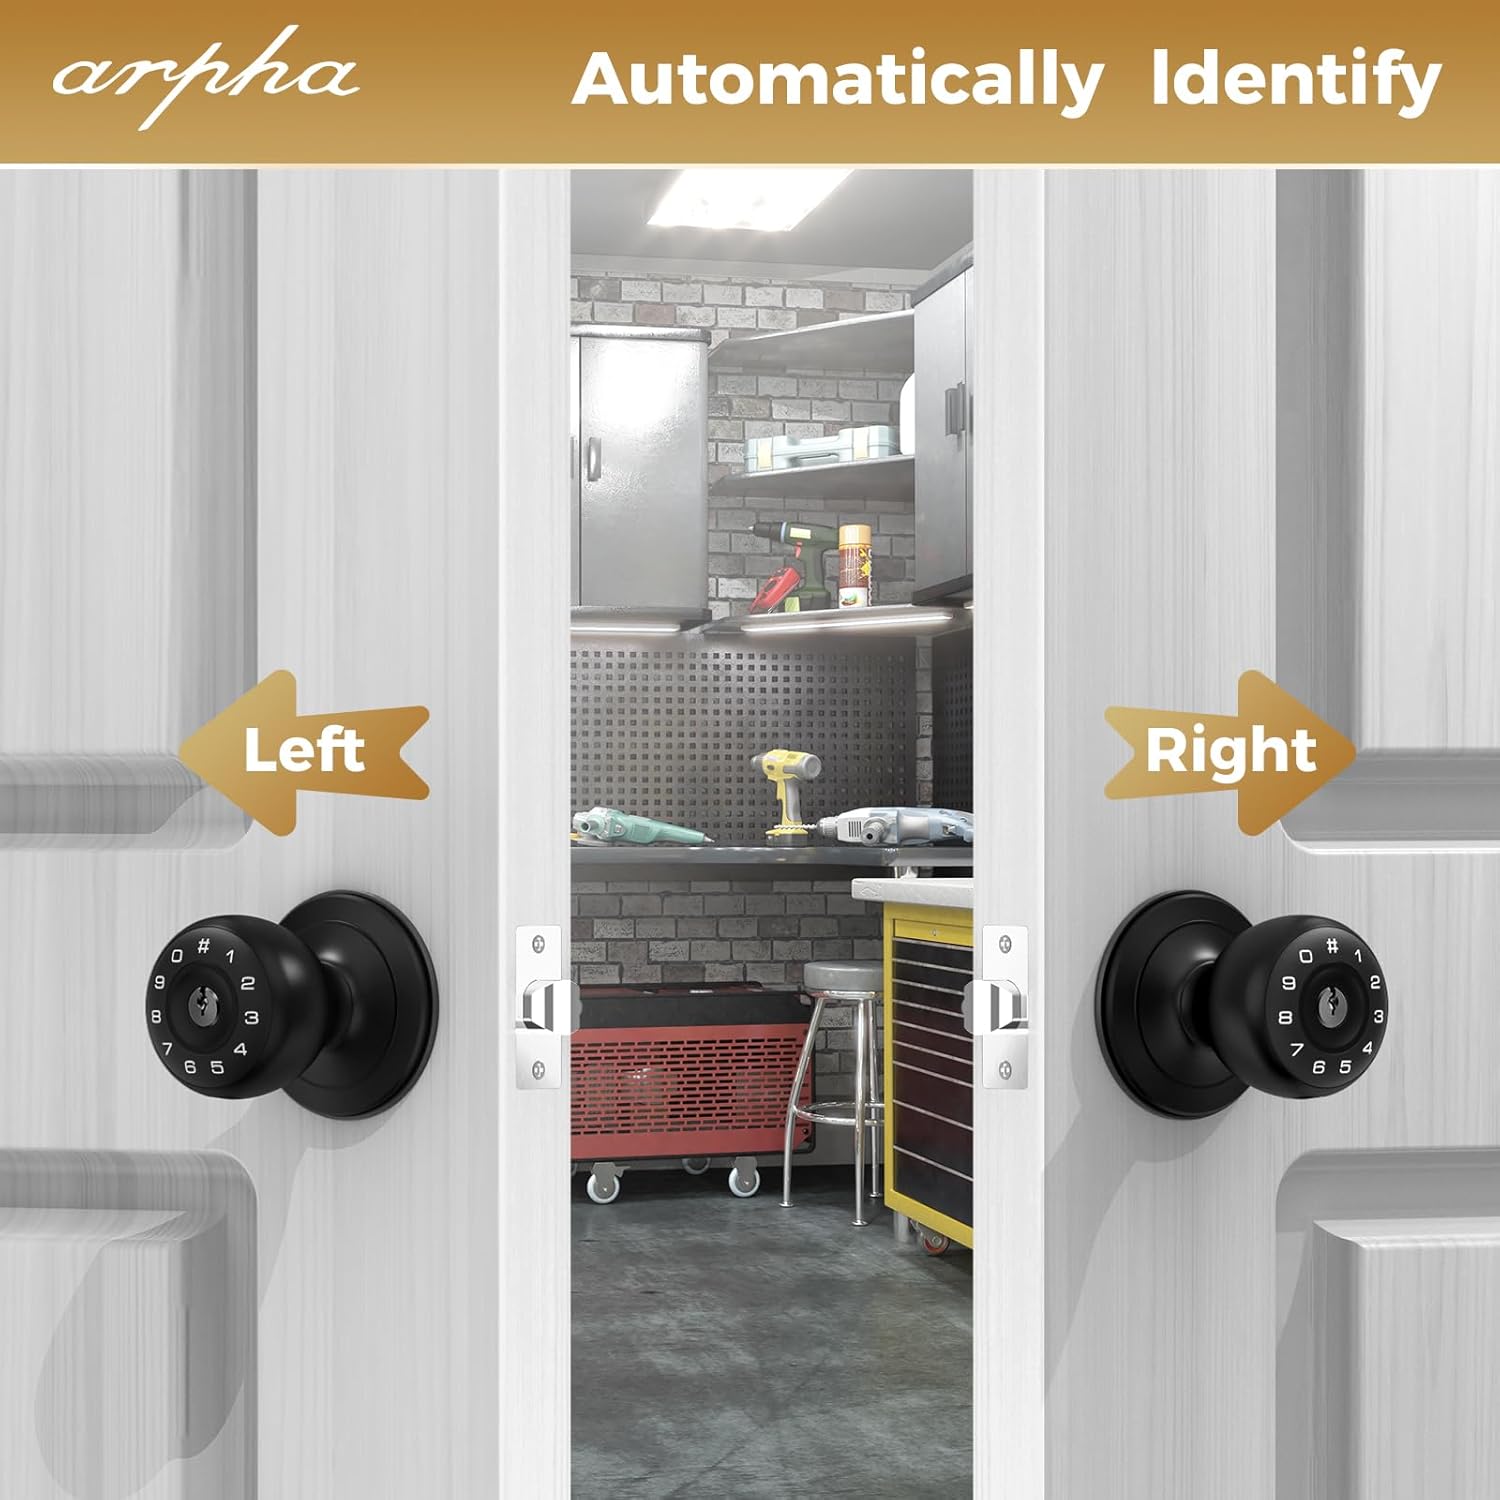
Figure 5.1: The ARPHA D160 lock automatically identifies left or right-handed door configurations during installation.
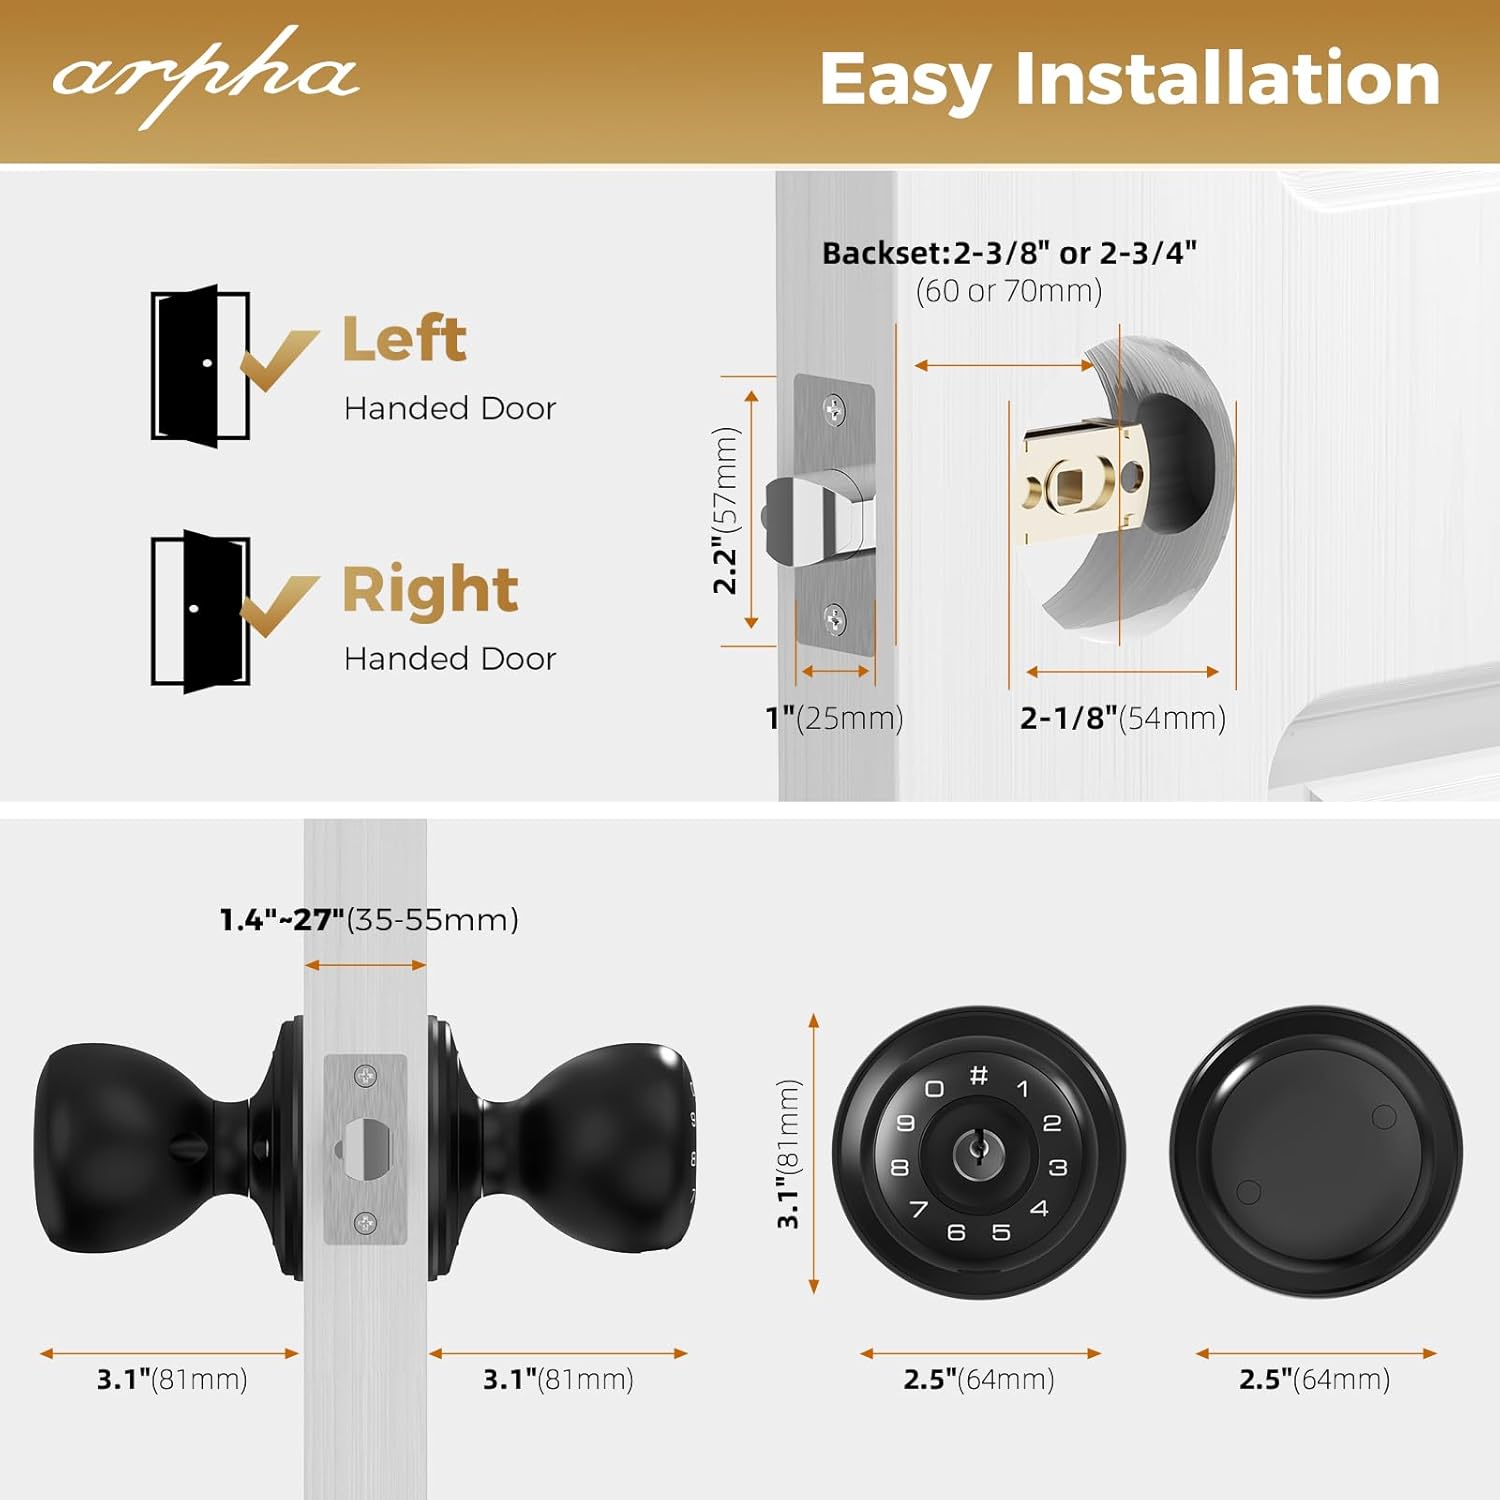
Figure 5.2: Detailed dimensions for door preparation and lock components, including backset and door thickness requirements.
6. Bedryfsinstruksies
6.1 Initial Setup and Master Code
- After battery installation, the lock will emit a beep.
- Refer to the quick start guide for initial master code programming. This code is essential for managing other user codes.
6.2 Gebruikerskodebestuur
The lock supports up to 50 user codes.

Figure 6.1: The ARPHA D160 allows for up to 50 distinct user codes, suitable for family, friends, or temporary access.
- Adding a User Code: Follow the instructions in the quick start guide to add new user codes using the master code.
- Deleting User Codes: To delete a specific user code, you must reset all user codes and then reprogram the desired ones. Individual code deletion is not supported.
6.3 Anti-loerwagwoord
To enhance security, you can enter random digits before or after your actual PIN code. The lock will still recognize the correct sequence within the longer entry.
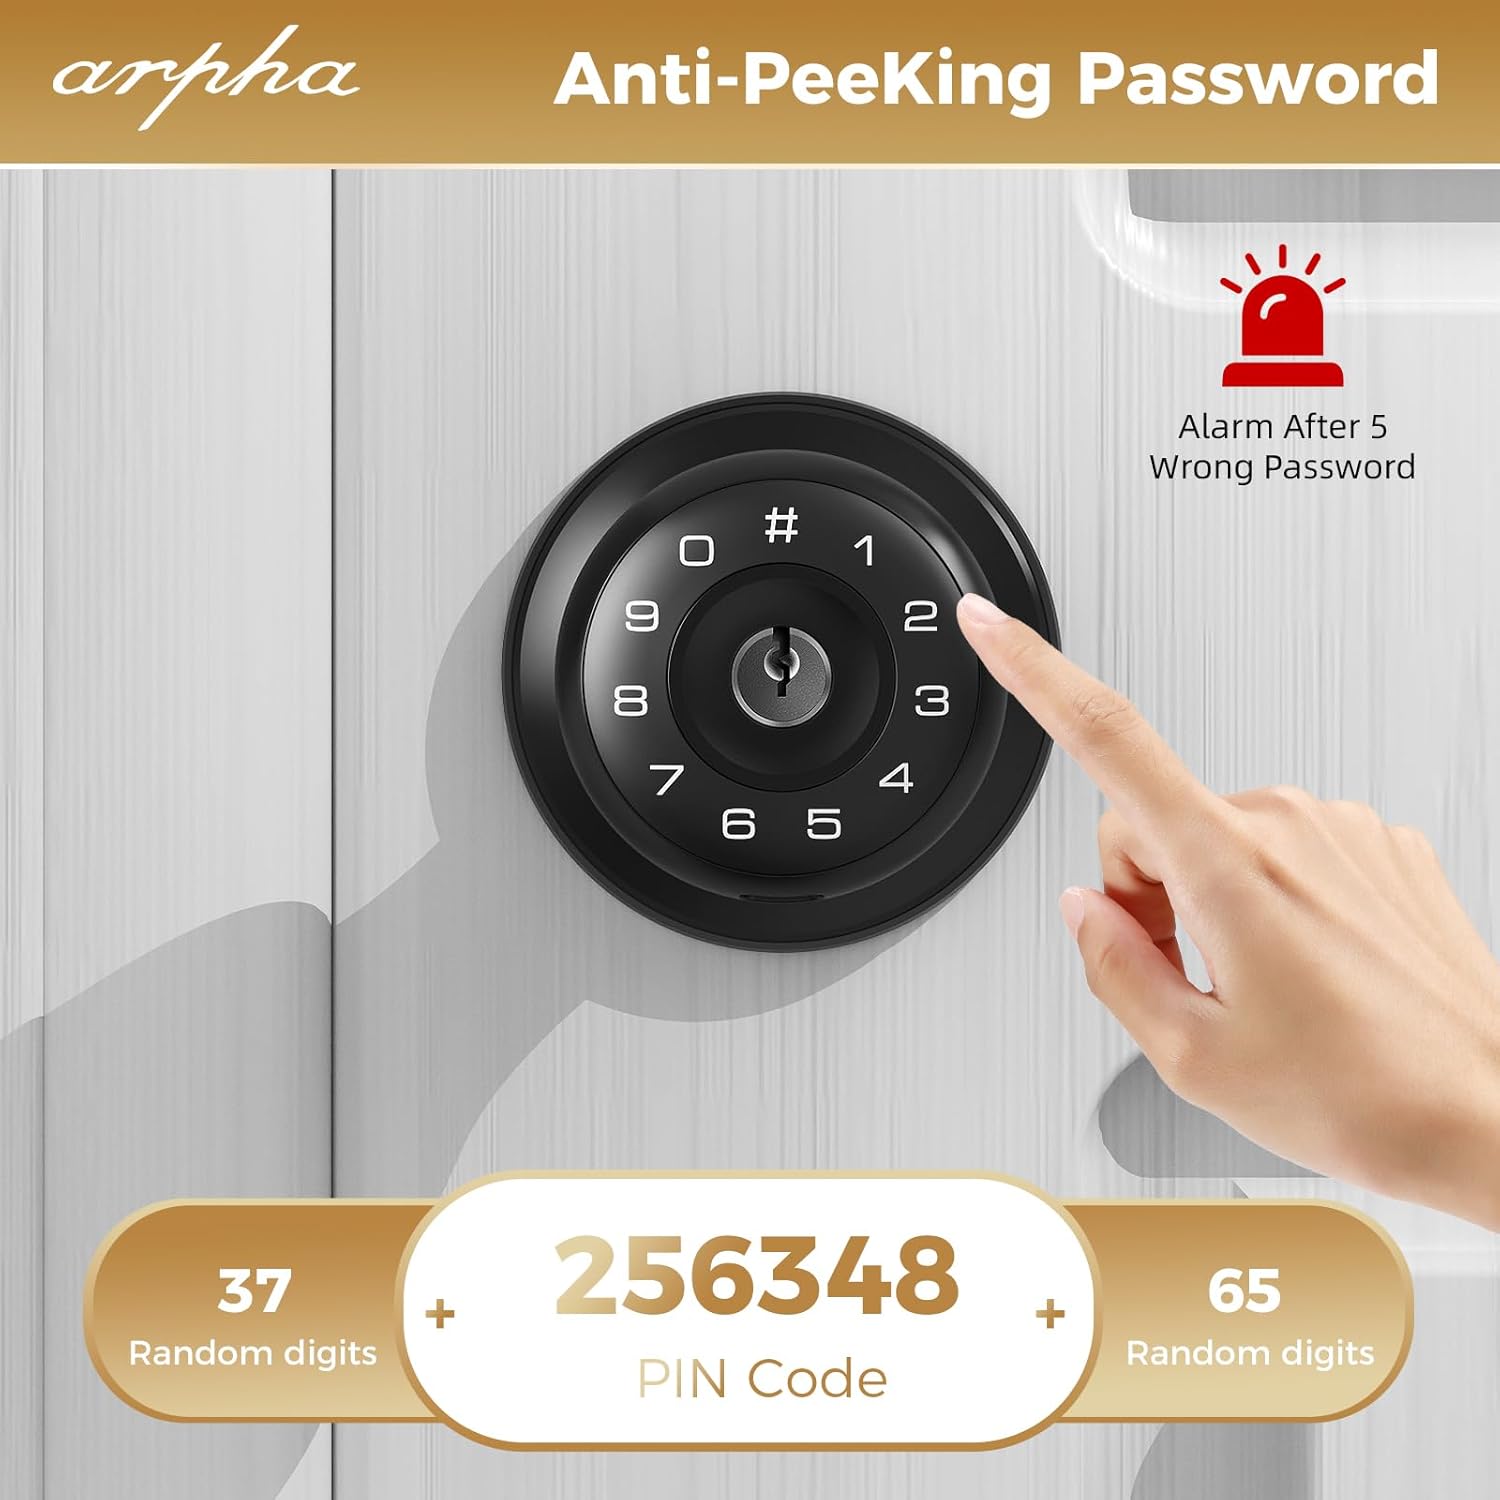
Figuur 6.2: Example of anti-peeping password entry, where random digits surround the actual PIN code.
6.4 Silent Mode (Bass Mode)
Activate silent mode to disable keypad beeps for quiet operation, ideal for late-night entry or exit.
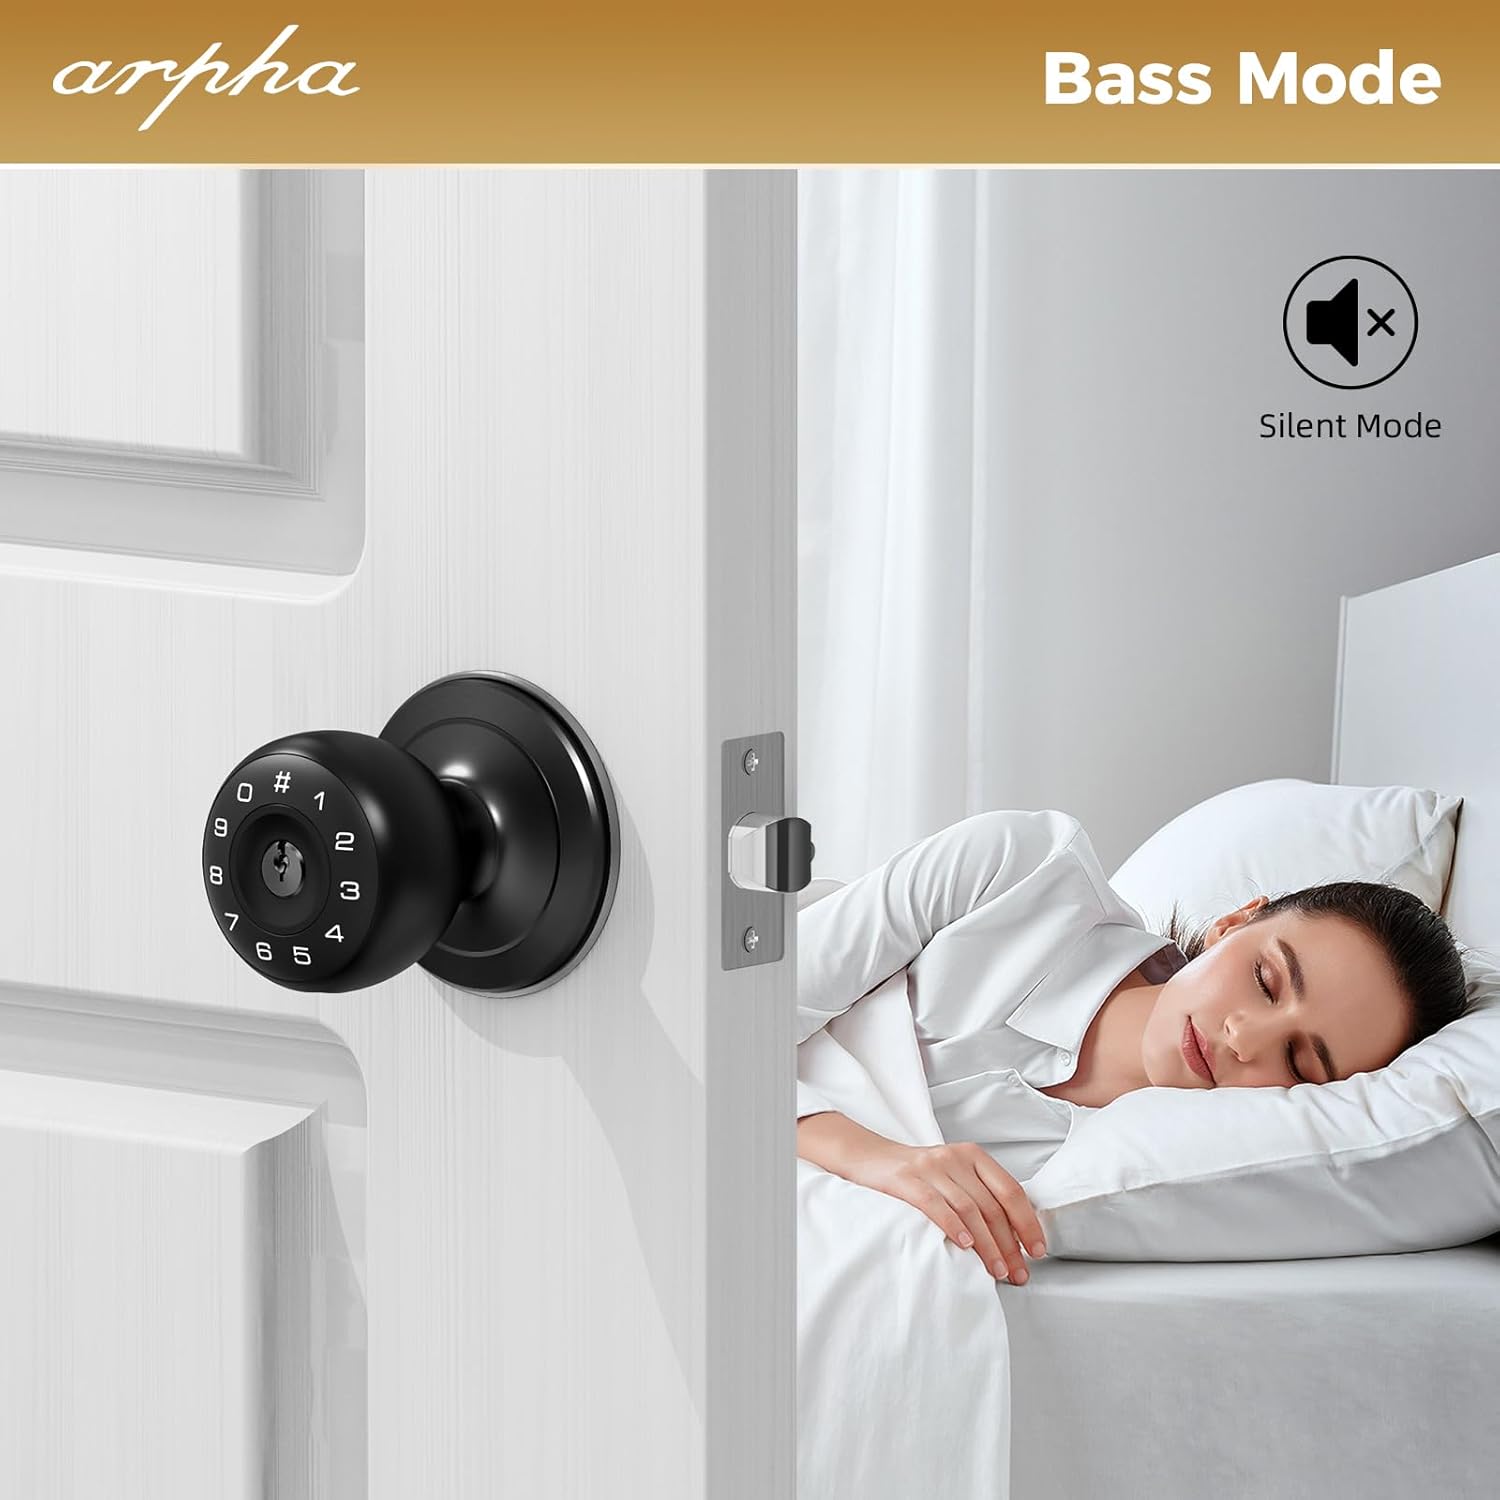
Figure 6.3: The lock operating in silent mode, indicated by a muted speaker icon.
6.5 Outomatiese Sluitfunksie
The lock can be configured to automatically re-lock after a specified duration (e.g., 10-30 seconds) once unlocked. Refer to the app or quick start guide for setting this feature.
6.6 Emergency Charging
In case of complete battery depletion, the lock features a USB-C port for temporary emergency power. Connect a power bank to this port to provide enough power to enter your code and unlock the door.

Figure 6.4: The lock displaying a low battery alert and demonstrating the use of the emergency USB-C charging port.
7. Onderhoud
- Battery vervanging: Replace all four AA batteries when the low battery alert is activated. Do not wait for complete battery depletion.
- Skoonmaak: Wipe the lock's exterior with a soft, dry cloth. Avoid abrasive cleaners or solvents that may damage the finish or electronic components.
- Sleutelbordversorging: Keep the keypad free from dirt and debris.
8. Probleemoplossing
| Probleem | Moontlike oorsaak | Oplossing |
|---|---|---|
| Slot reageer nie op invoer op die sleutelbord nie. | Dead batteries. Incorrect code entry. | Replace batteries. Use emergency charging. Re-enter code carefully. |
| Lock beeps continuously or alarms. | Low battery. Multiple incorrect code entries. | Replace batteries. Wait 1 minute after 5 incorrect entries before trying again. |
| Deur sluit/ontsluit nie glad nie. | Misalignment of latch bolt or strike plate. Obstruction. | Check alignment and adjust if necessary. Ensure no debris is blocking the latch. |
| App-beheer werk nie. | Bluetooth not enabled. App not paired. | Ensure Bluetooth is active on your device. Follow app pairing instructions. |
9. Spesifikasies
- Handelsmerk: ARPHA
- Model Naam: D160 Sleutellose toegangsdeurslot
- Slot tipe: Sleutelbord
- Materiaal: Metaal
- Kleur: Swart
- Produk afmetings: 6.2 x 3.1 x 3.1 duim
- Item gewig: 1.94 pond
- Kragbron: 4 x AA-batterye (nie ingesluit nie)
- Spesiale kenmerke: Passcode Unlock, App Control, Anti-Peeping Password, Auto-Lock, Silent Mode, Emergency USB-C Charging
- Aanbevole gebruike: Securing rooms and spaces in residential and office settings
10. Waarborg en Ondersteuning
ARPHA products are designed for reliability and performance. For warranty information or technical support, please refer to the contact details provided with your purchase documentation or visit the official ARPHA webwebwerf. Bewaar u aankoopbewys as bewys van aankoop vir waarborgeise.