Zenwire A10
Zenwire A10 Mini Portable Projector User Manual
Model: A10
1. Inleiding
Dankie vir die aankoopasing the Zenwire A10 Mini Portable Projector. This device is designed to provide a versatile and convenient projection experience, allowing you to display content from various sources, including smartphones, tablets, and computers. Please read this manual carefully before using the projector to ensure proper operation and to maximize its lifespan.
2. Belangrike veiligheidsinstruksies
- Moenie direk in die projektorlens kyk wanneer die lamp is aan.
- Verseker behoorlike ventilasie rondom die projektor om oorverhitting te voorkom. Moenie ventilasie-openinge blokkeer nie.
- Gebruik slegs die kragadapter wat saam met die projektor voorsien word.
- Hou die projektor weg van water, vog en vlambare materiale.
- Moenie probeer om die projektor self uitmekaar te haal of te herstel nie. Kontak gekwalifiseerde dienspersoneel vir hulp.
- Plaas die projektor op 'n stabiele, gelyk oppervlak.
- Ontkoppel die projektor tydens weerligstorms of wanneer dit vir lang tye nie gebruik word nie.
3. Pakketinhoud
Kontroleer asseblief die inhoud van die verpakking wanneer u dit uitpak. Kontak u kleinhandelaar indien enige items ontbreek of beskadig is.
- Zenwire A10 Mini Portable Projector
- Afstandbeheer
- Kragadapter
- Gebruikershandleiding
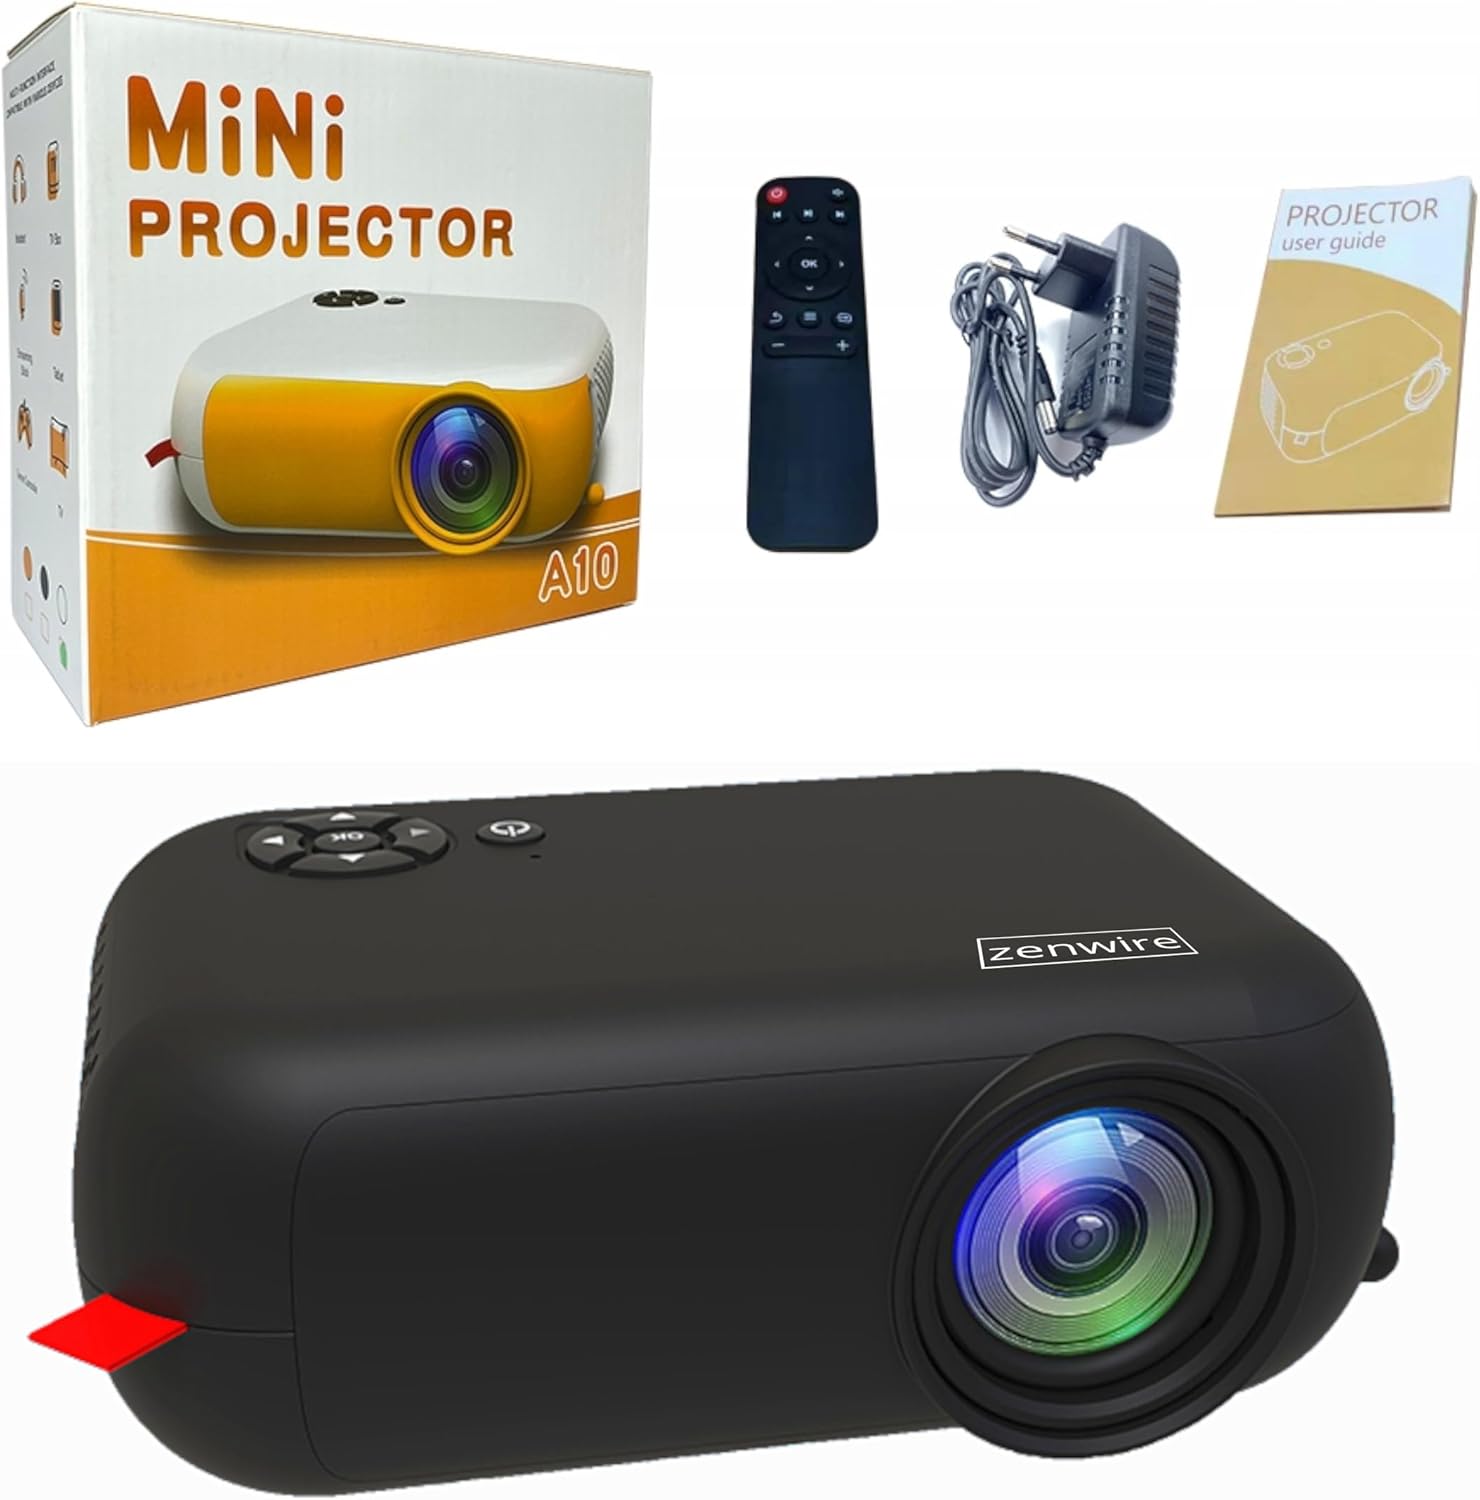
Image: Contents of the Zenwire A10 Mini Projector package, including the projector, remote control, power adapter, and user manual.
4. Produk verbyview
4.1 Projector Dimensions and Design
The Zenwire A10 is designed for portability, featuring a compact and lightweight form factor. Its dimensions are approximately 14cm x 10cm x 5.5cm, making it easy to carry and set up in various locations.

Image: The Zenwire A10 Mini Projector held in a hand, illustrating its compact size and portability.
4.2 Poorten en Beheer
The projector features a range of input and output ports for versatile connectivity, along with intuitive controls.

Image: Rear panel of the Zenwire A10 Mini Projector, showing the 5V-IN DC power input, IR receiver, USB port, 3.5mm audio jack, HDMI port, and SD card slot.
- 5V-IN DC: Power input for the projector.
- IR: Infrarooi ontvanger vir die afstandbeheer.
- USB: Koppel USB-bergingstoestelle vir mediaweergawe.
- Koptelefoonaansluiting (3.5 mm): Koppel eksterne luidsprekers of oorfone.
- HDMI: Connect devices such as laptops, gaming consoles, or streaming sticks.
- SD: Insert Micro SD cards for media playback.
- Fokuswiel: Adjust image sharpness (located on the side).
- Beheerpaneel: Buttons on top for navigation and selection.
5. Opstelling
5.1 Kragverbinding
- Koppel die meegeleverde kragadapter aan die 5V-IN DC poort op die projektor.
- Steek die kragadapter in 'n muuraansluiting.
- Druk die aan/af-knoppie op die projektor of afstandbeheerder om dit aan te skakel.
5.2 Placement and Focus Adjustment
- Place the projector on a stable surface or mount it according to your preference. Ensure the projector lens is facing the projection surface (wall or screen).
- Adjust the distance between the projector and the screen to achieve your desired image size. The projector supports screen sizes up to 100 inches.
- Rotate the focus wheel (typically located near the lens) until the projected image appears clear and sharp.

Image: Diagram illustrating the Zenwire A10 Mini Projector's capability to project various screen sizes, from 13 inches up to 100 inches, depending on the projection distance.
6. Bediening van die Projektor
6.1 Wireless Connection (Miracast & Airplay)
The Zenwire A10 supports wireless screen mirroring via 2.4/5GHz WiFi, compatible with Android (Miracast) and iOS (Airplay) devices.
- Maak seker dat jou projektor en mobiele toestel aan dieselfde Wi-Fi-netwerk gekoppel is.
- On the projector's main menu, select the 'Screen Mirroring' or 'Wireless Display' option.
- Vir Android: On your Android phone/tablet, enable 'Wireless Display', 'Screen Mirroring', 'Smart View', or similar function (names may vary by device). Select the projector from the list of available devices.
- Vir iOS: On your iPhone/iPad, open Control Center and tap 'Screen Mirroring'. Select the projector from the list of available devices.
- The content from your mobile device should now be mirrored on the projector screen.
6.2 Bedrade verbindings
Die projektor bied verskeie bedrade invoeropsies vir verskeie toestelle.

Image: The Zenwire A10 Mini Projector connected to various devices such as smartphones, tablets, laptops, desktop computers, gaming consoles, and media players, highlighting its versatile connectivity.
- HDMI: Connect a laptop, PC, gaming console (e.g., Xbox, PlayStation), or streaming device (e.g., Amazon Fire TV Stick, Google Chromecast) using an HDMI cable. Select the HDMI input source on the projector.
- USB: Insert a USB flash drive or external hard drive into the USB port. The projector's media player will allow you to browse and play supported video, audio, and image files.
- Mikro SD: Insert a Micro SD card into the SD card slot. Similar to USB, you can access media files through the projector's interface.
- Oudio-uitvoer (3.5 mm-aansluiting): Connect external speakers or headphones to enhance the audio experience.
6.3 Spyskaartnavigasie
Use the remote control or the buttons on the projector to navigate through the on-screen menu. Select input sources, adjust picture settings (brightness, contrast, color), sound settings, and other system preferences.
7. Onderhoud
- Lens skoonmaak: Gebruik 'n sagte, pluisvrye lap wat spesifiek vir optiese lense ontwerp is om die projektorlens saggies af te vee. Vermy die gebruik van skuurmiddels of oormatige krag.
- Stofverwydering: Regularly clean the projector's exterior with a soft, dry cloth. Use a small brush or compressed air to clear dust from the ventilation openings to ensure proper airflow.
- Berging: Wanneer dit nie gebruik word nie, bêre die projektor op 'n koel, droë plek, weg van direkte sonlig en uiterste temperature. Gebruik die oorspronklike verpakking of 'n beskermende omhulsel om stofophoping en skade te voorkom.
8. Probleemoplossing
If you encounter issues with your Zenwire A10 projector, refer to the following common problems and solutions:
| Probleem | Moontlike oorsaak | Oplossing |
|---|---|---|
| Geen beeld op die skerm nie | Krag nie gekoppel nie; Verkeerde invoerbron; Toestel nie behoorlik gekoppel nie. | Check power cable; Select correct input source (HDMI, USB, etc.); Reconnect source device. |
| Beeld is vaag | Fokus nie aangepas nie; Projektor te naby/ver van die skerm af. | Adjust the focus wheel; Adjust projection distance. |
| Geen klank nie | Volume too low; Muted; External audio device not connected/selected. | Increase volume; Unmute; Check external speaker connection or select internal speaker. |
| Probleme met draadlose verbindings | Not on same Wi-Fi network; Device not compatible; Interference. | Ensure both devices are on the same Wi-Fi; Verify device compatibility; Try moving closer to Wi-Fi router. |
9. Spesifikasies
| Kenmerk | Detail |
|---|---|
| Handelsmerk | Zenwire |
| Modelnommer | A10 |
| Produk Tipe | Compact and Portable Projector |
| Inheemse resolusie | 480 x 360p |
| Maksimum skermresolusie | 1920 x 1080 (Vol HD) |
| Helderheid | 1800lm / 60 ANSI |
| Kontrasverhouding | 2000:1 |
| Tipe vertoon | LED |
| Verbindingstegnologie | Wi-Fi (2.4/5GHz), HDMI, USB, Micro SD, 3.5mm Audio Jack |
| Draadlose kenmerke | Miracast, Airplay |
| Versoenbare toestelle | Smartphones (Android, iOS), Tablets, Laptops, PCs, Gaming Consoles |
| Aanbevole gebruike | Tuisbioskoop |
| Afmetings (ongeveer) | 14 cm x 10 cm x 5.5 cm |
10. Waarborg en Ondersteuning
The Zenwire A10 Mini Portable Projector comes with a standard manufacturer's warranty. For specific warranty terms and conditions, please refer to the documentation provided at the time of purchase or contact your retailer. For technical support or service inquiries, please reach out to Zenwire customer service through their official webwebwerf of die kontakinligting wat saam met jou produk verskaf word.