1. Inleiding
Thank you for choosing the Commax CMV-70S 7-inch LED Intercom System. This manual provides essential information for the safe and efficient installation, operation, and maintenance of your new intercom system. Please read this manual thoroughly before use and keep it for future reference.
2. Veiligheidsinligting
- Ensure all electrical connections are made by a qualified professional to prevent electric shock or fire.
- Moenie die eenheid aan water, vog of uiterste temperature blootstel nie.
- Do not attempt to open or repair the unit yourself. Refer all servicing to authorized personnel.
- Use only the specified power supply (AC 100V - 240V).
- Hou die eenheid weg van direkte sonlig en hittebronne.
3. Pakketinhoud
Verifieer dat al die items wat hieronder gelys word in u pakket ingesluit is. Indien enige items ontbreek of beskadig is, kontak asseblief u kleinhandelaar.
- Commax CMV-70S Monitor Unit
- Montagebeugel
- Gebruikershandleiding
- Screws (T)4 x 18mm (4 pcs)
- Screw (M)3 x 6mm (1 pc)
- Connection Cables (2P(1EA), 4P(3EA))
- Door Camera (if included in your specific kit)

Figuur 3.1: Pakketinhoud
4. Produk verbyview
The Commax CMV-70S features a 7-inch LED screen and intuitive touch controls for visitor communication and door access. Familiarize yourself with the components of the monitor unit:
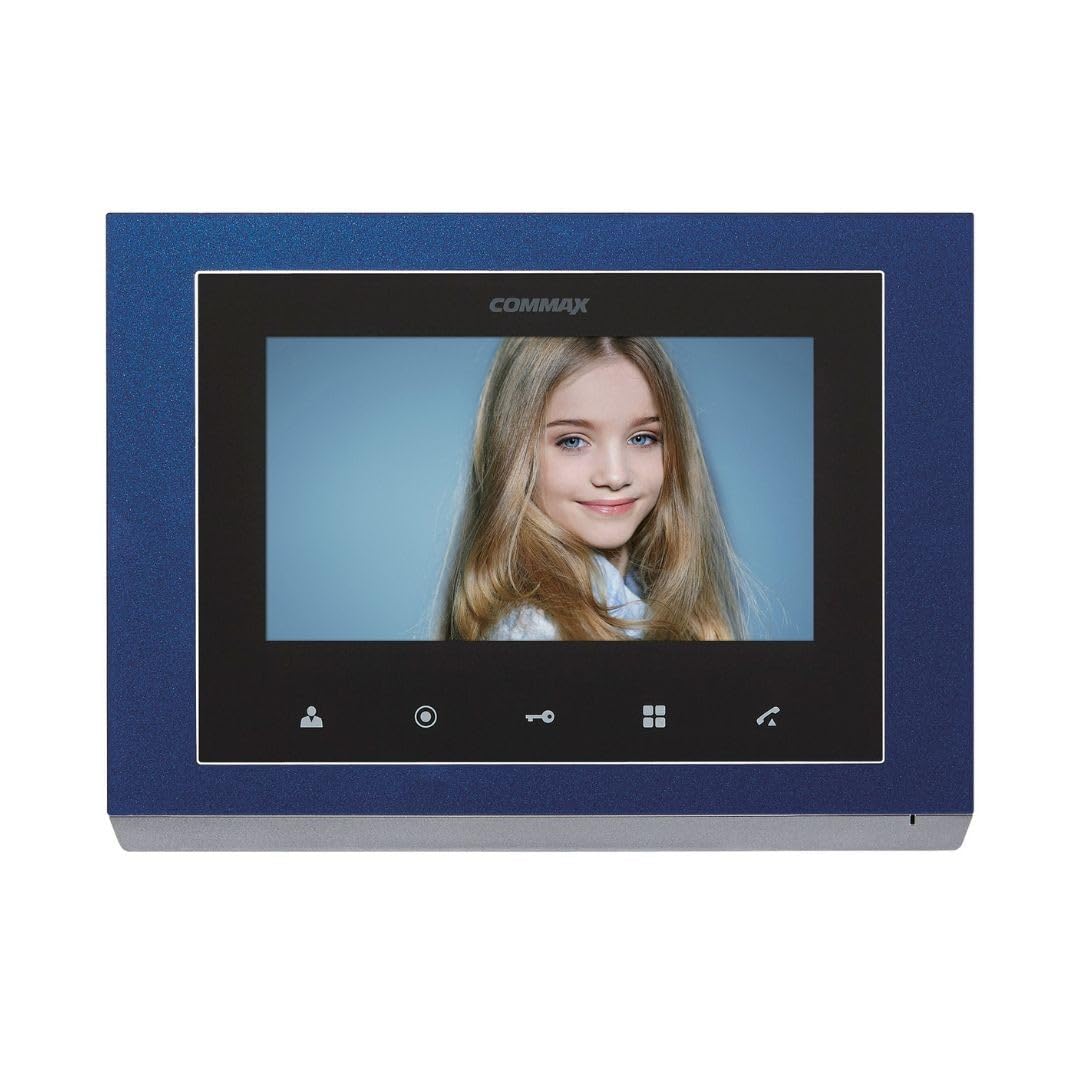
Figuur 4.1: Komponente van die voorpaneel
Komponente op die voorpaneel
| Nee. | Deel Naam | Nee. | Deel Naam | Nee. | Deel Naam |
|---|---|---|---|---|---|
| 1 | 7" TFTLCD | 2 | Spreker | 3 | Monitering knoppie |
| 4 | Guard and interphone button | 5 | Deurknop | 6 | Menu button (touch) |
| 7 | Praat knoppie | 8 | C-MIC | 9 | Menu button (side) |
| 10 | Enter-knoppie | 11 | △ knoppie | 12 | ▽ button |
| 13 | Krag AAN/AF | 14 | Verbind terminale |
5. Opstelling
5.1 Montering van die monitor
- Choose a suitable location for the monitor, typically near the main entrance or a central area.
- Bevestig die monteerbeugel aan die muur met die meegeleverde skroewe. Maak seker dat dit gelyk en stewig vas is.
- Connect all necessary wiring to the monitor's connecting terminals (refer to Section 5.2).
- Carefully attach the monitor unit to the mounting bracket.
5.2 Bedradingsverbindings
The CMV-70S system requires professional hardwire installation. Refer to the diagram below for terminal connections. Ensure power is disconnected before making any wiring connections.

Figure 5.1: Connecting Terminals (Rear View)
- Kragverbinding: Connect the AC 100V - 240V power supply to the designated power terminals.
- Door Camera Connection: Connect the door camera to the 'CAM' terminals. The system supports up to two door cameras.
- Intercom Connection: For multi-unit setups or additional indoor phones, connect them to the 'INTER' terminals.
- Door Lock Release: Connect the electronic door lock to the appropriate terminals for remote release functionality.
This system is expandable up to two screens, two door cameras, and two indoor phones, especially when utilizing Fine View technology for single-house applications.
6. Bedryfsinstruksies
The Commax CMV-70S is designed for ease of use with its touch-sensitive buttons.
6.1 Basiese Funksies
- Beantwoord 'n oproep: When a visitor presses the call button on the door camera, the monitor will ring and display the visitor's image. Press the Talk button (7) to communicate.
- Monitering: Druk die Monitoring button (3) aan view the outside area through the door camera at any time.
- Deurvrystelling: During a call or while monitoring, press the Door release button (5) om die deur oop te sluit.
- Intercom/Guard Call: Druk die Guard and interphone button (4) to initiate a call to another indoor unit or the guard station (if configured).
6.2 Spyskaartnavigasie
The CMV-70S features both touch and side menu buttons for system settings.
- Druk die Menu button (touch) (6) or Menu button (side) (9) om toegang tot stelselinstellings te kry.
- Gebruik die △ button (11) en ▽ button (12) om deur die kieslysopsies te navigeer.
- Druk die Enter button (10) om 'n opsie te kies of 'n instelling te bevestig.
- Die Power ON/OFF button (13) controls the unit's power.
7. Onderhoud
- Skoonmaak: Wipe the monitor screen and body with a soft, dry cloth. Do not use abrasive cleaners or solvents.
- Krag siklus: If the unit is unresponsive, try turning it off using the Power ON/OFF button (13), waiting a few seconds, and then turning it back on.
- Gereelde tjeks: Kontroleer gereeld alle bedradingsverbindings om te verseker dat hulle veilig is.
8. Probleemoplossing
If you encounter issues with your Commax CMV-70S, refer to the following common problems and solutions:
| Probleem | Moontlike oorsaak | Oplossing |
|---|---|---|
| Geen beeld op die skerm nie | Power off; Loose connection; Faulty camera | Check power (13); Verify wiring (14); Test camera connection. |
| No sound during call | Volume too low; Faulty speaker/microphone; Loose connection | Adjust volume in menu; Check wiring; Contact support. |
| Door lock not releasing | Incorrect wiring; Faulty lock; Insufficient power | Verify lock wiring; Test lock independently; Ensure adequate power supply. |
| Monitor unresponsive | Software glitch; Power issue | Perform a power cycle (13); Check power connection. |
If the problem persists after trying these solutions, please contact Commax customer support or a qualified technician.
9. Spesifikasies
| Kenmerk | Spesifikasie |
|---|---|
| Vervaardiger | Kommaks |
| Modelnommer | CMV-70S |
| Skerm grootte | 7 duim LED |
| Kragbron | Corded Electric (AC 100V - 240V) |
| Kragverbruik | 6 Watt |
| Verbindingstegnologie | Bedraad |
| Installasie metode | Professional Hardwire |
| Versoenbare toestelle | Apartment complex, single house |
| Uitbreidbaarheid | Up to 2 screens, 2 door cameras, 2 indoor phones (Fine View technology for single house) |
| Ingesluit komponente | Security screen, door camera |
| Item gewig | 1.2 kilogram |
| Pakket afmetings | 30.4 x 24.8 x 6.9 cm |
| Materiaal | Plastiek |
| Kleur | Blou |
| Alerttipe | Slegs beweging |
| Batterye benodig | Nee |
10. Waarborg en Ondersteuning
Commax products are designed for reliability and performance. For warranty information, technical support, or service inquiries, please refer to the warranty card included with your product or visit the official Commax webwebwerf. Bewaar u aankoopbewys as bewys van aankoop vir waarborgeise.