Inleiding
Thank you for choosing the AIRPLUS Dehumidifier. This appliance is designed to efficiently remove excess moisture from the air, creating a more comfortable and healthier environment in your home or office. By reducing humidity, it helps prevent the growth of mold, mildew, and dust mites, and protects your belongings from moisture damage. Please read this manual thoroughly before operating the unit and keep it for future reference.
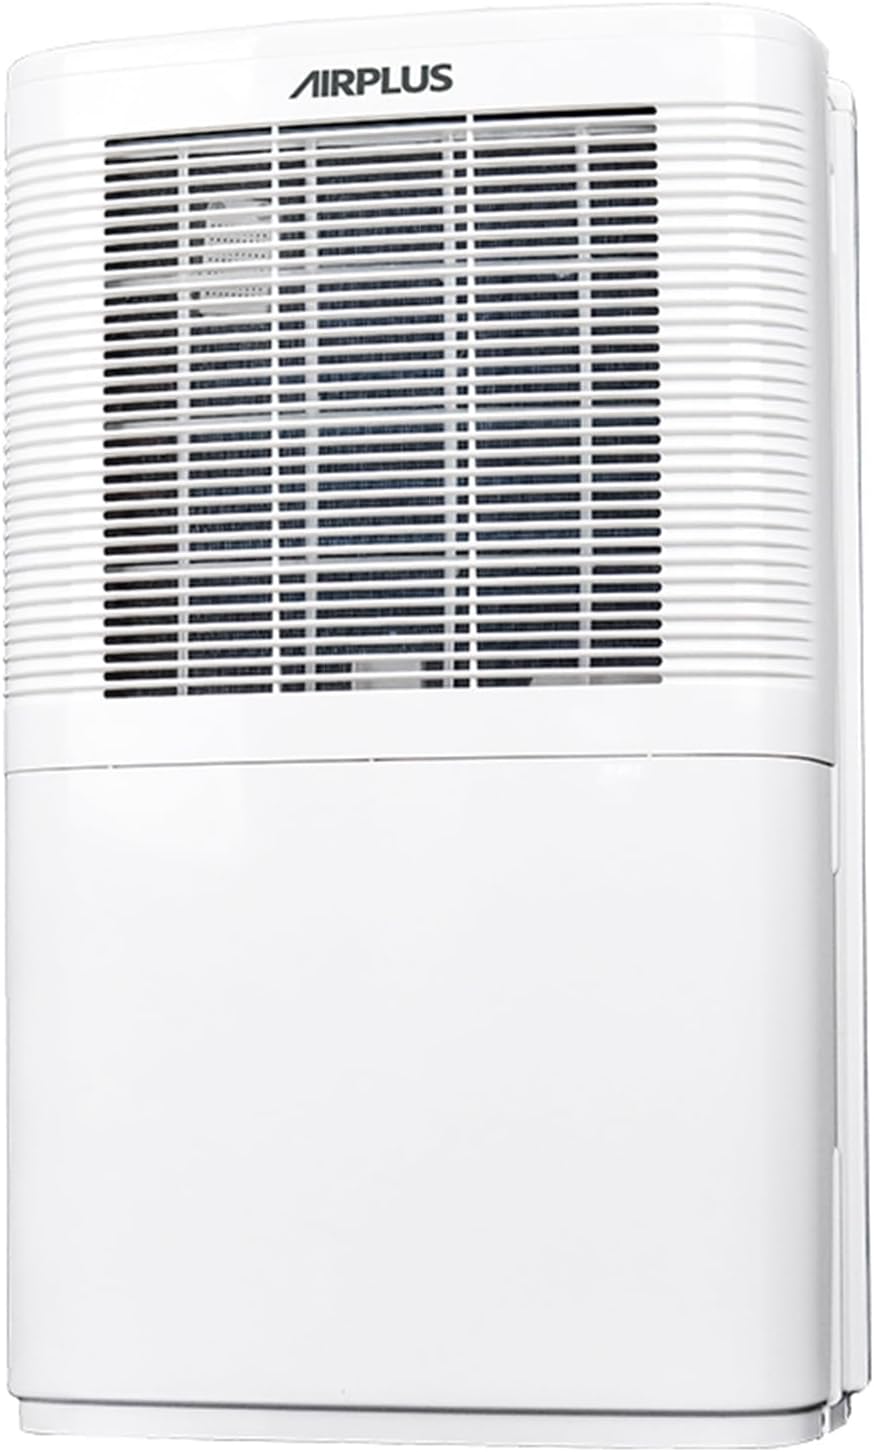
Figuur 1: Voorkant view of the AIRPLUS Dehumidifier, showcasing its compact design and air intake grille.
Belangrike veiligheidsinstruksies
Om die risiko van brand, elektriese skok of besering te verminder wanneer u u ontvochtiger gebruik, volg hierdie basiese voorsorgmaatreëls:
- Lees alle instruksies voordat u die toestel gebruik.
- Only use the dehumidifier with a properly grounded electrical outlet.
- Moenie die eenheid gebruik as die kragkabel of prop beskadig is nie.
- Keep the dehumidifier away from heat sources and direct sunlight.
- Ensure proper clearance around the unit for adequate airflow (at least 8 inches from walls or furniture).
- Moenie vingers of vreemde voorwerpe in die luginlaat of -uitlaat steek nie.
- Always turn off and unplug the unit before cleaning or performing any maintenance.
- Do not use the dehumidifier in areas where water is likely to splash onto it.
- Hierdie toestel is nie bedoel vir gebruik deur persone (insluitend kinders) met verminderde fisiese, sensoriese of geestelike vermoëns, of 'n gebrek aan ervaring en kennis nie, tensy hulle toesig of instruksies oor die gebruik van die toestel gegee is deur 'n persoon wat verantwoordelik is vir hul veiligheid.
Produk verbyview
Komponente
Familiarize yourself with the main parts of your AIRPLUS Dehumidifier:
- Beheerpaneel: Located on the top, for setting modes, humidity, and timer.
- Luginlaatrooster: Front-facing grille where air enters the unit.
- Luguitlaat: Top-facing vent where dehumidified air exits.
- Watertenk: Removable tank at the bottom for collecting condensed water.
- Dreineer uitlaat: Located at the back for continuous drainage.
- Wasbare lugfilter: Located behind the air inlet grille, designed to capture dust.
- Concave Handle: Geïntegreerde handvatsel vir maklike draagbaarheid.

Figuur 2: Kant view of the AIRPLUS Dehumidifier with key dimensions (12"D x 8.9"W x 20.7"H) indicated, highlighting its compact size for various room placements.

Figuur 3: Close-up view of the integrated concave handle on the side of the dehumidifier, designed for easy lifting and transport.
Beheerpaneel
The control panel allows you to manage all functions of your dehumidifier:
- HUM (Humidity): Displays current humidity and allows setting target humidity.
- TIMER: Activates the 24-hour timer for scheduled operation.
- SPOED: Verstel waaierspoed tussen Laag en Hoog.
- WYSE: Cycles through Dehumidifier, Anion, and Fan modes.
- Kragknoppie: Skakel die eenheid aan of af.

Figuur 4: Gedetailleerd view of the control panel with buttons for Humidity, Timer, Speed, Mode, and Power, along with a digital display for settings.
Opstelling
Uitpak
- Verwyder die ontvochtiger versigtig uit sy verpakking.
- Verwyder alle verpakkingsmateriaal, kleefband en beskermende films.
- Inspekteer die eenheid vir enige verskepingskade. Indien beskadig, moenie dit gebruik nie en kontak kliëntediens.
Plasing
For optimal performance, place the dehumidifier in a central location within the area you wish to dehumidify. Ensure:
- The unit is on a flat, stable surface.
- There is at least 8 inches (20 cm) of space around all sides for proper air circulation.
- All windows and doors in the room are closed to maximize efficiency.
- Moenie die eenheid naby hitte-opwekkende toestelle of in direkte sonlig plaas nie.

Figure 5: The AIRPLUS Dehumidifier shown in different environments, including a living room, basement, bedroom, and office, illustrating its versatility for various spaces.
Dreineringsopsies
Your AIRPLUS Dehumidifier offers two methods for water removal:

Figure 6: Illustration of the two drainage methods: manual drainage using the 2.8L water tank and continuous drainage via a connected hose.
Handmatige Dreinering (Watertenk)
The unit will automatically shut off when the water tank is full. The "Full Tank" indicator light will illuminate. To empty:
- Trek die watertenk versigtig uit die voorkant van die eenheid.
- Dra die tenk versigtig na 'n wasbak of drein.
- Gooi die versamelde water uit.
- Slide the empty water tank back into the dehumidifier until it clicks into place.
Continuous Drainage (Drain Hose)
For continuous operation without needing to empty the tank, you can connect a drain hose (not included) to the unit's drain outlet.
- Locate the drain outlet at the back of the dehumidifier.
- Remove the rubber stopper from the drain outlet.
- Connect a standard garden hose (or suitable tubing) to the drain outlet. Ensure the connection is secure to prevent leaks.
- Route the hose downwards to a floor drain, large bucket, or other suitable drainage point. Ensure there are no kinks or blockages in the hose.
- The unit will now drain continuously, bypassing the water tank.

Figure 7: Step-by-step visual guide showing the removal of the drain plug and connection of a continuous drain hose to the dehumidifier's rear outlet.
Bedryfsinstruksies
Krag aan/af
Steek die kragkabel in 'n geaarde elektriese aansluiting. Druk die Krag button on the control panel to turn the unit ON or OFF.
Mode seleksie
Druk die MODUS knoppie om deur die beskikbare bedryfsmodusse te blaai:
- Ontvochtigermodus: The primary mode for moisture removal. The unit will operate based on your set humidity level.
- Anion Mode: Activates the anion function, which helps purify the air. Press and hold the MODE button for 5 seconds to activate.
- Aanhangermodus: The unit operates as a fan, circulating air without dehumidifying.
Humiditeit instelling
In Dehumidifier Mode, press the HOM button to adjust the desired humidity level. The humidity can be set in 5% increments. The unit will automatically turn on or off to maintain the set humidity.
Aanpassing van waaierspoed
Druk die SPOED button to switch between Low and High fan speeds. Higher fan speed results in faster dehumidification.
Timer funksie
Die timerfunksie laat jou toe om die eenheid outomaties AAN of AF te skakel na 'n spesifieke tydperk (0-24 uur).
- Druk die TIMER knoppie.
- Gebruik die HOM or SPOED buttons to adjust the desired time in hours.
- Die timer sal na 'n paar sekondes van onaktiwiteit aktiveer.

Figure 8: Visual representation of the 24-hour two-way timing feature, allowing users to preset both boot-up and shutdown times for automated operation.
Onderhoud
Gereelde onderhoud verseker optimale werkverrigting en verleng die lewensduur van jou ontvochtiger.
Maak die lugfilter skoon
Die lugfilter moet elke twee weke of meer gereeld skoongemaak word, afhangende van gebruik en luggehalte.
- Skakel die ontvochtiger af en trek die stekker uit die stopcontact.
- Locate the air filter behind the front air inlet grille.
- Gently pull down the filter to remove it.
- Wash the filter with warm, soapy water. Rinse thoroughly and allow it to air dry completely before reinstalling.
- Alternatively, you can use a vacuum cleaner with a brush attachment to remove dust from the filter.
- Once dry, slide the filter back into its slot until it is securely in place.

Figure 9: Diagram illustrating how to pull down and remove the washable air filter from the dehumidifier for cleaning.
Maak die watertenk leeg
If you are not using the continuous drainage option, the water tank will need to be emptied regularly. Refer to the "Manual Drainage" section under Setup for detailed steps.
Berging
When storing the dehumidifier for an extended period:
- Maak die watertenk heeltemal leeg en maak seker dat dit droog is.
- Maak die lugfilter skoon.
- Draai die kragkabel netjies toe.
- Bêre die eenheid regop in 'n koel, droë plek, weg van direkte sonlig en uiterste temperature.
Probleemoplossing
Voordat u kliëntediens kontak, verwys asseblief na die volgende tabel vir algemene probleme en hul oplossings:
| Probleem | Moontlike oorsaak | Oplossing |
|---|---|---|
| Ontvochtiger skakel nie aan nie. | No power; power cord unplugged; water tank full or not properly seated. | Check power connection; empty and re-seat water tank. |
| Die eenheid loop, maar versamel nie water nie. | Room temperature too low; humidity level already low; air filter clogged; unit in Fan Mode. | Ensure room temp is above 41°F (5°C); check humidity setting; clean air filter; switch to Dehumidifier Mode. |
| Eenheid is raserig. | Eenheid nie op 'n gelyk oppervlak nie; lugfilter verstop. | Place on a flat surface; clean air filter. |
| Water lek uit eenheid. | Water tank not properly seated; continuous drain hose kinked or disconnected. | Re-seat water tank; check drain hose for kinks or secure connection. |
| "Full Tank" indicator is on, but tank is not full. | Water tank sensor issue; tank not properly seated. | Remove and re-insert tank firmly; contact support if issue persists. |
Spesifikasies
| Handelsmerk | AIRPLUS |
| Model Naam | AP16-601EE |
| Ontvochtigingskapasiteit | 35 pinte per dag |
| Vloeroppervlaktedekking | Tot 3000 XNUMX vierkante voet |
| Watertenk kapasiteit | 0.74 liter (2.8 liter) |
| Produk Afmetings (D x B x H) | 12" x 8.9" x 20.7" |
| Item gewig | 24.2 pond (11 kilogram) |
| Wattage | 1200 watt |
| Bedryfsmodusse | Dehumidifier Mode, Anion Mode, Fan Mode |
| Spesiale kenmerke | Adjustable Humidity Control, Automatic Shutoff, Continuous Draining, Digital Display, Quiet Operation, Sleep Mode, Timer, Washable Filter |
| Kleur | Wit |
| Materiaal | Plastiek |
| UPC | 850017320079 |
Waarborg en Ondersteuning
AIRPLUS products are manufactured to the highest quality standards. For warranty information, technical support, or any questions regarding your dehumidifier, please refer to the contact information provided with your purchase or visit the official AIRPLUS website. Please have your model number (AP16-601EE) and purchase date ready when contacting support.