Inleiding
This manual provides detailed instructions for the installation, operation, and maintenance of your LeeKooLuu K10 License Plate Camera. The K10 camera is designed to be compatible with the LeeKooLuu LK10 system, serving as a reliable rear-view camera for enhanced visibility and safety. Please read this manual thoroughly before installation and use to ensure proper functionality and longevity of the product.
Produk verbyview
The LeeKooLuu K10 is a compact license plate camera engineered for seamless integration with the LK10 wireless system. It features a wide-angle lens to provide a broad view of the area behind your vehicle, assisting with parking and reversing maneuvers. The camera is designed for outdoor use, offering durability and consistent performance.
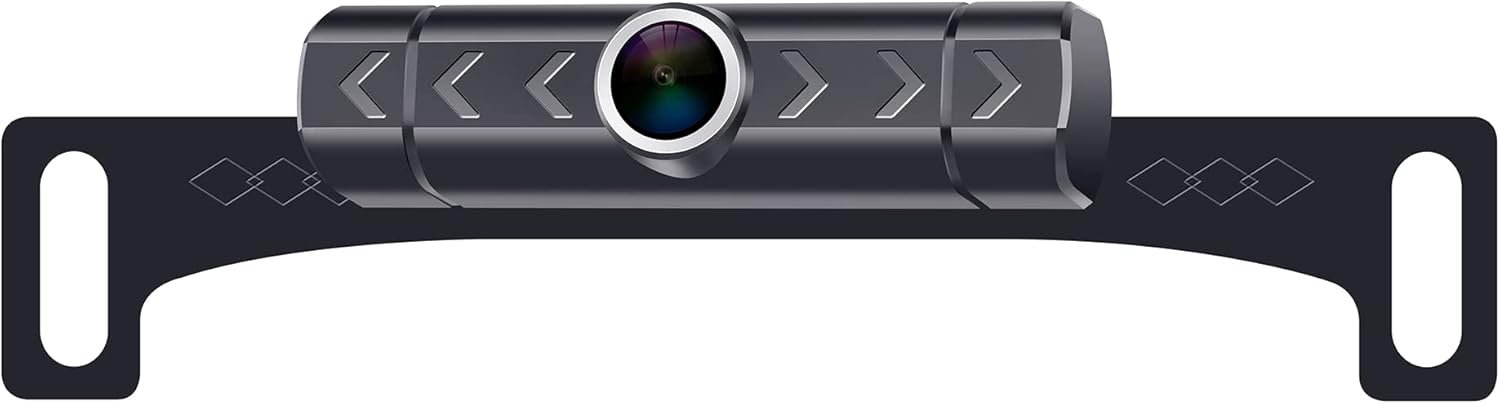
Image showing the LeeKooLuu K10 license plate camera. The camera unit is centrally mounted on a black bracket designed to attach behind a vehicle's license plate. The camera lens is prominent in the center, surrounded by a silver ring. The bracket features decorative diamond patterns and mounting holes on either side.
Spesifikasies
| Produk afmetings | 9.2 x 4.1 x 1.9 duim |
| Item gewig | 7.4 onse |
| Ander vertoonkenmerke | Draadloos |
| Installasie tipe | Oppervlakmontering |
| Voltage | 12 Volt |
| Optiese sensortegnologie | CMOS |
| Lens tipe | Wye hoek |
| Regte hoek van View | 150 grade |
| Connector Tipe | RCA |
| Optiese Sensor Grootte | 1/3 duim |
Opstelling en installasie
Follow these general steps for installing the LeeKooLuu K10 License Plate Camera. For specific vehicle requirements, consult your vehicle's manual or a professional installer.
- Berei monteringsplek voor: Ensure the area around your vehicle's license plate is clean and free from obstructions.
- Monteer die kamera: Position the K10 camera bracket behind your vehicle's license plate. Secure it using the existing license plate screws or additional hardware if necessary. Ensure the camera lens has a clear, unobstructed view.
- Koppel krag: Connect the camera's power cable to your vehicle's reverse light circuit. This typically involves connecting the red wire to the positive (+) wire of the reverse light and the black wire to a ground point or the negative (-) wire. This ensures the camera powers on automatically when the vehicle is in reverse.
- Connect Video Signal: The K10 camera uses a wireless transmitter to send video signals. Ensure the wireless transmitter is properly connected to the camera and receives power.
- Pair with LK10 Monitor: Refer to your LK10 monitor's instruction manual for specific pairing procedures. Generally, you will need to power on the monitor, select the camera input, and initiate a pairing process.
- Toetsfunksionaliteit: With the vehicle in reverse (engine off, parking brake engaged for safety), check the LK10 monitor to confirm that the camera feed is displayed clearly. Adjust the camera angle if needed.
Bedryfsinstruksies
Once properly installed and paired with your LeeKooLuu LK10 monitor, operating the K10 camera is straightforward:
- Engage Reverse Gear: When you shift your vehicle into reverse, the K10 camera will automatically power on (if wired to the reverse lights) and transmit its video feed.
- View on Monitor: The LK10 monitor will automatically display the camera's view, providing a clear image of the area behind your vehicle.
- Utilize Parking Lines: If your LK10 monitor or camera system supports parking guidelines, use them to assist with judging distances while reversing.
- Disengage Reverse Gear: When you shift out of reverse, the camera will power off, and the monitor will return to its previous display mode.
Onderhoud
To ensure optimal performance and longevity of your LeeKooLuu K10 camera, follow these maintenance guidelines:
- Maak die lens skoon: Maak die kameralens gereeld skoon met 'n sagte, damp lap om vuiligheid, stof of waterkolle te verwyder wat die viewVermy skuurmiddels.
- Gaan verbindings na: Periodically inspect all power and signal connections to ensure they are secure and free from corrosion.
- Inspekteer Montering: Verify that the camera and its bracket remain securely mounted to the license plate. Tighten any loose screws if necessary.
- Vermy hoëdrukwas: When washing your vehicle, avoid directing high-pressure water jets directly at the camera to prevent water ingress.
Probleemoplossing
If you encounter issues with your LeeKooLuu K10 camera, refer to the following common problems and solutions:
| Probleem | Moontlike oorsaak | Oplossing |
|---|---|---|
| Geen beeld op monitor nie |
|
|
| Beeld is vaag of onduidelik |
|
|
| Beeld flikker of sny uit |
|
|
If these steps do not resolve the issue, please contact LeeKooLuu customer support for further assistance.
Waarborg en Ondersteuning
LeeKooLuu products are designed for reliability and performance. For information regarding warranty coverage, technical support, or replacement parts, please refer to the warranty card included with your original purchase or visit the official LeeKooLuu website. When contacting support, please have your product model (K10) and purchase details readily available.