Inleiding
This manual provides comprehensive instructions for the safe installation, operation, and maintenance of your Hudson Valley Lighting Edmonton 8121-AGB 5-Light Lantern. Please read all instructions carefully before beginning installation and retain this manual for future reference.
The Edmonton 5-Light Lantern features an Aged Brass finish and a clear, handblown glass shade, designed for indoor use. It requires incandescent lamp tipes.
Belangrike veiligheidsinligting
WARNING: RISK OF ELECTRIC SHOCK. Ensure power is turned off at the main circuit breaker or fuse box before installation or servicing.
Always consult a qualified electrician for installation if you are unsure about the process. Follow all local electrical codes and ordinances.
- Moenie hierdie toebehore in nat of droë toestand installeer nie.amp liggings.
- Gebruik slegs die gespesifiseerde tipe gloeilamp en wattage.
- Moenie die maksimum wat oorskry nietage aangedui op die toebehore.
- Hanteer glaskomponente versigtig om breek te voorkom.
- Hou vlambare materiale weg van die ligte.
Pakketinhoud
Verify that all components are present before beginning installation. If any parts are missing or damaged, contact customer service.
- Fixture Assembly (Canopy, Rods, Frame, Socket Cluster)
- Glasskerm
- Mounting Hardware (Crossbar, Screws, Wire Nuts)
- Instruksie Handleiding
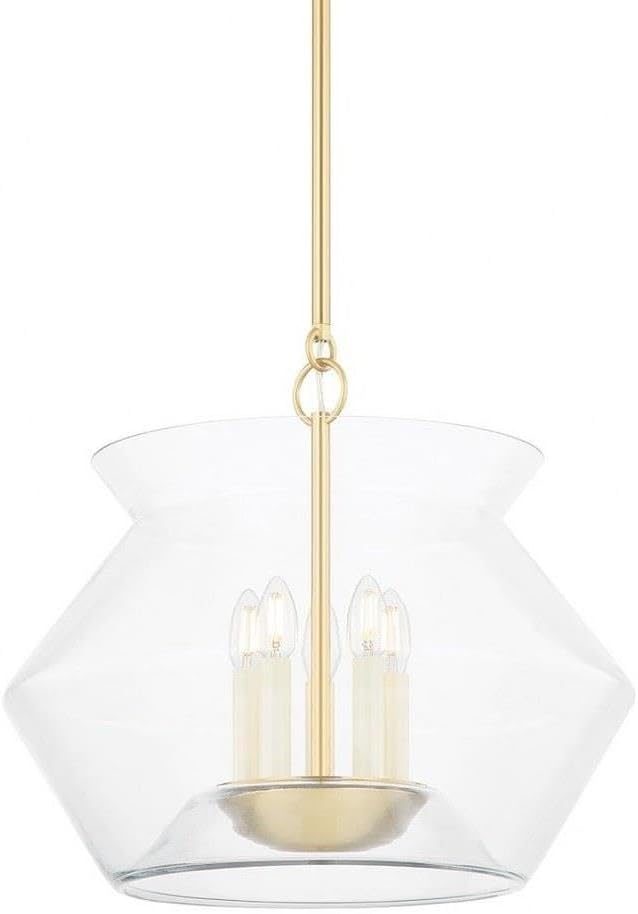
Figure 1: Complete Edmonton 5-Light Lantern assembly.
Opstelling en installasie
Professionele installasie word aanbeveel. Maak seker dat die krag by die stroombreker afgeskakel is voordat u voortgaan.
- Berei voor vir installasie: Turn off power at the main electrical panel. Clear the work area.
- Mount the Crossbar: Bevestig die monteerbalk aan die aansluitkas met die meegeleverde skroewe. Maak seker dat dit stewig vas is.
- Adjust Rod Length (if applicable): Determine the desired hanging height and assemble the appropriate length of extension rods.
- Bedraad die toebehore: Connect the fixture's wires to the house wires according to standard electrical practices (black to black, white to white, ground to ground). Secure connections with wire nuts.
- Beveilig die afdak: Carefully push the wired fixture up to the ceiling, tucking wires into the junction box. Secure the canopy to the mounting crossbar with the provided screws.
- Installeer gloeilampe: Screw in the recommended incandescent bulbs (not included) into the sockets. Do not exceed the maximum wattage.
- Heg glasskerm aan: Carefully place the handblown glass shade over the fixture and secure it according to the design (specific mechanism not detailed in product description, assume a common securing method like screws or a collar).
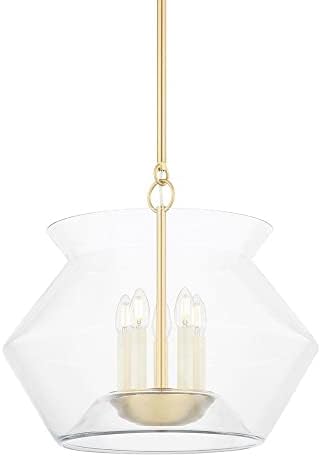
Figure 2: Detail of the fixture's internal components and Aged Brass finish.
Operasie
Once installed and power is restored, the Edmonton 5-Light Lantern operates like any standard ceiling fixture. Use a wall switch (not included) to turn the light on and off.
- Ensure all bulbs are securely screwed into their sockets.
- If using a dimmer switch, ensure it is compatible with incandescent bulbs and the total wattage van die wedstryd.
Onderhoud
Regular cleaning will help maintain the appearance and performance of your fixture.
- Skoonmaak van die toebehore: Turn off power before cleaning. Wipe the metal parts with a soft, dry cloth. Do not use abrasive cleaners, polishes, or solvents as they may damage the finish.
- Cleaning the Glass Shade: The clear handblown glass shade can be gently wiped with a soft, damp cloth. For stubborn marks, use a mild glass cleaner applied to the cloth, not directly to the glass. Ensure the glass is completely dry before restoring power.
- Gloeilamp vervanging: Turn off power before replacing bulbs. Allow bulbs to cool completely. Replace with the same type and wattage of incandescent bulbs.
Probleemoplossing
| Probleem | Moontlike oorsaak | Oplossing |
|---|---|---|
| Lig skakel nie aan nie. |
|
|
| Flikkerende lig. |
|
|
| Die toebehore gons. |
|
|
Spesifikasies
| Eienskap | Detail |
|---|---|
| Modelnommer | 8121-AGB |
| Handelsmerk | Hudson Valley Beligting |
| Produk afmetings | 20.75 cm L x 20.75 cm B x 18.5 cm H |
| Voltooi Tipe | Bejaarde koper |
| Materiaal | Allooi staal |
| Kleur | Geelkoper |
| Item gewig | 19.25 pond |
| Montage tipe | Up Lighting |
| Binne/buiteluggebruik | Binneshuise |
| Kragbron | Elektries met koord |
| Voltage | 120 Volt |
| Wattage | Max 8 watts per bulb (incandescent) |
| Lamp Tik | Gloeilamp |
| Ingesluit komponente | Monteer hardeware |
| UPC | 806134144029 |
Waarborg en Ondersteuning
This Hudson Valley Lighting product is covered by a 1 jaar beperkte vervaardiger se waarborg vanaf die aankoopdatum. Hierdie waarborg dek defekte in materiaal en vakmanskap onder normale gebruik.
For warranty claims, technical support, or replacement parts, please contact Hudson Valley Lighting customer service. Refer to the official Hudson Valley Lighting webwebwerf vir huidige kontakinligting.
Webwebwerf: www.hudsonvalleylighting.com