Inleiding
This manual provides comprehensive instructions for the installation, operation, and maintenance of your Natec Cabassu G2 Midi Tower PC Case. Please read this manual thoroughly before beginning installation to ensure proper setup and optimal performance.
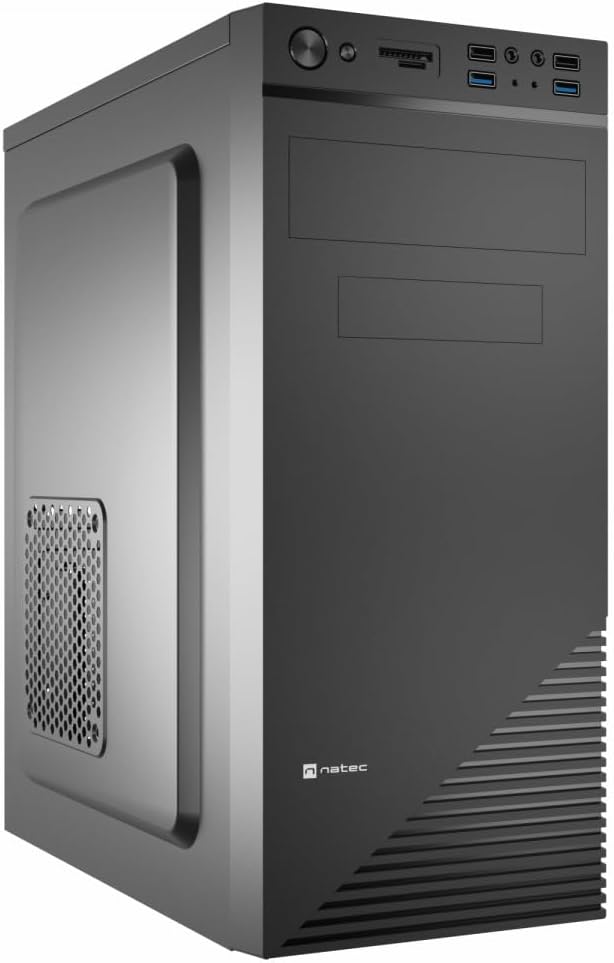
Figure 1: Natec Cabassu G2 Midi Tower PC Case. This image shows the front and left side of the black PC case, highlighting its sleek design and front panel layout.
Veiligheidsinligting
- Ontkoppel altyd die kragtoevoer van die muursok voordat u enige komponente installeer of verwyder.
- Handle components with care to prevent damage from static electricity.
- Keep the case away from water, moisture, and extreme temperatures.
- Verseker behoorlike ventilasie om oorverhitting te voorkom.
- Do not attempt to open the power supply unit.
Pakketinhoud
Verifieer dat alle items in die pakket teenwoordig is:
- Natec Cabassu G2 Midi Tower PC Case
- Toebehore-stel (skroewe, afstandhouers, kabelbinders)
- Gebruikershandleiding (hierdie dokument)
Setup and Component Installation
1. Voorbereiding van die Saak
- Plaas die kas op 'n plat, stabiele oppervlak.
- Remove the side panels by unscrewing the thumbscrews at the rear and sliding the panels backward.

Figuur 2: Binne view of the Natec Cabassu G2 case with the side panel removed, illustrating the internal layout for component installation.
2. Moederbord Installasie
- Installeer die I/O-skerm in die agterste opening van die kas.
- Align the motherboard with the pre-installed standoffs. The Cabassu G2 supports Mini ITX, Micro ATX, and ATX motherboards.
- Bevestig die moederbord met die meegeleverde skroewe.
3. Installasie van kragtoevoer
- The power supply mounts at the bottom of the case.
- Slide the power supply into its designated bay from the rear of the case.
- Secure it with screws from the rear.
4. Installasie van stoorskyf
- 2.5" Drives (SSDs/HDDs): The case features 3 x 2.5" drive bays. Mount drives using the provided screws in the designated locations.
- 3.5" Drives (HDDs): The case also supports 3.5" drives.
5. Installasie van uitbreidingskaart
- Remove the necessary expansion slot covers from the rear of the case (7 expansion slots available).
- Plaas jou grafiese kaart of ander uitbreidingskaarte in die moederbord se PCIe-gleuwe.
- Maak die kaarte met skroewe vas.

Figuur 3: Agter view of the Natec Cabassu G2 case, detailing the I/O shield cutout, power supply opening, and seven expansion slots.
6. Kabelbestuur
Route cables behind the motherboard tray where possible to improve airflow and aesthetics. Use the included cable ties to secure bundles.
7. Verbinding van voorpaneelkabels
Connect the front panel cables (USB 2.0, USB 3.0, audio, power switch, reset switch, HDD LED, power LED) to the corresponding headers on your motherboard. Refer to your motherboard manual for exact pin assignments.

Figure 4: Close-up of the Natec Cabassu G2 front panel, showing 2x USB 2.0 ports, 2x USB 3.0 ports, audio jacks, and power/reset buttons.
Bedryfsinstruksies
Skakel aan/af
- Krag aan: Druk die kragknoppie op die voorpaneel.
- Skakel af: Initiate shutdown through your operating system. For a forced shutdown, press and hold the power button for several seconds.
- Herstel: Press the reset button on the front panel to restart the system.
Using Front Panel Ports
The front panel provides convenient access to:
- 2 x USB 2.0-poorte
- 2 x USB 3.0-poorte
- Audio input (microphone) and output (headphone) jacks
Connect compatible devices to these ports as needed.
Onderhoud
Skoonmaak
- Regularly clean the exterior of the case with a soft, damp lap. Vermy skuur skoonmakers.
- Use compressed air to remove dust from fan filters and internal components. Ensure the system is powered off and unplugged before cleaning.
Stoffilters
The case may include removable dust filters. Periodically remove and clean these filters to maintain optimal airflow and cooling performance.
Probleemoplossing
| Probleem | Moontlike oorsaak | Oplossing |
|---|---|---|
| Stelsel skakel nie aan nie. | Power cables not connected properly. Faulty power supply. | Check all power connections (motherboard, CPU, GPU, power supply to wall). Ensure power supply switch is ON. |
| Front panel USB ports not working. | Front panel USB cables not connected to motherboard. | Verify that the USB 2.0 and USB 3.0 headers are correctly connected to the motherboard. |
| Excessive fan noise. | Dust accumulation. Loose fan. | Clean dust from fans and filters. Ensure all fans are securely mounted. |
Spesifikasies
| Kenmerk | Detail |
|---|---|
| Model Naam | Cabassu G2 |
| Item Modelnommer | S5624687 |
| Soort saak | Midi-toring |
| Afmetings (LxBxH) | 19.69 x 19.69 x 11.02 duim (50 x 50 x 28 cm) |
| Gewig | 7.04 pond (3.19 kg) |
| Materiaal | Akrilonitrielbutadieenstireen (ABS), legeringsstaal |
| Moederbordversoenbaarheid | Mini ITX, Micro ATX, ATX |
| 2.5" Drive Bays | 3 |
| Uitbreidingsgleuwe | 7 |
| Voorste I / O-poorte | 2 x USB 2.0, 2 x USB 3.0, Oudio In/Uit |
| Aanhangerondersteuning | 120mm (rear, pre-installed if applicable) |
| Verkoelingsmetode | Lug |
| Kragtoevoer Montering | Onderste berg |
Waarborg inligting
Natec products are covered by a manufacturer's warranty. Specific warranty terms and conditions may vary by region and retailer. Please refer to the warranty card included with your product or visit the official Natec website for detailed information regarding warranty coverage and claims.
Ondersteuning
For technical assistance, troubleshooting, or further inquiries, please visit the official Natec support webwebwerf of kontak hul kliëntediensafdeling. Kontakbesonderhede kan tipies op die produkverpakking of die amptelike handelsmerk gevind word. webwebwerf.
Webwebwerf: www.natec-zone.com (Bvampdie skakel, werklike skakel kan verskil)