Qolsys IQWF6
Qolsys IQWF6 IQ Wi-Fi 6 Mesh Router-stelsel Gebruikershandleiding
1. Inleiding
This manual provides detailed instructions for the installation, operation, and maintenance of your Qolsys IQWF6 IQ Wi-Fi 6 Mesh Router System. Please read this manual thoroughly before using the device to ensure proper setup and optimal performance. The IQWF6 is designed to provide robust Wi-Fi 6 connectivity and seamless integration with Qolsys IQ Panels and Alarm.com systems.
2. Produk verbyview
2.1 Sleutelkenmerke
- Mesh Wi-Fi Router functionality for connecting various Wi-Fi devices, including cameras and touchscreens.
- Supports 1GB Wi-Fi Bandwidth, providing coverage across approximately 1,500 sqft. per device.
- Expandable system, allowing up to 8 nodes (1 controller and 7 agents) to be added for extended coverage.
- Seamless integration with Qolsys IQ Panel and Alarm.com systems.
- Wi-Fi Partitions feature to separate Wi-Fi devices across three distinct networks for enhanced security and management.
2.2 Pakketinhoud
Verifieer dat alle items in jou pakket teenwoordig is:
- Qolsys IQWF6 IQ Wi-Fi 6 Mesh Router
- Kragadapter
- Ethernet kabel
- Wall Mount Bracket (included with every IQ WiFi 6)
- Vinnige Begingids (verwys na hierdie handleiding vir volledige besonderhede)
2.3 Komponentidentifikasie
Familiarize yourself with the front and back panel components of the IQWF6 router.
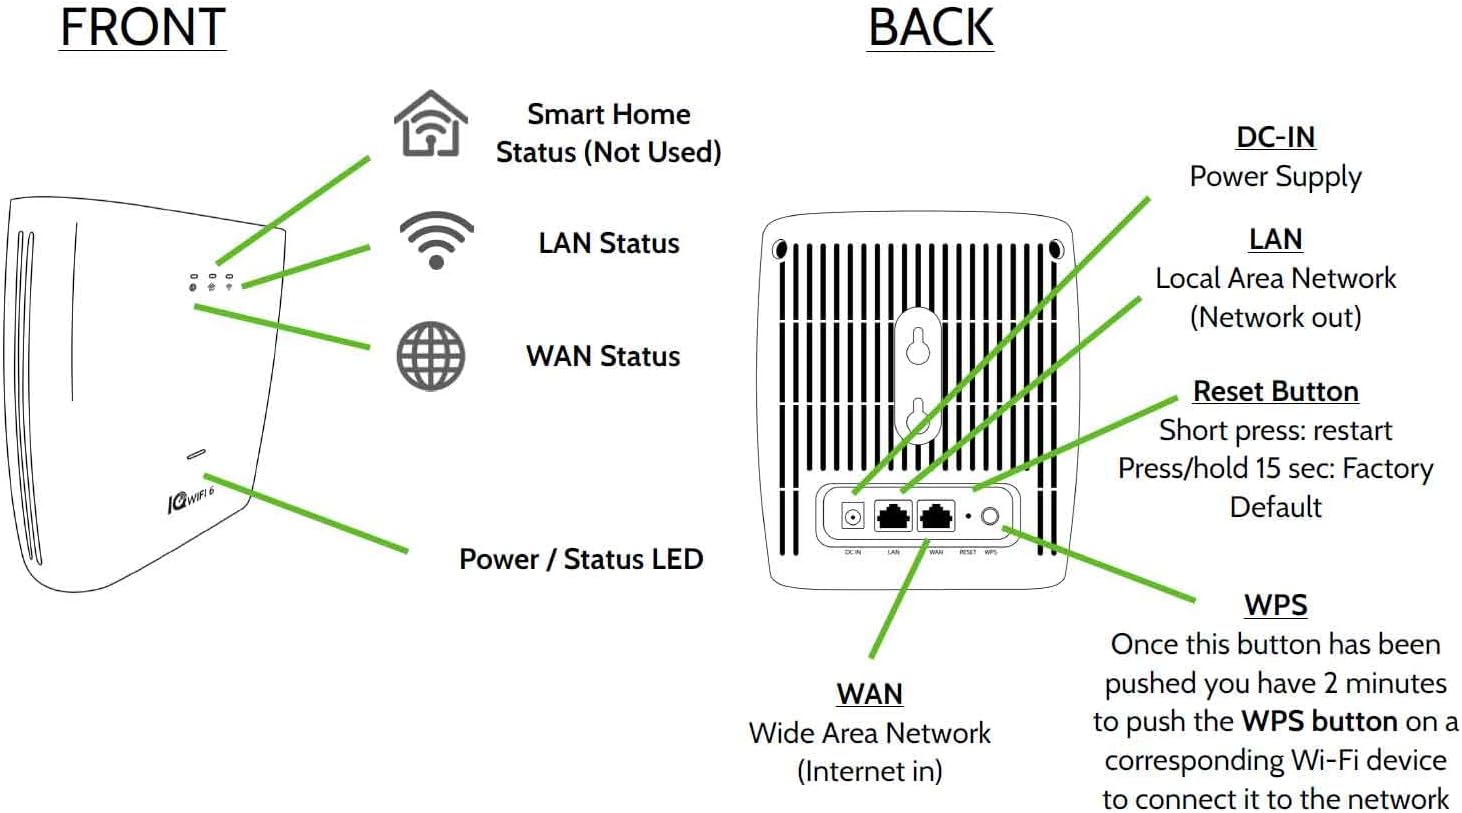
Image: Front and back panel diagram of the Qolsys IQWF6 router, illustrating LED indicators, DC-IN port, LAN port, WAN port, Reset button, and WPS button.
Voorpaneel aanwysers:
- Smart Home Status (Not Used): Gereserveer vir toekomstige funksionaliteit.
- LAN Status: Indicates activity on the Local Area Network.
- WAN-status: Indicates activity on the Wide Area Network (Internet connection).
- Power / Status LED: Indicates the power status and overall operational state of the device.
Back Panel Ports and Buttons:
- DC-IN: Power supply input port.
- LAN (Network out): Local Area Network port for connecting wired devices.
- WAN (Internet in): Wide Area Network port for connecting to your modem or internet source.
- Herstel-knoppie: Short press to restart the device. Press and hold for 15 seconds to restore factory default settings.
- WPS (Wi-Fi-beskermde opstelling): Press this button, then within 2 minutes, press the WPS button on a compatible Wi-Fi device to connect it to the network without entering a password.
3. Opstelling
3.1 Aanvanklike Plasing
For optimal Wi-Fi coverage, place the IQWF6 router in a central location within your home or area of desired coverage. Avoid placing it near large metal objects, concrete walls, or other devices that may cause interference (e.g., microwaves, cordless phones).
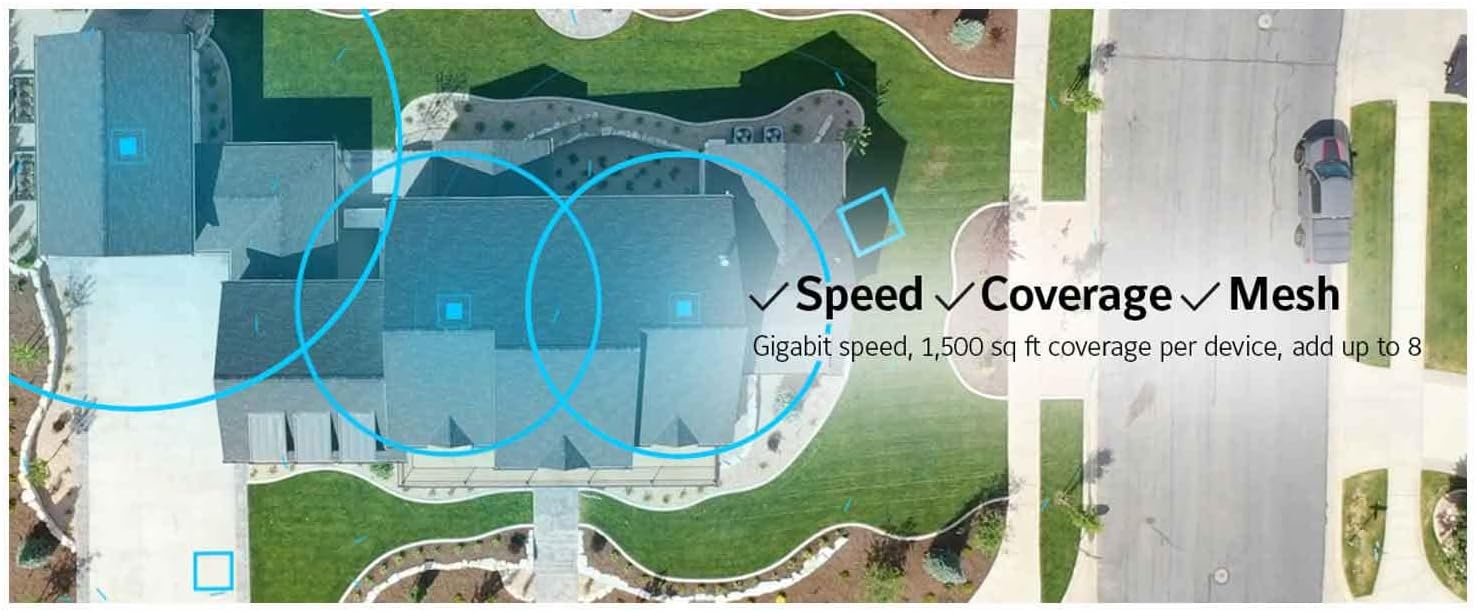
Image: Illustration of Wi-Fi coverage over a residential area, highlighting the mesh system's ability to provide extensive and fast connectivity.
3.2 Aansluiting van die router
- Connect one end of the provided Ethernet cable to the WAN port on the back of the IQWF6 router.
- Connect the other end of the Ethernet cable to your modem or existing internet source.
- If connecting wired devices directly to the router, use an Ethernet cable to connect them to the LAN port.

Beeld: 'n Nabyskoot view of the back of the Qolsys IQWF6 router, showing a hand plugging an Ethernet cable into the LAN port, with the DC IN and Reset/WPS ports also visible.
3.3 Muurmontering
The IQWF6 includes a wall mount bracket for flexible placement. To wall mount your router:
- Secure the wall mount bracket to a suitable wall location using appropriate screws (not included).
- Align the router with the bracket and slide it into place until it clicks securely.
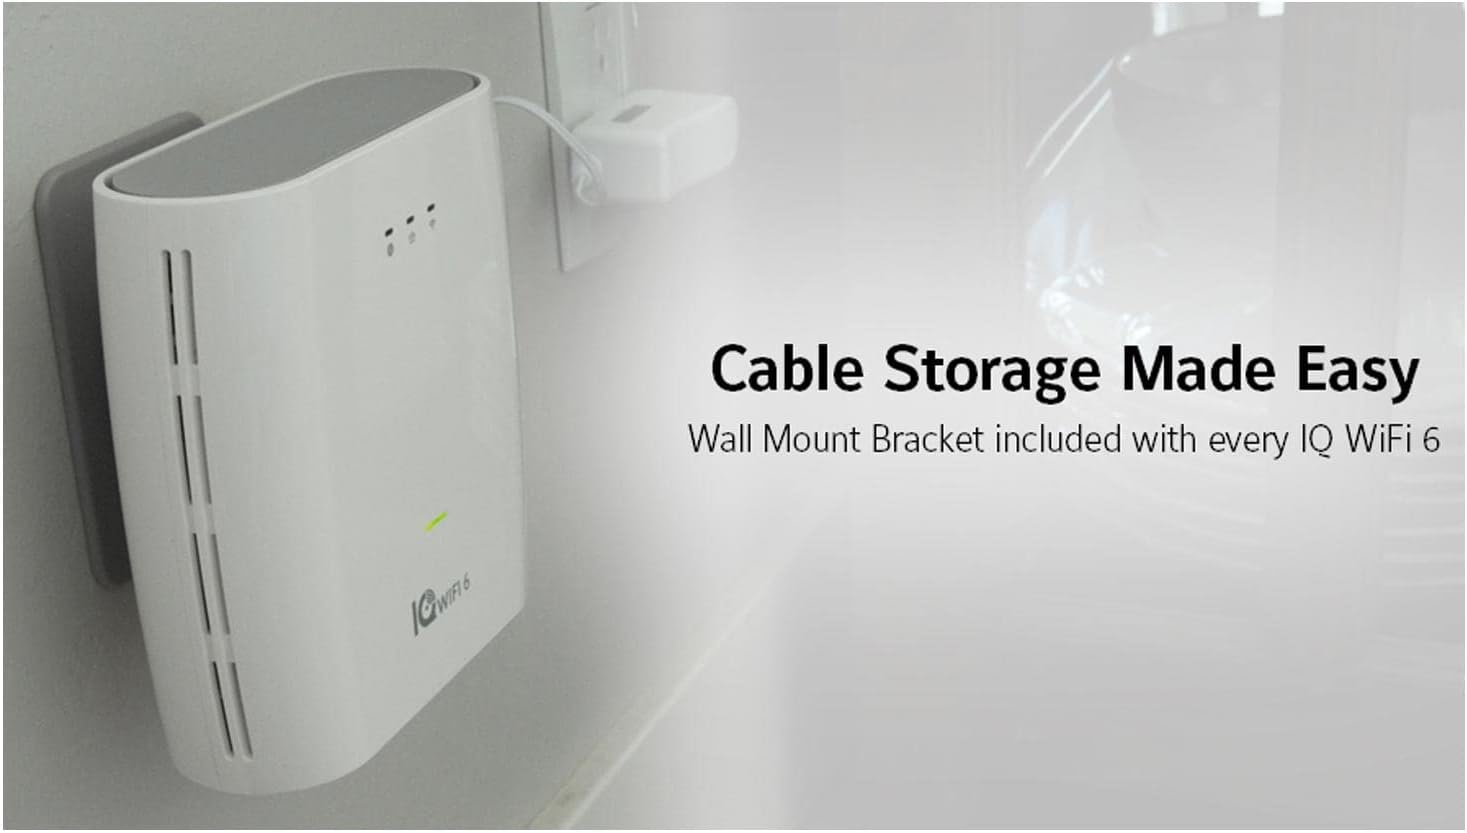
Image: The Qolsys IQWF6 router neatly mounted on a wall, showcasing its compact design and integrated cable management for a tidy setup.
3.4 Aanskakel
- Connect the power adapter to the DC-IN port on the router.
- Steek die kragadapter in 'n kragaansluiting.
- The Power / Status LED on the front panel will illuminate, indicating the device is powering on. Wait for the LED to show a stable status, indicating the router is ready for use.
4. Bedryfsinstruksies
4.1 Network Configuration and IQ Panel Integration
The IQWF6 is designed for out-of-the-box integration with Qolsys IQ Panels and Alarm.com. Refer to your IQ Panel's documentation or the Alarm.com portal for specific steps on connecting your panel to the IQWF6 network and managing its settings.
4.2 Adding Mesh Nodes
To expand your Wi-Fi coverage, additional IQWF6 units can be added as mesh agents. The system supports up to 8 nodes (1 controller and 7 agents).
- Place the new IQWF6 unit (agent) in a location where it can receive a strong signal from the existing controller or another agent.
- Power on the new agent.
- Follow the instructions provided in the Qolsys IQ Panel interface or the dedicated Qolsys Wi-Fi app (if available) to add the new agent to your mesh network. This typically involves a pairing process.
4.3 Wi-Fi Partitions
The Wi-Fi Partitions feature allows you to create up to three separate Wi-Fi networks. This can be useful for segmenting devices (e.g., a main network, a guest network, and a smart home device network) for improved security and network management. Consult the Qolsys IQ Panel interface or the router's web interface for instructions on configuring Wi-Fi partitions.
5. Onderhoud
5.1 Firmware-opdaterings
Regular firmware updates are crucial for security and performance. The IQWF6 typically receives updates automatically through its integration with the Qolsys IQ Panel or Alarm.com. Verify your device's firmware status periodically through the IQ Panel interface or the router's management portal.
5.2 Skoonmaak
To clean the router, gently wipe the exterior with a soft, dry cloth. Do not use liquid cleaners or aerosol sprays, as these can damage the device.
6. Probleemoplossing
6.1 Algemene kwessies
- Geen internetverbinding nie: Check the WAN status LED. If it's not stable, verify the connection to your modem and ensure your modem has an active internet connection. Restart both the modem and the IQWF6 router.
- Swak Wi-Fi-sein: Ensure the router is centrally located and not obstructed. Consider adding additional mesh nodes to extend coverage.
- Device Cannot Connect: Verify the Wi-Fi password. Try using the WPS button for compatible devices. Ensure the device is within range.
- Stadige snelhede: Check for network congestion. Ensure your internet service provider is delivering expected speeds. Restart the router.
6.2 Terugstel na fabrieksversteke
If you encounter persistent issues or wish to reconfigure the router from scratch, you can perform a factory reset. Locate the Reset button on the back of the device (refer to Section 2.3). With the router powered on, press and hold the Reset button for approximately 15 seconds until the LEDs indicate a reset process has begun. The router will restart with its original factory settings.
7. Spesifikasies
| Kenmerk | Spesifikasie |
|---|---|
| Modelnommer | IQWF6 |
| Produk afmetings | 5.96 x 2.18 x 5.92 duim |
| Item gewig | 1.64 pond |
| Vervaardiger | Qolsys |
| Frekwensiebandklas | Dubbelband (2.4 GHz, 5 GHz) |
| Draadlose kommunikasie standaard | Wi-Fi 6 (802.11ax compatible) |
| Verbindingstegnologie | Ethernet, Wi-Fi |
| Spesiale kenmerk | WPS (Wi-Fi-beskermde opstelling) |
| Antenna tipe | Intern |
| Coverage per device | Up to 1,500 sqft. |
| Max Nodes | 8 (1 controller, 7 agents) |
8. Waarborg en Ondersteuning
For warranty information and technical support, please refer to the official Qolsys website or contact your authorized Qolsys dealer. Keep your purchase receipt as proof of purchase for warranty claims. Support resources, including FAQs and additional documentation, are typically available online.