1. Produk verbyview
The Landmann Caliano 6.1 Cook gas barbecue is designed for versatile outdoor cooking. It features six continuously adjustable stainless steel main burners, an integrated pizza oven with a pizza stone, and a dedicated Cook-Zone side burner. This manual provides essential information for the safe assembly, operation, and maintenance of your barbecue.

Image: The Landmann Caliano 6.1 Cook Gas Barbecue, showcasing its six main burners, integrated pizza oven, and side burner. The lid is open, revealing the cooking grates.
Sleutel kenmerke:
- Six Main Burners: Each 3.6 kW, continuously adjustable for diverse cooking zones.
- Integrated Pizza Oven: Includes a pizza stone for fresh pizzas, tarte flambées, or bread.
- Cook-Zone Side Burner: 2.5 kW recessed side burner for preparing side dishes and sauces.
- Gietysterroosters: Three-part enameled cast iron cooking grates, total surface approx. 66 x 44.5 cm.
- Lid Thermometer: Integrated for precise temperature monitoring within the cooking chamber.
2. Veiligheidsinstruksies
Read all instructions carefully before assembling and using the barbecue. Failure to follow these instructions could result in fire, explosion, or serious injury.
- Slegs buiteluggebruik: This barbecue is for outdoor use only. Do not operate indoors or in enclosed spaces.
- Ventilasie: Ensure adequate ventilation. Do not obstruct ventilation openings.
- Vlambare materiale: Keep the barbecue at a safe distance from any flammable materials, structures, or surfaces.
- Gaslekke: Always check for gas leaks before each use. Use a soapy water solution; never use an open flame.
- Kinders en Troeteldiere: Keep children and pets away from the barbecue at all times, especially during operation.
- Warm oppervlaktes: Barbecue surfaces become extremely hot during use. Use heat-resistant gloves and avoid direct contact.
- Gassilinder: Connect and disconnect the gas cylinder outdoors and away from ignition sources.
- Berging: Store the gas cylinder in a well-ventilated area, away from direct sunlight and heat sources.
3. Opstelling en samestelling
Assembly is required for this barbecue. Please follow the detailed assembly instructions provided in the separate assembly guide that accompanies your product. Ensure all components are present before beginning assembly.
Ingesluit komponente:
- 1 Gas barbecue with 6 burners and cooking zone
- 1 Pizza stone
- 1 Pizza oven lid
- 2 Drupbakke
- 1 Cooking grate (main)
- 1 Opwarmingsrak
Gasaansluiting:
- Maak seker dat die gassilinder se klep toe is.
- Connect the regulator hose to the gas cylinder valve, tightening securely.
- Connect the other end of the hose to the barbecue's gas inlet.
- Perform a leak test using soapy water on all connections. Bubbles indicate a leak. Tighten connections or replace parts as necessary.
Aanvanklike afbranding:
Before first use, perform an initial burn-off to remove any manufacturing residues.
- Maak die klep van die gassilinder oop.
- Light all main burners on high.
- Close the barbecue lid and let it run for approximately 15-20 minutes.
- Turn off all burners and close the gas cylinder valve. Allow the barbecue to cool completely.
4. Bedryfsinstruksies
Aansteek van die hoofbranders:
- Maak die braaideksel oop.
- Ensure all burner control knobs are in the 'OFF' position.
- Open the gas supply valve on the cylinder.
- Push in and turn one burner control knob counter-clockwise to the 'HIGH' position. The integrated igniter should click and light the burner.
- If the burner does not light within 5 seconds, turn the knob to 'OFF', wait 5 minutes, and repeat the process.
- Once lit, adjust the flame intensity by turning the control knob between 'HIGH' and 'LOW'.
- Repeat for additional burners as needed.
Using the Cook-Zone Side Burner:

Beeld: 'n Gedetailleerde view of the Cook-Zone side burner, ideal for preparing sauces or side dishes while grilling.
- Maak die deksel van die sybrander oop.
- Push in and turn the side burner control knob counter-clockwise to the 'HIGH' position.
- Adjust the flame as required.
- Always close the side burner lid when not in use.
Using the Integrated Pizza Oven:

Image: The integrated pizza oven in operation, with a pizza cooking on the included pizza stone.
The pizza oven utilizes heat from the main burners. Place the pizza stone inside the oven before preheating.
- Plaas die pizza-steen binne-in die pizza-oond.
- Light the main burners directly beneath the pizza oven section (refer to your assembly guide for specific burner locations).
- Close the pizza oven lid and preheat for 10-15 minutes, or until the desired temperature is reached.
- Carefully place your pizza or other baked goods onto the hot pizza stone using a pizza peel.
- Monitor cooking through the oven opening.
Temperatuurbeheer:
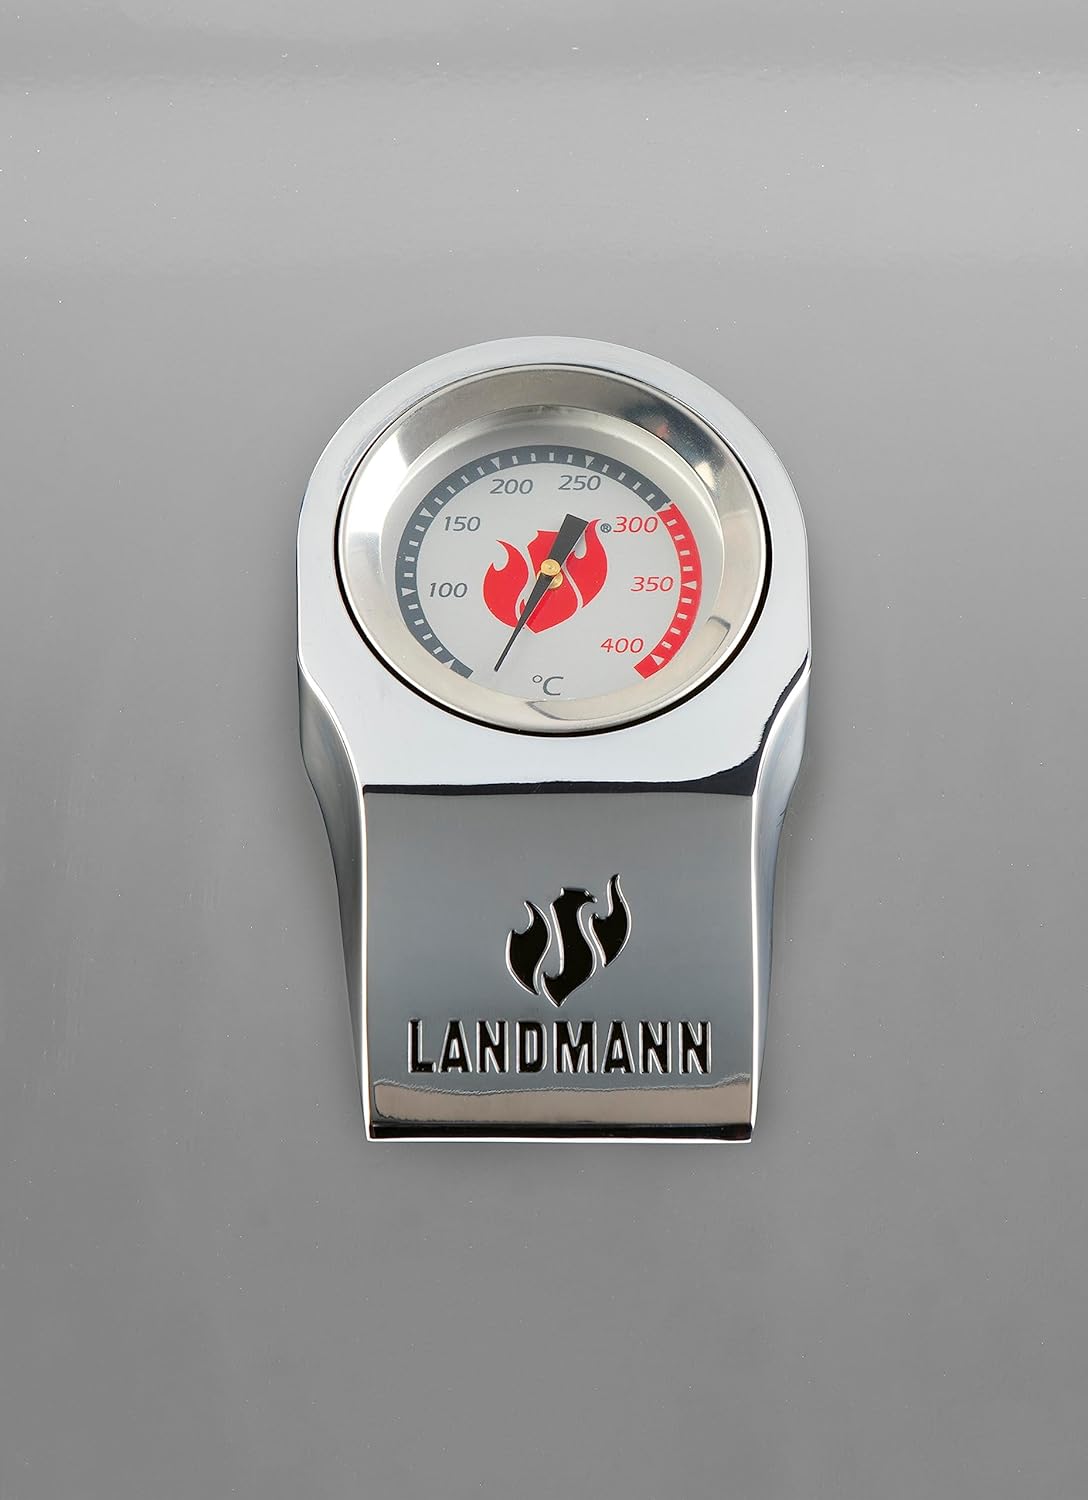
Image: The lid-mounted thermometer, displaying temperatures in Celsius, for monitoring the internal cooking chamber temperature.
The integrated lid thermometer provides an approximate temperature reading inside the main cooking chamber. Adjust burner settings to achieve and maintain your desired cooking temperature.
5. Onderhoud
Regular cleaning and maintenance will extend the life of your barbecue and ensure optimal performance.
Cleaning the Cooking Grates:
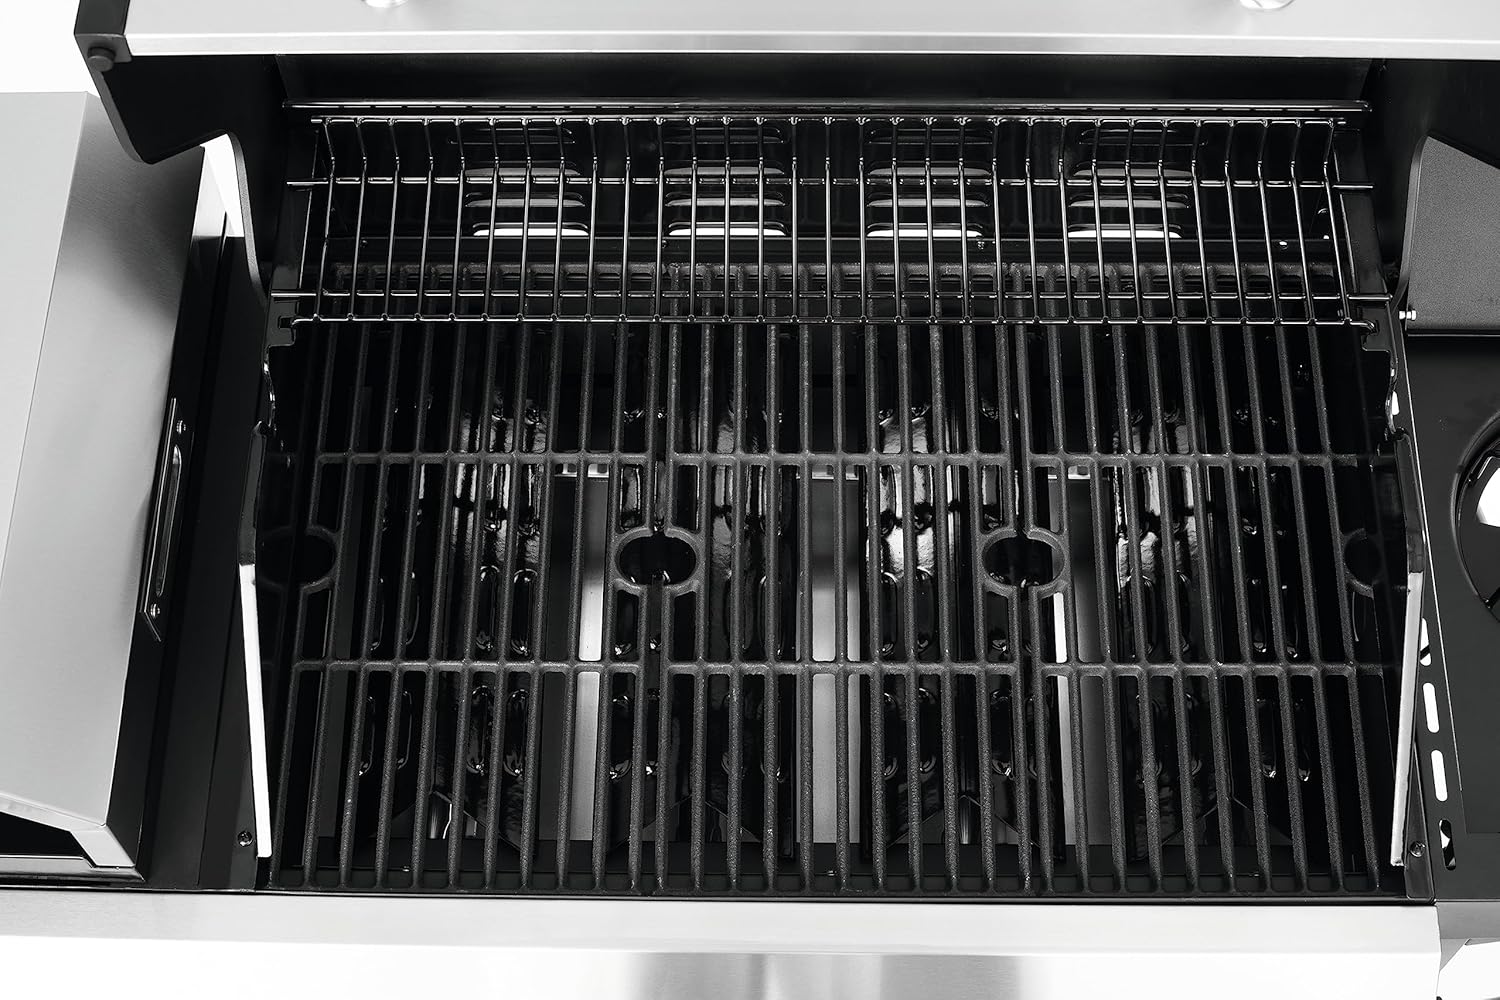
Beeld: 'n Gedetailleerde view of the three-part enameled cast iron cooking grates, showing their robust construction.
- After each use, while the grates are still warm, brush off food residues with a stiff wire brush.
- For deeper cleaning, remove the grates and wash with warm soapy water. Rinse thoroughly and dry completely before re-installing.
Cleaning Drip Trays:
Empty and clean the drip trays regularly to prevent grease build-up and potential flare-ups.
- Laat die braai heeltemal afkoel.
- Remove the drip trays and dispose of accumulated grease.
- Wash trays with warm soapy water, rinse, and dry.
Buitenste skoonmaak:
Vee buiteoppervlakke af met adamp cloth and mild detergent. For stainless steel parts, use a specialized stainless steel cleaner to maintain shine and prevent corrosion.
Berging:
When not in use, especially during extended periods or adverse weather, cover the barbecue with a suitable weather-resistant cover. Disconnect the gas cylinder and store it according to safety guidelines.
6. Probleemoplossing
If you encounter issues with your barbecue, refer to the following common troubleshooting steps:
- Brander brand nie:
- Check if the gas cylinder valve is open.
- Ensure there is gas in the cylinder.
- Verify gas connections are secure and free of leaks.
- Check if the igniter electrode is clean and properly positioned near the burner port.
- Lae vlam/Ongelyke hitte:
- Check for low gas pressure or a nearly empty gas cylinder.
- Ensure burner ports are not clogged with food debris. Clean if necessary.
- Verify that the regulator is functioning correctly.
- Opvlamsels:
- Excessive grease build-up in drip trays or on burner covers. Clean thoroughly.
- Trim excess fat from meat before grilling.
- Reduce burner heat if flare-ups occur frequently.
If problems persist after attempting these steps, please contact Landmann customer support.
7. Spesifikasies
Detailed technical specifications for the Landmann Caliano 6.1 Cook Gas Barbecue.

Image: The Landmann Caliano 6.1 Cook Gas Barbecue with its overall dimensions indicated: 177 cm (length), 60 cm (width), and 117 cm (height).
| Kenmerk | Spesifikasie |
|---|---|
| Modelnommer | LANDMANN Gasgrill CALIANO 6.1 cooK |
| Afmetings (L x B x H) | 177 x 60 x 117 cm |
| Gewig | 52 kg |
| Hoofbranders | 6 x 3.6 kW (Stainless Steel) |
| Side Burner (Cook-Zone) | 1 x 2.5 kW |
| Totale kraglewering | 21.6 kW (Main) + 2.5 kW (Side) |
| Kookoppervlak | Approx. 66 x 44.5 cm (3-part cast iron grates) |
| Materiaal | Alloy Steel, Stainless Steel, Cast Iron |
| Brandstof tipe | Gas |
| Spesiale kenmerke | Integrated Pizza Plate with Pizza Stone, Lid Thermometer |
| Vergadering benodig | Ja |
8. Waarborg en Ondersteuning
Specific warranty details for the Landmann Caliano 6.1 Cook Gas Barbecue are typically provided with your purchase documentation. Please refer to the warranty card or contact your retailer for information regarding warranty coverage and terms.
For technical support, spare parts, or further assistance, please contact Landmann customer service through their official webwebwerf of die kontakinligting wat in u produkverpakking verskaf word.