1. Inleiding
The FLAMMA FX10 is a compact and versatile guitar headphone amplifier designed for practice, recording, and creative music sessions. It integrates 14 classic amp models, 14 built-in effects, 5 tone colors, and 28 drum grooves, offering a comprehensive suite of tools in a portable format. With Bluetooth connectivity for audio playback and USB support for direct recording, the FX10 provides a high-quality tone experience without disturbing others.
2. Produkkenmerke
- 14 Amp Models with Individual Save Function: Select from 14 classic amp modules. Adjust tone color and effects parameters, then save them as preset patches within the AMP module.
- 14 Built-in Effects with Parameter Adjustment: Choose from a variety of effects including reverb, delay, and modulation (e.g., chorus+hall, phaser+church, flanger+plate, tremolo+mod reverb). Parameters can be adjusted for each effect.
- 28 Drum Grooves: Features 7 musical styles: POP, BLUES, PUNK, ROCK, METAL, FUNK, and JAZZ. Activate the drum machine and switch between 3 parameter adjustment modes: drum groove selection, volume, and speed.
- 5 Levels of Tone Color: Utilize the TONE module for quick tone color adjustments. Press the - / + buttons to switch between 5 different colors: Darker, Dark, Flat, Bright, and Brighter.
- Support Bluetooth Connection: Connect to an external Bluetooth device for practicing along with your favorite tracks or for performance.
- USB Audio Recording and Playback: Supports OTG function, allowing direct connection to a smartphone or computer for recording and audio playback using the provided USB cable and an optional OTG cable.
3. Produk verbyview
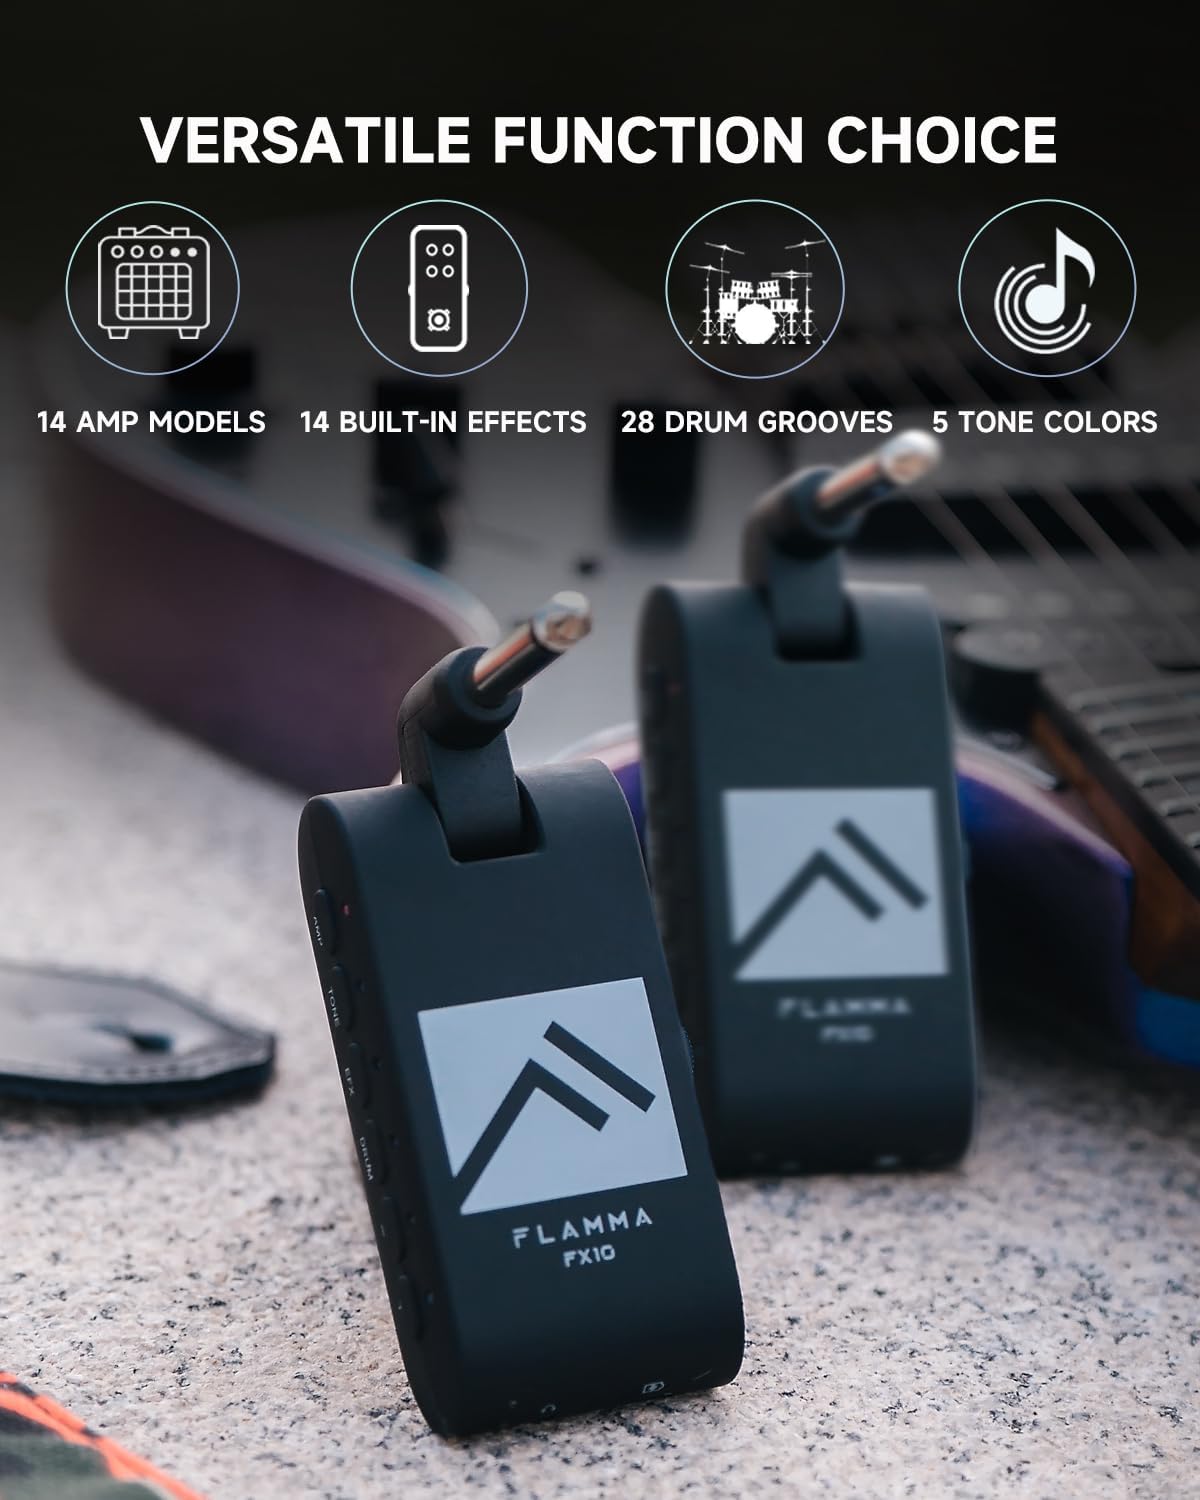
Figure 1: FLAMMA FX10 Portable Guitar Headphone Amp. This image shows the compact size and design of the FX10, highlighting its portability.
Figuur 2: Onder view of the FLAMMA FX10 showing the 1/8" TRS headphone jack and USB-C port. These ports allow for private listening and charging/data transfer.

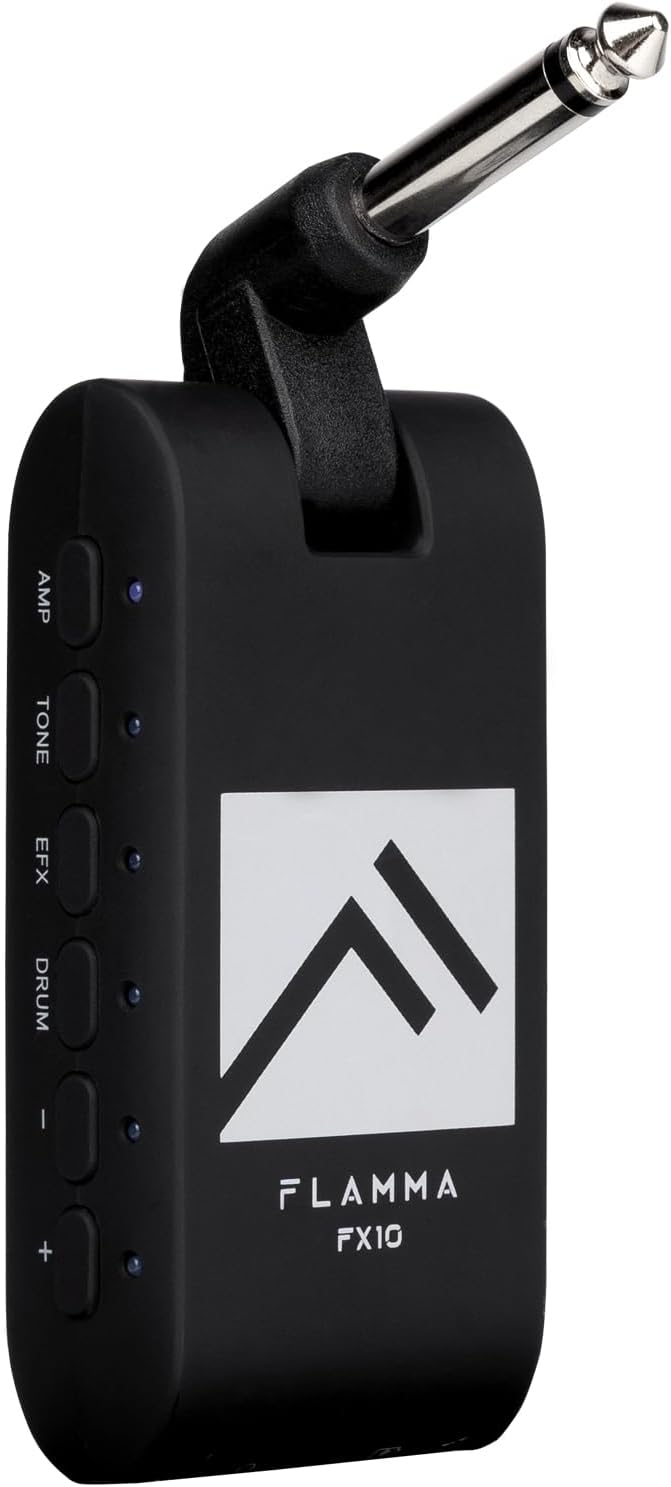
Figuur 3: Kant view of the FLAMMA FX10 showing the AMP, TONE, EFX, DRUM, and +/- buttons. These controls are used to navigate and adjust the various settings and effects.

Figuur 4: oorview of the FLAMMA FX10's versatile functions, including 14 amp models, 14 built-in effects, 28 drum grooves, and 5 tone colors.
Komponente:
- 1/4" Instrument Input Jack (rotatable)
- 1/8" TRS Headphone Jack
- USB-C Port (for charging and data)
- Three-way Power Switch (ON/OFF/Bluetooth)
- Volumebeheer-skuifbalk
- AMP Knoppie
- TONE-knoppie
- EFX Button
- DRUM-knoppie
- +/- Buttons (for navigation and parameter adjustment)
- LED Indicators (for status and settings)
4. Opstelling
- Laai die toestel: Before first use, fully charge the FX10 using the provided USB-C cable. Connect the USB-C cable to the FX10's USB-C port and the other end to a USB power adapter (not included) or a computer. The battery provides approximately 4 hours of use on a single charge.
- Connect to Guitar: Plug the 1/4" instrument input jack of the FX10 directly into your guitar's output jack. The jack is rotatable for optimal positioning.
- Koppel oorfone: Plug your 1/8" TRS headphones into the headphone jack on the bottom of the FX10.
- Krag aan: Slide the three-way power switch to the 'ON' position.
5. Bedryfsinstruksies
5.1. Aan/Af en Volume
- Krag aan: Slide the three-way power switch to the 'ON' position.
- Skakel af: Slide the three-way power switch to the 'OFF' position.
- Pas volume aan: Use the volume control slider on the side of the unit to adjust your headphone output level.
5.2. Amp Modelle
The FX10 features 14 classic amp models. Each amp model can store individual tone and effect settings.
- Druk die AMP knoppie om in te voer Amp Model selection mode. The LED next to the AMP knoppie sal verlig.
- Gebruik die +/- buttons to cycle through the 14 available amp models. Each amp model is indicated by a specific LED color. Refer to the included Quick Start Guide for the color-to-amp model mapping.
- To save your current tone and effect settings to the selected amp model, press and hold the AMP button until the LED flashes, indicating the settings have been saved.
5.3. Tone Colors
Adjust the overall tone character with 5 distinct tone colors.
- Druk die TOON button to enter Tone Color selection mode. The LED next to the TONE button will illuminate.
- Gebruik die +/- buttons to cycle through the 5 tone colors: Darker, Dark, Flat, Bright, Brighter. Each tone color is indicated by a specific LED color.
5.4. Effects (EFX)
The FX10 includes 14 built-in effects with adjustable parameters.
- Druk die EFX button to enter Effects selection mode. The LED next to the EFX button will illuminate.
- Gebruik die +/- buttons to cycle through the 14 available effects. Each effect is indicated by a specific LED color. Refer to the included Quick Start Guide for the color-to-effect mapping.
- To adjust the parameters of the selected effect (e.g., reverb level, delay time, mod depth/rate), press and hold the EFX button until the LED flashes. Then, use the +/- buttons to adjust the parameter level. Release the EFX button to exit parameter adjustment.
5.5. Drum Grooves
Practice with 28 diverse drum grooves across 7 musical styles.
- Druk die DROM button to activate the drum machine. The LED next to the DRUM button will illuminate.
- While the DRUM LED is solid, use the +/- buttons to cycle through the 28 drum grooves. Each groove is indicated by a specific LED color. Refer to the included Quick Start Guide for the color-to-groove mapping.
- To adjust drum parameters (volume or speed), press the DROM button again. The LED will blink.
- While the DRUM LED is blinking, use the +/- buttons to adjust the drum volume.
- Druk die DROM button a third time. The LED will blink a different color (e.g., blue). Use the +/- buttons to adjust the drum speed (tempo).
- To turn off the drum machine, press and hold the DROM button until the LED turns off.
5.6. Bluetooth-verbinding
Connect your FX10 to an external Bluetooth device for audio playback.
- Slide the three-way power switch to the 'Bluetooth' position. The Bluetooth indicator LED will blink, indicating pairing mode.
- On your external device (smartphone, tablet, etc.), search for Bluetooth devices and select 'FLAMMA FX10' to pair.
- Once paired, the Bluetooth indicator LED will remain solid. You can now play audio from your device through your headphones connected to the FX10.
5.7. USB Audio Recording and Playback
The FX10 supports USB Audio for direct recording and playback with compatible devices.
- Connect the FX10 to your computer or smartphone using the provided USB-C cable. For smartphones, an additional OTG cable (not included) may be required.
- The FX10 will be recognized as an audio interface. Select it as your input/output device in your Digital Audio Workstation (DAW) or recording application.
- You can now record your guitar's output directly to your device or play back audio through the FX10.
6. Mediademonstrasies
Video 1: FLAMMA FX10 Guitar Headphone Amp Unboxing. This video provides an unboxing experience of the FLAMMA FX10, showing its contents and initial setup.
Video 2: FLAMMA FX10 Guitar Headphone Amp Demo. This video demonstrates various features and sounds of the FLAMMA FX10, including amp models, effects, and drum grooves.
Video 3: FLAMMA FX10 Headphone Ampverligter Review. A detailed review of the FLAMMA FX10, covering its functionalities and user experience.
Video 4: FLAMMA Guitar Headphone Amplifier with Multi Effects. This video showcases the multi-effects capabilities of the FLAMMA FX10, highlighting its versatility.
Video 5: Awesome Amp Technology in a Tiny Form Factor: The Flamma FX10. This video explores the advanced amp technology packed into the compact FLAMMA FX10.
7. Onderhoud
- Skoonmaak: Gebruik 'n sagte, droë lap om die toestel skoon te maak. Vermy die gebruik van skuurmiddels of oplosmiddels.
- Berging: Store the FX10 in a cool, dry place away from direct sunlight and extreme temperatures.
- Batterysorg: Om die batterylewe te verleng, vermy om die toestel gereeld heeltemal te ontlaai. Laai die toestel gereeld, selfs al word dit nie vir lang tye gebruik nie.
- Hantering: Hanteer die toestel versigtig. Vermy om dit te laat val of aan harde impakte bloot te stel.
8. Probleemoplossing
| Probleem | Moontlike oorsaak | Oplossing |
|---|---|---|
| Geen geluid van die koptelefoon nie | Device is off; Volume is too low; Headphones not properly connected; Guitar not properly connected. | Ensure device is ON; Increase volume; Check headphone and guitar connections. |
| Bluetooth verbind nie | Device not in pairing mode; Bluetooth on external device is off; Interference. | Ensure power switch is in 'Bluetooth' position; Turn on Bluetooth on external device; Move closer to the device. |
| Kort batterylewe | Battery nie volledig gelaai nie; Ou battery. | Fully charge the device; If battery life significantly degrades, contact support. |
| Verwronge klank | Input gain too high; Headphone volume too high. | Reduce guitar volume; Lower FX10 volume. |
9. Spesifikasies
- Item gewig: 2.08 onse
- Produk afmetings: 3.23 x 1.18 x 1.57 duim
- Item Modelnommer: FX10
- Batterye: 1 Litium Polimeer battery benodig (ingesluit)
- Eerste datum beskikbaar: 3 Maart 2023
- Kleur: FX10-BLACK (other colors may be available)
- Versoenbare toestelle: Kitaar
- Connector Tipe: USB-C (for charging/data), 1/4" Instrument Jack, 1/8" TRS Headphone Jack
- Materiaal tipe: Plastiek
- Uitset Wattage: 10 Watt
- Kragbron: Battery aangedrewe
10. Waarborg en ondersteuning
For warranty information, technical support, or service inquiries, please refer to the documentation included in your product packaging or visit the official FLAMMA webwebwerf. Bewaar u bewys van aankoop vir enige waarborgeise.