1. Inleiding
Thank you for choosing the Speaka Professional SP-TMS-200 Monitor Stand. This manual provides essential information for the safe and efficient installation, operation, and maintenance of your monitor stand. Please read these instructions carefully before assembly and retain them for future reference.
Veiligheidsinligting
- Maak seker dat alle komponente teenwoordig en onbeskadig is voor montering.
- Moenie die maksimum gewigskapasiteit of skermgrootte wat vir hierdie staanplek gespesifiseer is, oorskry nie.
- Always use appropriate tools and follow assembly steps precisely.
- Hou kinders en troeteldiere weg tydens montering.
- If you encounter any difficulties, consult a qualified professional.
2. Produkkenmerke
The Speaka Professional SP-TMS-200 Monitor Stand offers enhanced ergonomics and organization for your workspace. Key features include:
- 10 Height Adjustments: Achieve optimal viewing height for improved comfort.
- 360° Rotatable VESA Plate: Allows for flexible screen orientation (landscape or portrait).
- Gereedskapvrye aanpassing: Easily modify settings without additional tools.
- Anti-Slip Silicone Pads: Provides enhanced stability and protects your desk surface.
- Kabelklem: Organizes cables for a tidy and professional appearance.
3. Pakketinhoud
Please verify that all parts are included in your package. Refer to the product packaging for a detailed list of components and hardware.

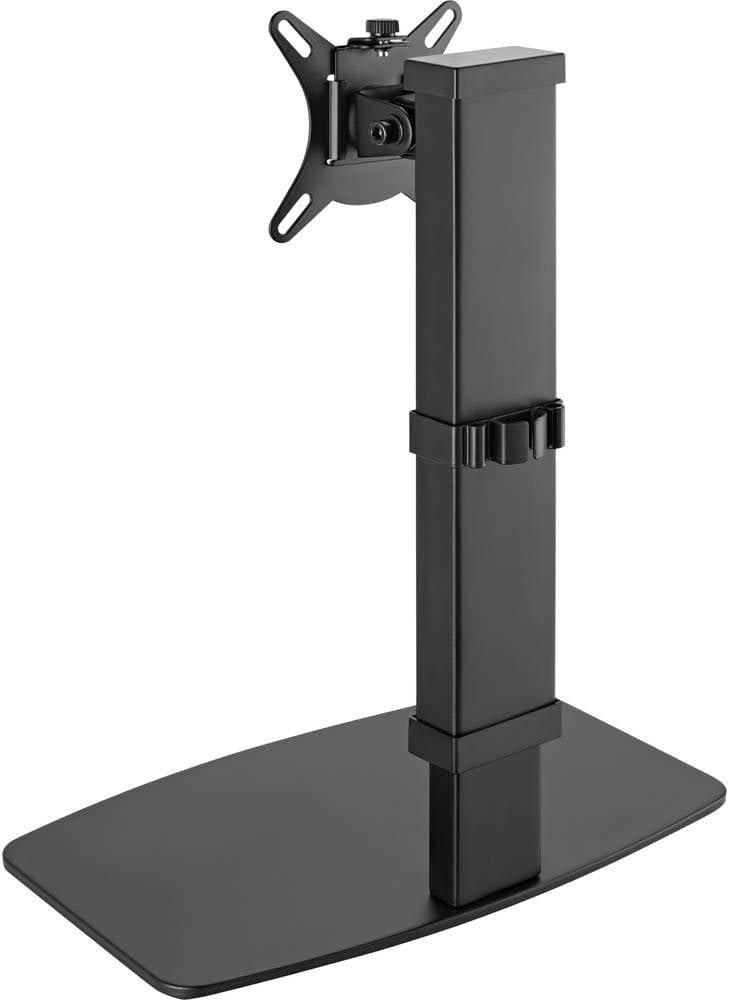
Beeld 1: Voorkant view of the Speaka Professional SP-TMS-200 Monitor Stand, showing the base, adjustable pole, and VESA mounting plate.
4. Opstelinstruksies
Follow these general steps to assemble your monitor stand. Specific hardware and detailed steps may vary; always refer to the included assembly guide for precise instructions.
- Pak komponente uit: Verwyder alle dele versigtig uit die verpakking en lê dit op 'n skoon, plat oppervlak neer.
- Heg basis aan: Secure the vertical pole to the base using the provided screws and tools. Ensure it is firmly tightened.
- Mount VESA Plate: Attach the VESA mounting plate to the back of your monitor using the appropriate screws for your display. Ensure the screws are not overtightened.
- Installeer monitor: Carefully slide the monitor (with the attached VESA plate) onto the top of the vertical pole. Secure it in place according to the stand's design, typically with a locking screw or mechanism.
- Kabelbestuur: Route your monitor cables through the integrated cable clip on the stand's pole for a neat setup.

Beeld 2: Hoekig view of the monitor stand, highlighting the height adjustment markings on the vertical pole.
5. Bedryfsinstruksies
Once assembled, the monitor stand allows for various adjustments to optimize your viewondervinding.
Hoogte verstelling
The stand features 10 height settings. To adjust the height, loosen the locking mechanism on the vertical pole, slide the monitor to your desired height, and then securely tighten the locking mechanism. Ensure the monitor is stable after adjustment.
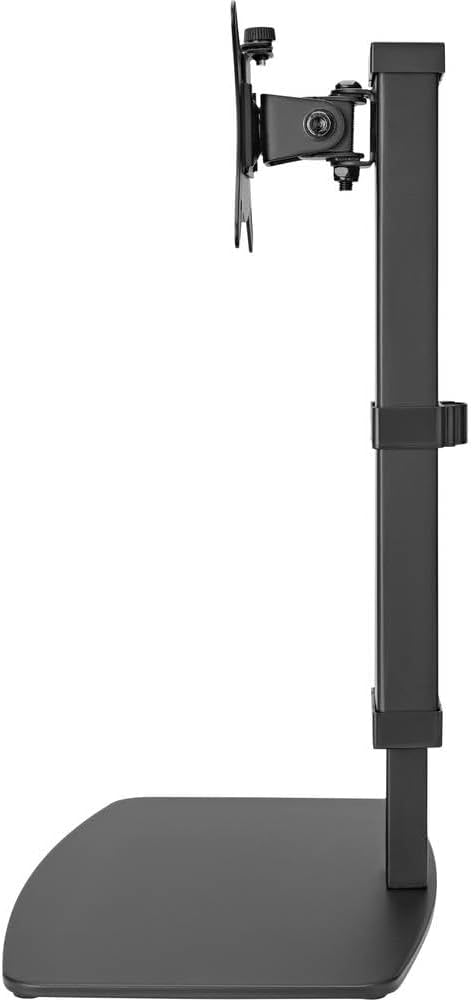
Beeld 3: Sykant view of the monitor stand, illustrating the range of height adjustment possible with the vertical pole.
Tilt and Swivel Adjustment
The VESA plate allows for tilting and swiveling your monitor. Gently adjust the monitor to your preferred angle. The 360° rotation feature enables easy switching between landscape and portrait orientations.
Kabelbestuur
Utilize the integrated cable clip on the rear of the stand's pole to route and secure your monitor and power cables. This helps maintain a clean and organized workspace.
Prent 4: Agter view of the monitor stand, showing the cable management clip on the vertical pole.
6. Onderhoud
Regular maintenance ensures the longevity and optimal performance of your monitor stand.
- Skoonmaak: Vee die staander af met 'n sagte, droë lap. Vir hardnekkige merke, gebruik 'n effens droë lap.amp 'n Lap met sagte seep kan gebruik word, gevolg deur droogmaak. Vermy skuurmiddels of oplosmiddels.
- Inspeksies: Kontroleer gereeld alle skroewe en verbindings om te verseker dat hulle styf bly. Draai weer vas indien nodig.
- Beweging: Ensure the height adjustment mechanism moves smoothly. Do not force any adjustments.
7. Probleemoplossing
If you encounter issues with your monitor stand, consider the following common solutions:
- Staanplek is onstabiel: Ensure all assembly screws are securely tightened. Verify the monitor's weight and size are within the stand's specifications. Check that the anti-slip pads on the base are intact and making full contact with the surface.
- Moeilikheid om hoogte aan te pas: Ensure the height locking mechanism is fully disengaged before attempting to adjust. Do not apply excessive force. Check for any obstructions.
- Monitor not level: Check that the VESA plate is securely attached to both the monitor and the stand. Adjust the tilt mechanism if necessary.
Indien probleme voortduur, kontak asseblief kliëntediens.
8. Spesifikasies
| Handelsmerk | Speaka Professional |
| Modelnommer | SP-10092880 |
| Versoenbare toestelle | Monitors (17" to 32") |
| Hoogte verstelling | 10 instellings |
| VESA Plate Rotation | 360° |
| Kleur | Various (typically black) |
9. Waarborg en Ondersteuning
This Speaka Professional product comes with a 1 jaar waarborg for spare parts, as per the manufacturer's terms.
For technical support, warranty claims, or further assistance, please refer to the contact information provided with your purchase or visit the official Speaka Professional webwebwerf.