1. Veiligheidsinstruksies
Lees en verstaan asseblief alle instruksies voordat u met die installasie begin. Versuim om hierdie instruksies te volg, kan lei tot elektriese skok, brand of persoonlike besering.
- Elektriese veiligheid: Ensure power is turned off at the circuit breaker before installation or maintenance. Consult a qualified electrician if you are unsure about wiring.
- Montering: The ceiling fan must be mounted to a structurally sound ceiling joist or outlet box capable of supporting the fan's weight.
- Bolle: Use only E26 base bulbs, maximum 10W LED or equivalent incandescent. Bulbs are not included.
- Opruiming: Maintain adequate clearance between the fan blades and any obstructions.
- Afstandbeheer: Keep the remote control away from water and extreme temperatures.
2. Pakketinhoud
Verifieer dat alle komponente teenwoordig en onbeskadig is voordat u met die installasie voortgaan.
- Hokplafonwaaier-eenheid (met geïntegreerde motor en ligsokke)
- Afstandbeheer
- Montagebeugel
- Hardewarepak (skroewe, draadmoere, ens.)
- Instruksie Handleiding
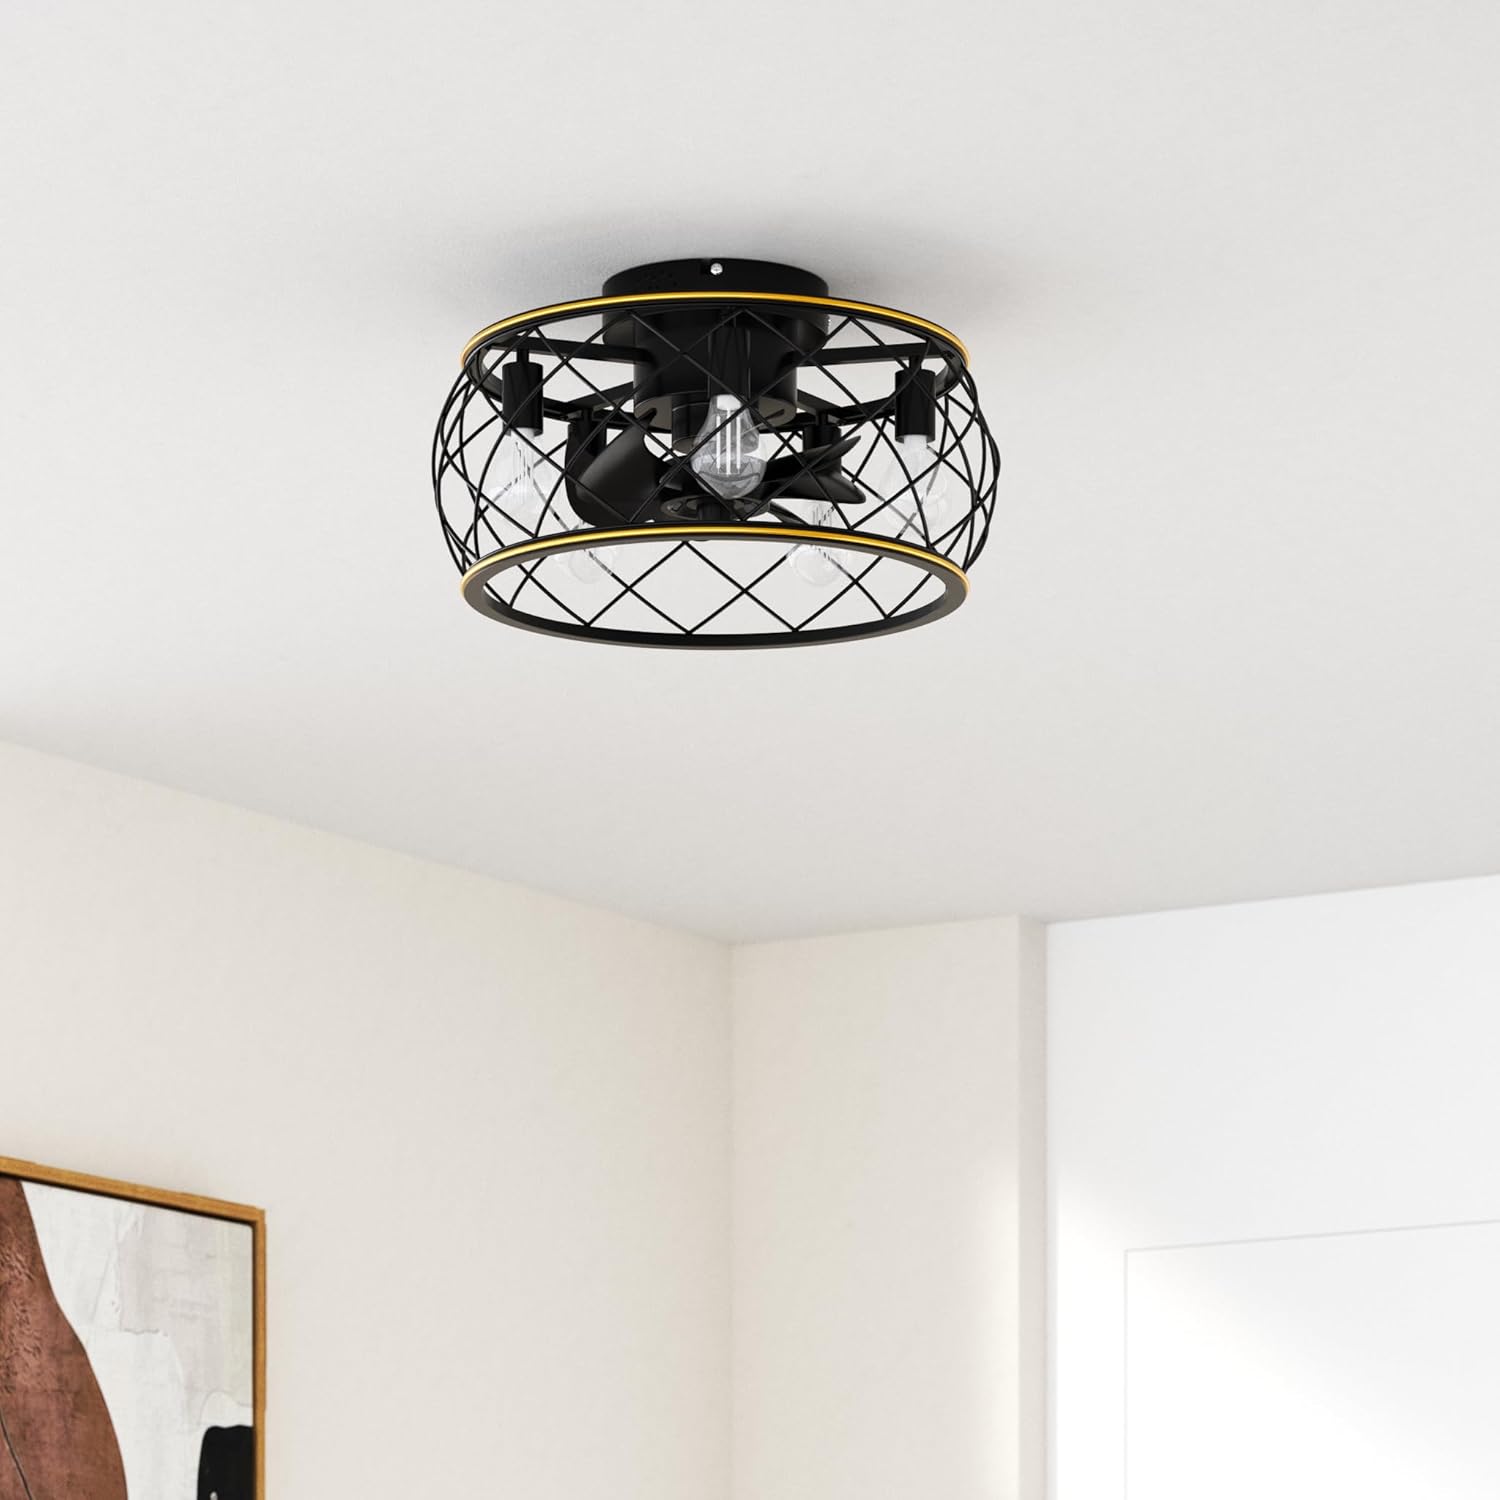
Beeld 1: verbyview of the Ohniyou Caged Ceiling Fan with Lights and Remote.
3. Installasie
Professional installation is recommended for electrical work. Ensure power is disconnected before starting.
- Berei monteringsplek voor: Turn off power at the circuit breaker. Remove any existing light fixture.
- Installeer montagebeugel: Secure the mounting bracket to the ceiling junction box using appropriate screws. Ensure it is firmly attached.
- Assemble Fan Unit (if necessary): Some components may require pre-assembly. Refer to the detailed diagrams in the printed manual for specific steps.
- Bedrading verbindings: Connect the fan's wires to the household wiring according to local electrical codes. Typically, connect live to live, neutral to neutral, and ground to ground. Use wire nuts to secure connections.
- Heg waaier aan montagebeugel: Carefully lift the fan unit and attach it to the installed mounting bracket. Secure with screws.
- Installeer gloeilampe: Screw five E26 base bulbs (not included) into the sockets.
Video 1: This video demonstrates the installation process for a similar caged ceiling fan, including assembly of the frame, fan blades, and wiring connections. Note that specific steps may vary slightly for your Ohniyou model.

Beeld 2: Nabyskoot view of the fan's flush mount design, 8 black blades, hand-painted gold line detail, and 5 E26 bulb bases.
4. Bedryfsinstruksies
Your Ohniyou Caged Ceiling Fan is operated using the included remote control.
Afstandbeheer funksies:
- Kragknoppie: Skakel die waaier en lig aan/af.
- Lig aan/af: Beheer die lig onafhanklik.
- Waaierspoed (1-6): Adjusts the fan speed from low (1) to high (6).
- Tydteller (1H, 2H, 4H): Stel die waaier om outomaties af te skakel na 1, 2 of 4 uur.
- Forward (F) / Reverse (R): Changes the direction of the fan blades. Use 'F' for downdraft (summer mode) and 'R' for updraft (winter mode).

Image 3: Diagram of the remote control with labeled buttons for fan speed, light control, timer, and forward/reverse functions.
Video 2: This video demonstrates the operation of the Ohniyou Caged Ceiling Fan, showcasing the remote control functions for turning the light and fan on/off, and adjusting fan speeds.
Omkeerbare motorfunksie:
Die omkeerbare motor bied gemak regdeur die jaar:
- Summer Downdraft Mode (Forward): Air circulates downward to create a cooling effect.
- Winter Updraft Mode (Reverse): Air circulates upward to redistribute warm air, enhancing heating efficiency.

Image 4: Visual representation of the fan's reversible motor function, illustrating airflow for both summer downdraft and winter updraft modes.
5. Onderhoud
Gereelde onderhoud verseker optimale werkverrigting en lang lewensduur van jou plafonwaaier.
- Skoonmaak: Dust the fan blades and cage regularly with a soft, damp lap. Moenie skuur skoonmaakmiddels of oplosmiddels gebruik nie.
- Gloeilamp vervanging: Ensure power is off before replacing light bulbs. Allow bulbs to cool completely before handling.
- Draai bevestigingsmiddels vas: Kontroleer en trek alle skroewe en bevestigingsmiddels gereeld vas om veilige werking te verseker.
6. Probleemoplossing
As jy probleme met jou waaier ondervind, verwys na die volgende algemene probleme en oplossings:
| Probleem | Moontlike oorsaak | Oplossing |
|---|---|---|
| Waaier begin nie | No power, loose wiring, remote battery dead | Check circuit breaker, ensure wiring is secure, replace remote battery. |
| Lig werk nie | Bulb faulty, loose wiring, remote battery dead | Replace bulb, check wiring, replace remote battery. |
| Fan is raserig | Loose screws, unbalanced blades | Tighten all mounting screws, ensure blades are securely attached. |
| Remote werk nie | Dead battery, interference | Replace remote battery, ensure no obstructions between remote and fan. |
7. Spesifikasies
- Handelsmerk: Ohniyou
- Model Naam: 011
- Produk afmetings: 20 cm L x 20 cm B x 9.7 cm H
- Item gewig: 9.53 pond
- Materiaal: Metaal
- Styl: Plaashuis
- Installasie tipe: Spoelberg
- Kragbron: AC
- Voltage: 120 Volt
- Aantal ligbronne: 5
- Gloeilamp basis: E26
- Wattage: 30 watts (total for lights)
- Spesiale kenmerk: Bladeless, Remote Controlled, Reversible Motor
- Binne/buiteluggebruik: Binne, Buitelug
- Ingesluit komponente: Afstandbeheer

Image 5: Detailed diagram showing the product dimensions (20 inches diameter, 9.7 inches height) and E26 bulb base requirement.
8. Waarborg en ondersteuning
This Ohniyou Caged Ceiling Fan comes with a Beperkte waarborg. For specific details regarding warranty coverage, terms, and conditions, please refer to the warranty information provided in the product packaging or contact Ohniyou customer support.
For technical assistance, troubleshooting, or replacement parts, please contact Ohniyou customer service through the retailer where the product was purchased or visit the official Ohniyou webwebwerf.