1. Inleiding
Thank you for choosing the ORICO 5-Bay SATA HDD/SSD Docking Station. This device provides a high-capacity external storage solution for your 2.5-inch and 3.5-inch SATA hard drives and solid-state drives. Designed for reliability and performance, it features USB 3.0 connectivity for fast data transfer and an efficient cooling system to protect your valuable data. Please read this manual carefully before use to ensure proper installation and operation.
2. Produkkenmerke
- Premium ontwerp: Constructed from aluminum alloy with a sandblasted anodized finish, available in black or silver.
- Secure Drive Installation: Features sliding trays with screw and clamp fixation for stable mounting of 2.5-inch and 3.5-inch SATA drives, preventing movement and potential bad sectors.
- Hoëspoed data-oordrag: Equipped with a USB 3.0 interface, supporting data transfer rates up to 5 Gbps. Includes a 1-meter USB-A to B cable for connectivity.
- Doeltreffende hitte-afvoer: An integrated 80mm cooling fan, combined with front and rear air convection holes, ensures optimal heat management for prolonged drive life.
- Stabiele kragtoevoer: A built-in 150W power adapter provides stable and sufficient power for up to five hard drives simultaneously. An integrated smart protection module safeguards data transfer.
- Universele verenigbaarheid: Supports Windows, Mac, and Linux operating systems.
3. Pakketinhoud
Kontroleer asseblief die inhoud van die pakkie na opening:
- ORICO 5-Bay SATA HDD/SSD Docking Station (Model 3559U3-BK)
- USB-A to B Cable (1 meter)
- Kragkabel
- Screws for drive installation
- Gebruikershandleiding (hierdie dokument)
4. Spesifikasies
| Modelnommer | 3559U3-BK |
| Materiaal | Aluminiumlegering |
| Kleur | Swart |
| Versoenbare aandrywers | 2.5-duim / 3.5-duim SATA HDD/SSD |
| Aantal plekke | 5 |
| Maximum Single Bay Capacity | 18 TB |
| Maximum Total Capacity | 90 TB |
| Hardeware-koppelvlak | USB 3.0 |
| Data-oordragtempo | Tot 5 Gbps |
| Kragtoevoer | Internal 150W Power Adapter |
| Ondersteuning van bedryfstelsels | Windows, Mac, Linux |
| Afmetings (L x B x H) | 264.8 x 137 x 200.7 mm |
5. Opstelgids
5.1. Installing Hard Drives/SSDs
- Gently pull out the drive trays from the front of the docking station.
- For 3.5-inch HDDs: Place the HDD into the tray and secure it with the provided screws through the bottom of the tray.
- For 2.5-inch SSDs/HDDs: Place the SSD/HDD into the tray and secure it with the provided screws through the side holes of the tray.
- Slide the loaded tray back into the corresponding bay until it clicks into place.

Image: Drive tray installation with screw fixing mechanism.
5.2. Koppel aan krag
- Connect the power cable to the power input port on the rear of the docking station.
- Steek die ander kant van die kragkabel in 'n standaard wisselstroomaansluiting.
- Ensure the power switch on the rear panel is in the "OFF" position before connecting.

Image: Rear panel highlighting the 150W built-in power supply.

Beeld: Gedetailleerd view van die agterpaneelverbindings.
5.3. Koppel aan 'n rekenaar
- Connect one end of the provided USB-A to B cable to the USB 3.0 port on the rear of the docking station.
- Connect the other end of the USB-A to B cable to an available USB 3.0 port on your computer.
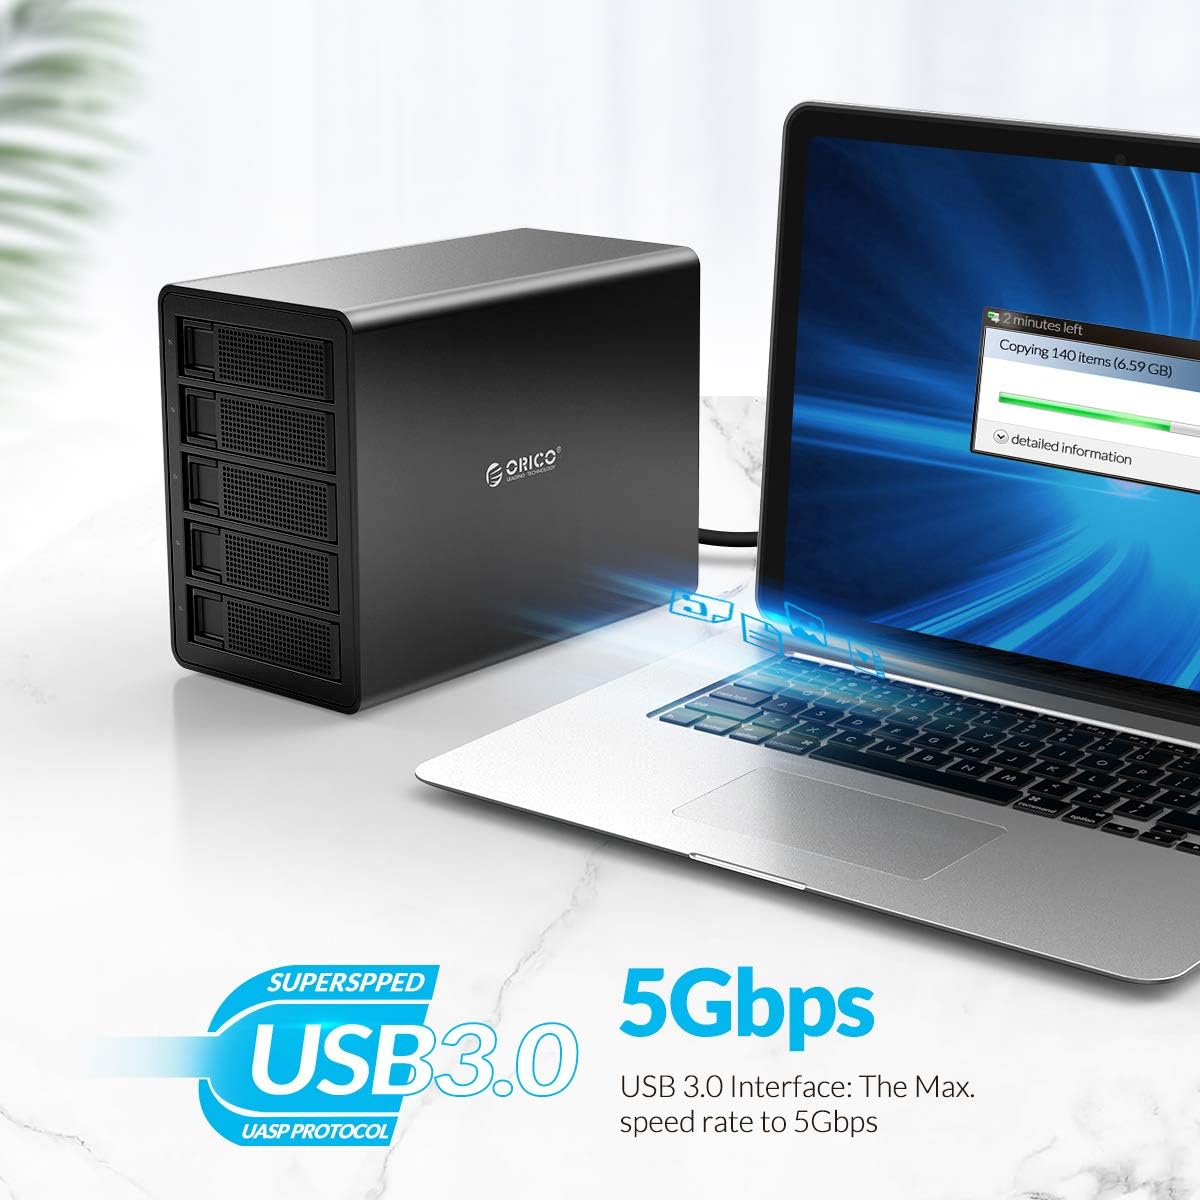
Image: Connecting the docking station to a computer via USB 3.0.
6. Bedryfsinstruksies
6.1. Skakel aan/af
- To power on: Flip the power switch on the rear panel to the "ON" position. The power indicator light on the front will illuminate.
- To power off: Ensure all data transfer operations are complete. Safely eject or unmount the drives from your operating system. Then, flip the power switch to the "OFF" position.
6.2. Drive Recognition and Formatting
- Once powered on and connected to your computer, the operating system should automatically detect the installed drives.
- New drives may need to be initialized and formatted before use. Refer to your operating system's disk management tools for this process (e.g., Disk Management in Windows, Disk Utility in macOS).
- Each drive will appear as an independent storage volume.
6.3. Data-oordrag
- Sleep en los files to and from the recognized drives as you would with any other external storage device.
- The USB 3.0 interface supports speeds up to 5 Gbps, providing fast transfer for large files. Actual speeds may vary based on drive performance and system configuration.

Image: ORICO 5-Bay Docking Station showcasing its high storage capacity.

Image: Various applications for mass storage with the docking station.
6.4. Safe Removal
Always safely eject or unmount the drives from your operating system before disconnecting the docking station or powering it off to prevent data corruption.
7. Onderhoud
- Skoonmaak: Use a soft, dry cloth to clean the exterior of the docking station. Do not use liquid cleaners or aerosols. Ensure the device is powered off and disconnected from power before cleaning.
- Ventilasie: Ensure the ventilation holes on the device are not obstructed to allow for proper airflow and heat dissipation.
- Omgewing: Store and operate the device in a cool, dry environment, away from direct sunlight, extreme temperatures, and humidity.
- Drive Handling: Handle hard drives and SSDs with care. Avoid dropping or subjecting them to physical shocks.
8. Probleemoplossing
8.1. Device Not Detected
- Ensure the power cable is securely connected and the power switch is in the "ON" position.
- Verify the USB cable is securely connected to both the docking station and your computer.
- Probeer om aan 'n ander USB-poort op jou rekenaar te koppel.
- Toets met 'n ander USB-kabel indien beskikbaar.
- Check if the drives are properly installed in their trays and secured.
- For new drives, ensure they are initialized and formatted via your operating system's disk management tools.
8.2. Slow Data Transfer Speed
- Ensure you are connected to a USB 3.0 port on your computer. USB 2.0 ports will result in significantly slower speeds.
- Check the health and performance of the installed hard drives/SSDs. Older or failing drives can impact transfer speeds.
- Vermy die gebruik van verskeie veeleisende toepassings tydens groot data-oordragte.
8.3. Drives Not Appearing Individually
- The ORICO 3559U3-BK operates as a single-drive enclosure for each bay, meaning each installed drive should appear as a separate volume. If not, recheck connections and drive installation.
- Ensure your operating system's drivers are up to date.
8.4. Oorverhittingsprobleme
- Maak seker dat die dokstasie in 'n goed geventileerde area geplaas is.
- Check that the front and rear ventilation holes are not blocked.
- Excessive drive activity over long periods can generate heat; consider reducing continuous heavy load if overheating persists.
9. Waarborg en Ondersteuning
ORICO products come with a standard manufacturer's warranty. For specific warranty terms and conditions, please refer to the warranty card included with your product or visit the official ORICO website. If you encounter any issues that cannot be resolved using the troubleshooting guide, please contact ORICO customer support for assistance.
ORICO Customer Support:
- Webwebwerf: www.orico.com.cn (Please check for regional support contact information)
- Email: Refer to your product packaging or ORICO webwebwerf vir die mees onlangse ondersteunings-e-posadres.
Please have your product model number (3559U3-BK) and purchase information ready when contacting support.