Inleiding
The Autel MX Sensor is a universal Tire Pressure Monitoring System (TPMS) sensor designed to combine both 315MHz and 433MHz frequencies into a single unit. This design provides extensive vehicle coverage, making it a versatile replacement for a wide range of vehicles. MX-Sensors support 100% original sensor ID cloning, allowing for direct replacement without the need for relearning in many cases. When paired with compatible Autel MaxiTPMS tools (such as TS408, TS508, TS608, MX808TS, MS906TS, MK808TS, ITS600, ITS600Pro, MS906Pro-TS), these sensors can be activated, programmed, and relearned efficiently.
Sleutel kenmerke
- Dual Frequency (315MHz + 433MHz): Combines both frequencies into one sensor for maximum vehicle coverage.
- 100% ID Clone-able: Allows direct replacement without relearning when cloning original sensor IDs.
- Wye voertuigdekking: Compatible with 98% of worldwide vehicles, covering 75+ makes and 1400+ models from 1996-2023.
- Unlimited Programmable: Can be activated, relearned, and programmed by Autel TPMS tools. Up to 20 sensors can be programmed simultaneously in 5-6 seconds.
- Interchangeable Valve Stems: Features an exclusive adjustable design for press-in rubber/metal valves, minimizing installation time.
- Duursame ontwerp: Equipped with an automotive-level battery for long life, resistant to cold, heat, and corrosion, compatible with SAE J1205/J1206 test standards.
- Liggewig: Weighs only 11 grams, contributing to better performance and longer battery life.
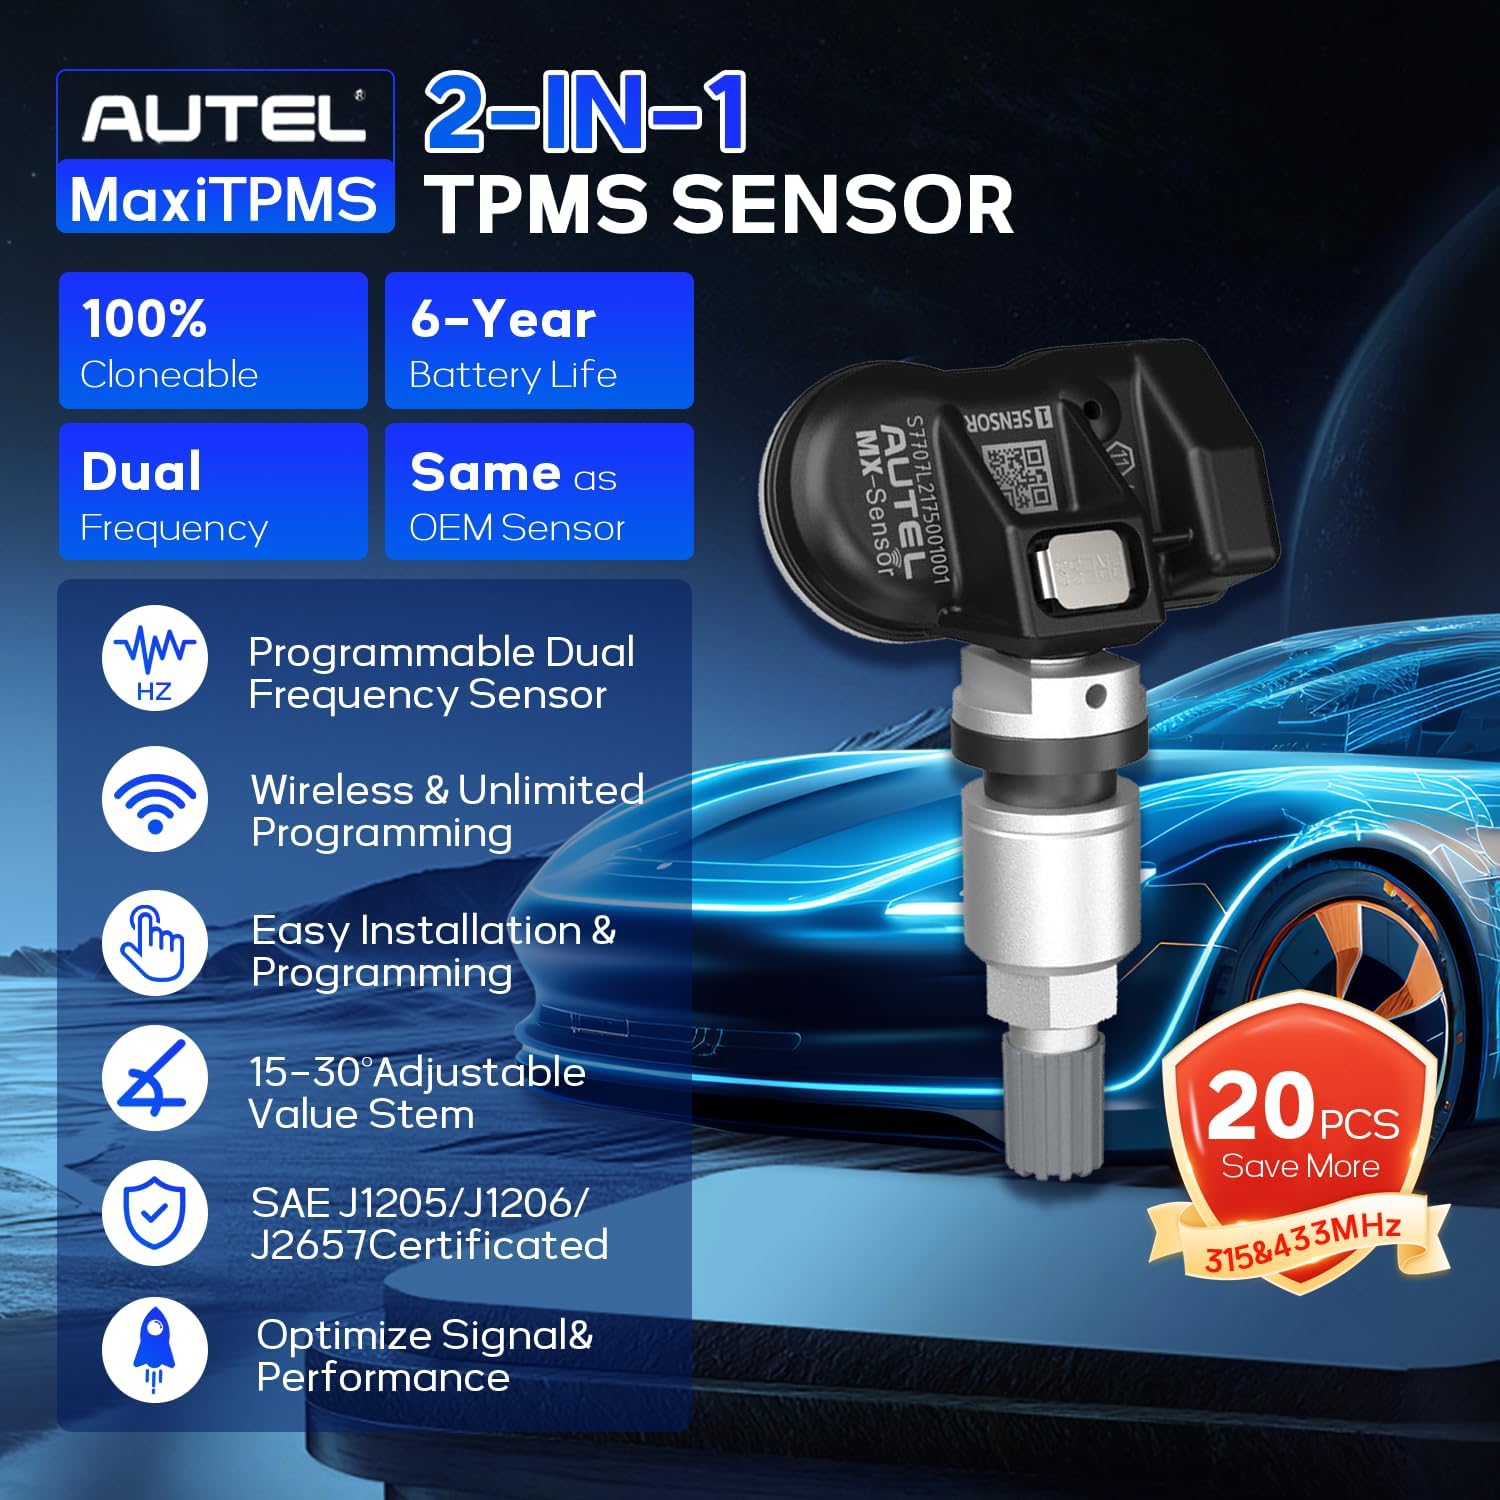
Beeld: 'n Illustrasie-uitstallingasing the key features of the Autel MX Sensor, including 100% cloneable, dual frequency, 6-year battery life, wireless & unlimited programming, easy installation, 15-30° adjustable valve stem, SAE J1205/J1206/J2657 certification, and optimized signal & performance.
Opstelling en programmering
Before installation, Autel MX-Sensors must be programmed using a compatible Autel MaxiTPMS tool. There are several programming methods available:
1. Copy by OBD
This is the most recommended method as it often eliminates the need for a relearn procedure. The TPMS tool retrieves sensor IDs and locations directly from the vehicle's ECU.
- Connect your Autel TPMS tool (e.g., TS508WF, ITS600) to the vehicle's OBD2 port.
- Draai die voertuig se ontsteking na die AAN-posisie.
- Select the vehicle's year, make, and model on the TPMS tool. Verify the build date from the driver's door jamb.
- Perform a TPMS diagnose to identify any faulty sensors and confirm wheel locations.
- On the tool, navigate to "Program Sensor" and select "Copy by OBD".
- The tool will display sensor IDs and locations retrieved from the ECU.
- Place the new MX-Sensor near the top of the TPMS tool.
- Select the wheel location for which you want to create a sensor and confirm programming. The tool will program the MX-Sensor with the copied ID.
Video: Demonstrates how to program Autel MX-Sensors using the "Copy by OBD" method with the Autel TS508WF tool. It shows connecting the tool to the vehicle, performing a TPMS diagnostic, and then programming a new sensor by copying the ID from the vehicle's ECU.
Video: Illustrates the "Copy by OBD" programming method for Autel MX-Sensors using the Autel ITS600 tool. It covers connecting the VCI to the OBD2 port, selecting the vehicle, performing diagnostics, and programming new sensors by copying existing IDs.
2. Copy by Activation
This method involves activating an existing sensor to retrieve its ID, which is then copied to a new MX-Sensor.
- Select "Copy by Activation" on your Autel TPMS tool.
- Place the tool near the original sensor to trigger and acquire its ID.
- Place a new MX-Sensor near the top of the TPMS tool and confirm programming. The original sensor's ID will be copied to the new sensor.
Video: Shows the process of programming Autel MX-Sensors using the "Copy by Activation" method with the Autel TS508 tool. It demonstrates activating an existing sensor to retrieve its ID and then copying that ID to a new MX-Sensor.
3. Copy by Manual Input
If the original sensor ID is known (e.g., from the sensor body), it can be manually entered into the tool.
- Select "Copy by Manual Input" on your Autel TPMS tool.
- Enter the original OE sensor ID into the tool using the on-screen keyboard.
- Place a new MX-Sensor near the top of the TPMS tool and confirm programming.
4. Auto Create
This method generates a new, random ID for the MX-Sensor. A relearn procedure will be necessary after using this method.
- Select "Auto Create" on your Autel TPMS tool.
- Place the MX-Sensors close to the tool (within 4 inches) and keep other sensors at least 4 feet away.
- The tool will automatically detect and program each sensor with a unique ID.
- A relearn procedure is required after using "Auto Create".
Video: Demonstrates the "Auto Create" programming method for Autel MX-Sensors. It shows how to generate new, random IDs for multiple sensors simultaneously using a compatible Autel TPMS tool.
Installasie stappe
The Autel MX-Sensor features an adjustable design for easy installation. Ensure you have the correct valve stem (metal or rubber) for your application.
- Disassemble the Tire: Carefully dismount the tire from the wheel.
- Verwyder ou sensor: Remove the old TPMS sensor and valve stem from the wheel.
- Assemble New Sensor: Attach the appropriate valve stem to the MX-Sensor body. The press-in design allows for easy interchangeability.
- Installeer nuwe sensor: Insert the new MX-Sensor assembly into the valve stem hole on the wheel. Ensure it is securely fastened according to the manufacturer's torque specifications.
- Mount the Tire: Mount the tire back onto the wheel.
- Opblaas band: Blaas die band op tot die aanbevole druk.
- Balance Wheel: Balance the wheel and tire assembly.

Image: A visual guide showing the 6-step installation process for the Autel MX Sensor, from dismounting the tire to mounting it back.
Herleer prosedure
After installing new MX-Sensors (especially if programmed via "Auto Create"), a relearn procedure is often necessary to introduce the new sensor IDs to the vehicle's ECU. The specific relearn procedure varies by vehicle make and model.
- Consult Vehicle Manual: Refer to your vehicle's owner's manual for the specific TPMS relearn procedure.
- Use TPMS Tool: Follow the on-screen instructions on your Autel TPMS tool under the "Relearn" function.
- Drive Cycle: For many vehicles, a drive cycle is required. Drive for 5-20 minutes at 40-50 mph to allow the vehicle to automatically learn the new sensor IDs.
- Verifieer: After the relearn procedure, ensure the TPMS warning light on the dashboard is off and the system is functioning correctly.
Video: Illustrates the relearn process for TPMS sensors after installation. It shows using a TPMS tool to activate sensors and the dashboard indicating "Training Complete" after a successful relearn.
Onderhoud
- Gereelde banddrukkontroles: Even with TPMS, regularly check tire pressure manually to ensure accuracy and optimal tire health.
- Valve Stem Inspection: Periodically inspect valve stems for signs of damage, corrosion, or leaks. Replace if necessary.
- Batterylewe: MX-Sensors are equipped with an automotive-level battery designed for 4-6 years of life. Monitor TPMS warnings for low battery indications.
- Professionele diens: For any complex TPMS issues or sensor replacements, it is recommended to seek professional automotive service.
Probleemoplossing
- TPMS Light Remains On:
- Ensure all sensors are correctly programmed and installed.
- Perform a complete relearn procedure as per vehicle specifications.
- Check tire pressures to ensure they match recommended levels.
- Use an Autel TPMS tool to diagnose specific sensor faults or communication issues.
- Incorrect Pressure Readings:
- Verify tire pressure with a reliable manual gauge.
- Check for physical damage to the sensor or valve stem.
- Recalibrate the TPMS system if possible, or perform a relearn.
- Sensor Not Activating/Programming:
- Ensure the MX-Sensor is placed correctly near the TPMS tool during programming.
- Check the battery level of the TPMS tool.
- Confirm the vehicle selection (year, make, model) is accurate on the tool.
- If using "Copy by Activation", ensure the original sensor is functional.
Spesifikasies
| Kenmerk | Detail |
|---|---|
| Frekwensie | 315MHz / 433MHz (Dual Frequency) |
| Batterylewe | 4-6 Years (Automotive-level battery) |
| Drukreeks | 0 to 800 kPa (±10 kPa) |
| Temperatuurreeks | -40°C tot +125°C |
| Valve Stem Material | Interchangeable Rubber / Metal |
| Gewig | Ongeveer 11 gram |
| Voldoening | SAE J1205/J1206/J2657 Test Standard |
| Produk afmetings | 0.69 x 1.67 x 1.1 duim |
| Item gewig | 4.6 ounces (for 4 pcs pack) |

Image: An illustration highlighting key features and specifications of the Autel MX Sensor, including 6-year battery life, 0.1 Bar pressure precision, 2400 working miles, 99% replaceable OE sensor, Freescale Fxth870911 chip, and temperature range of -40°C to 125°C.
Waarborg
Autel MX-Sensors are guaranteed to be free from manufacturing defects for a period of 24 months or 24,000 miles, whichever comes first. This warranty ensures the quality and reliability of the product under normal use conditions.
Video: Provides an overview of the Autel MX-Sensor, highlighting its dual-frequency capability, interchangeable valve stems, lightweight design, and a 24-month or 24,000-mile warranty against manufacturing defects.
Ondersteuning
For further assistance, technical support, or inquiries regarding your Autel MX Sensor, please visit the official Autel website or contact their customer service. You can also find additional resources and training videos on their platforms.
- Amptelik Webwebwerf: www.autel.com
- Amazon Winkel: Autel Winkel op Amazon