1. Inleiding
The GTMEDIA V7 Pro is a versatile satellite receiver designed to provide access to DVB-S/S2/S2X and DVB-T/T2 digital television broadcasts. This device supports advanced features such as VCM/ACM/Multi-Stream, HEVC 10bit decoding, and includes a CA card slot for conditional access. It also offers USB WiFi connectivity for network features and online content. This manual provides essential information for setting up, operating, and maintaining your GTMEDIA V7 Pro receiver.
2. Veiligheidsinligting
- Ensure the device is placed on a stable, flat surface with adequate ventilation.
- Avoid exposing the receiver to moisture, extreme temperatures, or direct sunlight.
- Do not block ventilation openings on the device.
- Ontkoppel die kragtoevoer voordat u skoonmaak of enige onderhoud uitvoer.
- Only use the provided power adapter to prevent damage.
- Moenie probeer om die toestel self oop te maak of te herstel nie. Raadpleeg gekwalifiseerde dienspersoneel.
3. Pakketinhoud
Verifieer dat al die items wat hieronder gelys word, in jou pakket ingesluit is:
- GTMEDIA V7 Pro Satellite Receiver
- Kragadapter
- IR-afstandbeheer
- HDMI kabel
- Gebruikershandleiding (hierdie dokument)
- Waarborgkaart
- USB WiFi-dongle

Image 3.1: All items included in the GTMEDIA V7 Pro package, showing the receiver, remote control, power adapter, HDMI cable, USB WiFi dongle, user manual, and warranty card.
4. Produk verbyview
The GTMEDIA V7 Pro features a compact design with essential ports for connectivity. Understanding the layout of the device will assist in proper setup and operation.
4.1 Front and Side Panels
- Vertoon: Shows channel numbers, time, and status indicators.
- Krag LED: Dui die kragstatus van die toestel aan.
- CA Card Slot: Located on the side, for inserting conditional access cards.
4.2 Agterpaneelverbindings

Beeld 4.1: Gedetailleerd view of the GTMEDIA V7 Pro's rear panel, illustrating the various input and output ports including LNB IN, ANT IN, HD OUT, AV OUT, RF TO TV, USB ports, DC 12V Power input, and the Power ON/OFF switch.
- LNB IN: Connects to your satellite dish LNB for DVB-S/S2/S2X signals (950MHz to 2150MHz).
- MIER IN: Connects to a terrestrial antenna for DVB-T/T2 signals.
- HD UIT: HDMI output for connecting to a high-definition television (up to 1080p).
- AV UIT: Analog video and audio output for older televisions.
- RF TO TV: RF output for connecting to a TV's antenna input.
- USB-poorte: Two USB ports for connecting USB storage devices (for PVR, media playback, firmware upgrade) or the included USB WiFi dongle.
- DC 12V Power: Connects to the provided 12V power adapter.
- Krag AAN/AF: Hoofkragskakelaar vir die toestel.
5. Opstelling
Follow these steps to set up your GTMEDIA V7 Pro receiver:
- Koppel aan TV: Connect the receiver to your television using an HDMI cable (for best quality) or AV cables. Ensure the TV input is set to the corresponding HDMI or AV port.
- Connect Antenna/LNB:
- For satellite reception, connect your satellite dish LNB cable to the LNB IN hawe.
- For terrestrial reception, connect your terrestrial antenna cable to the MIER IN hawe.
- Connect USB WiFi Dongle: Insert the provided USB WiFi dongle into one of the USB ports on the rear panel.
- Koppel krag: Steek die kragadapter in die DC 12V krag input on the receiver, then plug the adapter into a wall outlet.
- Krag aan: Draai die Krag AAN/AF switch to the ON position. The front display will show "boot" then "Load" as the system starts.
- Aanvanklike Opstelling Wizard: Upon first power-on, the receiver may guide you through an initial setup wizard. Follow the on-screen prompts to select your preferred language and configure basic settings.
- Netwerkopstelling: Navigeer na die Netwerk spyskaart. Kies Netwerkopstelling, toe WiFi. Scan for available networks, select your network, and enter the password to connect.
- Kanaalsoektog:
- Gaan na die Installasie spyskaart.
- Kies Satelliet lys for satellite channels or Terrestriële for terrestrial channels.
- Choose your desired satellite (e.g., Hot Bird 13B/13C) or ensure the correct terrestrial region is selected.
- Voer 'n Outo-soektog or Blind Scan to find available channels. This process may take several minutes.
Video 5.1: This video demonstrates the physical overview, port connections, initial power-on sequence, and basic menu navigation for the GTMEDIA V7 Pro Satellite Receiver, including satellite list selection, channel search, and network configuration.
6. Bedryfsinstruksies
6.1 Basiese navigasie
Use the included remote control to navigate the receiver's menus and functions. The arrow keys are used for selection, OK for confirmation, and EXIT/MENU for returning to previous screens or the main menu.
6.2 Kanaalbestuur
After performing a channel search, you can organize your channels. The receiver supports various channel sorting options and allows you to create favorite lists.
6.3 Media-terugspeel (USB)
Insert a USB storage device containing media files (music, pictures, movies) into a USB port. Navigate to the Media menu to browse and play your content.
6.4 Program Recording (PVR)
With a connected USB storage device, you can record live TV programs. Access the PVR functions through the remote control or the Media menu. You can also set timers for scheduled recordings.
6.5 Online Features
Once connected to the internet via WiFi, the receiver provides access to online applications such as YouTube and Youporn. Navigate to the Netwerk menu, then Online Movie App om toegang tot hierdie kenmerke te kry.
6.6 Conditional Access (CA Card)
The GTMEDIA V7 Pro includes a CA card slot. Insert your smart card into the slot to decrypt encrypted channels. Ensure the card is inserted correctly according to the card's orientation. The receiver supports various card types including Albertis/Tivusat/BBC Satback/Irdeto Card.

Image 6.1: A hand inserting a smart card into the CA card slot of the GTMEDIA V7 Pro receiver, demonstrating the conditional access feature for viewing encrypted programs.
6.7 Multi-Room Functionality
The Multi-Room feature allows you to share program resources across multiple satellite receivers within the same local area network, eliminating the need for multiple subscription cards for different devices.
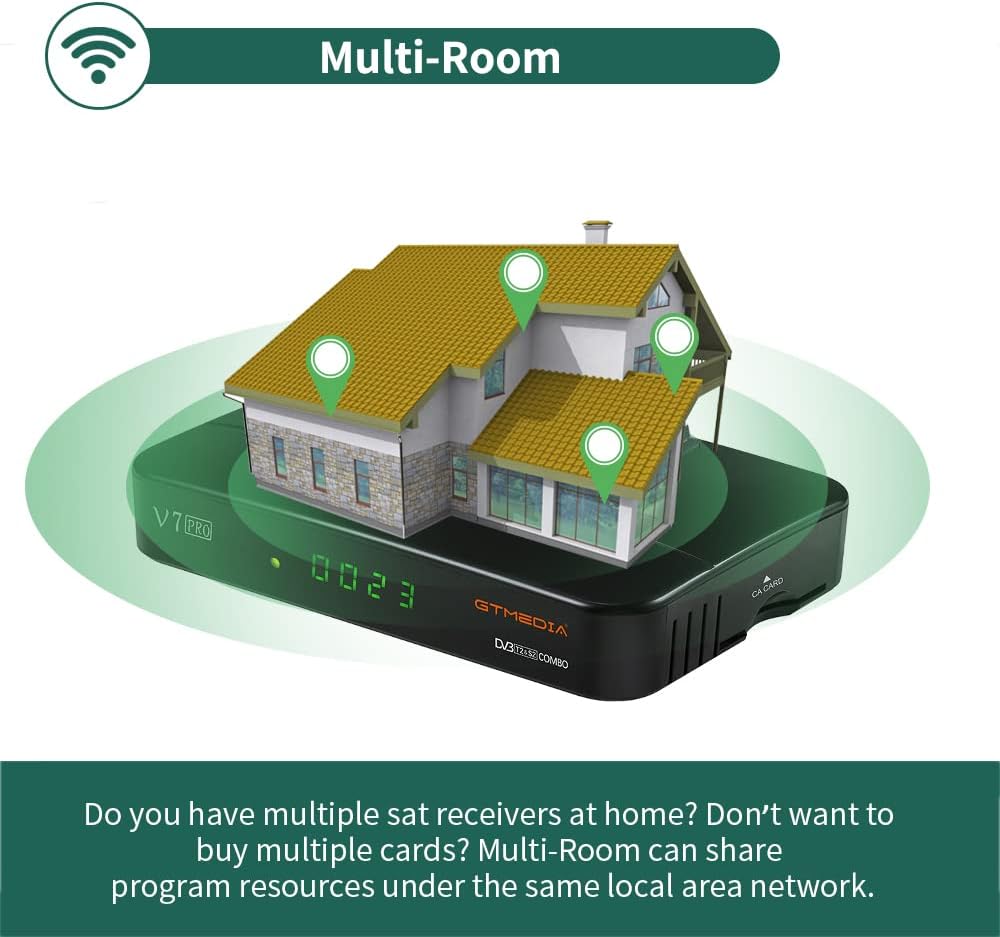
Image 6.2: An illustration depicting the GTMEDIA V7 Pro receiver connected to a house, symbolizing its Multi-Room capability to share content across multiple devices on a local network.
7. Onderhoud
7.1 Skoonmaak
To clean the receiver, disconnect it from the power supply. Use a soft, dry cloth to wipe the exterior. Do not use liquid cleaners or abrasive materials.
7.2 Firmware-opdaterings
The GTMEDIA R&D center continuously optimizes and improves the receiver's firmware. New firmware versions are released on the official forum for users to download and update. To update, download the firmware to a USB drive, insert it into the receiver, and navigate to Tools > USB Upgrade in die spyskaart.
8. Probleemoplossing
If you encounter issues with your GTMEDIA V7 Pro, refer to the following common problems and solutions:
- Geen sein:
- Check all cable connections (LNB IN, ANT IN) to ensure they are secure.
- Verify that your satellite dish or terrestrial antenna is properly aligned.
- Ensure the correct satellite is selected in the Installation menu.
- Geen Beeld/Klank:
- Confirm the HDMI or AV cable is securely connected to both the receiver and the TV.
- Check that your TV's input source is set to the correct HDMI or AV port.
- Ensure the TV volume is not muted or set too low.
- Afstandbeheer werk nie:
- Kontroleer en vervang die batterye in die afstandbeheerder.
- Ensure there are no obstructions between the remote control and the receiver's IR sensor.
- Netwerkverbindingsprobleme:
- Verify the USB WiFi dongle is properly inserted.
- Check your WiFi network name and password in the Network Config menu.
- Herbegin jou WiFi-router.
9. Spesifikasies
The GTMEDIA V7 Pro is equipped with the following technical specifications and features:
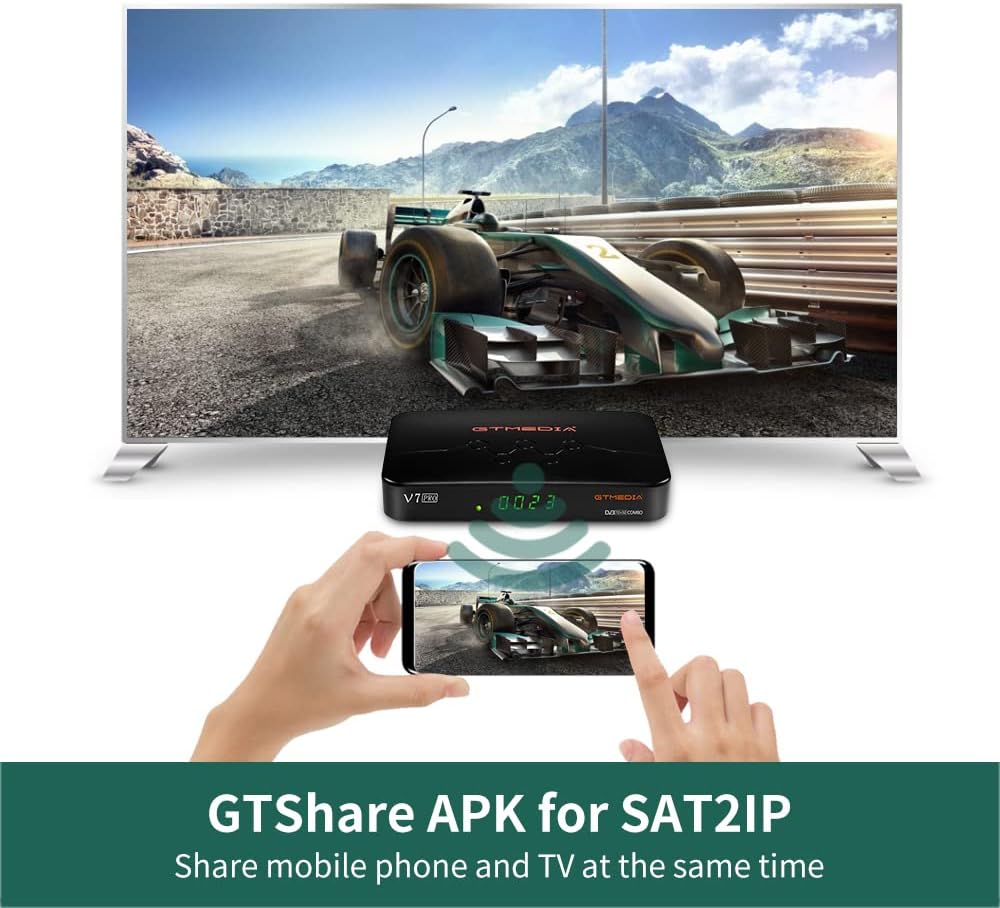
Image 9.1: A table detailing the product parameters of the GTMEDIA V7 Pro, including dimensions, unit weight, power supply, operating and storage temperatures, humidity, and included accessories.
| Kenmerk | Beskrywing |
|---|---|
| Tuner Support | DVB-S/S2/S2X + DVB-T/T2 |
| Video-dekodering | VCM/ACM/Multi-Stream/T2MI, Multi-PLP, HEVC main 10 profile (10bit), AVS+ |
| Voorwaardelike toegang | CA Card Slot, supports BISS auto roll, Full PowerVu, DRE & Biss key, Albertis/Tivusat/BBC Satback/Irdeto Card |
| DiSEqC Support | Unicable, DiSEqC1.0/1.1/1.2/USALS Motor |
| Konnektiwiteit | USB (2 ports), USB WiFi dongle support, USB 3/4G dongle support |
| Aanlyn dienste | YouTube, Youporn, CCCAM, NEWCAM, MGCAM |
| Multi-Room | Supported for sharing program resources on a local network |
| Tale | English, Spanish, French, Russian, Portuguese, Polish, Indonesian, Arabic, Turkish, German, Italian, Persian, Thai, etc. |
| Afmetings (L*B*H) | 7.09 x 4.92 x 1.18 duim (180 x 125 x 30 mm) |
| Eenheid Gewig | 8.8 onse (0.25 kilogram) |
| Kragtoevoer | AC 100-250V, 50Hz/60Hz |
| Bedryfstemperatuur | 0°C tot +45°C |
| Bergingstemperatuur | -10°C tot +60°C |
| Humiditeit | 20% to 90% (Non-condensed) |
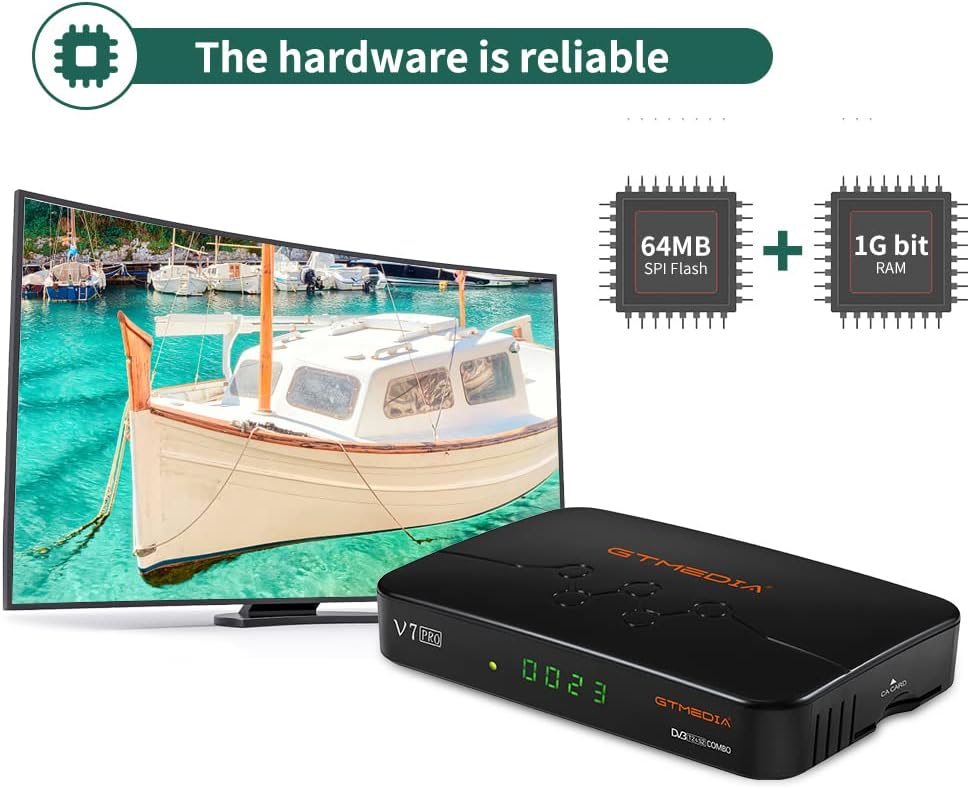
Beeld 9.2: 'n Interne view of the GTMEDIA V7 Pro's hardware, highlighting the 64MB SPI Flash and 1G bit RAM components, indicating reliable performance.
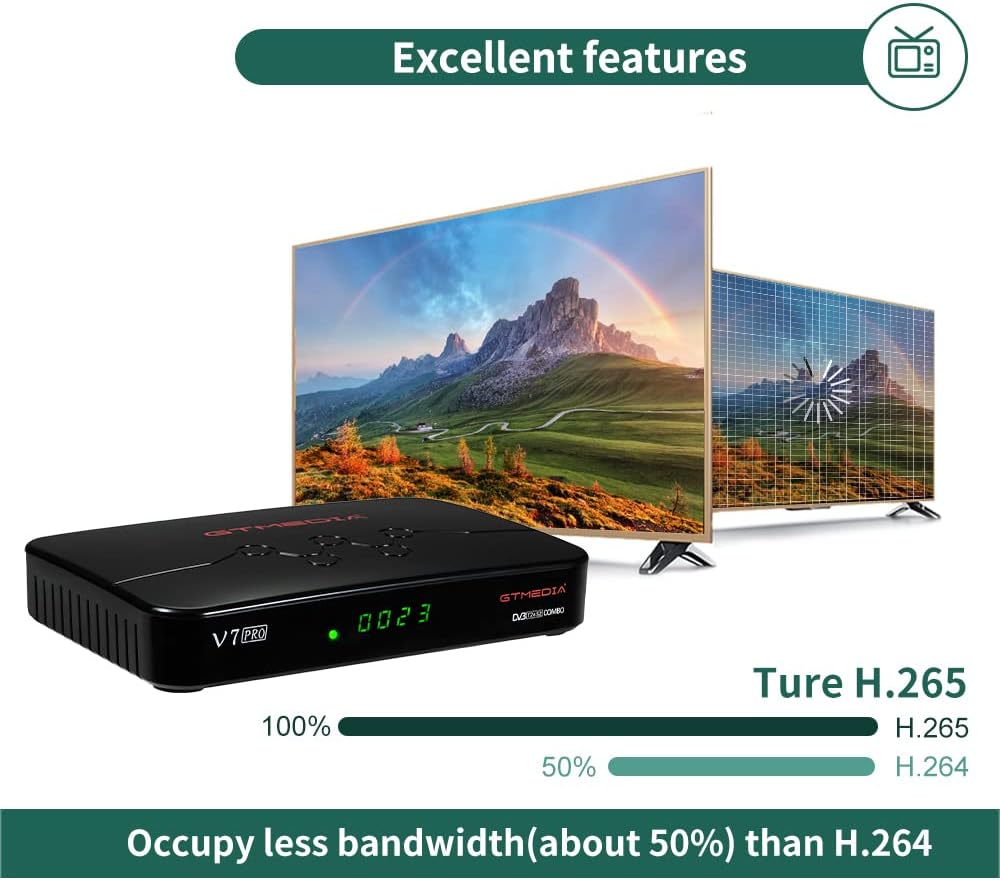
Image 9.3: An illustration demonstrating the GTMEDIA V7 Pro's H.265 (HEVC) decoding capability, which occupies approximately 50% less bandwidth compared to H.264, leading to more efficient video streaming.
10. Waarborg en ondersteuning
For detailed warranty information, please refer to the Warranty Card included in your product package.
For technical support, firmware updates, and community assistance, visit the official GTMEDIA R&D center forum. You can post your questions on the forum and expect a response within 24 hours.
Aanlyn hulpbronne:
- GTMEDIA Official Webwebwerf: www.gtmedia.cc
- GTMEDIA Support Forum: (Refer to product packaging or official website for specific forum link)