RCF ART945-A
RCF Art 945-A Powered Speaker User Manual
Model: ART945-A | Brand: RCF
1. Inleiding
This manual provides essential information for the safe and efficient operation of your RCF Art 945-A Powered Speaker. Please read this manual thoroughly before using the product and retain it for future reference. The RCF Art 945-A is a high-performance, bi-amplified active speaker designed for professional audio applications, featuring a 15-inch neodymium woofer and a 4-inch titanium/neodymium compression driver, delivering 2,100W of power.
2. Veiligheidsinligting
Belangrike veiligheidsinstruksies:
- Lees hierdie instruksies.
- Hou hierdie instruksies.
- Gee ag op alle waarskuwings.
- Volg alle instruksies.
- Moenie hierdie toestel naby water gebruik nie.
- Maak slegs skoon met 'n droë lap.
- Moenie enige ventilasie-openinge blokkeer nie. Installeer in ooreenstemming met die vervaardiger se instruksies.
- Moenie naby enige hittebronne soos verkoelers, hitteregisters, stowe of ander toerusting (insluitend ampversterkers) wat hitte produseer.
- Moenie die veiligheidsdoel van die gepolariseerde of aardingstipe prop verslaan nie. 'n Gepolariseerde prop het twee lemme met een wyer as die ander. 'n Aardingsprop het twee lemme en 'n derde aardpunt. Die wye lem of die derde tand word voorsien vir jou veiligheid. Indien die voorsiene prop nie in jou uitlaat pas nie, raadpleeg 'n elektrisiën vir die vervanging van die verouderde uitlaat.
- Beskerm die kragkoord teen geloop of vasgeknyp, veral by proppe, geriefshouers en die punt waar dit uit die apparaat kom.
- Gebruik slegs aanhegsels/bykomstighede gespesifiseer deur die vervaardiger.
- Ontkoppel hierdie apparaat tydens weerligstorms of wanneer dit vir lang tye ongebruik word.
- Verwys alle diens na gekwalifiseerde dienspersoneel. Versorging word vereis wanneer die apparaat op enige manier beskadig is, soos kragtoevoerkoord of prop beskadig is, vloeistof gemors is of voorwerpe in die apparaat geval het, die apparaat aan reën of vog blootgestel is, nie normaal werk nie. , of laat vaar is.
Waarskuwing: To prevent electrical shock, do not remove the cover. No user-serviceable parts inside. Refer servicing to qualified personnel.
3. Pakketinhoud
Verifieer dat al die items wat hieronder gelys word, in jou pakket ingesluit is:
- RCF Art 945-A Powered Speaker
- Kragkabel
- Vertical mount bracket
- Poolmontering
- Reënbeskerming
- Gebruikershandleiding (hierdie dokument)
4. Produk verbyview


4.1. Rear Panel Controls and Connections
- BALANCED INPUT/LINK (XLR): XLR input for audio signal and XLR link output to connect to another speaker.
- PRESETS Button: Cycles through different DSP presets (LINEAR, BOOST, STAGE) to optimize sound for various applications.
- LINEAR LED: Indicates the 'Linear' preset is active, providing a flat frequency response.
- BOOST LED: Indicates the 'Boost' preset is active, enhancing bass and treble frequencies.
- STAGE LED: Indicates the 'Stage' preset is active, optimized for stage moniteringstoepassings.
- VOLUME knop: Adjusts the overall output level of the speaker.
- OVERLOAD LED: Illuminates when the input signal is too high, indicating potential clipping. Reduce input level if this LED lights up consistently.
- SIGNAL LED: Illuminates when an audio signal is present at the input.
- POWERCON TRUE1 Input: Secure power connector for AC mains input.
- POWERCON TRUE1 Link: Power output to link power to another speaker.
5. Opstelling
5.1. plasing
The RCF Art 945-A speaker can be used in various configurations:
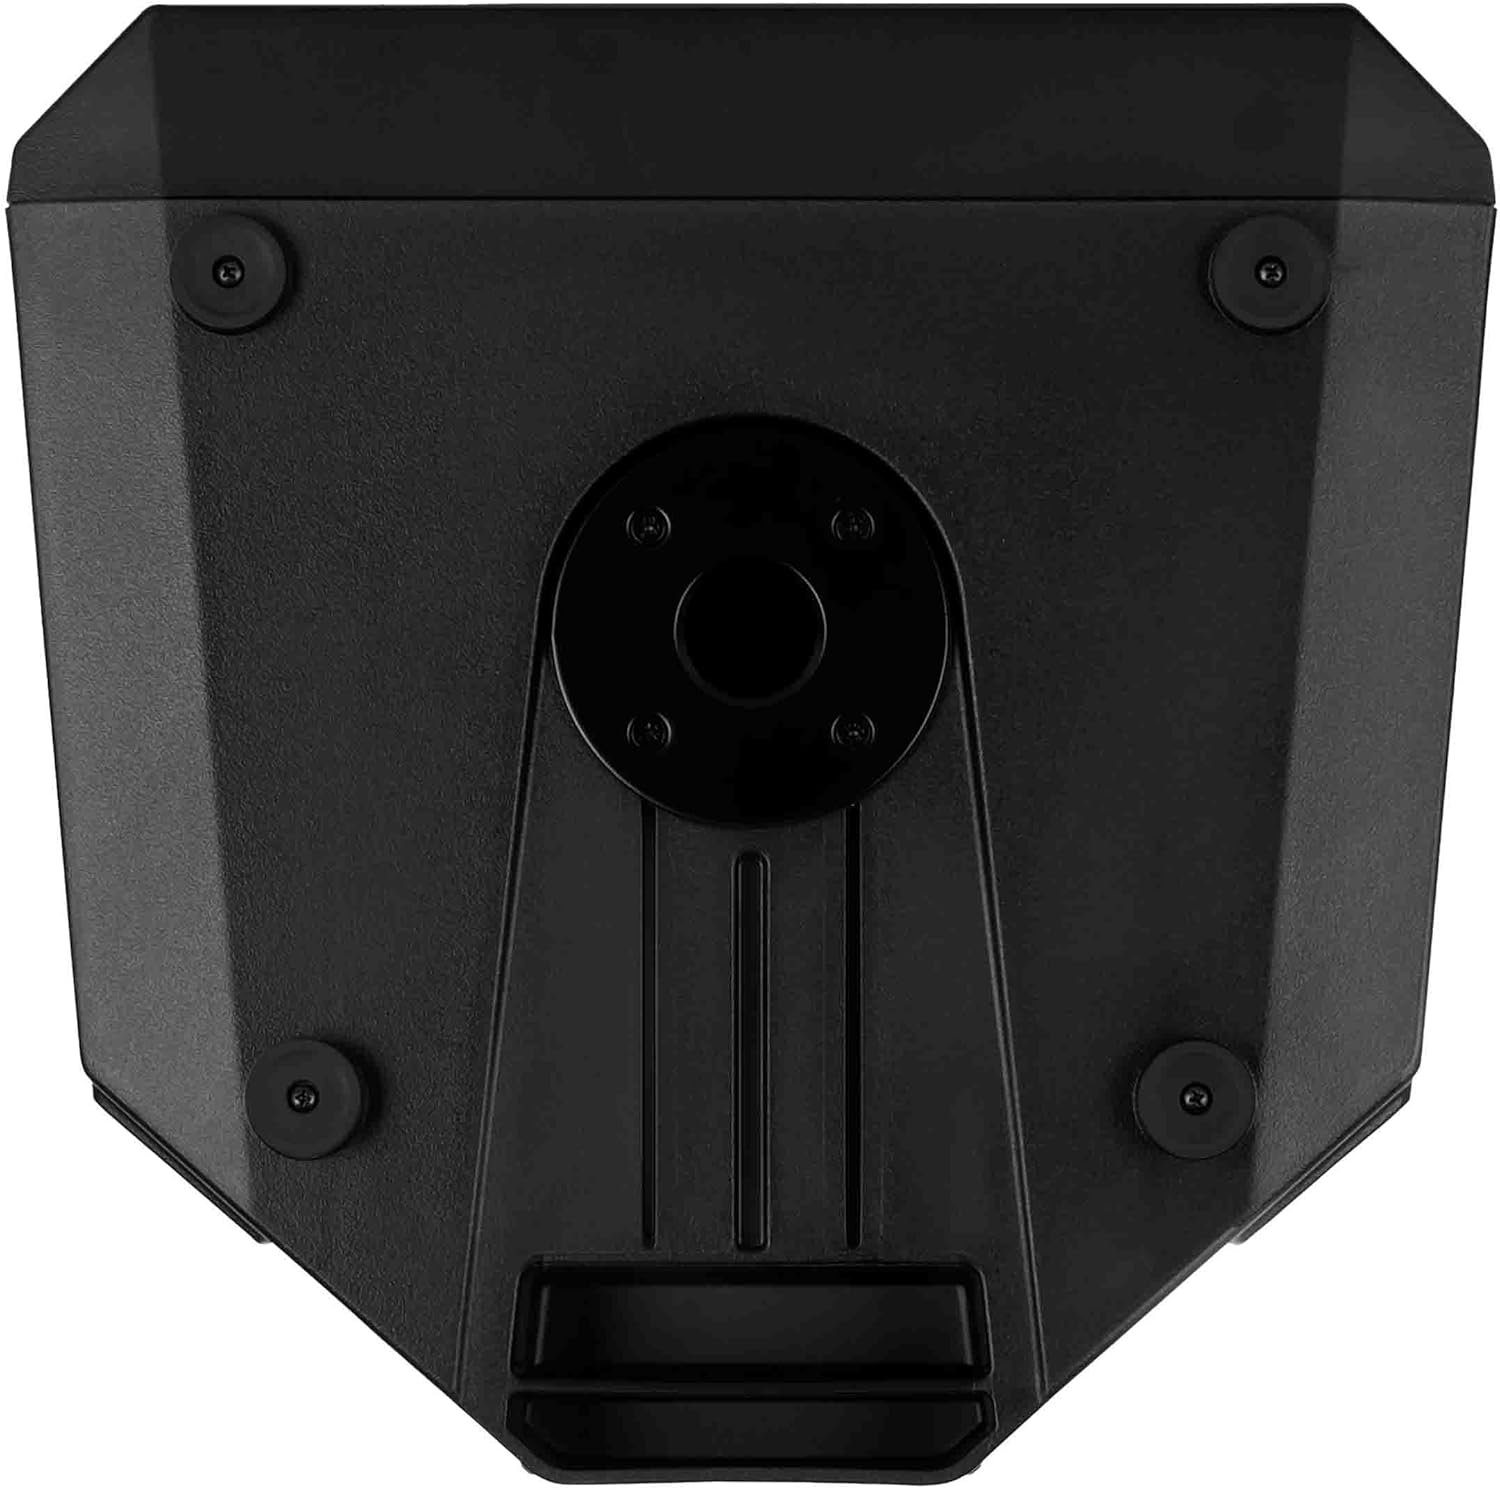
- paal montage: Insert the speaker onto a standard 35mm speaker pole or tripod stand using the integrated pole mount socket on the bottom of the speaker. Ensure the stand is stable and rated for the speaker's weight (approximately 49.3 lbs / 22.4 kg).
- Vloerplasing: The speaker can be placed directly on a flat, stable surface. The rubber feet on the bottom provide stability and isolation.
- Stage Monitor: The cabinet design allows for use as a stage monitor. Position the speaker on its side with the appropriate angle for monitoring.
- Muurmontering: Utilize the provided vertical mount bracket for secure wall installation. Ensure the wall structure can support the speaker's weight.
5.2. Kragverbinding
- Ensure the speaker's VOLUME knob is set to minimum (fully counter-clockwise).
- Connect the supplied Powercon TRUE1 power cable to the POWERCON TRUE1 Input on the rear panel of the speaker.
- Connect the other end of the power cable to a suitable AC mains outlet. Verify that the voltage matches the speaker's requirements (e.g., 100-120V or 220-240V).
- If linking power to another speaker, use a Powercon TRUE1 link cable from the POWERCON TRUE1 Link output to the input of the next speaker.
5.3. Klankverbindings
- Connect your audio source (e.g., mixer, audio interface) to the BALANCED INPUT (XLR) on the rear panel using a balanced XLR cable.
- If connecting multiple speakers in a daisy chain, use an XLR cable from the BALANCED LINK output of the first speaker to the input of the next speaker.
6. Bedryf
6.1. Skakel aan/af
- Before powering on, ensure all connections are secure and the VOLUME knob is at its minimum setting.
- Locate the power switch (typically near the power input) and switch it to the 'ON' position. The power LED on the front of the speaker will illuminate.
- To power off, set the VOLUME knob to minimum, then switch the power switch to 'OFF'.
6.2. Volumebeheer
The VOLUME knob on the rear panel controls the output level of the speaker. Slowly turn the knob clockwise to increase the volume to the desired level. Monitor the OVERLOAD LED to prevent clipping.
6.3. Preset Selection
The PRESETS button allows you to select between three different DSP modes:
- LINEÊR: Provides a flat frequency response, suitable for general sound reinforcement where a neutral sound is desired.
- HOOGSTUK: Enhances low and high frequencies, often used for music playback or when a more pronounced bass and treble response is needed.
- STAGE: Geoptimaliseer vir gebruik as astage monitor, providing clarity and feedback suppression for performers.
Press the PRESETS button repeatedly to cycle through these modes. The corresponding LED (LINEAR, BOOST, or STAGE) will illuminate to indicate the active preset.
6.4. Signal and Overload Indicators
- SIGNAL LED: This green LED illuminates when an audio signal is detected at the input. It indicates that the speaker is receiving an audio signal.
- OVERLOAD LED: This red LED illuminates when the input signal level is too high, causing the amplifier to clip. If this LED lights up frequently or stays on, reduce the input level from your source or the speaker's VOLUME knob to prevent distortion and potential damage.
7. Onderhoud
7.1. Skoonmaak
Om die voorkoms en werkverrigting van jou luidspreker te behou:
- Disconnect the speaker from the power supply before cleaning.
- Use a soft, dry cloth to wipe down the cabinet.
- Vir hardnekkige vuiligheid, 'n effens damp 'n Lap met sagte seep kan gebruik word, gevolg deur 'n droë lap.
- Moenie skuurmiddels, oplosmiddels of harde chemikalieë gebruik nie, aangesien dit die afwerking kan beskadig.
- Keep the grille free of dust and debris to ensure proper sound dispersion.
7.2. Berging
Wanneer dit nie vir lang tydperke gebruik word nie:
- Bêre die luidspreker op 'n koel, droë plek, weg van direkte sonlig en uiterste temperature.
- If possible, use the original packaging or a protective cover to shield the speaker from dust and physical damage.
8. Probleemoplossing
This section addresses common issues you might encounter with your RCF Art 945-A speaker.
| Probleem | Moontlike oorsaak | Oplossing |
|---|---|---|
| Geen klankuitset nie |
|
|
| Distorted sound / OVERLOAD LED on |
|
|
| Zoem of gons geluid |
|
|
| Luidspreker skakel nie aan nie |
|
|
If the problem persists after attempting these solutions, please contact RCF customer support or a qualified service technician.
9. Spesifikasies
The following table outlines the technical specifications for the RCF Art 945-A Powered Speaker:
| Kenmerk | Spesifikasie |
|---|---|
| Model Naam | 13000691 |
| Item Modelnommer | ART945-A |
| Tipe luidspreker | Woofer |
| Woofer deursnee | 15 duim |
| Tweeter-deursnee | 4 duim |
| Luidspreker Maksimum uitsetkrag | 2100 Watt |
| Klankuitvoermodus | Klas D |
| Verbindingstegnologie | Koaksiaal |
| Kragbron | Elektries met koord |
| Beheer metode | Touch (for presets) |
| Produk afmetings | 16.34"B x 28.23"H |
| Item gewig | 49.3 pond (22.4 kilogram) |
| Ingesluit komponente | Vertical mount bracket, pole mount, rain protection |
| Montage tipe | Muurmontering, paalmontering |
| Is waterdig | ONWAAR |
| Vervaardiger | RCF |
| ASIN | B09GWCSX7R |
10. Waarborg
The RCF Art 945-A Powered Speaker comes with a Beperkte waarborg. Specific terms and conditions of the warranty may vary by region and retailer. Please refer to the warranty card included with your product or visit the official RCF website for detailed warranty information. Retain your proof of purchase for any warranty claims.
11. Ondersteuning
For technical assistance, service, or further information regarding your RCF Art 945-A Powered Speaker, please contact RCF customer support:
- Aanlyn ondersteuning: Visit the official RCF webwerf (www.rcf.it) for FAQs, product registration, and support resources.
- Kontakinligting: Refer to the contact section on the RCF website for regional phone numbers or email support.
When contacting support, please have your product model (ART945-A) and serial number (if applicable) ready.
Ask a question about this manual
Ask about setup, troubleshooting, compatibility, parts, safety, or missing instructions. Manuals+ will review the question and use this page’s manual context to help answer it.