1. Inleiding
This manual provides essential information for the safe and effective use of your Festool AGC 18-125 EB-Basic Cordless Angle Grinder. Please read all instructions carefully before operating the tool. Proper use and maintenance will ensure optimal performance and extend the lifespan of your device.
2. Veiligheidsinstruksies
Volg altyd basiese veiligheidsmaatreëls om die risiko van brand, elektriese skok en persoonlike besering te verminder. Bewaar hierdie handleiding vir toekomstige verwysing.
- Dra gepaste persoonlike beskermende toerusting (PPE): Always use safety glasses, hearing protection, gloves, and a dust mask when operating the angle grinder.
- Bevestig die werkstuk: Maak seker dat die materiaal waarmee gewerk word stabiel en stewig vas isamped om beweging tydens operasie te voorkom.
- Handhaaf 'n skoon werkarea: Cluttered areas invite accidents. Keep your workspace well-lit and free of debris.
- Vermy per ongeluk begin: Ensure the switch is in the off-position before inserting the battery pack, picking up, or carrying the tool.
- Use the correct accessories: Only use grinding or cutting discs and other accessories specifically designed for this angle grinder and rated for its maximum speed.
- Inspekteer die gereedskap voor gebruik: Check for any damage, loose parts, or worn components. Do not operate a damaged tool.
- Keep hands clear: Never place hands near the rotating disc.
- Berg behoorlik: When not in use, store the tool in a dry, secure place out of reach of children.
3. Produk verbyview
The Festool AGC 18-125 EB-Basic is a powerful cordless angle grinder designed for various cutting, grinding, and deburring tasks. It is supplied without batteries or charger, allowing integration with your existing Festool 18V system. The tool comes with a SYS3 M Systainer for organized storage and transport, along with essential accessories.
Sleutel kenmerke:
- Cordless 18V operation for maximum mobility.
- Designed for 125mm diameter discs.
- Includes SYS3 M Systainer for storage.
- Basic version (batteries and charger sold separately).
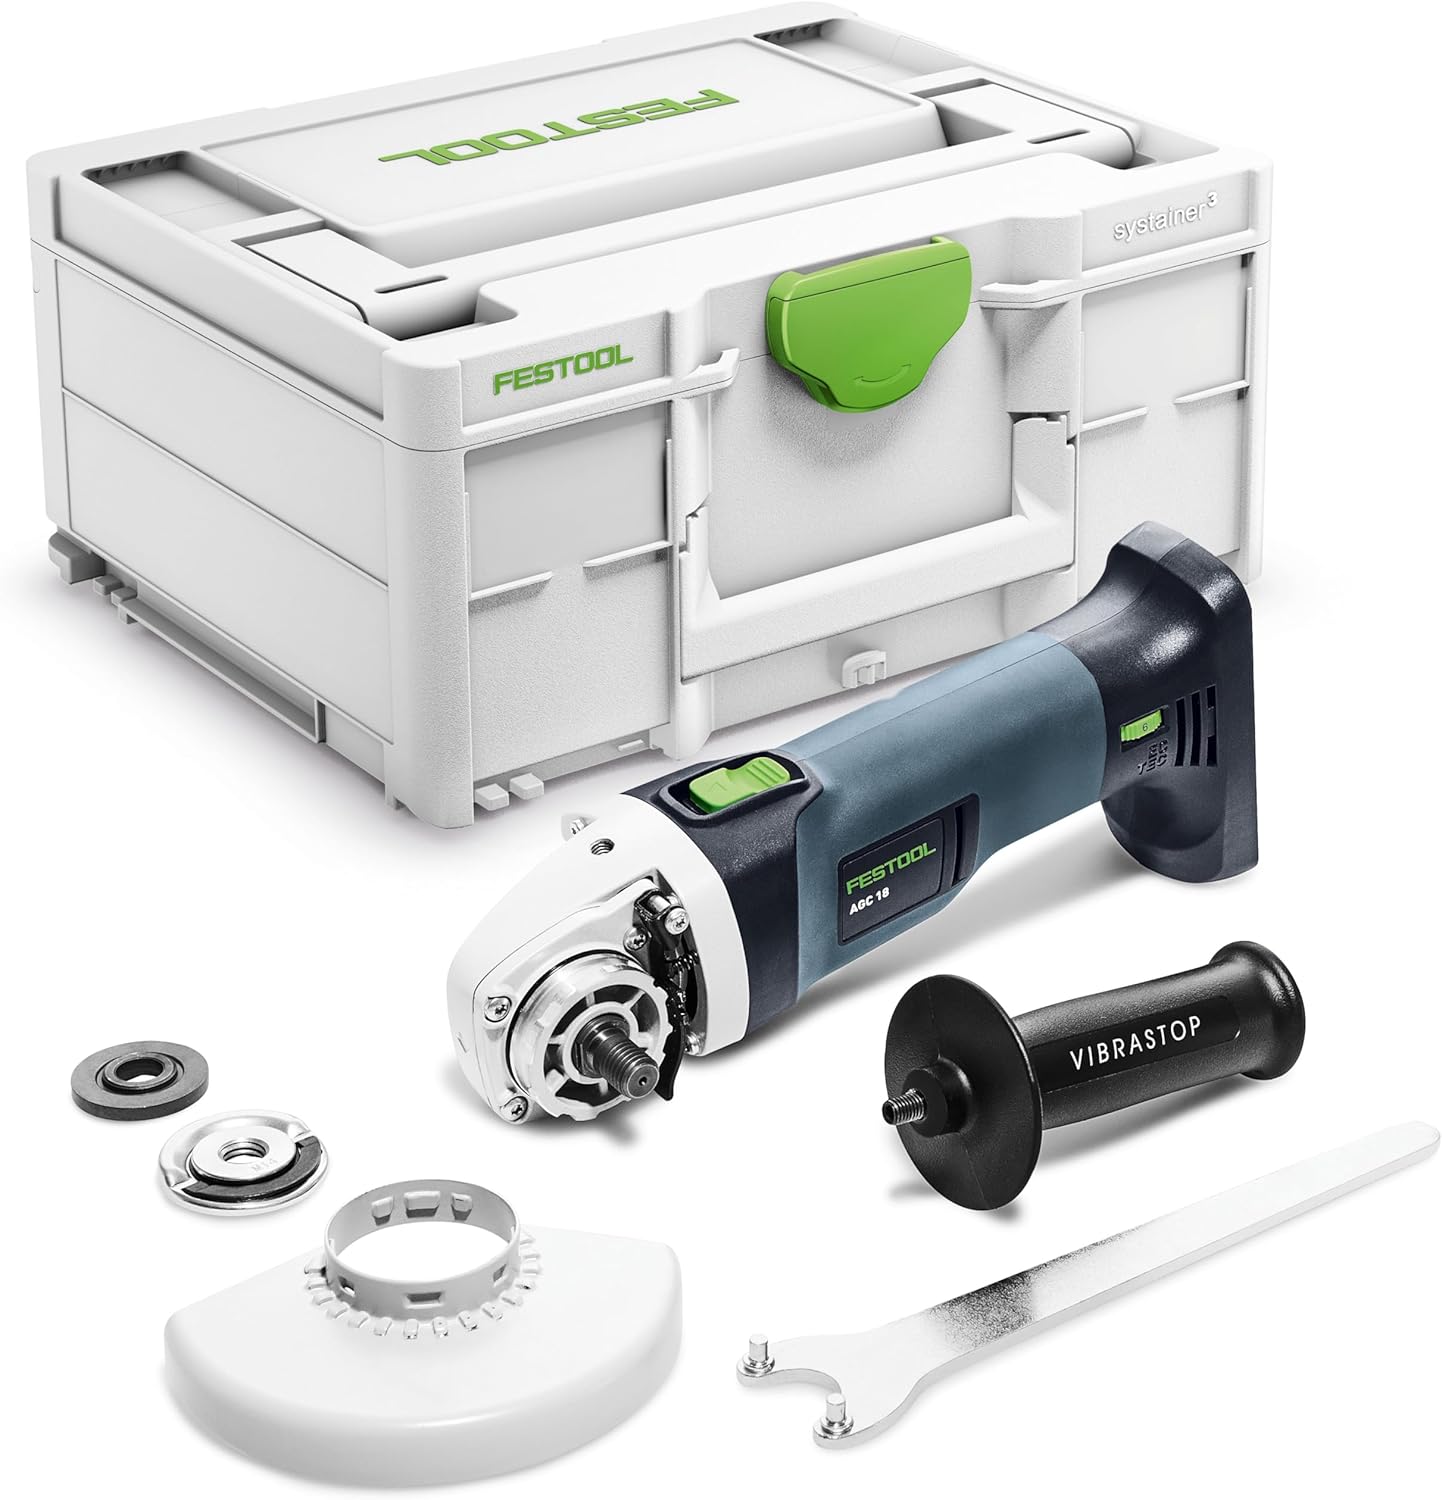
Figure 3.1: Festool AGC 18-125 EB-Basic Cordless Angle Grinder, shown with its SYS3 M Systainer, side handle, disc guard, and wrench.
4. Opstelling
4.1. Battery Installasie
- Ensure the angle grinder is switched off.
- Align the battery pack with the battery slot at the rear of the tool.
- Skuif die batterypak in die gleuf totdat dit stewig in plek klik.
- Om die batterypak te verwyder, druk die ontgrendelknoppie en skuif dit uit.
4.2. Bevestig die syhandvatsel
The side handle provides additional control and safety during operation. It can be attached to either side of the gear housing.
- Screw the side handle clockwise into one of the threaded holes on the gear housing until it is firmly secured.
- Ensure it is tightened sufficiently to prevent rotation during use.

Figure 4.1: The angle grinder with the side handle attached for improved grip and control.
4.3. Mounting the Protective Guard
The protective guard must always be used to shield against sparks, debris, and accidental contact with the rotating disc.
- Maak die cl losampskroef op die beskermende paneel.
- Place the guard over the spindle housing, ensuring it fits correctly.
- Rotate the guard to the desired position, providing maximum protection for your application.
- Draai die clamping screw firmly to secure the guard.
4.4. Installing Grinding/Cutting Discs
Always ensure the tool is switched off and the battery is removed before changing discs.
- Druk en hou die spilslotknoppie in.
- Use the provided wrench to loosen and remove the clamping moer.
- Place the desired grinding or cutting disc onto the flange, ensuring it is centered.
- Vervang die clamping nut and tighten it firmly with the wrench while holding the spindle lock.
- Maak die spilslot los.
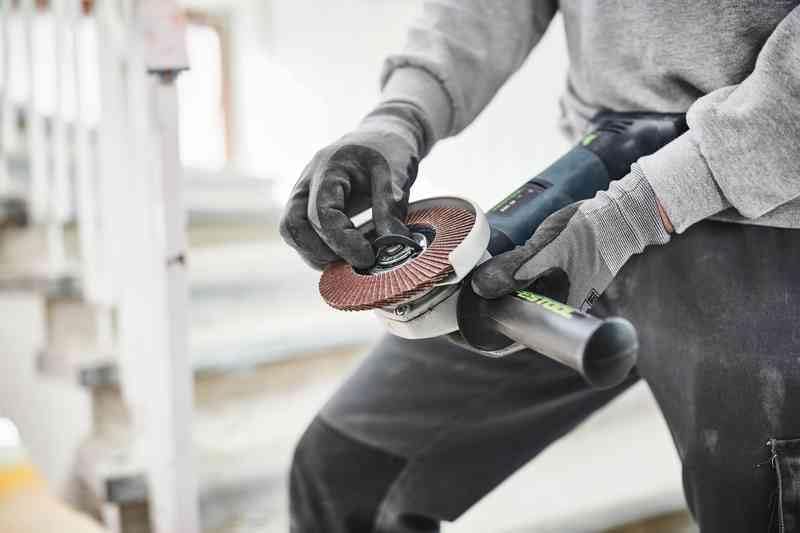
Figure 4.2: Demonstrating the process of changing a grinding disc on the tool.
5. Bedryfsinstruksies
5.1. Skakel aan en af
- To turn on the tool, slide the switch forward.
- Om af te skakel, skuif die skakelaar agtertoe na die AF-posisie.
5.2. General Operation Guidelines
- Always hold the angle grinder firmly with both hands, using the main handle and the side handle.
- Laat die skyf volle spoed bereik voordat dit kontak maak met die werkstuk.
- Apply moderate pressure. Excessive pressure can reduce efficiency and damage the disc or tool.
- Maintain a consistent angle and direction of movement for smooth results.
- Be aware of sparks and debris. Direct them away from yourself and others.
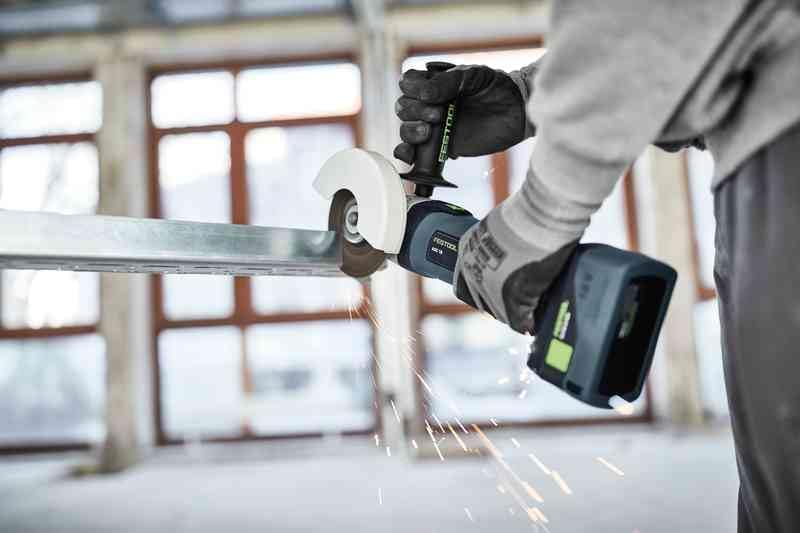
Figure 5.1: An operator cutting a metal profile with the Festool angle grinder, demonstrating proper handling.

Figure 5.2: The angle grinder being used for grinding on a concrete surface, showing sparks generated during operation.

Figure 5.3: An operator grinding a metal pipe, illustrating the tool's versatility for various materials.

Figure 5.4: An operator performing grinding work on concrete stairs, highlighting the tool's application in construction and renovation.
6. Onderhoud
6.1. Skoonmaak
- Ontkoppel altyd die battery voor skoonmaak.
- Regularly clean the ventilation slots to prevent overheating. Use compressed air if available.
- Vee die gereedskapbehuising af met 'n sagte, damp lap. Moenie harde chemikalieë of oplosmiddels gebruik nie.
6.2. Disc Replacement
Replace grinding or cutting discs when they become worn, damaged, or no longer perform effectively. Refer to section 4.4 for detailed instructions on disc installation.
6.3. Batteryversorging
- Use only genuine Festool battery packs and chargers.
- Berg batterye in 'n koel, droë plek weg van direkte sonlig en uiterste temperature.
- Moenie batteryklemme kortsluit nie.
- Gooi lege batterye weg volgens plaaslike regulasies.
7. Probleemoplossing
| Probleem | Moontlike oorsaak | Oplossing |
|---|---|---|
| Gereedskap begin nie. | Battery not inserted correctly or depleted. Switch not fully engaged. | Ensure battery is fully charged and properly inserted. Check switch position. |
| Verminderde krag of werkverrigting. | Low battery charge. Worn or incorrect disc. Overheating. | Charge battery. Replace disc. Allow tool to cool down. |
| Oormatige vibrasie. | Damaged or unbalanced disc. Loose clamping moer. | Replace disc. Tighten clamping moer. |
| Gereedskap stop tydens werking. | Oorbelastingbeskerming geaktiveer. Battery uitgeput. | Reduce pressure. Charge battery. |
8. Spesifikasies
| Spesifikasie | Waarde |
|---|---|
| Handelsmerk | Festool |
| Model | AGC 18-125 EB-Basic |
| Verwysing | 576825 |
| Produkafmetings (L x B x H) | 29.2 x 12.2 x 10.4 cm |
| Item gewig | 1.9 kilogram |
| Kleur | Blou, Swart |
| Materiaal | Gietyster |
| Tipe kragbron | Battery aangedrewe |
| Voltage | 230 Volts (Tool operates on 18V battery, 230V likely refers to charger input if included, but tool is battery powered) |
| Maksimum rotasiespoed | 8500 rpm |
| Batterye ingesluit? | Nee |
| Battery(e) benodig | Ja |
| Ingesluit komponente | 1 Product (Angle Grinder), SYS3 M Systainer, accessories (side handle, protective guard, wrench) |
9. Waarborg en Ondersteuning
Festool products are known for their quality and durability. For detailed warranty information, service, or technical support, please refer to the official Festool website or contact your local Festool dealer.
You can also visit the official Festool store on Amazon for more products and information: Festool Amazon Store.