1. Inleiding
Thank you for choosing the DEXTER Industrial Wet/Dry Vacuum Cleaner. This appliance is designed for regular use in various environments, capable of vacuuming water, dust, sawdust, ash, and general debris. To ensure safe and efficient operation, please read this manual thoroughly before first use and retain it for future reference.
This manual provides essential information on assembly, operation, maintenance, and troubleshooting for your DEXTER vacuum cleaner.
2. Veiligheidsinstruksies
Neem altyd basiese veiligheidsmaatreëls in ag wanneer elektriese toestelle gebruik word om die risiko van brand, elektriese skok en persoonlike besering te verminder.
- Lees alle instruksies voordat u die toestel gebruik.
- Moenie die toestel sonder toesig laat wanneer dit ingeprop is nie. Trek uit die stopcontact wanneer dit nie gebruik word nie en voor diens.
- To reduce the risk of electric shock, do not expose to rain or use on wet surfaces. Store indoors.
- Moenie toelaat dat dit as speelding gebruik word nie. Noukeurige aandag is nodig wanneer dit deur of naby kinders gebruik word.
- Gebruik slegs soos beskryf in hierdie handleiding. Gebruik slegs die vervaardiger se aanbevole aanhegsels.
- Moet nie met beskadigde koord of prop gebruik nie. Indien toestel nie werk soos dit moet nie, laat val, beskadig is, buite gelaat is of in water laat val het, stuur dit terug na 'n dienssentrum.
- Moenie aan koord trek of dra nie, gebruik koord as 'n handvatsel, maak 'n deur op koord toe, of trek koord om skerp kante of hoeke. Moenie die toestel oor die koord laat loop nie. Hou koord weg van verhitte oppervlaktes.
- Moenie die prop uittrek deur aan die koord te trek nie. Om die prop te ontkoppel, gryp die prop vas, nie die koord nie.
- Moenie prop of toestel met nat hande hanteer nie.
- Moenie enige voorwerp in openinge sit nie. Moet nie gebruik met enige opening geblokkeer nie; hou vry van stof, pluis, hare en enigiets wat lugvloei kan verminder.
- Hou hare, los klere, vingers en alle liggaamsdele weg van openinge en bewegende dele.
- Moenie iets optel wat brand of rook nie, soos sigarette, vuurhoutjies of warm as.
- Wees ekstra versigtig wanneer jy op trappe skoonmaak.
- Moet nie gebruik om vlambare of brandbare vloeistowwe, soos petrol, op te tel of in gebiede te gebruik waar hulle teenwoordig kan wees nie.
- Moenie gebruik sonder filters in plek nie.
- Skakel alle kontroles af voordat u die prop ontkoppel.
3. Pakketinhoud
Carefully unpack your DEXTER Industrial Wet/Dry Vacuum Cleaner and ensure all components are present and undamaged. If any parts are missing or damaged, please contact customer support.

Image: The DEXTER Industrial Wet/Dry Vacuum Cleaner with its complete set of accessories, including the hose, extension tubes, various nozzles, and filters.
- DEXTER Industrial Wet/Dry Vacuum Cleaner Unit
- 4 Metal Wheels
- ACCY 35 mm System Hose
- Hose Extension (1.8 m x 3 sections)
- Round Brush (250 mm)
- Floor Nozzle/Scraper
- Spleetgereedskap
- Skuimfilter (vir nat stofsuig)
- Fabric Bag (for dry vacuuming)
- Paper Dust Bag (for dry vacuuming)
- Kragkabel (4 m)
4. Opstelling
Volg hierdie stappe om jou stofsuier voor die eerste gebruik te monteer.
4.1 Bevestig die wiele
- Turn the vacuum cleaner tank upside down.
- Insert the four metal wheels into the designated slots on the base of the tank until they click securely into place.
4.2 Die installering van die filter
Die tipe filter wat benodig word, hang af van of jy nat of droë stofsuig.
- Vir droë stofsuig: Install the paper dust bag or the fabric bag over the filter cage inside the tank. Ensure it covers the cage completely and is securely fastened.
- Vir nat stofsuig: Remove any paper or fabric dust bags. Install the foam filter over the filter cage. Ensure it is properly seated to prevent water from entering the motor.
4.3 Assembling the Hose and Accessories
- Attach the flexible hose to the suction inlet on the front of the vacuum cleaner tank. Ensure it is firmly twisted or pushed into place.
- Connect the desired extension tubes to the end of the flexible hose. You can use one, two, or all three sections depending on the required reach.
- Attach the appropriate nozzle (floor nozzle, round brush, or crevice tool) to the end of the extension tube.

Image: The DEXTER Industrial Wet/Dry Vacuum Cleaner shown fully assembled with the hose, extension tubes, and floor nozzle ready for use.
5. Bedryfsinstruksies
Before operating, ensure the vacuum cleaner is correctly assembled and the appropriate filter is installed for your task.
5.1 Kragverbinding
Plug the 4-meter power cable into a suitable 220V electrical outlet. Ensure the outlet is grounded.
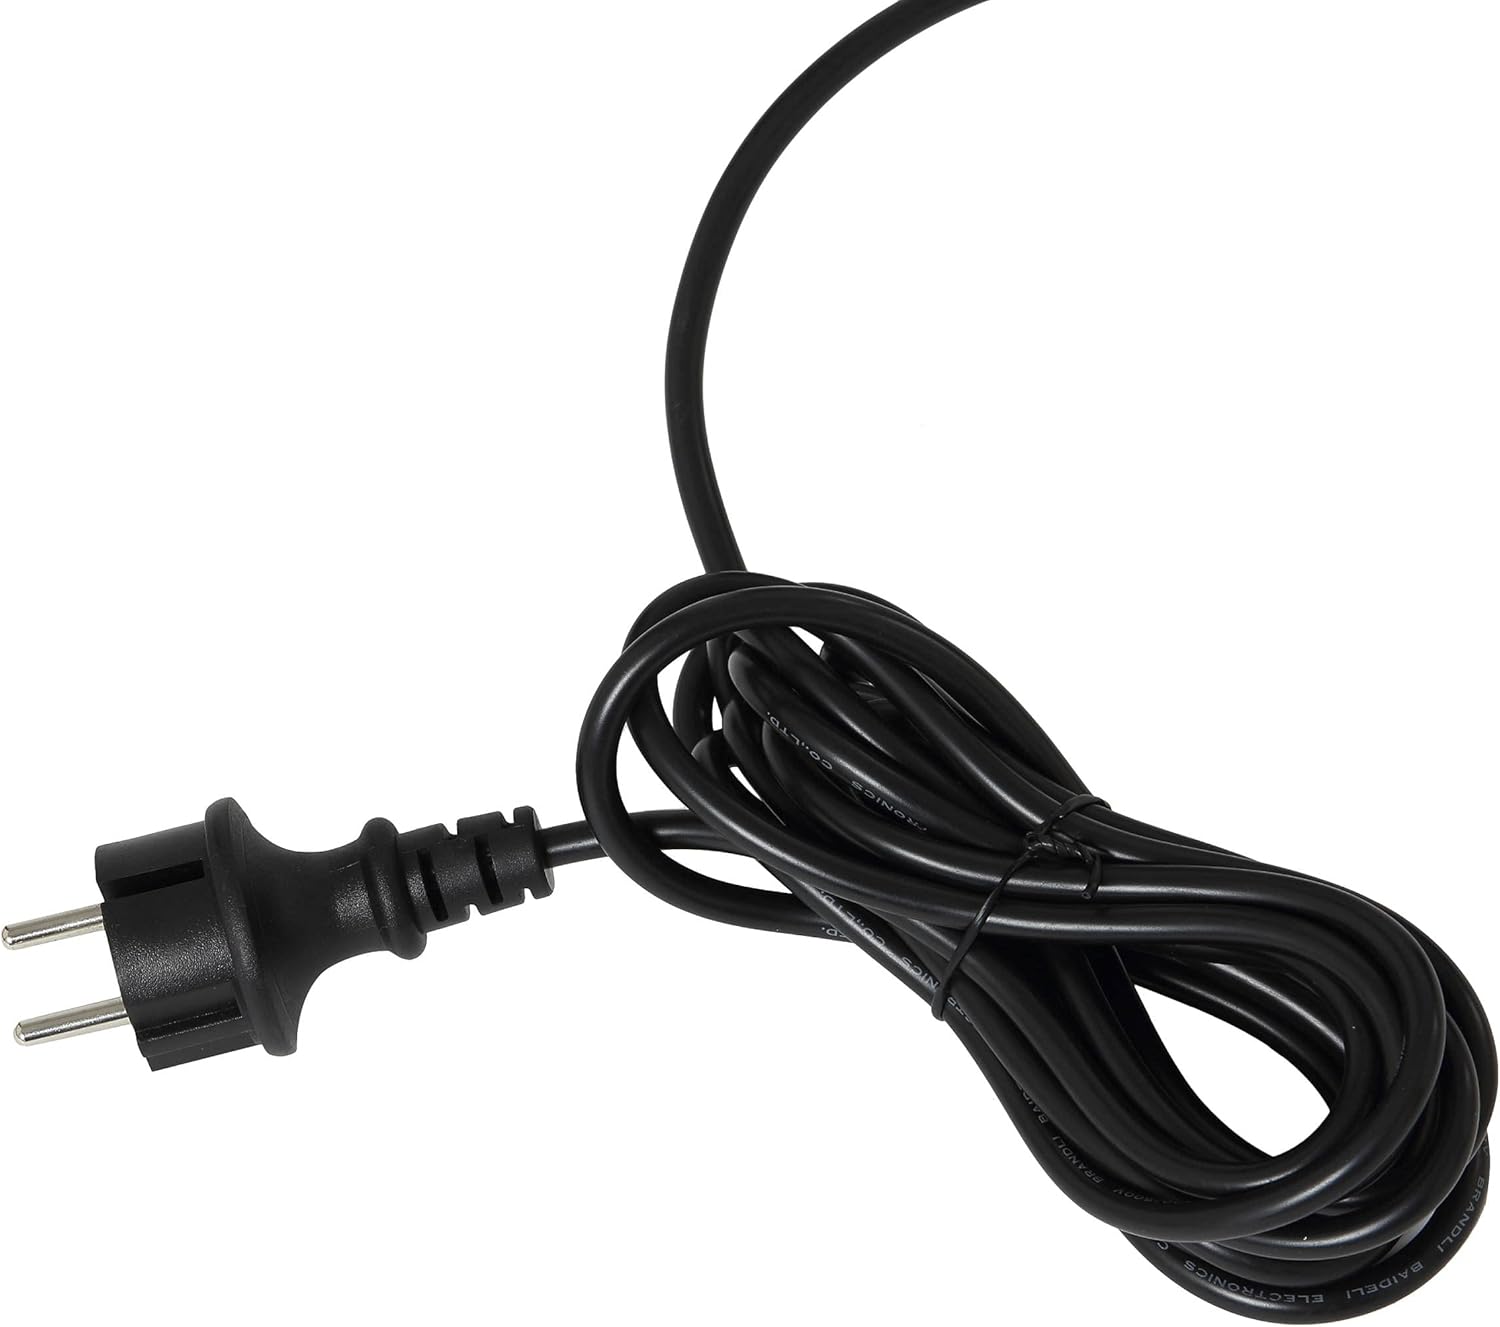
Image: The power cable with an EEA-type plug, ready to be connected to a power source.
5.2 Droë stofsuig
- Ensure the paper dust bag or fabric bag is correctly installed.
- Select the appropriate nozzle for the surface you are cleaning. The floor nozzle is suitable for large areas, while the crevice tool is for tight spaces, and the round brush for delicate surfaces or upholstery.
- Skakel die stofsuier aan met die kragskakelaar.
- Move the nozzle over the dry debris to be vacuumed.
- Wanneer jy klaar is, skakel die stofsuier af en ontkoppel dit.

Image: The DEXTER vacuum cleaner in a workshop setting, demonstrating its use for dry vacuuming sawdust from the floor.

Image: A hand using the round brush attachment to clean upholstery, highlighting the versatility of the included accessories.
5.3 Natstofsuig
- Ensure the foam filter is correctly installed and any dust bags are removed.
- Attach the floor nozzle or crevice tool.
- Skakel die stofsuier aan.
- Move the nozzle over the liquid spill. The vacuum cleaner will automatically shut off when the tank reaches its maximum capacity.
- When finished or when the tank is full, turn off the vacuum cleaner and unplug it.
5.4 Blaserfunksie
The DEXTER Industrial Wet/Dry Vacuum Cleaner also features a blower function for clearing debris from hard-to-reach areas.
- Locate the blower port on the vacuum cleaner (usually opposite the suction inlet).
- Attach the flexible hose to the blower port.
- Turn on the vacuum cleaner. Air will now be expelled from the hose, allowing you to blow away dust and debris.
- Wanneer jy klaar is, skakel die stofsuier af en ontkoppel dit.
6. Onderhoud
Gereelde onderhoud verseker die lang lewensduur en optimale werkverrigting van jou stofsuier.
6.1 Leegmaak van die tenk
After each use, especially after wet vacuuming, empty the tank.
- Koppel die stofsuier uit die kragaansluiting.
- Maak die grendels los wat die motorkop aan die tenk vasmaak.
- Carefully lift the motor head off the tank.
- Dispose of the collected debris or liquid appropriately.
- Maak die binnekant van die tenk skoon met 'n damp cloth if necessary and allow it to dry completely before reassembling.
6.2 Filter Skoonmaak en Vervanging
- Paper Dust Bag: Vervang wanneer vol of wanneer suigkrag aansienlik afneem.
- Fabric Bag: Shake out accumulated dust. If heavily soiled, it can be gently hand-washed and air-dried completely before reuse.
- Skuim filter: After wet vacuuming, rinse the foam filter under running water until clean. Squeeze out excess water and allow it to air dry completely before storing or reusing.
6.3 Slang- en bykomstigheidsorg
Inspect the hose and accessories regularly for blockages or damage. Clear any blockages promptly. Clean accessories with a damp lap soos benodig.

Image: The flexible hose, an essential component for both vacuuming and blowing functions, shown coiled.
6.4 Berging
Store the vacuum cleaner and its accessories in a clean, dry place, away from direct sunlight and extreme temperatures.
7. Probleemoplossing
If you encounter issues with your DEXTER Industrial Wet/Dry Vacuum Cleaner, refer to the following table for common problems and solutions.
| Probleem | Moontlike oorsaak | Oplossing |
|---|---|---|
| Stofsuier skakel nie aan nie. | Geen kragtoevoer. Kragskakelaar is af. | Kontroleer die kragkabelverbinding en die muursok. Maak seker dat die kragskakelaar in die 'AAN'-posisie is. |
| Lae suigkrag. | Slang of spuitstuk verstop. Die filter is vuil of verstop. Stofsakkie is vol. Tenkdeksel nie behoorlik verseël nie. | Check and clear any blockages in the hose or nozzle. Maak die filter skoon of vervang dit. Maak die stofsak leeg of vervang dit. Maak seker dat die motorkop stewig aan die tenk vasgemaak is. |
| Water lek tydens nat stofsuig. | Foam filter not installed or damaged. Tenk is oorvol. | Ensure foam filter is correctly installed and undamaged. Replace if necessary. Empty the tank. The vacuum has an automatic shut-off when full. |
| Motor stop tydens nat stofsuig. | Tenk is vol. | Maak die tenk leeg. Dit is 'n veiligheidskenmerk om oorvol te voorkom. |
8. Spesifikasies
Detailed technical specifications for the DEXTER Industrial Wet/Dry Vacuum Cleaner.
| Kenmerk | Spesifikasie |
|---|---|
| Handelsmerk | BESKERMER |
| Modelnommer | 3276000237679 |
| Krag/Wattage | 1400 W |
| Voltage | 220 V |
| Tenk kapasiteit | 20 liter |
| Produk afmetings | 48 x 48 x 55 cm |
| Gewig | 6.86 kg |
| Slang lengte | 1.8 m |
| Lengte van kragkabel | 4 m |
| Depressie | 15 kPa |
| Lugverplasing | 30 dm³/s |
| Geraasvlak | 80 dB (A) |
| Filter tipe | Paper bag, Foam filter |
| Spesiale kenmerke | Blaser funksie |
9. Waarborginligting
The DEXTER Industrial Wet/Dry Vacuum Cleaner is covered by a 2 jaar waarborg vanaf die aankoopdatum. Hierdie waarborg dek vervaardigingsdefekte en materiaalfoute onder normale gebruiksomstandighede.
Please retain your proof of purchase for any warranty claims. For warranty service, contact the retailer or the manufacturer's customer support.
The warranty does not cover damage resulting from misuse, neglect, unauthorized modifications, or normal wear and tear.
10. Ondersteuning en Kontak
For further assistance, technical support, or to inquire about spare parts, please visit the official DEXTER webwebwerf of kontak jou plaaslike kleinhandelaar.
You can also visit the DEXTER Store on Amazon for more product information and support resources: DEXTER Store