Inleiding
This manual provides instructions for the installation, operation, and maintenance of your Peerless Elmhurst Two-Handle Centerset Bath Faucet. Please read all instructions carefully before beginning installation and keep this manual for future reference.
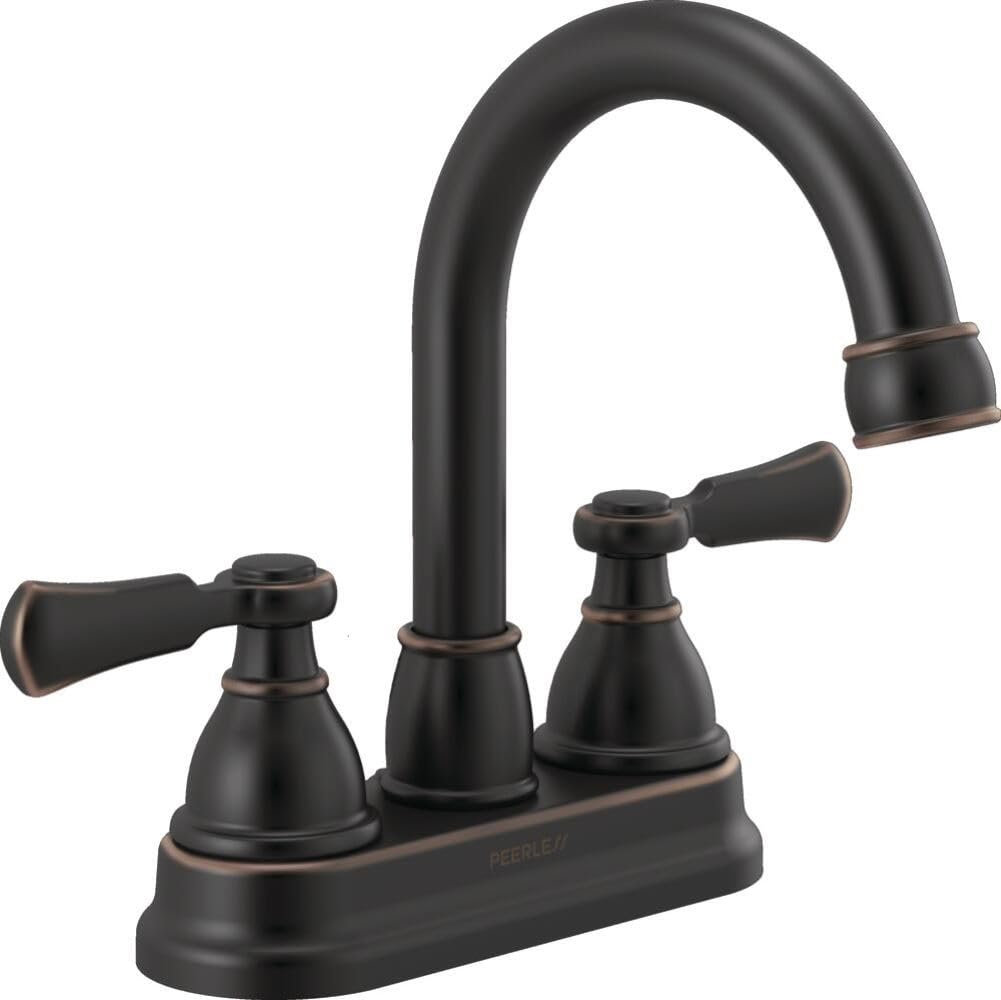
Image: Peerless Elmhurst Two-Handle Centerset Bath Faucet in Oil-Rubbed Bronze, shown installed on a bathroom vanity with a mirror and plant.
Veiligheidsinligting
- Skakel altyd die watertoevoer na die kraan af voordat u enige werk begin.
- Dra veiligheidsbril tydens installasie.
- Indien u onseker is oor enige deel van die installasieproses, raadpleeg 'n gekwalifiseerde loodgieter.
- Maak seker dat alle verbindings stewig is om lekkasies te voorkom.
Wat is in die boks
Verifieer dat alle komponente teenwoordig is voordat u met die installasie begin:
- Kraansamestelling
- Handvatsels (2)
- Push Pop-Up Drain Assembly
- Monteer hardeware
Spesifikasies

Image: Diagram illustrating key dimensions and features of the Peerless Elmhurst Two-Handle Centerset Lavatory Faucet, including 3-hole installation, ceramic disc valve, 7.6 inch height, 5 inch spout reach, 9.3 inch width, and 2.5 inch minimum clearance to backsplash.
| Kenmerk | Detail |
|---|---|
| Modelnommer | P2665LF-OB |
| Voltooi | Olie-gevryfde brons |
| Montage tipe | Dekkberg |
| Gattelling | 3-hole, 4-inch installations |
| Aantal handvatsels | 2 |
| Materiaal | Sink |
| Tipe klep | Keramiekskyfklep |
| Tuit draai | 360 grade |
| Dreineer tipe | Push Pop-Up Drain (included) |
| WaterSense-gesertifiseer | Yes (uses at least 20% less water) |
| ADA Voldoen | Ja |
Opstelling en installasie
This faucet is designed for 3-hole, 4-inch centerset installations. Refer to the included installation guide for detailed step-by-step instructions and diagrams.
- Berei die installasie area voor: Turn off the water supply at the main shut-off valves. Clear the area under the sink.
- Verwyder ou kraan (indien van toepassing): Disconnect water lines and mounting nuts from the old faucet. Clean the sink surface.
- Installeer kraanliggaam: Place the faucet body onto the sink holes. Secure it from underneath with the provided mounting hardware.
- Verbind watertoevoerlyne: Attach the hot and cold water supply lines to the corresponding inlets on the faucet body. Hand-tighten, then use a wrench for a quarter turn. Do not overtighten.
- Install Pop-Up Drain: Follow the instructions for installing the push pop-up drain assembly into the sink drain hole. Ensure a watertight seal.
- Toets vir lekkasies: Turn on the water supply slowly and check all connections for leaks. Operate the faucet to ensure proper function.
Bedryfsinstruksies
The Peerless Elmhurst faucet features two handles for precise control of water temperature and flow.
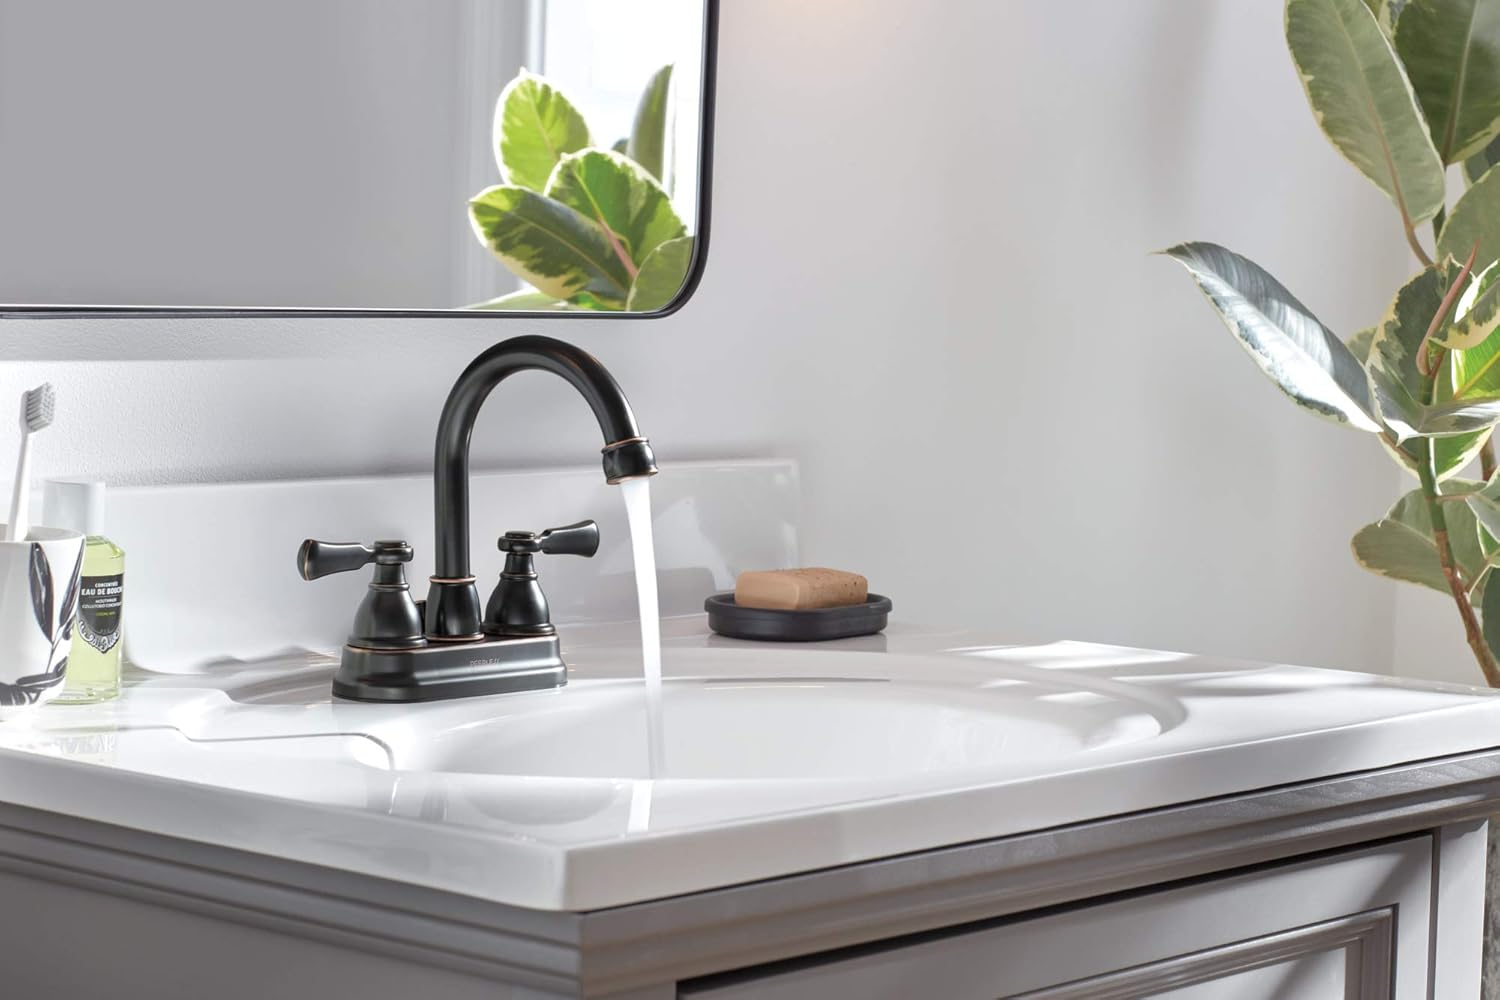
Image: The Peerless Elmhurst Two-Handle Centerset Bath Faucet in Oil-Rubbed Bronze with water flowing from its high-arc spout into a white sink.
- Koue water: Turn the right handle counter-clockwise a quarter turn to activate cold water.
- Warm water: Turn the left handle counter-clockwise a quarter turn to activate hot water.
- Temperatuurbeheer: Adjust the mix of hot and cold water by rotating both handles simultaneously.
- Vloeibeheer: The handles feature 1/4 turn stops for easy on/off and flow adjustment.
- Tuit Draai: The high-arc spout can swivel 360 degrees for increased flexibility.
- Opspringdrein: Press the top of the drain stopper to open or close the drain.
Onderhoud
Proper care will ensure the longevity and appearance of your faucet.
- Skoonmaak: Maak die kraan gereeld skoon met 'n sagte, damp cloth. Avoid abrasive cleaners, harsh chemicals, or polishes that could damage the finish.
- Mineraalafsettings: For hard water spots, use a solution of equal parts white vinegar and water. Apply with a soft cloth, let sit briefly, then rinse thoroughly and dry.
- Onderhoud van belugter: As die watervloei afneem, kan die belugter verstop wees. Skroef die belugter van die tuit af, maak enige puin skoon en heg dit weer vas.
Probleemoplossing
Verwys na die volgende algemene probleme en oplossings:
- Lae watervloei: Check if the aerator is clogged. Ensure water supply valves are fully open.
- Lekkasies van kraanbasis: Ensure mounting nuts are tightened securely. Check for proper seating of gaskets.
- Leaks from Handles: This may indicate a worn O-ring or cartridge. Consult the full installation guide or contact customer support for replacement parts.
- Watertemperatuurprobleme: Verify that both hot and cold water supply lines are connected correctly and that the water heater is functioning.
Waarborg inligting
Peerless products are manufactured to high-quality standards and are backed by a limited warranty. For specific warranty details and terms, please refer to the warranty card included with your product or visit the official Peerless webwebwerf.
Ondersteuning
For further assistance, technical support, or to order replacement parts, please contact Peerless customer service or visit their official webwebwerf:
- Webwebwerf: Visit the Peerless Store on Amazon (for product information) or search for the official Peerless Faucet webwebwerf.
- Kliëntediens: Refer to the contact information provided in your product packaging or on the official Peerless webwebwerf.