1. Produk verbyview
This manual provides instructions for the Amazon Basics 4-Bike Hitch Rack, designed for secure transportation of up to four bicycles on vehicles equipped with a 2-inch hitch receiver. The rack features a durable construction and an anti-sway design to minimize movement during transit.
Sleutel kenmerke:
- 4-Bike Capacity: Designed to accommodate four bicycles, preventing collision during transport.
- Universele verenigbaarheid: Engineered for vehicles with 2-inch hitch receivers, suitable for most bike types, including oversized or undersized frames.
- Duursame konstruksie: Made from heavy-duty iron with powder coating and ultra-durable rubber straps for longevity.
- Gerieflike ontwerp: Features a secure tie-down system, arms that fold away when not in use, and a tilt-back function for vehicle access.
- Anti-Sway Design: Includes a heavy-duty anti-rattle stabilizer to ensure safe, secure, and scratch-free transportation, even on uneven roads.
2. Pakketinhoud
Verify that all components are present before beginning assembly. Refer to the diagram below for a visual representation of the parts included.
Video: verbyview of the Amazon Basics Hitch Rack components and initial assembly steps.
3. Opstelling en installering
Follow these steps to assemble and install your bike rack. Ensure all connections are secure before use.
3.1 Monteerstappe
- Vou die staander oop: Begin by unfolding the main stand component of the bike rack.
- Install Carry Arm: Attach the carry arm to the main stand. Secure it using the provided hardware.
- Secure Carry Arm: Insert the quick release bolt to allow for fast unfolding of the carry arm.
- Tighten Short Knob: Tighten the short knob to reduce any wobbling of the carry arm.
- Tighten Long Knob: Tighten the long knob to reduce wobbling of the entire bike rack assembly.
- Insert into Hitch: Insert the assembled bike rack into your vehicle's 2-inch hitch receiver.
- Secure with Included Screw: Use the provided screw to firmly secure the rack within the hitch receiver.

Prent: Visual guide for assembling the bike rack, showing each step from unfolding the base to securing the arms and tightening knobs.
3.2 Hitch Connection and Stability
The anti-wobble knob is designed to minimize the gap between the two bolts in the main post, reducing overall wobble of the carrying arm. The hitch connection uses a bolt and cotter pin for secure attachment to the vehicle's 2-inch hitch receiver.

Prent: Gedetailleerd view of the anti-wobble knob and its function in securing the rack components.
4. Bedryfsinstruksies
4.1 Fietse Laai
Ensure the rack is securely installed on your vehicle's hitch receiver. Place bicycles onto the carrying arms, using the rubber straps to secure the bike frames. Distribute the weight evenly and ensure bikes do not interfere with vehicle lights or license plate.
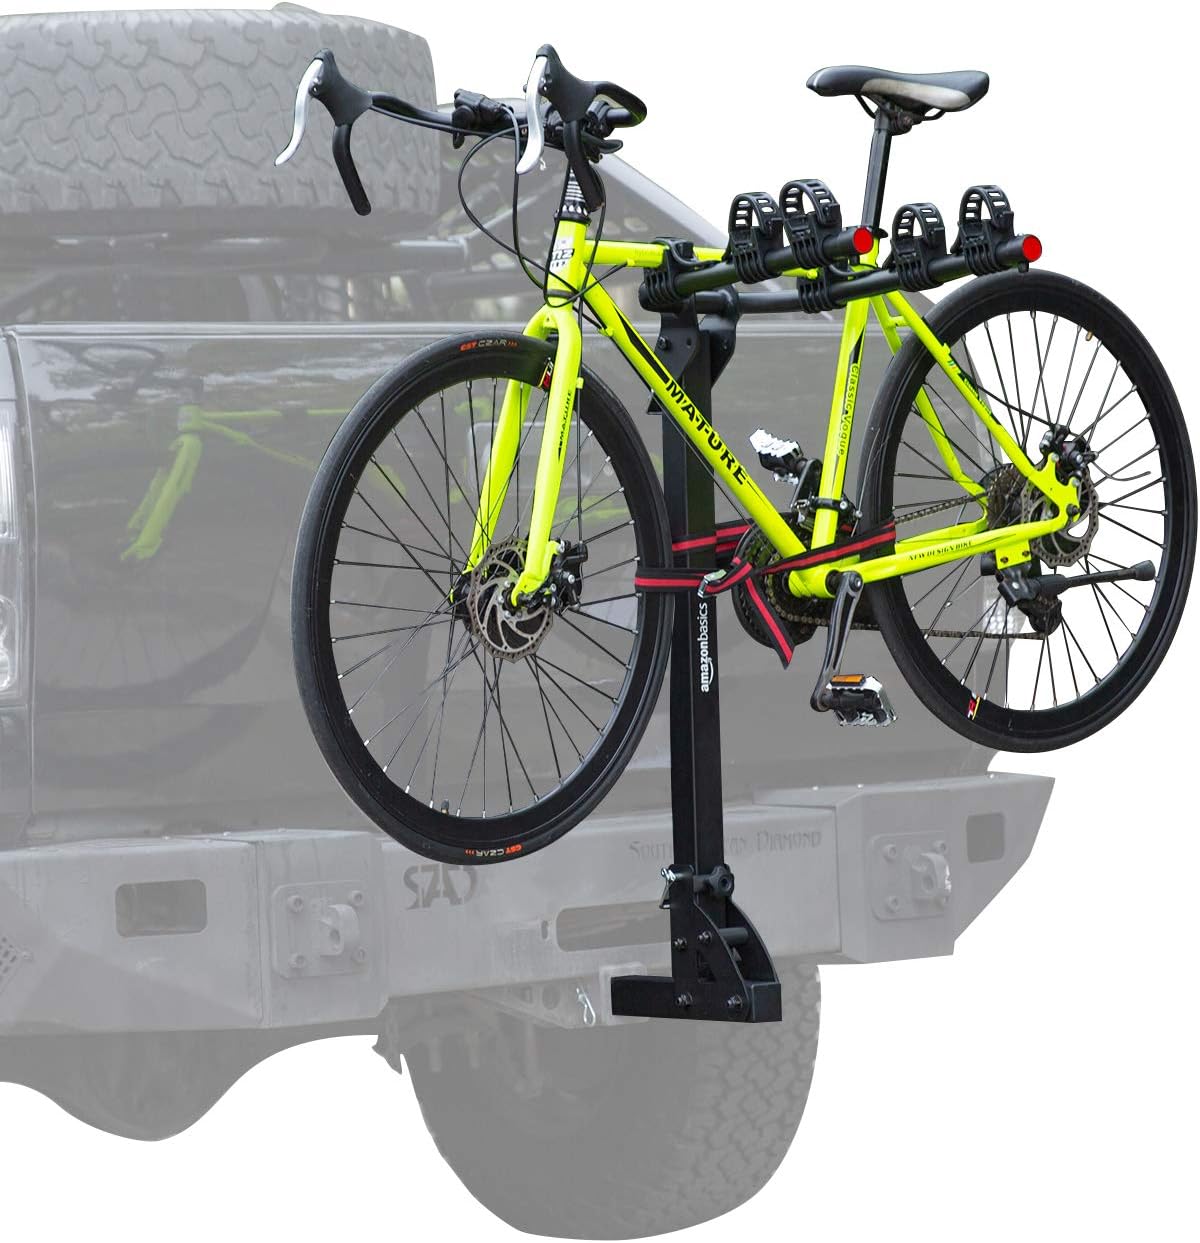
Prent: A bicycle properly loaded and secured on the hitch rack at the rear of a truck.
4.2 Tilting Function
The rack can be tilted away from the vehicle to allow access to the rear cargo area. To tilt, remove the securing pin, carefully lower the rack, and re-secure the pin in the tilted position. Reverse the process to return the rack to its upright position.
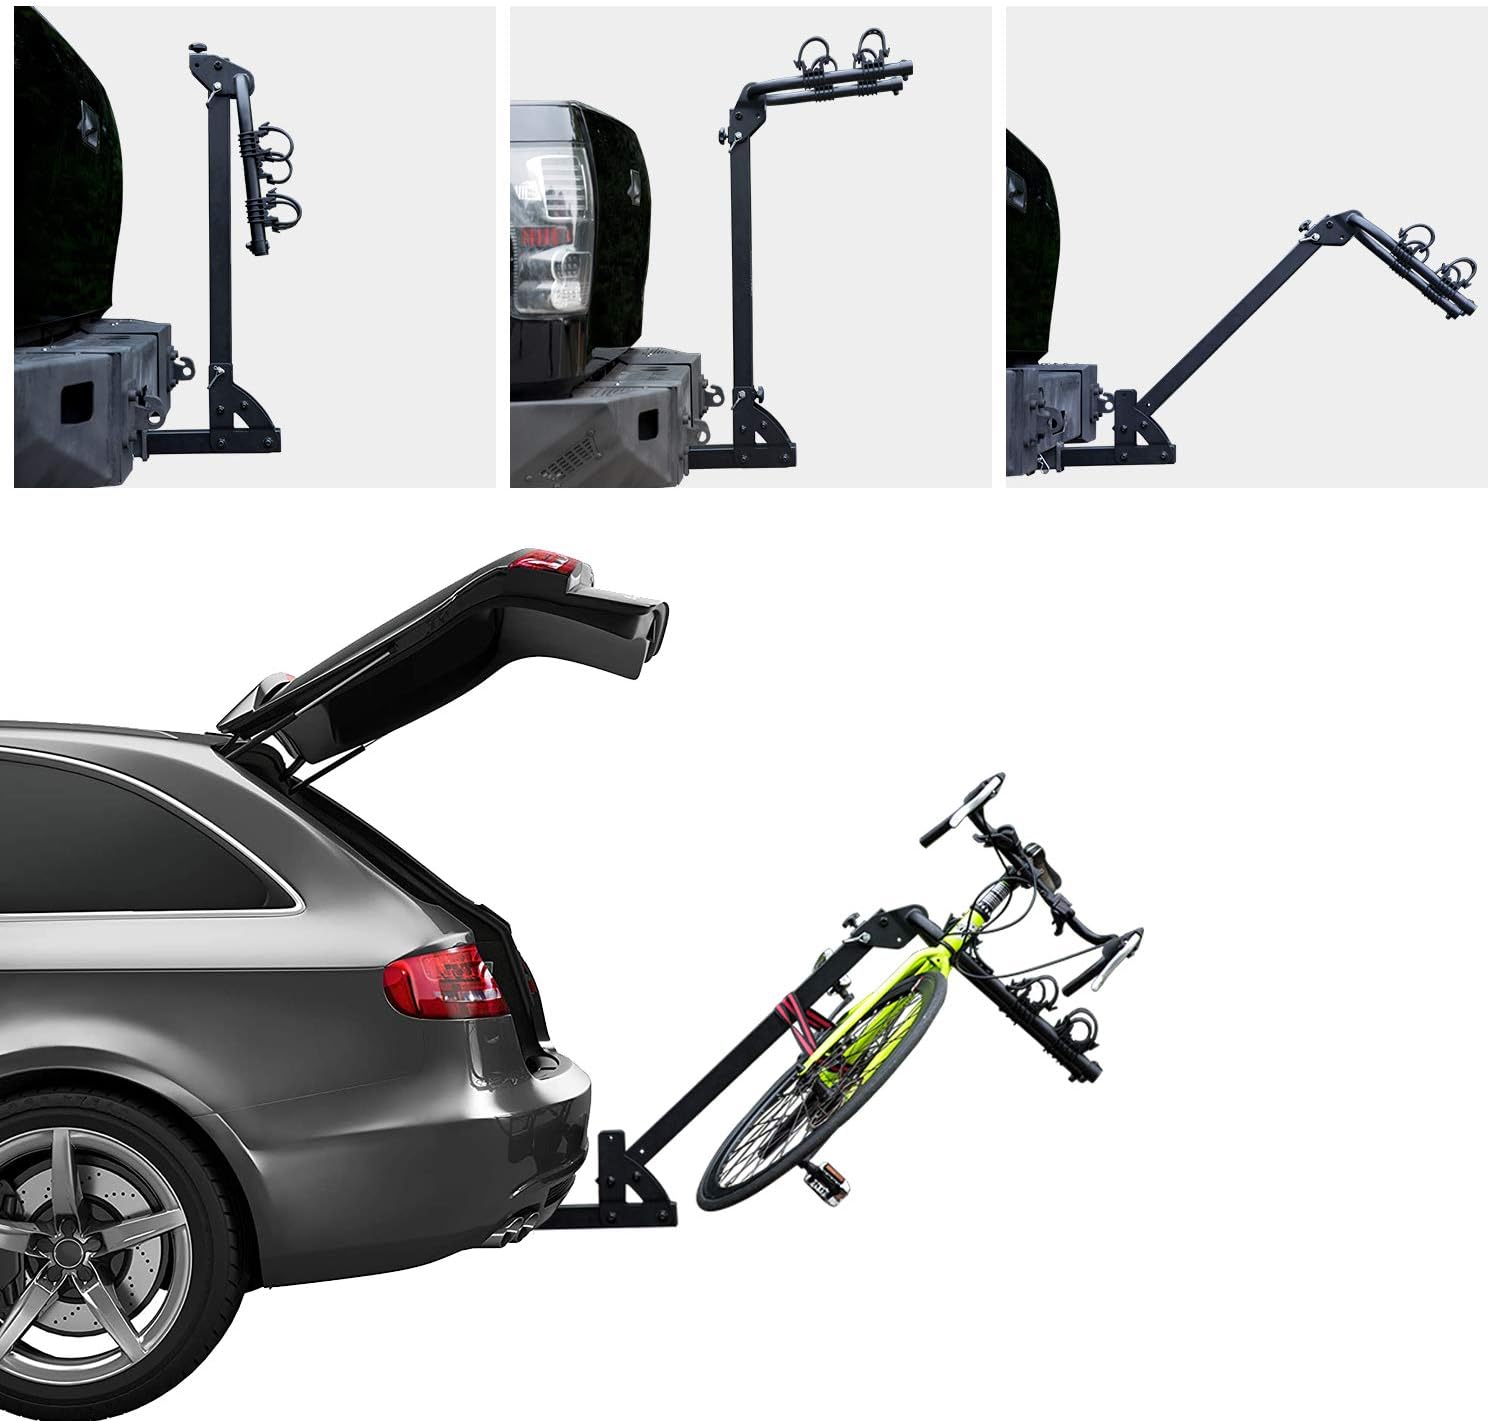
Prent: The bike rack in its tilted position, providing access to the vehicle's trunk.
4.3 Veiligheidskenmerke
The rack includes built-in red reflectors on the rear of the carry arm to enhance visibility, especially during low-light conditions.
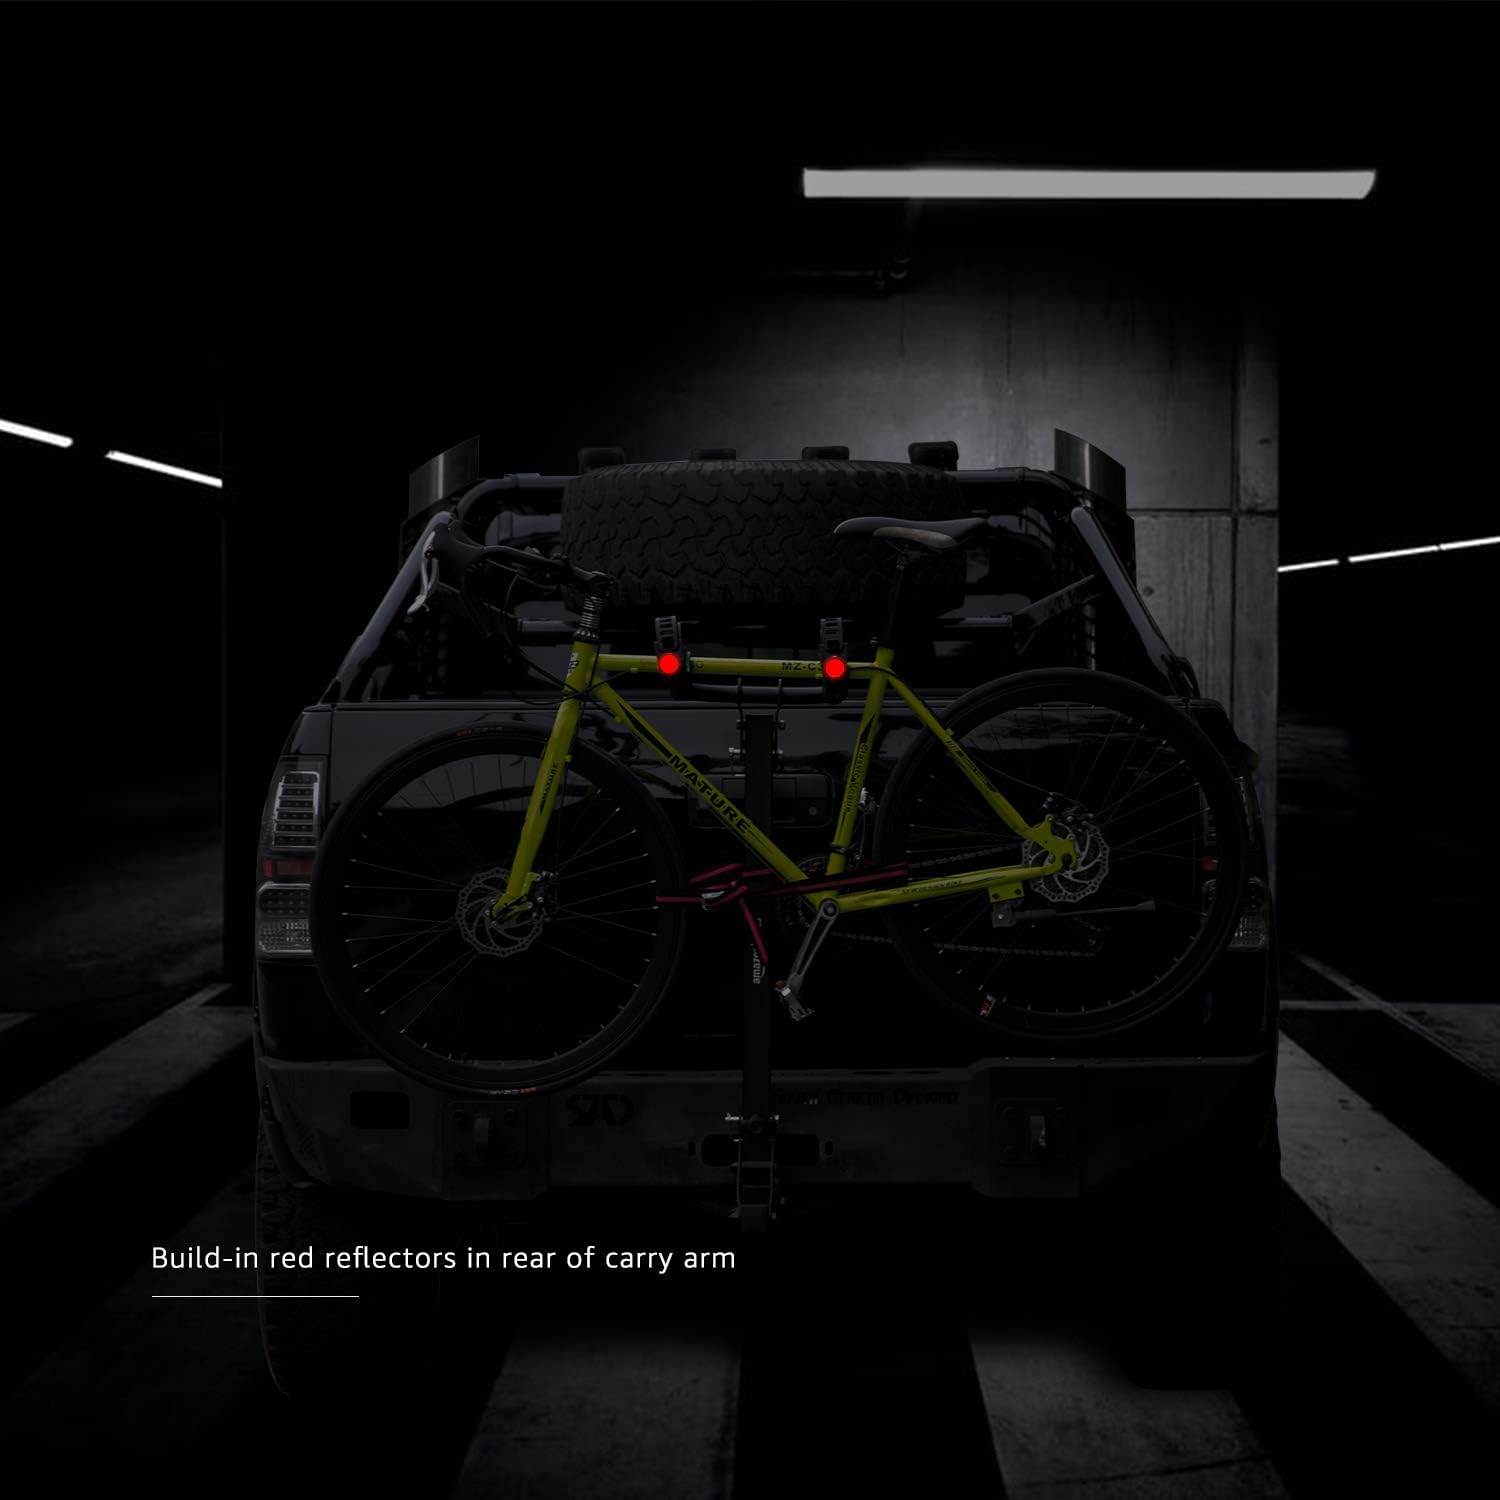
Prent: Red reflectors integrated into the bike rack for improved safety and visibility.
5. Verenigbaarheid
This hitch rack is designed to fit most bicycles with crossbars. It is important to note that it is nie aanbeveel nie for tandem, recumbent, or children's bicycles due to potential fitment or stability issues. Ensure your bike's top tube length is at least 16.5 inches (42 cm) and its weight does not exceed 33 lbs (15 kg) per bike.

Prent: Diagram detailing the minimum top tube length and maximum weight for compatible bicycles.
6. Onderhoud
Regular maintenance ensures the longevity and safe operation of your bike rack.
- Skoonmaak: Clean the rack regularly with mild soap and water to remove dirt, road grime, and salt. Rinse thoroughly and dry completely to prevent corrosion.
- Smering: Periodically lubricate moving parts, such as hinges and pins, with a silicone-based lubricant to ensure smooth operation.
- Inspeksie: Before each use, inspect all bolts, nuts, and straps for tightness and wear. Replace any worn or damaged components immediately.
- Berging: When not in use, store the bike rack in a dry, protected area to prevent exposure to harsh weather conditions.
7. Probleemoplossing
If you encounter issues with your bike rack, refer to the following common problems and solutions:
| Probleem | Moontlike oorsaak | Oplossing |
|---|---|---|
| Rack wobbles excessively during transit. | Loose hitch connection or anti-wobble knobs. | Ensure the hitch bolt is fully tightened and the anti-wobble knobs on the rack are securely fastened. |
| Bikes slide or shift on the carrying arms. | Straps are not tight enough or worn. | Tighten rubber straps securely around bike frames. Inspect straps for damage and replace if necessary. Consider using additional tie-down straps for extra security. |
| Cannot insert hitch bolt into receiver. | Hitch receiver or rack opening misaligned. | Slightly adjust the position of the rack within the hitch receiver, tilting it slightly if needed, to align the holes. Do not force the bolt. |
| Carry arms do not fold or unfold smoothly. | Hinge points are stiff or corroded. | Clean and lubricate the hinge points with a silicone-based lubricant. |
8. Spesifikasies
| Eienskap | Detail |
|---|---|
| Handelsmerk | Amazon Basics |
| Modelnommer | DS-HB202-4 |
| Kleur | Swart |
| Materiaal | Heavy-duty Iron, Rubber |
| Montage tipe | Hitch Mount (2-inch receiver) |
| Fiets kapasiteit | 4 Fietse |
| Itemafmetings (L x B x H) | 39.37 x 12.6 x 39.37 duim |
| Item gewig | 22.1 pond |
| Opvoubaar | No (arms fold, main stand does not) |
| UPC | 672352803105 |
9. Waarborginligting
This Amazon Basics product is covered by a limited warranty. For specific details regarding warranty coverage, duration, and claims process, please refer to the warranty documentation included with your purchase or visit the official Amazon Basics support webwebwerf.
10. Kliëntediens
For further assistance, technical support, or to inquire about replacement parts, please contact Amazon Basics customer service. Contact information can typically be found on the product packaging or on the Amazon Basics official webwebwerf.
Aanlyn ondersteuning: Besoek die Amazon Basics-winkel


