1. Inleiding
The Grado Opus3 is a high-fidelity moving iron phono cartridge designed to deliver exceptional analog sound reproduction. Crafted with a maple wood housing and an elliptical diamond stylus, it offers a musical and engaging listening experience. This manual provides essential information for the proper setup, operation, and maintenance of your Opus3 cartridge.
2. Opstelling en installering
Proper installation is crucial for optimal performance of your Grado Opus3 cartridge. Please follow these steps carefully.
2.1 Uitpak
Carefully remove the cartridge from its packaging. Retain all packaging materials for future transport or storage.
2.2 Mounting the Cartridge
The Opus3 cartridge is designed for standard 1/2-inch mount tonearms. Use the provided mounting screws to attach the cartridge securely to your turntable's headshell. Ensure the screws are tightened sufficiently to prevent movement, but do not overtighten, which could damage the cartridge body.
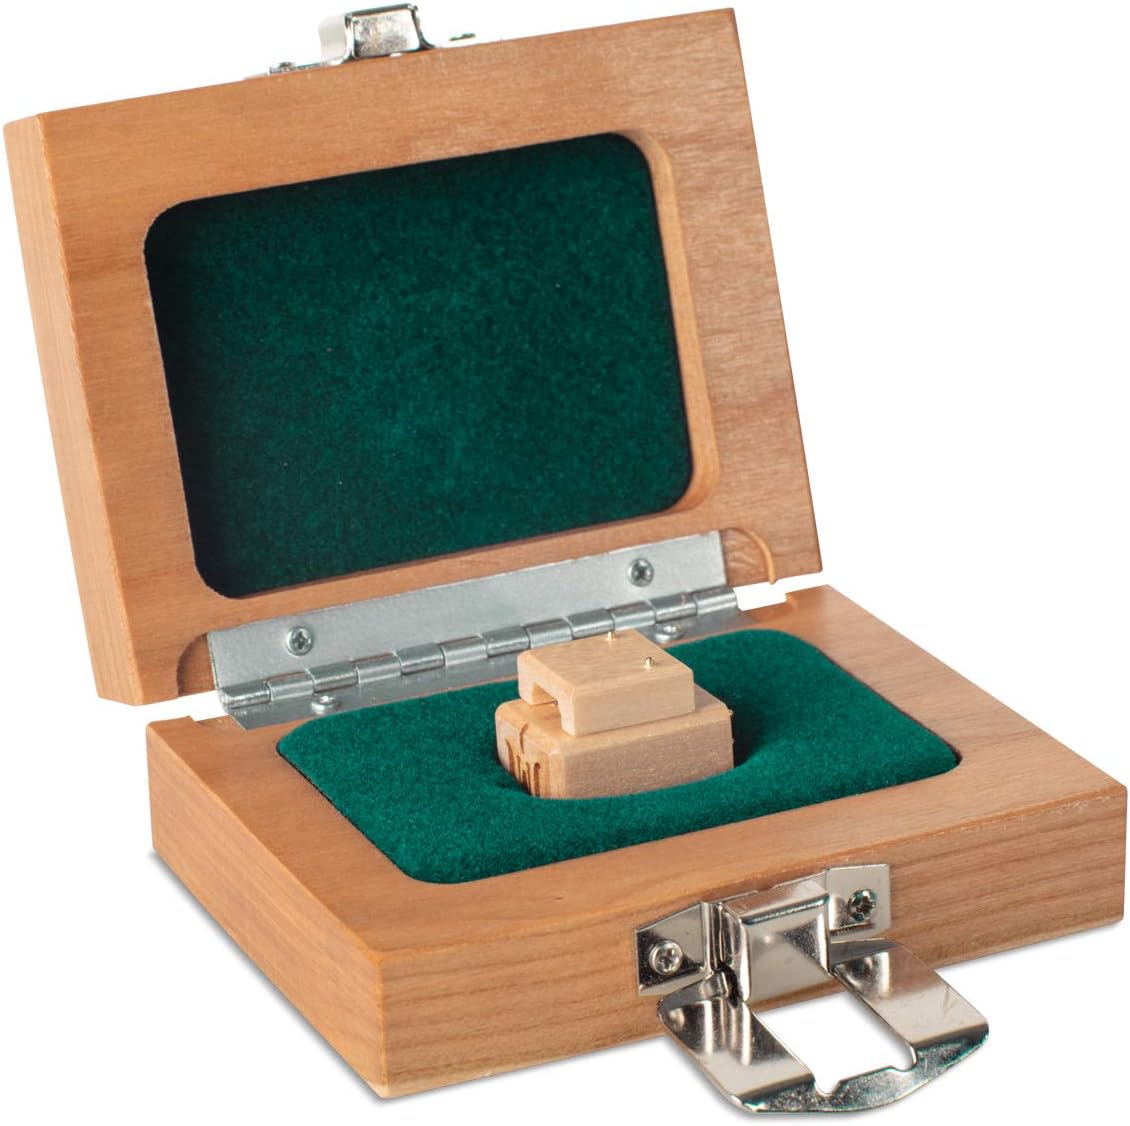
Image: The Grado Opus3 phono cartridge correctly mounted on a turntable's tonearm, ready for alignment.
2.3 Bedradingsverbindings
Connect the tonearm wires to the corresponding pins on the back of the cartridge. Standard color coding is as follows:
- Rooi: Right Channel Hot (R+)
- Groen: Right Channel Ground (RG-)
- Wit: Left Channel Hot (L+)
- Blou: Left Channel Ground (LG-)
Ensure connections are firm and free from corrosion. Incorrect wiring can lead to channel imbalance or hum.

Beeld: A view of the underside of the Grado Opus3 cartridge, highlighting the four connection pins and the elliptical diamond stylus.
2.4 Alignment, Tracking Force, and Anti-Skate
Accurate alignment, tracking force, and anti-skate settings are critical for optimal sound quality and stylus longevity. Refer to your turntable's instruction manual for specific guidance on these adjustments. A general starting point for tracking force for the Opus3 is typically between 1.5 to 1.9 grams, but consult your turntable's recommendations and adjust for best sound and tracking.
- Belyning: Use a protractor to ensure the stylus is correctly aligned in the record groove.
- Opsporingskrag: Set using a reliable stylus force gauge.
- Anti-skate: Adjust to prevent the tonearm from drifting inward or outward across the record.
3. Bedryfsinstruksies
Once installed and properly adjusted, operating your Grado Opus3 cartridge is straightforward.
- Record Preparation: Always ensure your records are clean and free of dust before playing.
- Aanwysings: Use the tonearm lift mechanism to gently lower and raise the stylus onto and off the record. Avoid dropping the tonearm manually, as this can damage the stylus or record.
- Volumebeheer: Begin met die amplifier volume at its lowest setting and gradually increase it to your desired listening level.
4. Onderhoud
Regular maintenance will ensure the longevity and optimal performance of your Opus3 cartridge.
4.1 Skoonmaak van die stylus
The stylus tip can accumulate dust and debris, affecting sound quality. Clean the stylus regularly using a soft stylus brush, brushing gently from back to front (in the direction of play). For stubborn dirt, a specialized stylus cleaning fluid can be used sparingly, following the product's instructions.
4.2 Cartridge Body Cleaning
Wipe the maple wood body of the cartridge with a soft, dry, lint-free cloth. Avoid using harsh chemicals or abrasive materials, which could damage the wood finish.
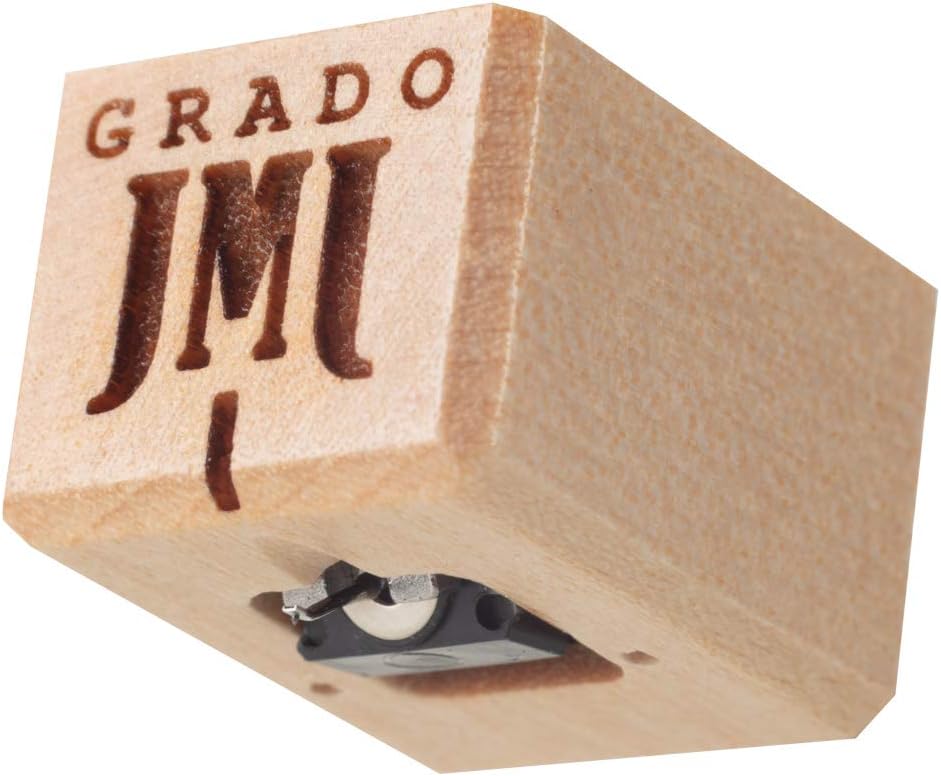
Beeld: 'n Gedetailleerde view of the Grado Opus3 phono cartridge, showcasing its maple wood housing and the Grado logo.
4.3 Vervanging van die stylus
The stylus is a delicate component and will wear over time. The lifespan of a stylus depends on usage and care. If you notice a degradation in sound quality or visible wear on the stylus tip, it may be time for replacement. Contact an authorized Grado dealer for stylus replacement options.
5. Probleemoplossing
If you encounter issues with your Grado Opus3 cartridge, consult the following troubleshooting guide.
- Geen klank of lae klank nie:
- Check all wiring connections from the cartridge to the tonearm and from the turntable to the phono preampverligter/amplewendiger.
- Ensure the phono input is selected on your amplewendiger.
- Verify the stylus is not damaged or missing.
- Distortion or Poor Sound Quality:
- Re-check tracking force and anti-skate settings. Incorrect settings can cause distortion.
- Verify cartridge alignment using a protractor.
- Clean the stylus thoroughly.
- Ensure records are clean.
- Inspect the stylus for wear or damage.
- Gegons of Soemgeluid:
- Ensure the turntable's ground wire is securely connected to your phono preampverligter of ampdie verskaffer se grondterminaal.
- Check for loose wiring connections at the cartridge or tonearm.
- Move the turntable away from other electronic devices (e.g., power supplies, Wi-Fi routers) that may cause electromagnetic interference.
- Verify that the phono preamplifier is compatible with a moving iron cartridge and has proper shielding.
- Skipping or Poor Tracking:
- Re-check tracking force and anti-skate settings.
- Ensure the turntable is level.
- Inspect the stylus for damage or debris.
- Check for warped records.
If problems persist after attempting these solutions, contact Grado customer support or an authorized service center.
6. Spesifikasies
| Item gewig | 6.4 onse |
| Pakket afmetings | 4.3 x 3.6 x 1.7 duim |
| ASIN | B08C7LSBLN |
| Datum Eerste Beskikbaar | 2 Julie 2020 |
Let wel: For detailed electrical specifications (e.g., output voltage, frequency response, channel separation), please refer to the official Grado product page or included documentation.
7. Waarborginligting
Grado products are manufactured to high standards and are typically covered by a manufacturer's warranty against defects in materials and workmanship. The specific terms and duration of the warranty may vary by region and retailer. Please retain your proof of purchase. For detailed warranty information, refer to the documentation included with your product or visit the official Grado webwebwerf.
8. Ondersteuning
For further assistance, technical support, or service inquiries regarding your Grado Opus3 phono cartridge, please contact Grado Labs directly or consult their official webwebwerf:
- Grado Labs Official Webwebwerf: gradolabs.com
- Kliëntediens: Verwys na die kontakafdeling op die amptelike website for phone numbers or email addresses.
When contacting support, please have your product model (Opus3) and any relevant purchase information ready.